manuals.online logo
Brands
  1. Home
  2. •
  3. Brands
  4. •
  5. Panasonic
  6. •
  7. Camcorder
  8. •
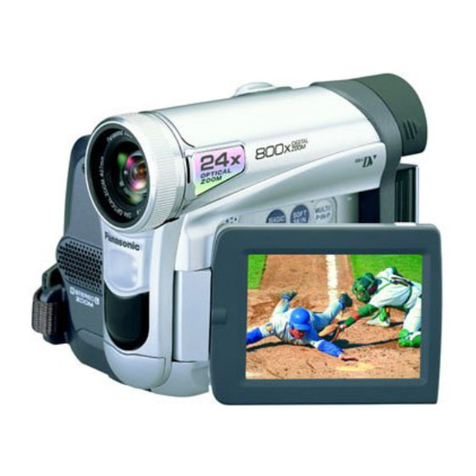
  9. Panasonic Digital Palmcoder PalmSight PV-DV200 User manual

Panasonic Digital Palmcoder PalmSight PV-DV200 User manual

This manual suits for next models

1

Other Panasonic Camcorder manuals

Panasonic AG-HPX371E User manual

Panasonic

Panasonic AG-HPX371E User manual

Panasonic SDR-H80 User manual

Panasonic

Panasonic SDR-H80 User manual

Panasonic Palmcorder Palmsight PV-L758 User manual

Panasonic

Panasonic Palmcorder Palmsight PV-L758 User manual

Panasonic Palmcorder PalmSight PV-DV800 User manual

Panasonic

Panasonic Palmcorder PalmSight PV-DV800 User manual

Panasonic HDC-SD100PC User manual

Panasonic

Panasonic HDC-SD100PC User manual

Panasonic Palmcorder PV-D486 User manual

Panasonic

Panasonic Palmcorder PV-D486 User manual

Panasonic AG-HMC80PJ User manual

Panasonic

Panasonic AG-HMC80PJ User manual

Panasonic AJ-SPC700E User manual

Panasonic

Panasonic AJ-SPC700E User manual

Panasonic NV-DS88A User manual

Panasonic

Panasonic NV-DS88A User manual

Panasonic PV-DV52 User manual

Panasonic

Panasonic PV-DV52 User manual

Panasonic NV-DS88EN User manual

Panasonic

Panasonic NV-DS88EN User manual

Panasonic Palmcorder PalmSight PV-DV910 User manual

Panasonic

Panasonic Palmcorder PalmSight PV-DV910 User manual

Panasonic PV-L153-K User manual

Panasonic

Panasonic PV-L153-K User manual

Panasonic VDR-M50EB User manual

Panasonic

Panasonic VDR-M50EB User manual

Panasonic Palmcoder Multicam PV-GS400 User manual

Panasonic

Panasonic Palmcoder Multicam PV-GS400 User manual

Panasonic NV-GS78GK User manual

Panasonic

Panasonic NV-GS78GK User manual

Panasonic 2007 User manual

Panasonic

Panasonic 2007 User manual

Panasonic HDC-SD80 User manual

Panasonic

Panasonic HDC-SD80 User manual

Panasonic HC-X900 User manual

Panasonic

Panasonic HC-X900 User manual

Panasonic AWE350P - COLOR CAMERA User manual

Panasonic

Panasonic AWE350P - COLOR CAMERA User manual

Panasonic AVCCAM AG-AC130 User manual

Panasonic

Panasonic AVCCAM AG-AC130 User manual

Panasonic HC-X1 User manual

Panasonic

Panasonic HC-X1 User manual

Panasonic AKHC931 - 720P SYSTEMS CAMERA User manual

Panasonic

Panasonic AKHC931 - 720P SYSTEMS CAMERA User manual

Panasonic HDCSDX1 - HD SD CAMCORDER User manual

Panasonic

Panasonic HDCSDX1 - HD SD CAMCORDER User manual

Popular Camcorder manuals by other brands

Vivitar DVR 830XHD owner's manual

Vivitar

Vivitar DVR 830XHD owner's manual

Sony HDR-AS10 operating guide

Sony

Sony HDR-AS10 operating guide

Canon FS1 instruction manual

Canon

Canon FS1 instruction manual

Sharp VL-H400S Operation manual

Sharp

Sharp VL-H400S Operation manual

Samsung VP-D6550 Owner's instruction book

Samsung

Samsung VP-D6550 Owner's instruction book

Sony Handycam HDR-FX1E operating instructions

Sony

Sony Handycam HDR-FX1E operating instructions

Sony Handycam HDR-FX1000 Specifications

Sony

Sony Handycam HDR-FX1000 Specifications

Naxa NDC-402 instruction manual

Naxa

Naxa NDC-402 instruction manual

LG L320-BN owner's manual

LG

LG L320-BN owner's manual

Vivitar DVR 865HD user manual

Vivitar

Vivitar DVR 865HD user manual

Toshiba CAMILEO Z100 user guide

Toshiba

Toshiba CAMILEO Z100 user guide

Canon RC 260 instructions

Canon

Canon RC 260 instructions

Sony Handycam DCR-DVD7E operating guide

Sony

Sony Handycam DCR-DVD7E operating guide

Brinno TimeLapse TLC200 user manual

Brinno

Brinno TimeLapse TLC200 user manual

JVC GR-SXM68AC Schematic diagram

JVC

JVC GR-SXM68AC Schematic diagram

MYDLINK DCS-6100LH Quick installation guide

MYDLINK

MYDLINK DCS-6100LH Quick installation guide

Sony video Hi8 Handycam CCD-TR555 operating instructions

Sony

Sony video Hi8 Handycam CCD-TR555 operating instructions

SECURECOM V-5014B installation guide

SECURECOM

SECURECOM V-5014B installation guide

manuals.online logo
manuals.online logoBrands
  • About & Mission
  • Contact us
  • Privacy Policy
  • Terms and Conditions

Copyright 2025 Manuals.Online. All Rights Reserved.

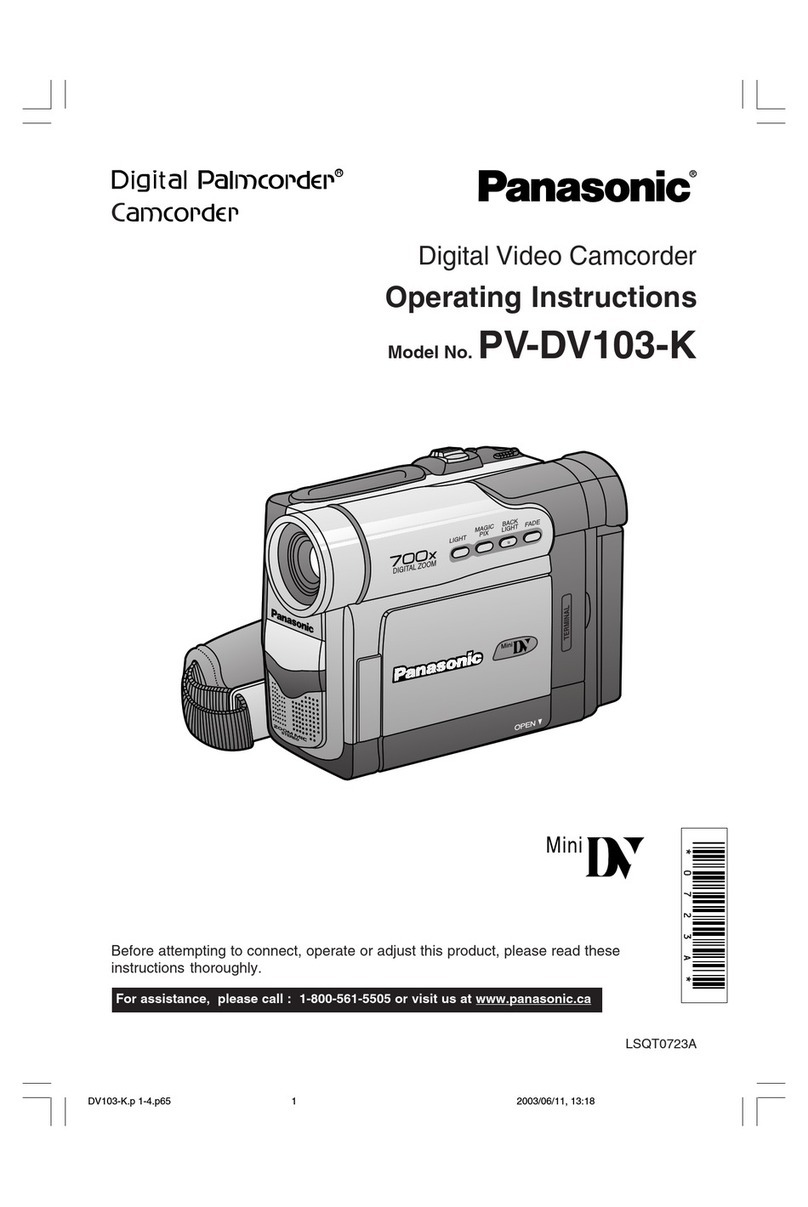
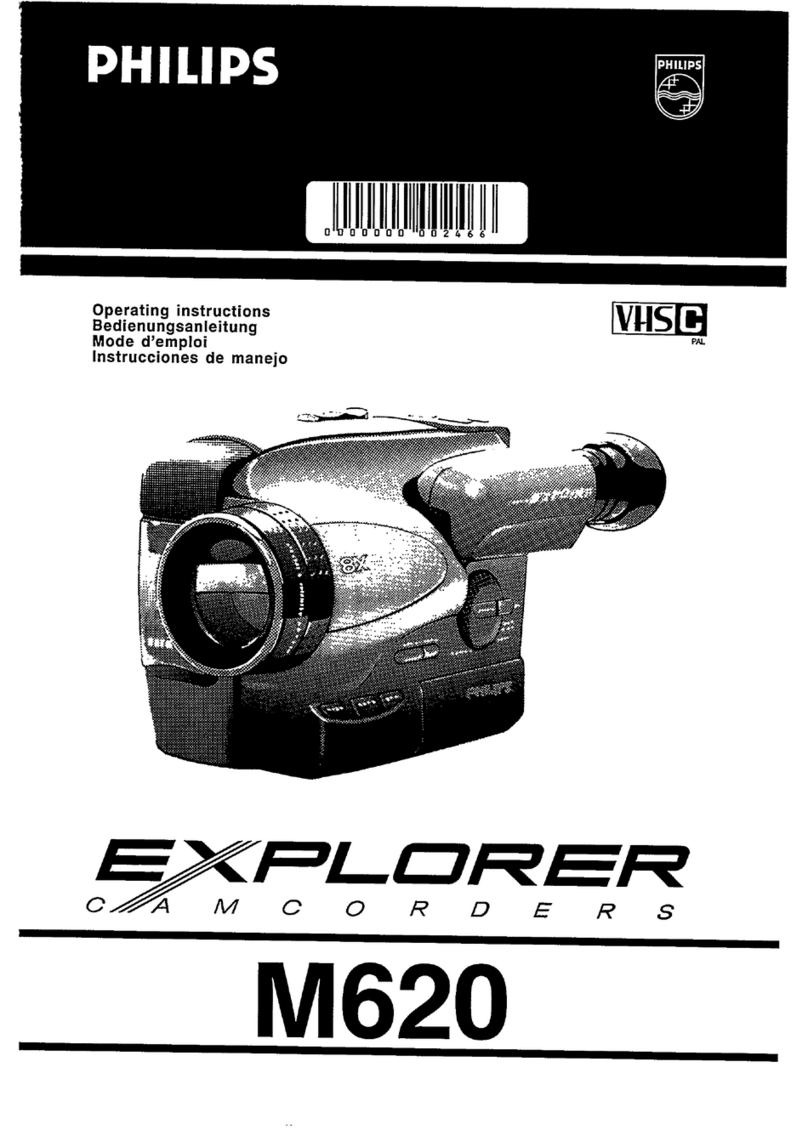
Digital Palmcorde ,® Panasonic o
PalmSight TM
Digital Video Camcorder
t_erating Instructions
odelsNo.PV-DV200
PV-DV400
(PV-DV400 shown)
IPV-DV200I1-_ PV-DV400_J
Before attempting to connect, operate or adjust this product, please read these
instructions thoroughly.
Spanish Quick Use Guide is included.
Gufa para r_ipida consulta en espa_ol estd incluida.
i_,] u_. _.-!.-_l.-t_.lm[_-.m=_.nill lt:[0IolPJili n "./_,1_r_,Yl'PJ_
LSQT021ZA
Thank you for choosing Panasonic!
You have purchased one of the most sophisticated and reliable products on the market
today. Used properly, we're sure it will bring you and your family years of enjoyment.
Please take time to fill in the information below. The serial number is on the tag located on
the underside of your Palmcorder. Be sure to retain this manual as your convenient
Palmcorder information source.
rDate of Purchase
Dealer Purchased From
Dealer Address
Dealer Phone No.
Model No.
Serial No.
1 pc. AC Adaptor
(PV-DACl0)
with AC Cable and DC
Cable
1 pc. Lens Cap
(LSYF0395) 1 pc. PC Connection
Cable for Windows
(LSJA0276)
1pc. Battery Pack
(PV-DBP8 or PV-
DBP8A)
1 pc. MultiMediaCard
(LSFT0198)
1 pc. NV Cable
(LSJA0280)
1 pc. Shoulder
Strap (LSFC0013)
1 pc. PHOTOVU LINK
DRIVER & CARD LINK
DRIVER (LSFT0196)
Microsoft and Windows are registered trademarks of Microsoft in the United States and
other countries.
2
WARNING: TO PREVENT FIRE OR SHOCK HAZARD,
DO NOT EXPOSE THIS EQUIPMENT TO RAIN OR MOISTURE.
Your ,,°,i}_- Palmcorder is designed to record and play back in Standard Play (SP) mode
and Long (LP) mode.
It is recommended that only cassette tapes that have been tested and inspected for use in
VCR machines with the "_°'1_"mark be used.
CAUTION: TO REDUCE THE RISK OF ELECTRIC SHOCK,
DO NOT REMOVE COVER (OR BACK)
NO USER-SERVICEABLE PARTS INSIDE
REFER SERVICING TO QUALIFIED SERVICE PERSONNEL
This symbol warns the user that uninsulated
voltage withinthe unitmay have sufficient
magnitude to cause electric shock.
Therefore, it is dangerous to make any kind
of contactwith any insidepartof this unit.
This symbol alerts the user that important
literature concerning the operation and
maintenance of this unit has been included.
Therefore, it should be read carefully in orde_
to avoid any problems.
The above markings are located on the appliance bottom cover.
This device complies with Part 15 of the FCC Rules, Operation is subject to the following
two conditions: (1) This device may not cause harmful interference, and (2) this device
must accept any interference received, including interference that may cause undesired
operation.
Note: This equipment has been tested and found to comply with Part 15 of the FCC
Rules. These limits are designed to provide reasonable protection against harmful
interference when operated in a residential environment.
If this equipment does cause interference to radio or television reception, which can be
determined by turning the equipment off and on, use the equipment in another location
and/or utilize an electrical outlet different from that used by the receiver.
If necessary, consult the dealer or an experienced radio/TV technician for help. You may
find the booklet, 'Something About Interference' available from FCC local regional offices
helpful.
FCC Warning: To assure continued FCC compliance, use only the provided shielded
interface cable when connecting digital video camera to computer in
accordance with instruction herein. Also, any changes or modifications to
this equipment could void the user's authority to operate.
3
1. Read Instructions -- All the safety and operating
instructions shouldbe read before the unit is
operated.
2. Retain Instructions -- The safety and operating
instructions should be retained for future reference.
3. Heed Warnings -- All warnings on the unit and in the
operating instructions should be adhered to.
4. Follow Instructions -- All operating and maintenance
instructions should be followed.
5. Cleaning -- Unplug this video unit from the wall outlet
before cleaning. Do not use liquid or aerosol
cleaners. Use a dry cloth for cleaning.
6. Attachments-- Donot use attachments not
recommended by the video product manufacturer as
they may be hazardous.
7. Water and Moisture -- Do not use this video unit near
water -- for example near abath tub, wash bowl,
kitchen sink, or laundrytub, in a wet basement, or
near a swimming pool, and the like.
8. Accessories -- Do not place thisvideo unit on an
unstable cart, stand, tripod, bracket, or table. The
video unit may fall, causing serious injury to a child or
adult, and serious damage to the unit. Use only with
a cart, stand, tripod, bracket, or table recommended
bythe manufacturer, or sold with the video unit. Any
mounting of the unit should follow the manufacturer's
instructions and should use a
mounting accessory
recommended by the
manufacturer. An appliance and
cart combination should be moved
with care. Quick stops, excessive
force, and uneven surfaces may
cause the appliance and cart
combination to overturn.
9. Ventilation -- Slots and openings in the cabinet are
provided for ventilation and to ensure reliable
operation of the video unit and to protectit from
overheating. These openings must not be blccked or
covered. Never place the video unit on a bed, sofa,
rug, or other similar surface, or near or over a radiator
or heat register. This video unit should not be placed
in a built-in installation such as a bookcase or rack
unless proper ventilation is provided or the
manufacturer's instructions have been adhered to.
10. Power Sources -- This video unit should be operated
only from the type of power source indicated on the
marking label.If you are not sure of the type of power
supply toyour home, consult your appliance dealer
or local power company. For video units intended to
be operated from battery power, or other sources,
referto the operating instructions.
1t. Grounding or Polarization -- This video unitmaybe
equipped with either a polarized 2-wire AC
(Alternating Current) line plug (a plug having one
blade wider thanthe other) or 3-wire grounding type
plug, a plug having a third (grounding) pin.
The 2-wire polarized plug will fit intothe power outlet
only one way. This is a safety feature. If you are
unable toinsert the plug fully into the outlet, try
reversing the plug.Ifthe plug stillfails tofit, contact
your electrician to replace your obsolete outlet. Do
not defeat the safety purpose of the polarized plug.
The 3-wire grounding type plug willfit into a
grounding type power outlet. This is a safetyfeature.
Ifyou are unable to insert theplug into the outlet,
contact your electrician to replace your obsolete
outlet. Do not defeat the safety purpose of the
grounding type plug.
t2. Power-Cord Protection -- Power-supply cords
should be routed so that they are not likely to be
walked on or pinched by items placed upon or
against them, paying particularattention to cords of
plugs, convenience receptacles, and the point
where they exit from the unit.
13. Outdoor Antenna Grounding-- Ifan outside
antenna or cable system is connected to the video
unit, be sure the antenna or cable system is
grounded so as to provide some protectionagainst
voltage surges and built-up static charges. Part 1 of
the Canadian Electrical Code, in USA Section 810
of the National Electrical Code, provides information
with respect to proper grounding of the mast and
supporting structure, grounding of the lead-in wire to
an antenna discharge unit, size of grounding
conductors, location of antenna discharge unit,
connection to grounding electrodes, and
requirements forthe grounding electrode.
_.- ANTENNA
LEAD IN
WIRE
GROUND E
CLAMP [
NTEN
DISCHA_GE UNIT
(NECSECTION8!0-20)
GROUN_NG CONDUCTORS
EC SECTION BI0.2_)
GROUND Ct_Mp$
_ER S_RVtCE GROUNDING
ELECTR_E SYSTEM
NEC NATIONAL ELECTRICAL CODE (NEC ART 250 PART HI
14. Lightning -- For added protectionof this video unit
receiver during a lightning storm, or when it is left
unattended and unused for long periods of time,
unplug it from the wall outlet anddisconnect the
antenna or cable system. This willprevent damage
to the video unit due to lightning and power-line
surges.
4
15. Power Lines -- Anoutside antenna system should
not be located in the vicinity of overhead power lines
or other electric light or power circuits, or where it can
fall into such power lines or circuits. When installing
an outside antenna system,extremecare should be
taken to keep from touching such power lines or
circuits as contact with them might be fatal.
16.Overloading -- Do net overload wall outlets and
extension cords as this can result in a risk of fire or
electric shock.
17. Objectsand Liquids -- Never push objects of any
kind into this video unit through openings as they
may touch dangerous voltage points or short out
parts that could result in a fire or electric shock.
Never spill liquid of any kind onto the video unit,
18. Servicing -- Do not attempt to service this video unit
yourself as opening or removing covers may expose
you to dangerous voltage or other hazards. Refer all
servicing to qualified service personnel,
t 9. Damage Requiring Service -- Unplug this video unit
from the wall outlet and refer servicing to qualified
service personnel under the following conditions:
a. When the power-supply cord or plug is damaged.
b. Ifany liquid has been spilled onto, or objects have
fallen into the video unit.
c. Ifthe video unit has been exposed to rain or water.
d. Ifthe video unit does not operate normally by
following the operating instructions. Adjust only
those controls that are covered by the operating
instructions, as an improper adjustment of other
controls may result in damage and will often
require extensive work by aqualilied technician to
restore the video unit to its normal operation.
e, If the video unit has been dropped or the cabinet
has been damaged.
f. When the video unit exhibits a distinct change in
performance -- this indicates a need for service.
20. Replacement Parts -- When replacement parts are
required, be sure the service technician has used
replacement parts specified by the manufacturer or
have the same characteristics as the original part.
Unauthorized substitutions may result in fire, electric
shock or other hazards.
21. Safety Check-- Upon completion of any service or
repairs to this video unit, ask the service technician to
perform safety checks to determine that the video
unit is in safe operating order.
USE & LOCATION
• TO AVOID SHOCK HAZARD ... Your Camcorder and power supplyshould not be exposed to rainor moisture, Do
not connect the power supplyor operate your Camcorder if it gets wet. Your Camcorder has been designed for
outdoor use, however it is not designed tosustain direct exposure to water, rain, sleet, snow, sand, dust, or a direct
splashing from a pool or even a cup of coffee. This action could permanently damage the internal parts of your
Camcorder. Do not attempt to disassemble this unit, There are no user serviceable parts inside. Unplug your
Camcorder from the power supplybefore cleaning.
•DO NOT AIM YOUR CAMCORDER AT THE SUN OR OTHER BRIGHT OBJECTS
•DO NOT LEAVE THE PALMCORDER WITH THE EVF AIMED DIRECTLY AT THE SUN AS THIS MAY CAUSE
DAMAGE TO THE INTERNAL PARTS OF THE EVF
•DO NOT EXPOSE YOUR CAMCORDER TO EXTENDED HIGH TEMPERATURE ... Such as, in directsunlight,
insideaclosed ear, nextto aheater, etc... This actioncouldpermanentlydamagethe internalpartsof your
Camcorder.
•AVOID SUDDEN CHANGES IN TEMPERATURE ... Ifthe unit is suddenly movedfrom acold place to a warm
place,moisturemay form on the tape and insidethe unit.
•DO NOT LEAVE YOUR CAMCORDER OR THE POWER SUPPLY TURNED ON WHEN NOT IN USE.
•STORAGE OF YOUR CAMCORDER ... Store and handleyour Camcorderina mannerthatwillnot subjectitto
unnecessarymovement (avoid shakingand striking).Your Camcordercontainsa sensitivepick-updevicewhich
couldbe damaged by improperhandlingor storage.
CARE
•TO CLEAN YOUR CAMCORDER ... Do not use strong or abrasive detergents when cleaning yourCamcorder
body.
•TO PROTECT THE LENS ... Do not touchthe surfaceof the lens withyourhand. Use a commercialcamcorder
lenssolutionandlenspaper when cleaningthe lens. Impropercleaningcan scratchthe lenscoating.
•TO PROTECT THE FINISH OF YOUR CAMCORDER ... Before handlingyour Camcorder,make sureyour hands
andface are free from any chemicalproducts,suchas suntanlotion, as it may damage the finish.
5
Things You Should Know .................................................................................................... 2
Important Safeguards ......................................................................................................... 4
Precautions ......................................................................................................................... 5
Quick Guide ......................................................................................................................... 8
Supplying Power ............................................................................................................... 11
Cassette Information ......................................................................................................... 14
Color Enhancement Light (Optional) ................................................................................ 16
Attaching the Shoulder Strap ............................................................................................ 17
Setting the Clock ............................................................................................................... 19
Using the Palmdorder Menu ............................................................................................. 20
MENU OSD ....................................................................................................................... 21
Electronic Viewfinder/LCD Monitor Indications ................................................................ 26
Camera Recording ............................................................................................................ 30
Remote Control (Optional) ................................................................................................ 33
Playback Your Recordings ................................................................................................ 35
Card PhotoShot ................................................................................................................. 41
Recording images From a Tape ........................................................................................ 42
Playback Still Images ........................................................................................................ 43
Delete Specific Image Pages ........................................................................................... 45
Delete All Image Pages .................................................................................................... 46
Format the MultiMediaCard .............................................................................................. 47
Photo Title .......................................................................................................................... 48
Dual Digital Electronic Image Stabilization System (D.E.I.S.) ......................................... 50
Zoom .................................................................................................................................. 51
Digital PhotoShot .............................................................................................................. 52
Index Search ..................................................................................................................... 52
White Balance ................................................................................................................... 53
Recording Still Pictures .................................................................................................... 53
IR FILTER .......................................................................................................................... 53
Program AE ....................................................................................................................... 54
Digital Functions ............................................................................................................... 55
Focus ................................................................................................................................. 56
Audio/Video Fade In/Out ................................................................................................... 57
Backlight ............................................................................................................................ 57
High Speed Shutter ........................................................................................................... 58
Audio Dubbing using the External or Built-in Microphone ............................................... 59
Memory-Stop Editing ........................................................................................................ 60
Copying your Tapes to S-VHS or VHS Cassette .............................................................. 61
Copying from Digital Equipment (dubbing) ...................................................................... 62
PC Connection with DV Interface Cable (IEEE 1394) ..................................................... 63
PC Connection .................................................................................................................. 64
Software Installation (Windows 95/98) ............................................................................. 65
CARD LINK ....................................................................................................................... 66
PHOTOVU LINK ................................................................................................................ 69
Printer Connection ............................................................................................................ 71
6
Palmcorder Accessory System ........................................................................................ 72
Palmcorder Accessory Order Form .................................................................................. 73
Notes On Operations ........................................................................................................ 74
Specifications .................................................................................................................... 76
Before Requesting Service ............................................................................................... 77
Request for Service Notice ............................................................................................... 79
Index of Controls ............................................................................................................... 80
Warranty ............................................................................................................................ 85
Spanish Quick Use Guide/Guia Para Uso Rapido .......................................................... 87
Index .................................................................................................................................. 90
This operating Instruction book is designed for use with models PV-DV200 and PV-DV400.
The PV-DV400 is the model used for illustrative purposes.
Features may vary, so please read carefully.
Differences between models
Model Number PV-DV200 PV-DV400
LCD Monitor 63.5 mm (2.5 inch) 76.2 mm (3.0 inch)
Liquid Crystal Display Liquid Crystal Display
Viewfinder Black and White Color
IR FILTER No Yes
Switch
WIND-CUT No Yes
7
Before you begin...
• Charge the Battery (page 11).
Slide the Viewfinder
backward to its fully
expanded position and then
tilt it upward. (For model
PV-DV200, Tilt Viewfinder
upward.)
Protection Film _)
L
•Remove the Protection Film before use. Insert the Battery and slide it down
until it locks with a click.
Slide TAPE EJECT
Switc_.__bhto open the
Cassette Compartment
Set POWER Switch to Cover.
VCR or CAMERA.
3Insert a cassette with its
window side facing up.
• Make sure the record tab is
closed (page 15)
Protection Film
• Remove the
Protection Film
before use.
8
PUSH TO
CLOSE mark
Press PUSH TO CLOSE mark to
close the Cassette Compartment
Cover.
TAPE_
_1 When using a Tape, you must set TAPE!M-CARD
,-CARDJ Switch_to TAPE.
When the LCD monitor is fully open, the
Viewfinder automatically turns OFE
Press LCD-OPEN Button to
unlock the LCD monitor.
Swing it fully open and
adjust the angle. Viewfinder
3Adjust the Vision
Adjustment Control to your
•ht.
PV-DV400 PV-DV200
LCD Monitor
Protection Film
Set POWER Switch
to CAMERA•
• Remove the Protection Film before use.
Press R!_CORD/PAUSE Buttonn
to start recording.
Press RECORD/PAUSE Button
again toQpause recording.
Be sure to insert the MultiMediaCard before using the Card PhotoShot (page 41).
Press LCD-OPEN Button to M-CARD Door
unlock the LCD monitor.
Swing it fully open and
adjust the angle.
_80 o1coonor
Close the M-CARD Door.
XAPE_j When using a MultiMediaCard, you must set
M-CAnD_wTAPE/M-CARD Sw tch to M-CARD.
Slide CARD
EJECT Switch
to open M-
CARD door.
Insert the MultiMediaCard.
9
When the LCD monitor is fully open, the
Viewfinder automatically turns OFE
180 °
BefOre you begin...
•Charge the Battery (page 11).
Set POWER Switch
to
Press LCD OPEN Button to
unlock the LCD monitor. Swing it
fully open and adjust the angle.
3 4
Press REW Button to
rewind the tape.
5 Press STOP Button I _
to stop playback.
L_q
k
Press PLAY Button to
sta_p_.
10