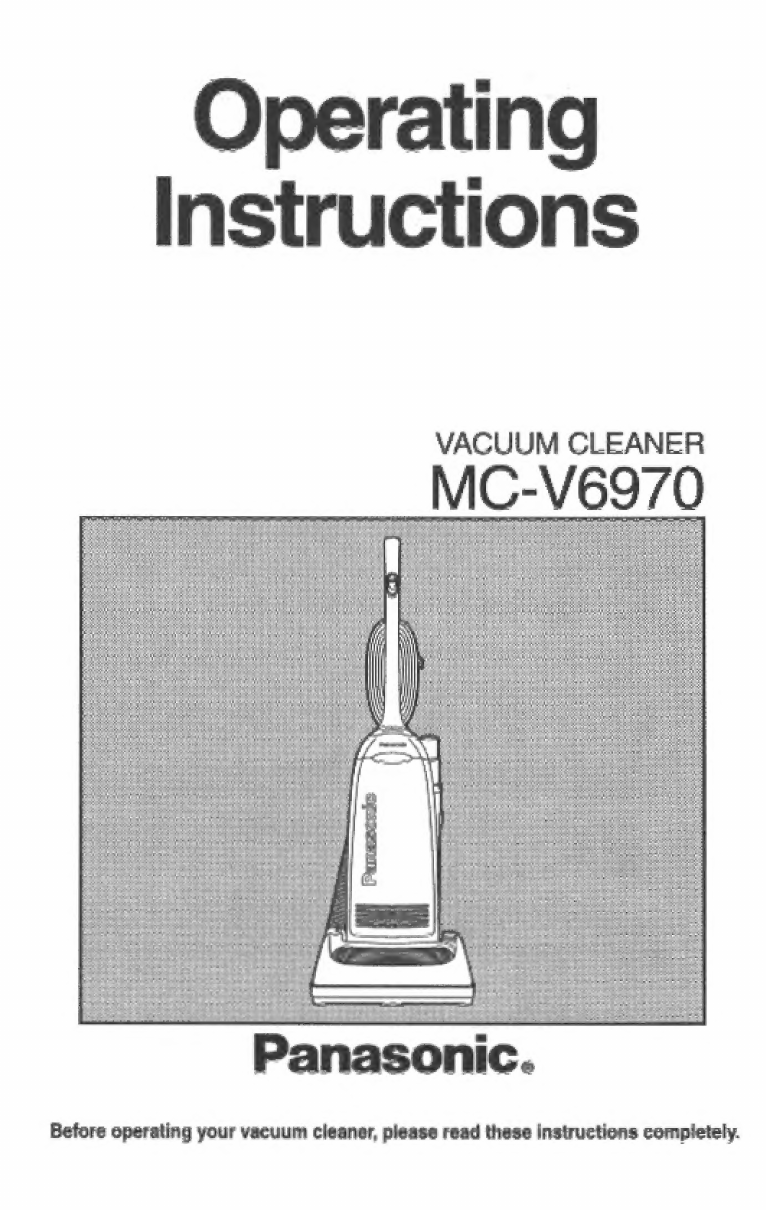
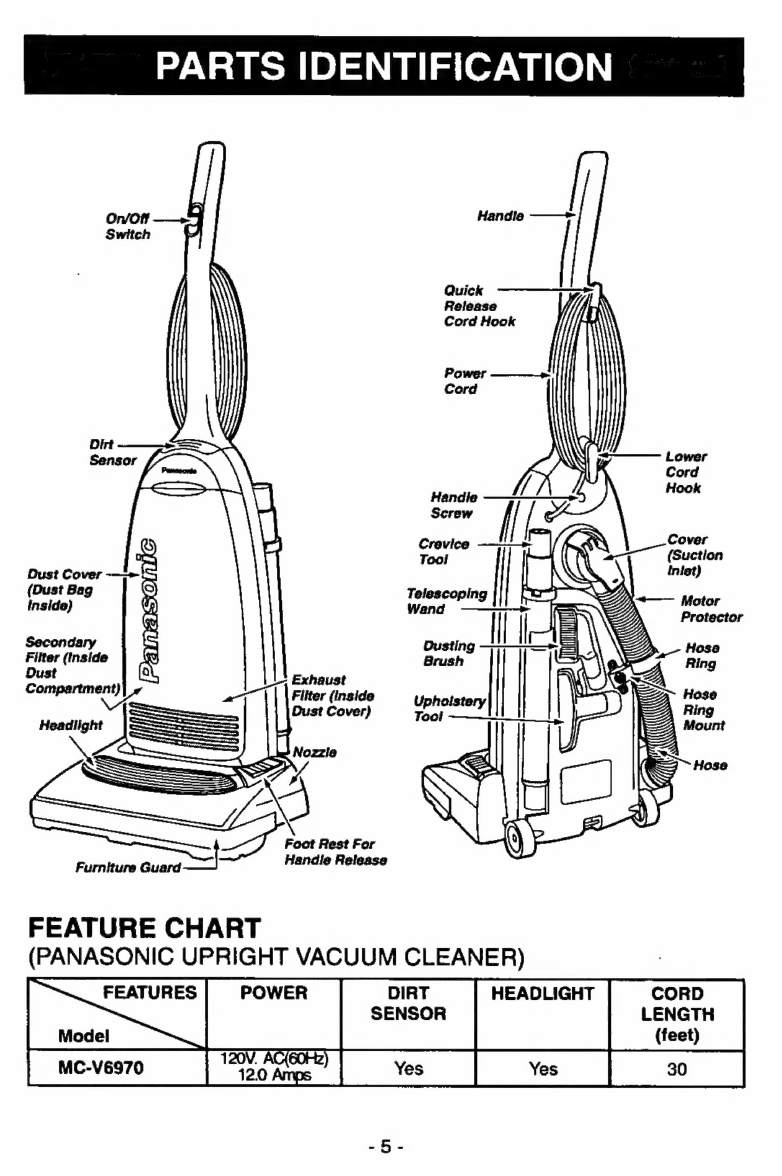
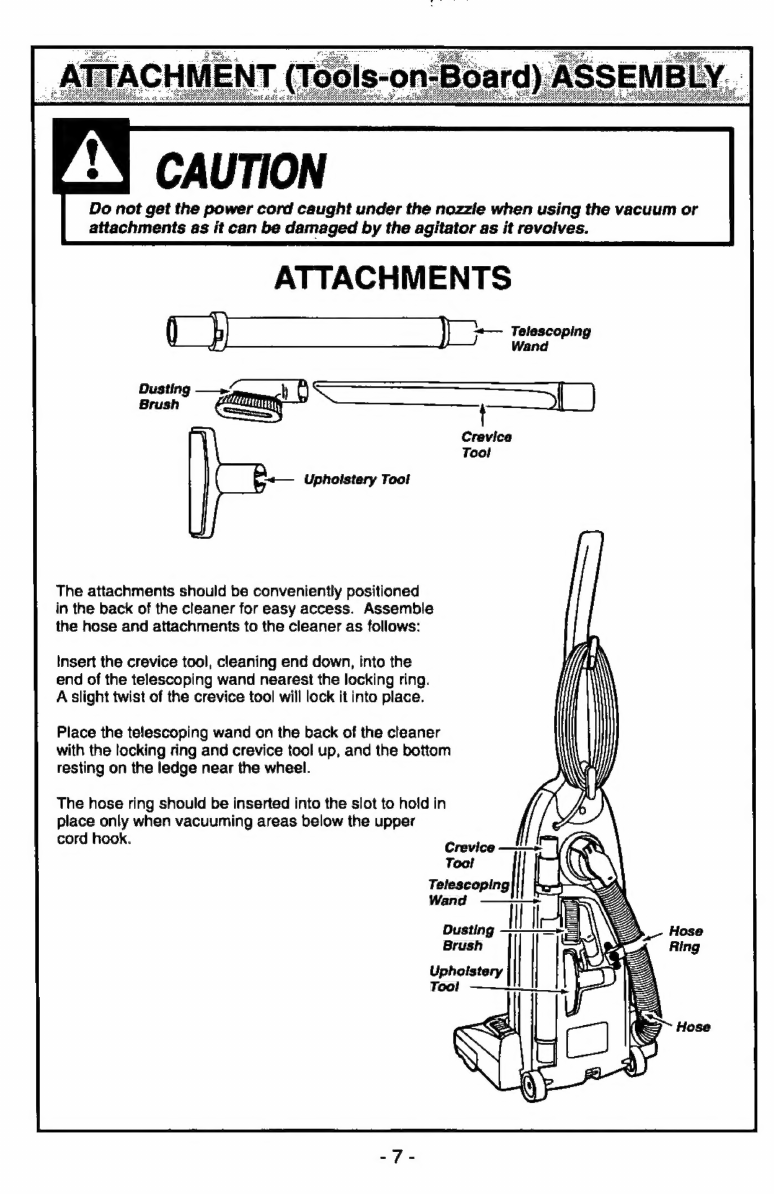
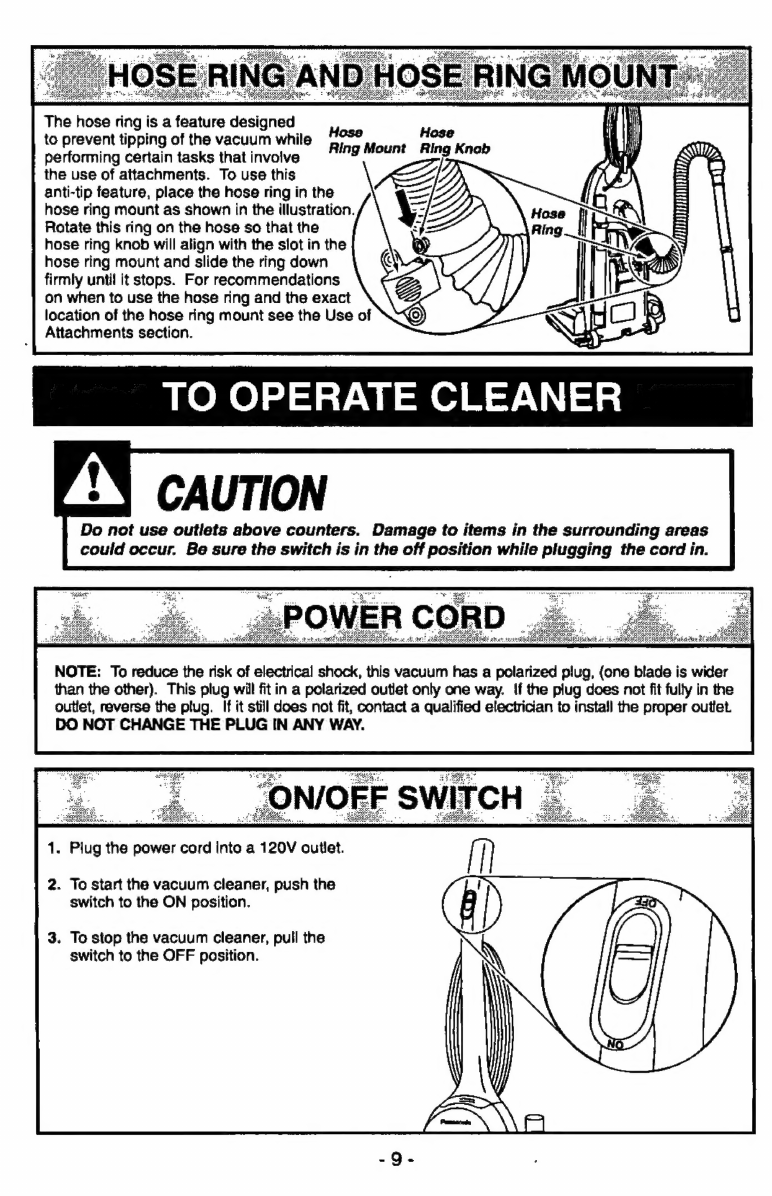
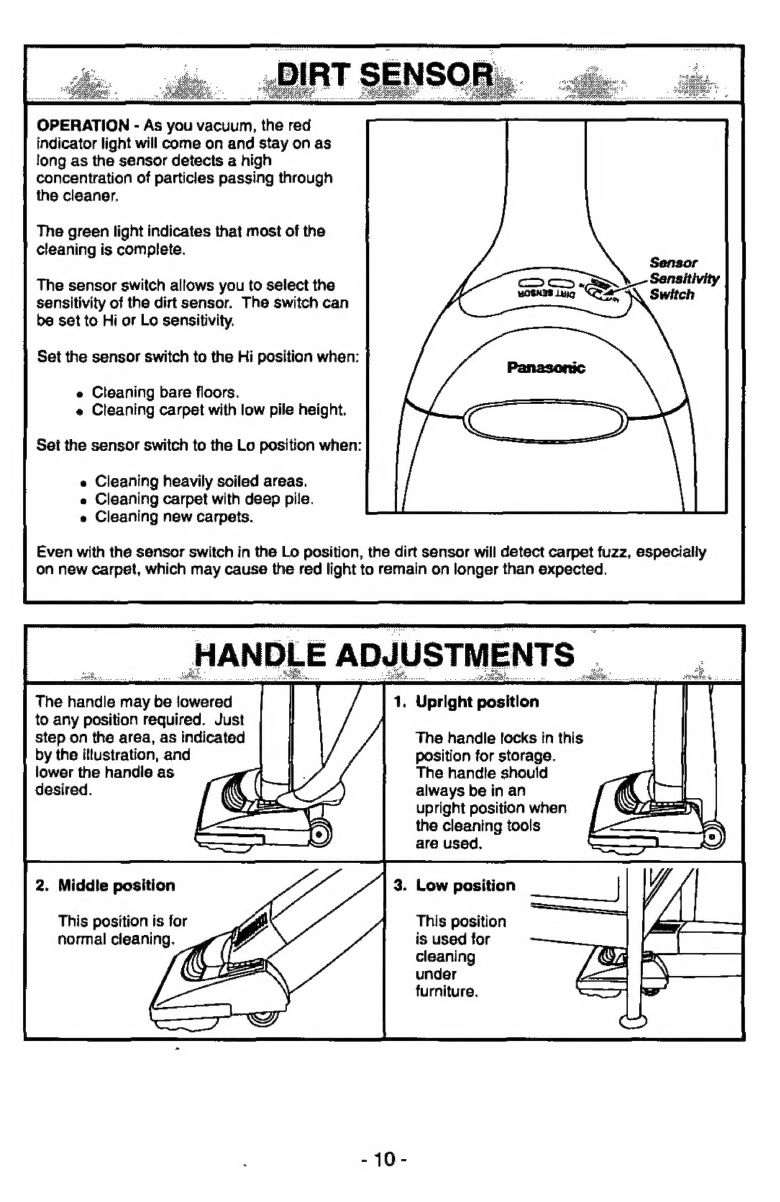
Panasonic MC-V6970 User manual
Other Panasonic Vacuum Cleaner manuals

Panasonic
Panasonic MC-CL565 User manual

Panasonic
Panasonic MCV5504 - COMMERCIAL VACUUM User manual

Panasonic
Panasonic MC-V5737 User manual

Panasonic
Panasonic MC-CG691K User manual

Panasonic
Panasonic Ultra-Pro MC-V150 User manual

Panasonic
Panasonic MCV7581 - UPRIGHT VACUUM User manual

Panasonic
Panasonic MC-YL697K User manual

Panasonic
Panasonic MC-CG882-SC79 User manual

Panasonic
Panasonic MCV325 - COMMERCIAL VACUUM User manual

Panasonic
Panasonic MCV5241 - UPRIGHT VACUUM PLAT User manual

Panasonic
Panasonic MCV7314 - UPRIGHT VACUUM-MULTI-LANG User manual

Panasonic
Panasonic MCV5248 - UPRIGHT VACUUM-PLAT User manual

Panasonic
Panasonic MC-E472E User manual

Panasonic
Panasonic MC-YL699-S146 User manual

Panasonic
Panasonic MC-V7319 User manual

Panasonic
Panasonic MCUG585 - PLATINUM UPRIGHT VACUUM User manual

Panasonic
Panasonic MC-V5737 User manual

Panasonic
Panasonic Quickdraw MC-V7305 User manual

Panasonic
Panasonic MCV7320 - UPRIGHT VACUUM-QKDR User manual

Panasonic
Panasonic MC-UL710 User manual