manuals.online logo
Brands
  1. Home
  2. •
  3. Brands
  4. •
  5. Panasonic
  6. •
  7. VCR System
  8. •
  9. Panasonic Omnivision PV-4611 User manual

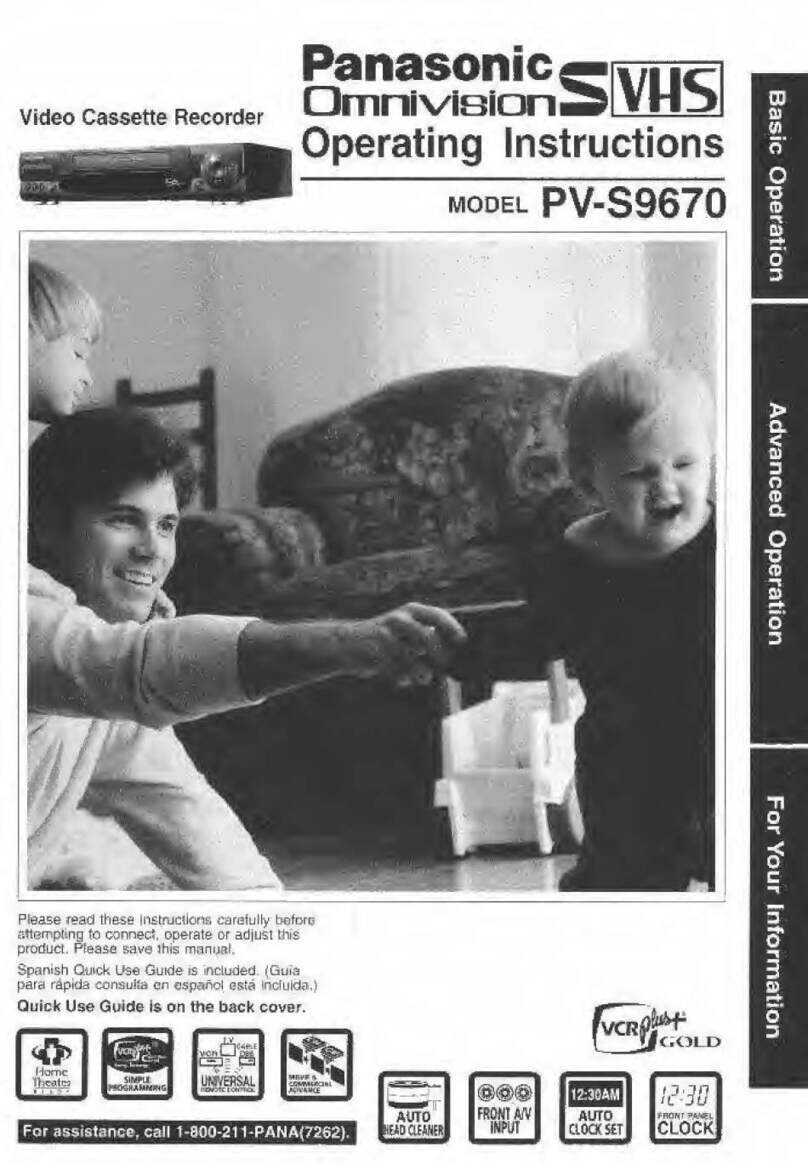
Panasonic Omnivision PV-4611 User manual

Other manuals for Omnivision PV-4611

3

Other Panasonic VCR System manuals

Panasonic PV-VS4821-K User manual

Panasonic

Panasonic PV-VS4821-K User manual

Panasonic AJ-D455 User manual

Panasonic

Panasonic AJ-D455 User manual

Panasonic OmnivisionVHS PV-7452 User manual

Panasonic

Panasonic OmnivisionVHS PV-7452 User manual

Panasonic NV-SD20 Series User manual

Panasonic

Panasonic NV-SD20 Series User manual

Panasonic NV-SJ550AM User manual

Panasonic

Panasonic NV-SJ550AM User manual

Panasonic NV-HD70EA User manual

Panasonic

Panasonic NV-HD70EA User manual

Panasonic NV-FJ600 Series User manual

Panasonic

Panasonic NV-FJ600 Series User manual

Panasonic PV-4562 User manual

Panasonic

Panasonic PV-4562 User manual

Panasonic PV-V4525S User manual

Panasonic

Panasonic PV-V4525S User manual

Panasonic NV-G45 Series User manual

Panasonic

Panasonic NV-G45 Series User manual

Panasonic AG-MD830P User manual

Panasonic

Panasonic AG-MD830P User manual

Panasonic PV-V4624S User manual

Panasonic

Panasonic PV-V4624S User manual

Panasonic AG-DV2500P User manual

Panasonic

Panasonic AG-DV2500P User manual

Panasonic NV-FJ730 Series User manual

Panasonic

Panasonic NV-FJ730 Series User manual

Panasonic OmniVision PV-C2060 User manual

Panasonic

Panasonic OmniVision PV-C2060 User manual

Panasonic Omnivision PV-4611 User manual

Panasonic

Panasonic Omnivision PV-4611 User manual

Panasonic NV-SJ400A User manual

Panasonic

Panasonic NV-SJ400A User manual

Panasonic NV-D48 Series User manual

Panasonic

Panasonic NV-D48 Series User manual

Panasonic NV-HV66 EG User manual

Panasonic

Panasonic NV-HV66 EG User manual

Panasonic NV-SD280EG User manual

Panasonic

Panasonic NV-SD280EG User manual

Panasonic NV-SJ230A User manual

Panasonic

Panasonic NV-SJ230A User manual

Panasonic NV-SD20 Series User manual

Panasonic

Panasonic NV-SD20 Series User manual

Panasonic NV-FJ615 Series User manual

Panasonic

Panasonic NV-FJ615 Series User manual

Panasonic Omnivsion PV-4515S User manual

Panasonic

Panasonic Omnivsion PV-4515S User manual

Popular VCR System manuals by other brands

RCA VR678HF user guide

RCA

RCA VR678HF user guide

Zenith VRL4270HF Operating guide & warranty

Zenith

Zenith VRL4270HF Operating guide & warranty

Akai VS-606EA Operator's manual

Akai

Akai VS-606EA Operator's manual

FUNAI 27C-450 Service manual

FUNAI

FUNAI 27C-450 Service manual

Sanyo VHR-M262EV Service manual

Sanyo

Sanyo VHR-M262EV Service manual

Sony SLV-X37 operating instructions

Sony

Sony SLV-X37 operating instructions

JVC SR-VS20U - Dual Format S-vhs/minidv Recorder instructions

JVC

JVC SR-VS20U - Dual Format S-vhs/minidv Recorder instructions

Grundig GV 7400 EURO Service manual

Grundig

Grundig GV 7400 EURO Service manual

Zenith VCM321 Installation and operating guide

Zenith

Zenith VCM321 Installation and operating guide

JVC HR-A43U, HR-A63U instructions

JVC

JVC HR-A43U, HR-A63U instructions

Aiwa VX-S135U operating instructions

Aiwa

Aiwa VX-S135U operating instructions

RCA VR725HF user guide

RCA

RCA VR725HF user guide

JVC 0703-AH-PJ-BJ instruction manual

JVC

JVC 0703-AH-PJ-BJ instruction manual

TruTech ZV450TT8 owner's manual

TruTech

TruTech ZV450TT8 owner's manual

JVC HR-DVS1EK instructions

JVC

JVC HR-DVS1EK instructions

Sensory Science DDV2120 user guide

Sensory Science

Sensory Science DDV2120 user guide

JVC HR-VP78U instructions

JVC

JVC HR-VP78U instructions

RCA VR611HF user guide

RCA

RCA VR611HF user guide

manuals.online logo
manuals.online logoBrands
  • About & Mission
  • Contact us
  • Privacy Policy
  • Terms and Conditions

Copyright 2025 Manuals.Online. All Rights Reserved.

Thank you ft>r ckftotsing
Panasonic
OmnivlBlfin~i
MODEL PV-4611
Video Cassette Recorder
Operating
Instructions
5pan^^ Qjbk Use GukJc Is ind^jdod. {jufo pam r.^lipUdQ Cpn^lfS
o
o
Oto
jH-
L
-I
a
Hi
QJ
(if)
T—
r
Oi
T3
5"
Ci
3W
am
0o
Things You Should Know
fDate of Purchase.
Dealer Purchased From.
Dealer Address
Dealer Phone No
Model No
Serial No PV-4611
CongratulaHons
on your purchase of one of the most sophisticated and
reliable products on the market today, used properly,
we're sure it will bring you and your family years of
enjoyment. Please take time to fill In the information at
right. The serial number is on the tag located on the
back of your VCR. You'll want to keep this manual
handy as your convenient VCR information source.
Safety Precautions
Warning: To prevent fire or shock hazard, do not expose this equipment to rain or moisture.
This video recorder, equipped with the IHQ (High Quality) System, is compatible with existing VHS
equipment.
Only use those tapes with the IVHSI mark. It is recommended that only cassette tapes that have
been tested and inspected for use in 2, 4, 6, and 8hour VCR machines be used.
FCC Warning: Any unauthorized changes or modifications to this equipment would void the user's authority to operate.
CAUTION
(OFELECTWC
DOMOTOPEM
itHOCKj
CAUTION; TO REDUCE THE RISK OF ELECmiC SHOCK.
DO NOT REVnvE COVER (OA BACK)
NO USEIMGRVICSABU PART* MaOE
REFER SERMCMS TOOUALFCP KIWICE PERtONNBL
This symbol warns the user that uninsulated voltage within
the unit may have sufficient magnitude to cause electric
shock. Therefore, it is dangerous to make any kind of
contact with any inside part of this unit.
This symbol alerts the user that important literature
concerning the operation and maintenance of this unit has
been included. Therefore, it should be read carefully in order
to avoid any problems.
Table of Contents
Important Safeguards and Precautions 3
Unpacking Your VCR and Features 4
VCR and Cassette Information (Record Tab, Tape Speeds, Tape Cleaning, Specifications) 5
Connections
Basic Connection {Antenna and VCR, VCR and TV) 6, 7
Additional Connections (CATV. Audio/video) ;8, 9
Getting Started
One Time VCR Setup (On-screen language, Channel iWlemory, Clock Set) 10,11
On Screen Displays (OSD) (Function, Channel, Menu, VCR Status &Clock, Warning, instruction) 1
2
Basic Operation
Playback aTape (Main Operation, Special Effects, Quality Picture Features) 1
3
Tape operation (Repeat Play, One Minute Skip, Zero Search, Auto Functions) 14
Record On aTape (Main operation, One Touch Record, Channel Selection, Rapid Tune) 1
5
More You Can Do
Timer Recording (Main Operation, Cancel-Clear or Replace, Program Contents) 16,17
Timer Recording Using VCR Buttons 17
Copying Your Tapes (Dubbing) (Connection, Main Operation, Monitoring, Select Input Mode) 1
8
Special VCR Features (VCR Lock, Warning Beeper) 19
VCR P!US+ Set Up (Cable Box Set Up, VCR Ptus+ Channel Set Up) 20, 21
VCR Plus+ Programming (Main Operation, Make Corrections) 22
Multi-Brand Control Feature 23
Other Information
Before Requesting Service (Self-check items) 24
Spanisli Quick Use Guide/Gula para rapida consulta 25, 26
Index of Controls (Remote Control, VCR )27, Back Cover
Important Safeguards and Precautions
INTRODUCTION
Careful attention hias t>een given to this Video product to assure
aquality standard devoted to your safety and enjoyment. This
quality standard together with your personal responsibility for
the safety of yourself and others. wiD contribute to your
er^ment This Video product uses electrical energy and
requires proper handlinig at all times.
ICAUTION
READ AND RETAIN THE SAFETY AND OPERATING INSTRUCTIONS
To make full use of the safeguards incorporated in this unit, read
and follow this basic guide, adopted in part from Undenvriter's
Latx)ratories Standard 1409, Second Edition, before operating
this Video product.
FOLLOW THE iNSTRUCTtONS AND BE SURE TO HEED ALU
WARNINGS on unit and in the manual, for easy maintenance,
proper and trouble free operation of tNs Video product
IINSTALLATTOFT
1.
A
2.
A
3.
4.
5.
6.
A
OPERATE FROM APOWER SOURCE INDICATED on this
Video product, or in this Manual. Your Electric Utility Sen/ice
Compeiny or Video Products Dealer will be happy to verify
the power source in your home.
THE GROUNDED OR POLARIZED PLUG IS ASAFETY FEATURE
This Video product may be equipped with either apolarized
2>wire AC line plug or a3- virire grounding type plug. The two
wire polarized plug (having one blade wider than this other)
will fit into the power outlet only one way. If it is athree wire
grounding type plug (having athird pin), it win fit into a
groundng type outlet.
DO NOT DEFEAT THE SAFETY PURPOSE OF THE GROUNDED
OR POLARIZED PLUG by tampering with it. If the plug does
not fit fully into the socket, try reversing it. If you should still
be unable to fully insert the plug into the socket, you may
rmd that aproper outlet is needed to meet today's Electrical
Standards. An electrician will replace your outlet safely.
POWER SUPPLY CORDS SHOULD BE PROTECTED and
routed so that they are not likely to have anything rest on
them, roll over them, or be subject to walking traffic or
abuse: particularly at plug-ins, convenience receptacles, or
cord exit points from the unit. Where an extension is
needed, use agrounded or polarized cord.
HAZARDOUS FRAYED CORDS OR DAMAGED PLUGS
SHOULD BE REPLACED BY AQUALIFIED SERVICE
TECHNICIAN.
OVERLOADED WALL OUTLETS AND EXTENSION
CORDS PRESENT DANGEROUS RISKS OF FIRE OR
ELECTRICAL SHOCK.
AVOID BLOCKING VENTILATION HOLES
Your video unit has ventilation ojjenlngs in its cabinet to
release heat generated during operation. Blocking these
opening can cause heat build-up inside the unit, causing
failure that may result in afire hazard or heat damage to
cassettes. For protection:
a. Never cover the bottom ventilation slots or the unit with
soft material, or operate the unit placed on a bed, sofa,
rug, or soft accessory.
b. Avoid built-in install^lons, such as abookcase or radt,
unless proper ventilation is provided.
AVOID EXTREMELY HOT LOCATtONS OR SUDDEN
CHANGES IN TEMPERATURE such as placing the unit
near or over aradiator, in direct sunlight, dosed vehicles, or
transporting it suddenly between areas
of extreme temperature variation.
If the unit is suddenly moved from acold
place to awarm place, moisture may
form on the tape and inside the unit.
TO AVOID INJURY TO ACHILD, ADULT;
OR COSTLY DAMAGE:
a. Do not place unsecured equipment on asloping surface
or any heavy object or unit.
(Use the unit in ahorizontal position and do not place
anything heavy on it.)
b. Support for the unit should t>e adequately firm, level, and
strong. Replace any unstable cart, table or support. An
appliance and cart combination should be moved with
care. Quick stops, excessive force, eind uneven surfaces
may cause the appliance and cart combination to overturn.
c. Carefully follow all operating instructions and use the
manufacturer's recommended accessories when
operating this urut or connecting it to any other equipment.
1OUTSIDE ANTENNA, EQUIPMENT. AND POWERLINE EXPOSURE 1
NEC -HATIOHAL
ELECTRICALCODE MfTENNA
-—XEADIN
WIRE
1.
AINSURE SAFE ANTENNA
AND CABLE CONNECTIONS
If an out^de antenna or cable
system is connected to the
^^jifi^ equipment, be sure the
.DiscHAROE UNIT antenna or cable system is
^=====if TL^ grounded so as to provide
/L^^iCTMs ^'"^ protection against built
-_^S!S2wT~—-^Q'O^^(MK«gCToi<»i»ti) up static charges and voltage
^^^^RouNoCLAMPS surges. Part 1of the Canadian
^—POWER SERVICE ElectMcal Code, in USA
ELECTRooE 8VSTEM Sectlon 81 0of the National
a«cA.iT»>;PAiiTKi Electrical Code, ANSI/NFPA
70, provides information with respect to proper grounding of the
mast and supporting structure, grounding of the lead-in wire to an
antenna discharge unit, size of grounding conductors, location of
antenna discharge unit, connection to grounding electrodes and
requirements for the grounding electrode.
2. ELIMINATE ANTENNA PROXIMITY TO HIGH VOLTAGE POWER
*SOURCES, OR CHANCE OF ACCIDENTAL CONTACT BY INSTALLER
/i\ An outside antenna system should be located where it will never be
reached by power lines, electric light or power circuits and where it
vAW never contact these power sources If it falls. Installer should use
extreme care to avoid possible fatal contact by touching power lines,
circuits or other power sources wfien installing an outside antenna.
IUSE I
AFTER STORING OR WHEN MOVING THE UNIT, REFER TO THE
INSTALLATION SECTION OF THE SAFEGUARDS.
3.
A
4.
A
5.
A
6.
A
DO NOT USE THIS VIDEO UNIT NEAR WATER: around bathtubs,
sinks, laundry, wet tiasement, swimming pool or any water source.
USE ACCESSORIES RECOMMENDED ONLY BY THE
MANUFACTURER to avoid risk of fire, shock or other hazards.
UNPLUG ALL EQUIPMENT EXPOSED TO RAIN, MOISTURE, OR
STRONG IMPACT AND GET AQUALIFIED INSPECTION
If your unit has been exposed to rain, water, excessive- moisture, or
subjected to strong impact, unplug it and have it inspected by a
service technician before use.
UNPLUG UNUSED UNIT, AND ALL EQUIPMENT DURING ASTORM
During alightning storm, when indoors or outdoors, or before
leaving unit unused for extended periods of time, disconnect alt
equipment from power source, antenna and cable system.
UNPLUG ALL EQUIPMENT BEFORE CLEANING. After unit has
been unplugged use adry, clean, chemically untreated cloth. Use
no cleaning fluids, aerosols, or forced air that could over-spray, or
soak Into the unit, and cause electrical shock. Any substance such
as wax, adhesive tape, etc. may affect the cabinet surface.
Exposure to greasy, humid, or dusty areas may affect internal parts.
WHEN PLUGGED-IN: KEEP WATER AWAY; NO FINGERS
INSIDE NOR ANY OBJECTS INSIDE; AND NO MAGNETS OR
ELECTRICAL INTERFERENCE NEARBY.
a. Never operate the unit if Piquid has been spiDed into it.
Immediately unplug the unit, and have it inspected by aservice
techrddan. Rre and shock hazards can result from electrical
shorts caused by liquid contact inside.
b. Caution ttie children about dropping or pushing objects into the
unit. Some parts inside carry hazardous voltages and contact can
cause electric shock. Objects dropped in electrical equipment can
cause fire hazards.
c. Separate the unit from any interference causing appliances.
Pladng the unit directly above or bek>w your TV set may cause
electrical interference. Keep all magnets away from electrortic
equipment
ISERVICE
ADO NOT ATTEMPT TO SERVICE THIS PRODUCT YOURSELF. If
this Video product does not operate as described, when the detailed
Operating instructions are foltowed, do not attempt to open or
remove covers, or make any adjustments not described in the
manual. Attempting to senrioe this unit yourself may expose you to
dangerous voltage or other hazards. Refer all senricing to qusdified
service personnel.
CHECK ON REPLACEMErfT PARTS REQUIRED. Be sure the
service technidan has used replacement parts specified by the
manufacturer or having the same characteristics as the original
part. Unauthorized sulsstitutes may result Bn fire, electric shock or
other hazards.
HAVE TECHNICIAN PERFORM SAFETY CHECK described in
the manufacture's senrice literature, after any serwoe or repairs, to
determine that the Video unit is in safe operating order.
2.
A
3.
A
3
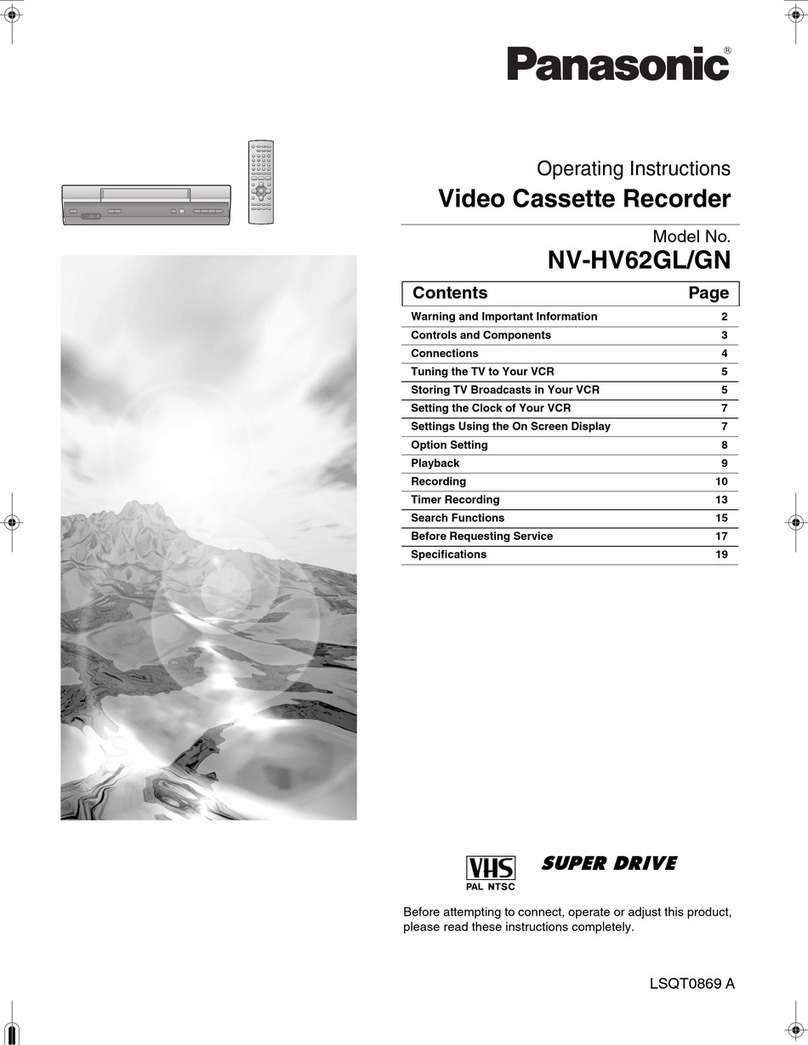
Your VCR and Features
Unpacking Your VCR
The accessories shown below are provided to help
you use or set up your VCR.
Optional accessories are also listed.
Accessories
Remote Control
VSQS1416
Optional Accessories
•1/2" Video Cassette Tape
D2"AA"
Batteries
RF Coaxial
Cable
VJAS0183
Load the batteries in the Remote Control
Lift off the lid after
pressing in and up on
the latch with your thumb
nail or other nanrow otjject.
Install two batteries
as indicated inside the
Battery Compartment.
Fit the lid's hinge piece
into the indent on the
case, and snap lid into place.
Battery replacement caution
•Do not mix old and new batteries. (Also, never mix
alkaline with manganese batteries.)
Product Features
All Channel Auto Set/1 81 -CH TV/CATV Tuner 1
0
Auto Daylight Saving Time 5
Auto Operation Functions (Auto Playback, Rewind, Tape Eject, Power off) 14
Auto Repeat Function 14
Digital Auto Picture 13
Easy-to-Read English/Spanish/French On Screen Displays 10, 11, 16, 17
Multi Brand TV/Cable Box Remote Control 23
One Minute Skip 14
One Month, 8Program Timer Recording 16, 17
One Touch Recording (OTR) 1
5
Program Director Remote Control 16, 17
Quick Play Mechanism 24
Rapid Tune 15
Special Effects Playback 13
Special VCR Features (VCR Lock, Waming Beeper) ,1
9
VCR P!us+ Recording 20, 21, 22
Zero Search 14
4
VCR and Cassette Information
Erase Protection (Record Tab)
Cassettes have arecord tab to ensure that
recordings are not accidentally erased.
To prevent accidental
erasure, break off the tab
with ascrewdriver.
To record again, cover the
hole with cellophane ta|3e.
Maximum Record/Playback Time
Only use tapes with the flflUSl mark in this unit.
Tape Speed
Position
Type of Video Cassette
T60 T120 T160
SP
(Standard Play) 1Hour 2Hours 2Hours
40 Minutes
LP
(Long Play) 2Hours 4Hours 5Hours
20 Minutes
SLP
(Super Long Play) 3Hours 6Hours 8Hours
[Reset ali VCR i\/lemory Functions
This operation is convenient when moving the VCR to anew
location, or if amistal<e was made in the One Time VCR
Setup section. Make sure atape is not inserted in the VCR.
1) Turn VCR Power on.
2) Press and hold both Play and Rewind buttons on the
VCR for more than 5seconds.
•The power will shut off.
3) Perform the One Time VCR Setup section on page 10.
D.S.T (Dayiigiit Saving Time)
Spring:
First Sunday in April (DAYLIGHT SAVING TIME:AUTO)
Automatically adds one hour and adjusts the clock.
NORMAL TIME 1:00 a.m. 2:00 a.m.
DAYLIGHT
SAVING TIME 3:00 a.m. 4:00 a.m.
Autumn:
Last Sunday in October (DAYLIGHT SAVING TIME:
AUTO) Automatically turns back one hour and adjusts
the clock.
DAYLIGHT
SAVING TIME 1:00 a.m. 2:00 a.m.
NORMAL TIME 1:00 a.m. 2:00 a.m.
Cleaning Care for Video HeadsH
or Blue Bacl(
Clogged Video
Head Picture
(During playback of
pre-recorded tape)
Blue Back
Screen
Clogged Video Heads
While your VCR will not normally require head cleaning,
however the heads may become clogged when playing
an old or damaged tape. If the image on your screen
resembles the illustration on the left or the screen
becomes solid blue when playing back apre-recorded
signal on the tape, the heads probably require cleaning.
Cleaning the Heads
It is recommended that head cleaning be performed by
aqualified service technician. Please contact your
nearest Panasonic Service Center. An alternate
solution is to obtain ahead cleaning cassette. Be sure
to follow the cleaning instructions carefully. Excessive
use of acleaning cassette could shorten head life.
Use this cassette only when symptoms occur.
Product Specifications
Power Source: 120V AC, 60 Hz
Power Consumption: Approx. 18 watts (Power on)
Appfox. 6watts (Power off)
Video Signal: ElA Standard NTSC color
Video Recording System: 4rotary heads helical
scanning system
Audio Track: 1track (Normal)
Tuner:
Broadcast Channels: VHF 2-13, UHF 14-69
CATV Channels: Midband Athrough i(1 4-22)
Superband Jthrough W
(23-36)
Hyperband AA~EEE (37-64)
Lowband A-5-A-1 (95-99)
Special CATV channel 5A (01)
Ultraband 65-94, 100-125
Operating Temperature: 4rF~104'*F (5*'C-40'*C)
Operating Humidity: 10Jo-lsyo
Weight: 7.9 lbs. (3.6 Kg)
Dimensions: 14-3/1 6" (W) X3-1/2" (H) X
11-1/4" (D)
360 (W) X89 (H) X285 (D) mm
Note: Designs and specifications are subject to change
without notice.
5
1^Basic^Connection
Set the Output Channel
of your VCR
to channel 3or 4(whichever is not being
transmitted on by aLocal TV broadcast). RF Coaxial Cable
(VCR-TV Connection Cable) (supplied)
Connect the VCR to your TV
with the RF Coaxial Cable (OUT TO TV).
6
Between Antenna and VCR Between VCR and TV
Case 1:Twin Lead Cable Only
(Flat) Twin Lead 300
Ohm Cable
To VCR Terminal
300-75 ohm Transformer
(not supplied)
Case 1:Screw &Plug Type Terminal
UHFA/HF Band Separator ^yuc
(not supplied) ^>^vnr
LIJ,^...---^ \UHF
RF Coaxial Cable
Case 2: Twin Lead &Coaxial Cables
(Round) 75 Ohm
coaxial Cable
UHFA/HF
Band Mixer
(not supplied)
To VCR Terminal
Case 3: Two Twin Lead Cables
300-75 ohm Transformer
(not supplied)
UHFA/HF
Band Mixer
(not supplied)
To VCR Terminal
If your TV has both post and screw-type VHF
terminals, using the post connection is
recommended to minimize signal loss.
Case 2: Screw Type Terminal
75-300 ohm Transformer
(not supplied)
TV
Case 3: Double Screw Type Terminal
TV
UHFA/HF Band Separator
(not supplied) VHF
UHF
Case 4: Complex TV Terminal
TERMINALS ON BACK OF TV SET
ANT2
Connect to one of the ANT terminals and select
the same antenna number on the TV.
7
Additional Connections
CATV(Cable) Connections
All connections on this page are made with 75 Ohm coaxial cables.
rWithout aConverter/Descrambier Box
You can:
1)Use your VCR Remote Control to select channels.
2) Program one or more unscrambled channels for
unattended recording.
NOTE: You cannot record or view scrambled
channels with this connection.
VCR
IN from
CABLE
IN FROM ANT.
rWith a(CABLE to VCR) Converter/Descrambler Box
You can:
1)Record and view any channel including
scrambled channels; channel selection
must be made at the Cable TV Converter
Box.
2} Program one channel for unattended
recording.
Cable TV Converter
Box
IN from
CABLE
VHF/UHF
With a(VCR to TV) Conveiter/Descrambier Box
You can: VCR
1)Use your VCR Remote Control to select channels.
2) Program unattended recordings of more than
one unscrambled channel.
NOTE: You cannot record scrambled channels with
this connection. Cable TV
Converter
Box
IN FROM ANT.
OUT VHF/UHF
With Two Converter/Descrambler Boxes
If you want to record and view
acombination of scrambled
and unscrambled channels,
you will need additional
equipment.
This connection requires
two converter boxes,
an A/6 switch, and
a2-way splitter
as shown here.
IN from
CABLE
Converter Box 1
IN FROM ANT
OUT
VCR
OUT TO TV
8
rWithaDSS Receiver
You can:
1) Record and view any channel including
scrambled channels; channel selection
must be made at the DSS Receiver.
2) Program one channel for unattended
recording.
NOTE: The DSS receiver must be turned
off to view programs from acable
box or antenna. See the DSS
manual for details.
IN FROM
CABLE or
Antenna IN FROM
Satellite Dish OUT TO TV
VHF/UHF
'DSS® is aregistered trademark of DIRECTV. INC., aunit of GM Hughed ElectFonics.
Audio/Video Connections
If your TV has AUDIOIN and VIDEO IN terminals, you can connect your VCR to them to receive ahigher quality
picture and sound. The antenna-VCR and VCR-TV connection is as shown.
VHF/UHF
VIDEO IN
1Connect the VIDEO OUT terminal on the VCR to the VIDEO IN terminal of your TV.
2Connect the AUDIO OUT terminals on the VCR to the AUDIO IN terminals of your TV.
3Set the VIDEO/TV selector of your TV (Monitor/Receiver) to "VIDEO."
NOTE: To use your TV as aVCR monitor, set the VIDEO/TV selector on the TV (Monitor/Receiver) to "VIDEO."
Note to CATV system installer:
This reminder Is provided to call the CATV system installer's attention to Article 820-40 of the NEC in USA (and to the
Canadian Electrical code in Canada) that provides guidelines for proper grounding and, in particular, specifies that the cable
ground shall be connected to the grounding system of the building, as close to the point of cable entry as practical.
9
One Time VCR Setup
When the VCR power is first turned on,
the language select and channel auto set
screen appear automatically followed by
aprompt to set the clocic
[N^Check list before you begin.
All TV and VCR connections are made.
(See pages 6-9.)
To Set Language, Channels, and Clock
®VCR
tf=^ Turn TV on and VCR on.
TV is set to VCR channel (the Same one you set
on the back of the VCR CI-13 or CI-14.) (See page 6.)
POWER
1T
dbr—
VCR/TV VCR CH
Up/Down
^ooo
o © ©®
CH VOL CH
or
VCfVTV
O
Push VCR CH Afor
English on-screen
displays.
Push VCR CH Tfor
Spanish on-screen
displays.
Push VCR/TV for
French on-screen
displays.
SELECT LANGUAGE
PUSH VCR CH a: ENGLISH
PULSE VCRCH :ESPANOL
APP. VCR/TV :FRANQAI8
If you set the wrong
language,
see the "Reset all VCR
Memory Functions"
section on page 5.
•You can also set by
using the same
buttons on the VCR.
Make sure the VCR is connected
to an antenna or cable.
If you use acable box. the cable box
must be left on for auto channel set
Push VCR CH Ato
start Channel Auto Set.
•The following on-screen displays appear in sequence:
"CH AUTO SET COMPLETED"
•PLEASE SET CLOCK BY PUSHING MENU KEY"
VCR
Push MENU to display
the SET CLOCK screen.
Make entries within 5
minutes, or the VCR exits
the Set Clock screen.
^^/-- SET CLOCK
/\\ OST:ON
BY ROTATING WHEEL
:PUSH WHEEL-*
TO END PUSH MENU KEY
Rotate and push
the WHEEL to
select and set the
MONTH.
SET CLOCK
/J^ OST:ON
ELECT MOKfTH
BV ROTATING WHEEL
:POSH WHEEL*
TO END PUSH MENU KEY
Using the Select/Set Wheel
There are basically two t^pes of Wheel operation.
•Selecting items from an on-saeen display.
*Entering information, such as setting the dock.
OPERATION
©Rotate
{up or down)
ROTATI TO SELECT
Push
(like abutton)
•OTATETOSELfCT
to make selection to enter selection
10
Rotate and push the
WHEEL to set remaining
items at right.
•The day of the week
automatically appears.
•See page 5for more on D.S.T.
Remaining items
to be set:
•Date
•Year
•Time
•D.S.T.
(Daylight Saving Time)
Push MENU twice
to start the clock
and exit this mode.
SET CLOCK
2/ 2/1996
SET COMPLETED
0ST:0N
TO CORRECT
PUSH WHEEL OR CLEAR KEY
TO START PUSH MENU KEY