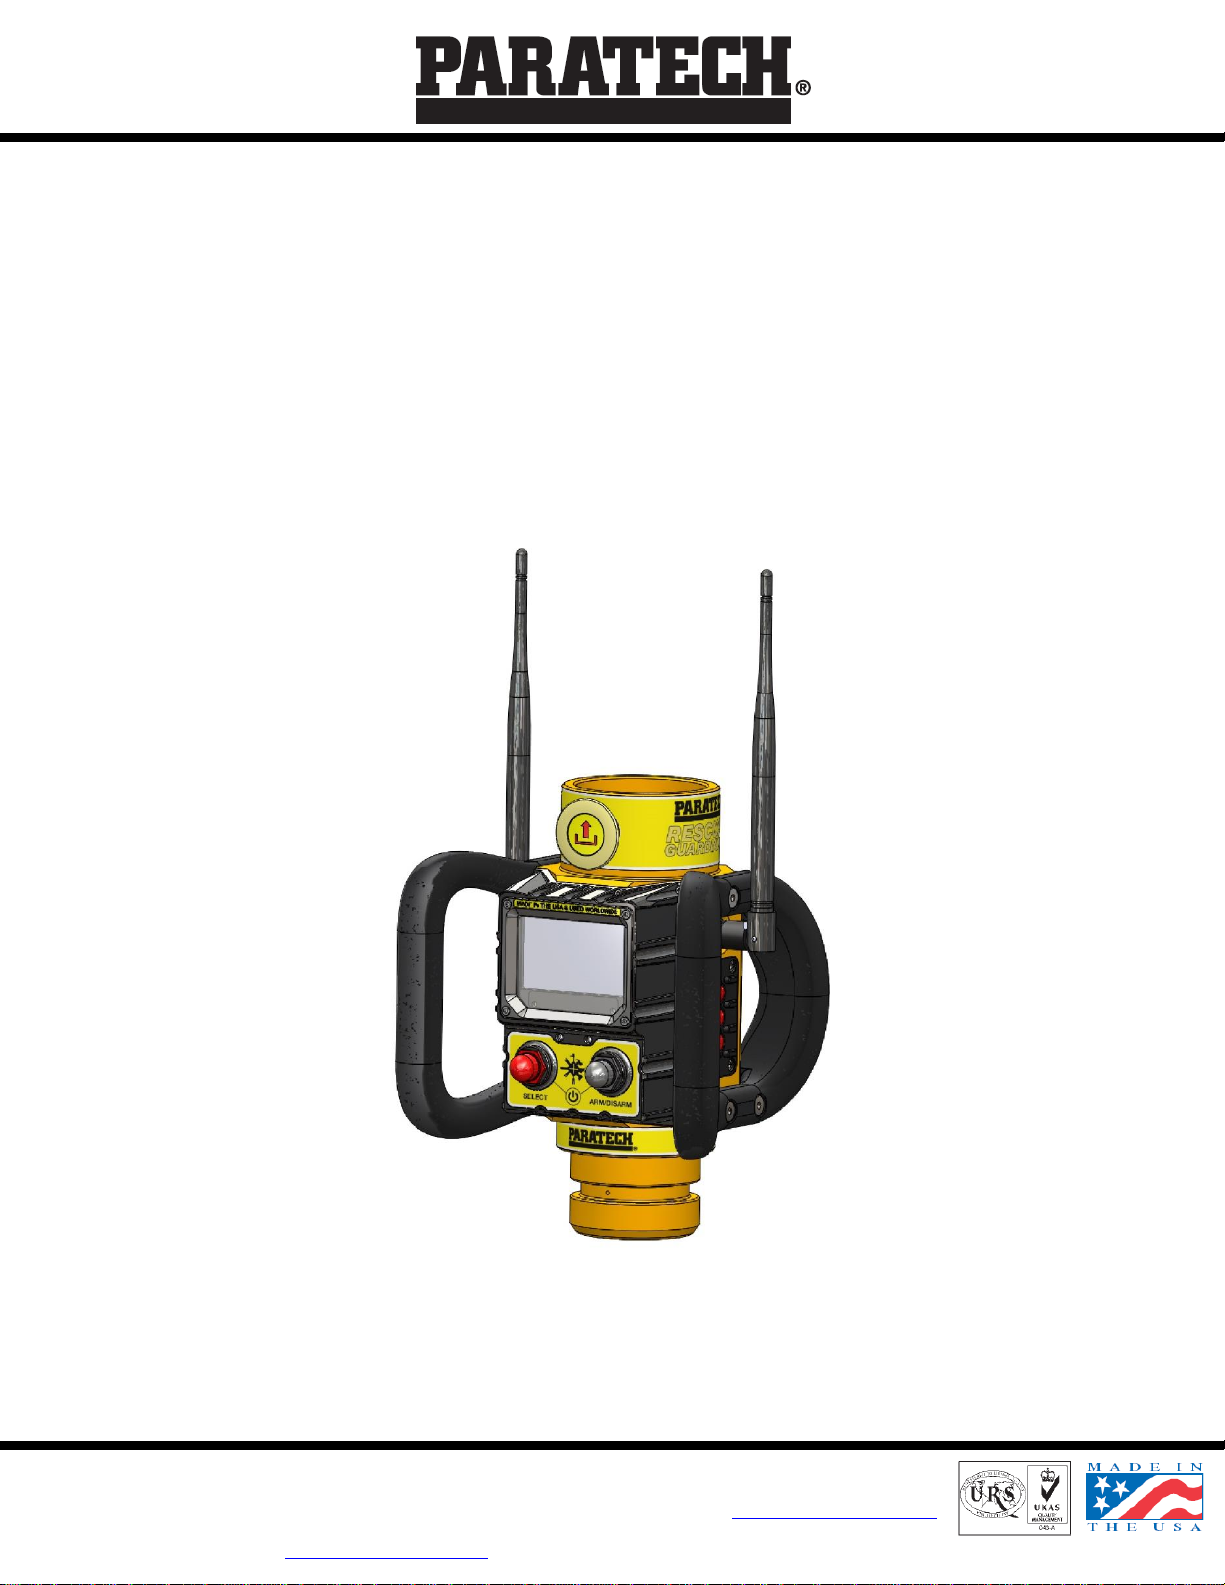
paratech RESCUE GUARDIAN User manual

Paratech Incorporated Paratech Europe, Branch of Paratech Inc.
P.O. Box 1000, Frankfort, IL 60423 USA P.O. Box 174, 5260 Odense S, Denmark
Customer Service: 800.435.9358 www.paratech.com Email: Paratech@paratech.dk
Phone: 815.469.3911 Fax: 815.469.7748
www.paratech.com E-mail: paratech@paratech.us
OPERATION, PREVENTIVE MAINTENANCE
AND PARTS SUPPORT MANUAL
FOR
RESCUE GUARDIAN®
P/N: 22-796RG1
23 JUL 2021
PN 22-796RGM

1
TABLE OF CONTENTS
TABLE OF CONTENTS.....................................................................................................................1
OVERVIEW.....................................................................................................................................2
GENERAL PRECAUTIONS ...............................................................................................................3
RESCUE GUARDIAN....................................................................................................................... 6
RESCUE GUARDIAN –LED Functional Overview...........................................................................7
DISPLAY ......................................................................................................................................... 7
BATTERY LID.................................................................................................................................. 8
CHARGING PROCEDURES..............................................................................................................8
INSTALLING THE APPLICATION OR YOUR DEVICE.........................................................................9
CONNECTING TO THE RESCUE GUARDIAN .................................................................................10
RESCUE GUARDIAN APP OVERVIEW........................................................................................... 11
BATTERY HANDLING....................................................................................................................21
ALTERNATE POWER .................................................................................................................... 21
ACCESSORIES...............................................................................................................................21
RESCUE GUARDIAN SPECIFICATIONS .......................................................................................266
SERVICE .......................................................................................................................................27
WARRANTY..................................................................................................................................28

2
OVERVIEW
Rescue Guardian
The most advanced monitoring and alarm system for technical rescue available. Remotely
monitor multiple Rescue Guardians at once on either Android or iOS operating systems. Set
your own thresholds and receive notifications of any change in status. Designed by rescue
professionals for rescue professionals. The ultimate in rescue monitoring technology.
For use with Paratech Rescue Struts or stand-alone, this is an extremely flexible multi-use
monitoring device. With its innovative Back-Pack mechanism and associated accessories it can
be attached to virtually any surface.
It is designed to be used as a stand-alone or connected load and stability monitoring device.
High powered amber LED’s and a 95dB Audible alarm are integrated into the guardian’s robust
housing begin alerting users immediately upon detection of an unsafe condition. Additionally,
the proprietary Guardian App can activate audible alarms and vibrating alerts on mobile
devices. The Wireless Rescue Guardian is exceptionally easy to use and has a vast array of
applications.
Monitors: Load, Vibration, Incline, Movement
Wirelessly Transmits: Load change, Vibration, Incline data, movement alarms.
Warning System: 6 high powered amber LEDs, 95dBA auditory alarm, Alarm & change
notifications via Bluetooth Black box data logging.
Uses: Structural Collapse (Raker Shoring, Vertical Shoring), Vehicle Stabilization, Trench Rescue,
or as a Stand-alone monitoring.
Rescue Guardian Mobile Application
Encrypted wireless connections ensure the security of data. Loaded presets for standard
applications are baked into the easy to use interface. Multiple alarm thresholds are full
customizable and can easily be adjusted to suit your team’s specific operational requirements.
This software is designed to be intuitive and easy to learn and easy to use. Future ready for
upgrades and updates.
Operational Run Time
The 18650 batteries will allow the Rescue Guardian to monitor continuously for up to 1 week.
When monitoring is enabled the Rescue Guardian goes into a low power mode and
immediately wakes up should an alarm be triggered. The unit contains a low battery warning
that is displayed on screen and also transmitted to the users mobile device. The lithium-ion
batteries are rechargeable.

3
GENERAL PRECAUTIONS
Read me first
•Please read this manual before using the Rescue Guardian to ensure safe and proper
usage of the device. Note that images may differ in appearance from the actual
product, and that content is subject to change without prior notice.
•Visit www.paratech.com to view the latest information, downloads, and more
concerning Rescue Guardian.
•Please note that the Rescue Guardian and associated mobile application have been
optimized to work with each other.
•This product includes certain free and open-source software. To see the free and/or
open-source licenses, please refer to the licenses section in the Rescue Guardian.
•Rescue Guardian is designed to work in a variety of technical rescue applications.
•Even though the Rescue Guardian was designed and built to withstand harsh
conditions, it can be damaged if not properly handled and stored.
•FCC Compliance Statement: TBA
•CAN ICES-3 (A)/NMB-3(A) (Canada): TBA
•EUROPEAN: TBA
•Contains FCC ID: TBA
Usage Precautions
The following precautions should be taken in order to prevent damage or misuse:
•The recommended continuous ambient operating temperature for the Rescue
Guardian ranges from 14°F to 140°F (-10°C to 60°C). The system is designed to operate
at this temperature indefinitely. If necessary, however, the system can be operated at
higher or lower temperatures for short periods of time.
Note that at temperatures below 32°F (0°C), changes in system operation may occur.
•Do not expose the device to physical stress or impact.
•Always use manufacturer-approved batteries, chargers, accessories, and supplies only.
CAUTION: Changes or modifications to this equipment not expressly approved by the
manufacturer will void the warranty and could void the user’s authority to operate the
equipment.

4
Safety Precautions
•Only use the Rescue Guardian in a safe manner.
•It is important to understand and follow all standard operating procedures, safety
precautions and practices when conducting rescue operations of any kind.
•Rescue Personnel should always wear appropriate personal protective equipment
when conducting operations.
•Operating at the scene of a structure collapse is inherently dangerous. Rescuers
require skill, experience, training, and adherence to their organization's safety
protocols and procedures to minimize risk and work safely and successfully in this
environment.
•Rescue personnel should address any safety concerns to their Incident Commander or
Safety Officer and follow their superior’s instructions while working at the rescue
scene.
•Rescuers that have not been appropriately trained or have insufficient experience
should not attempt activities that could result in injury to themselves or others.
Electrical Safety
The Rescue Guardian will conduct electricity. Please do not operate the in the vicinity of or
during an electrical storm. Avoid contact with any live sources of electrical power. Ensure
that the working area is safe, and all sources of power have been disconnected or made safe
before conducting rescue operations. Take all precautions necessary to avoid electrocution,
which could result in serious injury or death.
Hazardous Atmospheres
The Rescue Guardian is not intrinsically safe but is sealed tight to IP-68 standards. Refrain
from operating the Rescue Guardian within hazardous environments deemed not safe for
cutting/penetrating metal surfaces, cell phone usage, or other electronic device usage. It is
important to follow all situation specific safety protocols and procedures relating to
potentially hazardous atmospheres.

5
Batteries and Battery Chargers - Warnings
The usage of batteries is at your own risk. Before handling, ensure any user has appropriate
understanding of the charging, discharging, and installing of lithium-ion batteries. Paratech is
not responsible for any damage caused by misuse or mishandling of li-ion batteries and/or
chargers.
Make sure to:
•Only use approved Battery Cells recommended specifically for use in the Rescue
Guardian. Failure to do so could damage the Rescue Guardian or cause some or all of
the Rescue Guardian functions to fail. Each lithium-ion battery cell is equipped with a
protection circuit to increase safety and to minimize the potential for risk.
Nevertheless, the misuse or mishandling of lithium-ion rechargeable batteries can
pose a serious risk of personal injury or property damage.
•Use caution when working with lithium-ion batteries as they are very sensitive to
charging characteristics and may explode or burn if mishandled or misused. For this
reason, do not store batteries (18650) in or near objects that will produce a static
electric charge. Very quick pressure changes can cause 18650 batteries to malfunction.
•Always charge on a fireproof surface.
•Charge only in a recommended smart charger designed for this specific type of lithium-
ion battery.
•Do not overcharge or over-discharge batteries.
•Recharge drained batteries as soon as possible.
•Do not short-circuit batteries.
•Do not mix and match old, new, used, and unused batteries.
•Never leave batteries unattended while charging.
•Always take the batteries out of the Rescue Guardian when not in use.
•Do not expose batteries to extreme heat or moisture.
•Do not dispose of batteries in fire. Regulations and laws pertaining to the recycling and
disposal of lithium-ion batteries vary from country to country as well as by state and
local government. Please consult your local jurisdiction regarding appropriate
disposal. Note that many retail stores offer free recycling of rechargeable batteries.
CAUTION: Under no circumstances are UNPROTECTED lithium-ion cells to be used in the
Rescue Guardian. These could damage the onboard electronics. Damage caused by
unauthorized batteries will void the manufacturer's warranty.

6
RESCUE GUARDIAN

7
RESCUE GUARDIAN –Switch Functionality
Activity
Push button 1 (SELECT) Black
Push button 2 (ARM / DISARM) Red
Press Momentarily
Button 1 and Button 2
Power ON
Press and Hold 5 seconds
(Button 1 and Button 2
Simultaneous)
Power OFF
Press and Hold 5 seconds
Turn on/off Display Front Light
Load Alarm
SET & RESET*
Press Once Momentarily
When display ON: Toggle Between
Load Units and Incline
When Display OFF: Wake up Display
No Functionality
Self-Calibration on Start up
Install charged batteries and secure the battery compartment lid of the Rescue Guardian. Place
the Rescue Guardian on a Flat surface and depress both Pushbuttons quickly and simultaneously.
The Rescue Guardian will enter a “self-calibration” mode so it is imperative to NOT to move the
unit for approximately 10 seconds as it powers up.
Threshold Settings
Definition - The point at which a sensor reading exceeds the minimum or maximum parameters
entered by the user triggering the Alarm Condition.
Load
(Selectable Units)
Incline Angle
(Degrees)
Vibration
(Hertz)
Pounds
Min 100 - Max 2300
Min 0.1 –Max 15
1hz –100hz
Kilograms
Min 45 - Max 1043
Newtons
Min 444 - Max 10230
*Default ALARM Thresholds - 500lbs Load , 1.5 degrees Incline, 100Hz Vibration –these default
threshold settings are NOT user changeable.
DISPLAY
The Rescue Guardian utilizes a state-of-the-art 2.7 inch front lit display developed to be
readable in any lighting condition. Ultra-Low power consumption and high resolution coupled
a wide/symmetrical viewing angle ensure that all critical information is displayed legibly to the
user.

8
BATTERY LID
The Battery Lid of the Rescue Guardian is designed to protect and secure the battery cells in
place and seal the battery compartment.
Note:
•Ensure that the gasket around the on the Battery compartment is in good condition,
free from debris, and contains no nicks or cuts that could negatively impact the seal.
•The Battery Lid is held in place by two captive 5MM Hex stainless-steel screws and
must be securely and hand-tightened into place using a Battery Compartment Tool like
the one shown below.
WARNING: DO NOT over-tighten the screw or threads could be damaged.
Battery Lid Tool - 5mm Hex Key (Typical)
CHARGING PROCEDURES
Charging Rescue Guardian Batteries
The Rescue Guardian batteries can be charged using the battery charger provided inside the
kit. Please refer to the battery charger instructions for specific details.

9
INSTALLING THE APPLICATION OR YOUR
MOBILE DEVICE
Turn on the device and follow the steps outlined below:
Internet Connection
Ensure your device is well charged (over 50%) .
Connect to the to the Internet.
Go to…Google Play Store / Apple App Store to download, install, and access critical updates of
the Rescue Guardian Application. For this first-time configuration, an internet
connection is required. Make sure to use a Wi-Fi network that has a reliable internet
connection.
Please use the following steps to connect to a Wi-Fi network:
1. Open Settings by tapping on the gear icon (fig 1).
2. Tap “Connections” > Wi-Fi.
3. Turn Wi-Fi on.
4. Tap on a network to connect to it.
Register / log into Google Play Store or Apple Store Account
Download the Rescue Guardian Application from the Google Play Store, Apple App Store –an
account is required.
Either login with your existing Google or Apple Account or tap “create a new account” to
create a new account and follow the instructions on the screen. Search for Rescue Guardian
and install the application with the following icon.
Android Apple
Figure 1: Settings Gear Icon

10
CONNECTING TO THE RESCUE GUARDIAN
The Rescue Guardian is has two operational modes: Stand alone and wirelessly connected.
The wireless mode is the preferred method as it allows the operator(s) easy access to collect
date and manage the alarm settings and thresholds of the Rescue Guardian.
Step 1
Ensure all batteries and the mobile device are charged. See CHARGING PROCEDURES for
detailed instructions.
Step 2
Once the batteries are fully charged, take the provided Battery Compartment Tool 5mm hex
key tool and remove the Battery Lid.
Step 3
Insert two (2) fully charged batteries on the yellow ribbon in the battery compartment, while
carefully observing polarity by lining up the button top with the positive terminal in the
battery compartment. The batteries should be inserted on top of the yellow ribbon to allow
for easy battery removal. Tuck the excess ribbon back in between the batteries to avoid
interference with the sealing gasket of the battery lid.
Step 4
Re-install battery lid using the battery compartment tool.
CAUTION: DO NOT over-tighten the screw as it could cause damage to the threads.
Step 5
Press and hold both buttons on the front of the RESCUE GUARDIAN for 3 seconds until the
display lights up and the multifunction LED turns blue, indicating the RESCUE GUARDIAN is
initializing and powering up. The RESCUE GUARDIAN can take up to 20 seconds to complete
the initial boot sequence.
Step 6
Open the Rescue Guardian application on a mobile device by clicking on the Paratech icon.
The main dashboard will open in the Scanned screen. It will show all powered up Rescue
Guardian units within range and available for pairing. Click on the tile that contains the serial
number of Rescue Guardian you wish to pair.

11

12
Step 7
Once you select a Rescue Guardian to monitor it will show in the connected screen
To Disconnect a Rescue Guardian Unit –Press the Red X at the corner of the active tile.

13
Live Data Screen Overview
This screen summarizes the data the Rescue Guardian is collecting and is the place where
alarm thresholds are set and activated or deactivated.
Live Actual Load
and Incline
readings
Press the Incline
tile and Vibration
levels will show (if
activated)
Battery Level On PRG
Nickname &
Serial
Number
Live Load Data
Signal Strength
Back to
Dashboard
Alarm On/Off
Settings
Saving Black Box data
from this PRG
Review saved
Black Box data
Dashboard
Application
Information
Arm / Dis-Arm
Reset Alarm
Live Sensor Readings
Pre-Set Alarm
Menu
Add a Pre-Set Alarm

14
Rescue Guardian Settings
Nickname –Users can modify the name of individual Rescue Guardian Units. This name will be
displayed on the Live Data Screen above the unit serial number.
Automatic Time and Date –This setting will default to Automatic.
*Audible Alarm –De-Selecting will turn off the Audible Alarm on the Rescue Guardian.
*Alarm Lights - De-Selecting will turn off the Alarm Warning Lights on the Rescue Guardian.
LCD Display Time out –This setting is used to conserve battery power. You can set to time
out or dim the front light of the display on the Rescue Guardian unit. Note: pressing one of
the buttons on the Rescue Guardian brings the unit out of sleep and turns on the front light.
Firmware Version –This indicates the Firmware revision flashed onto a particular Rescue
Guardian.
*Logging Enabled –This turns on and off the Data Logging feature.
*NOTE- These features are made available to users so they can disable lights, siren and data
logging during training or testing. Great Caution should be used when modifying these
settings

15
Setting Alarm Thresholds
There are three ways to choose Alarm Threshold Limits on the Rescue Guardian.
1. Preset Default Thresholds –These out of the box settings will be updated from time to
time for best practices out in the field.
2. Set Thresholds Manually –Load, Incline, Vibration for application specific needs.
3. Customized - Create your own presets for training / instructional purposes.
Active Buttons for these features are circled below in Red press and hold

16
LOAD SET/REMOVE INCLINE SET/REMOVE
VIBRATION SET/REMOVE
Alarms are set by moving the slider (yellow dot) to the desired level and pressing “Set”. If you
wish to remove the Alarm press “Remove”. Pressing < Back will take to the Live Screen.
An exact hertz vibration setting can be accessed and set. It is considered to be an advanced
setting to be used by a qualified Structural Engineer only.

17
Thresholds
When the Rescue Guardian is positioned, and the alarm threshold(s) are “Armed” the Rescue
Guardian carries out an automatic self-calibration and saves the current physical state as a
reference point from which the thresholds activate the Visual, Audible and Mobile alarms.
For Example:
Incline - A strut is positioned at 45 degrees, the Alarm threshold set at 2 degrees. The Rescue
Guardian is then armed. The alarm will sound if the strut moves to s 43 degrees or 47 degrees
of incline.
Load
(Selectable Units)
Incline Angle
(Degrees)
Vibration
(Hertz)
Pounds
Min 100 - Max 2300
Min 0.1 –Max 15
1hz –100hz
Kilograms
Min 45 - Max 1043
Newtons
Min 444 - Max 10230

18
Presets
Thresholds have been included in the Rescue Guardian Application as a quick go to resource
and a starting point for your own customized settings.
To add your own custom preset select the “+” a dialogue box will open and you will be asked
to name and save the preset.
To save the Pre-set; go to the individual sensor settings and move the sliders to the desired
levels and press “Set”.
Note: If you wish to delete an already programmed threshold setting from a pre-set go to the
Pre-set and press “Remove”.

19
Setting the Master Alarm
Once you have your threshold level set or have selected your pre-set Select “Arm All” on the
Live Data Screen to activate.
Note: If you want to modify any of the settings you must disarm or reset any alarms before
changes will be saved. If an alarm has been triggered and the Rescue Guardian is in an alarm
condition it cannot be reset until the alarm is cancelled.
This manual suits for next models
1
Table of contents
Other paratech Industrial Equipment manuals
Popular Industrial Equipment manuals by other brands

Lippert Components
Lippert Components Power Gear 82-L0356 owner's manual

PIAB
PIAB KCS Series Assembly manual

ABB
ABB Power2 340-H44 Operation manual

SAMCHULLY
SAMCHULLY PHD instruction manual

Dungs
Dungs GB 053 Customer's operating and assembly instructions

SCHUNK
SCHUNK ROTA FSW Assembly and operating manual