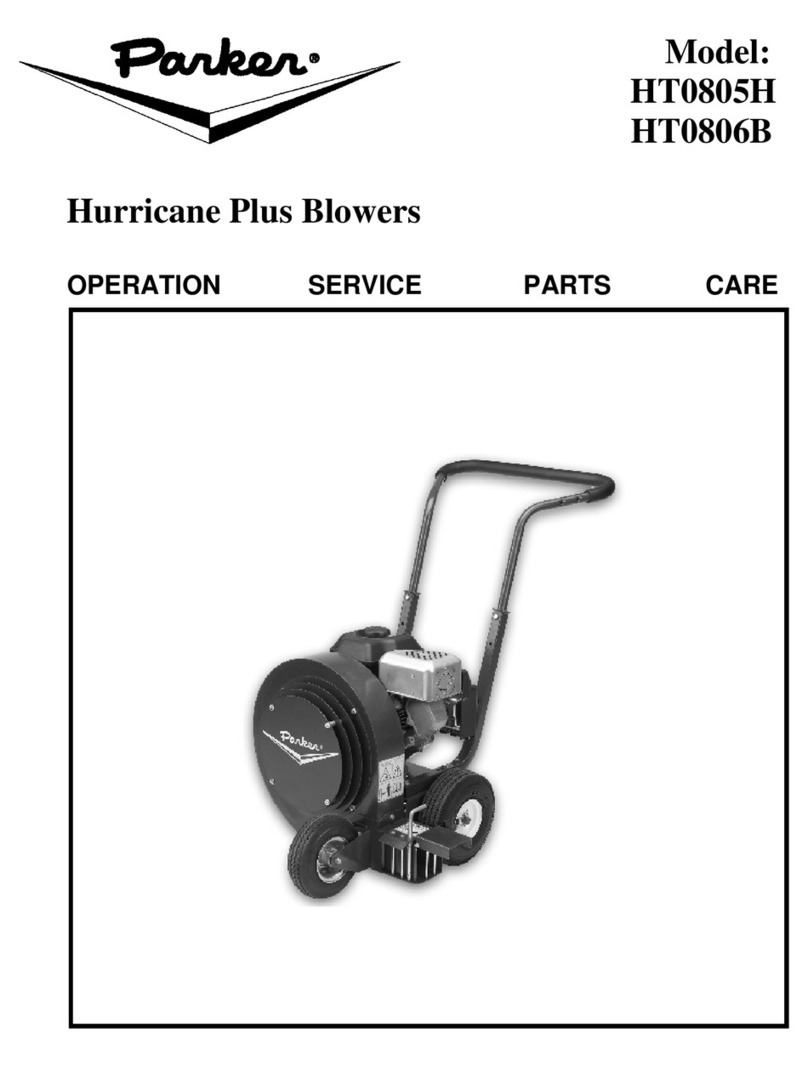
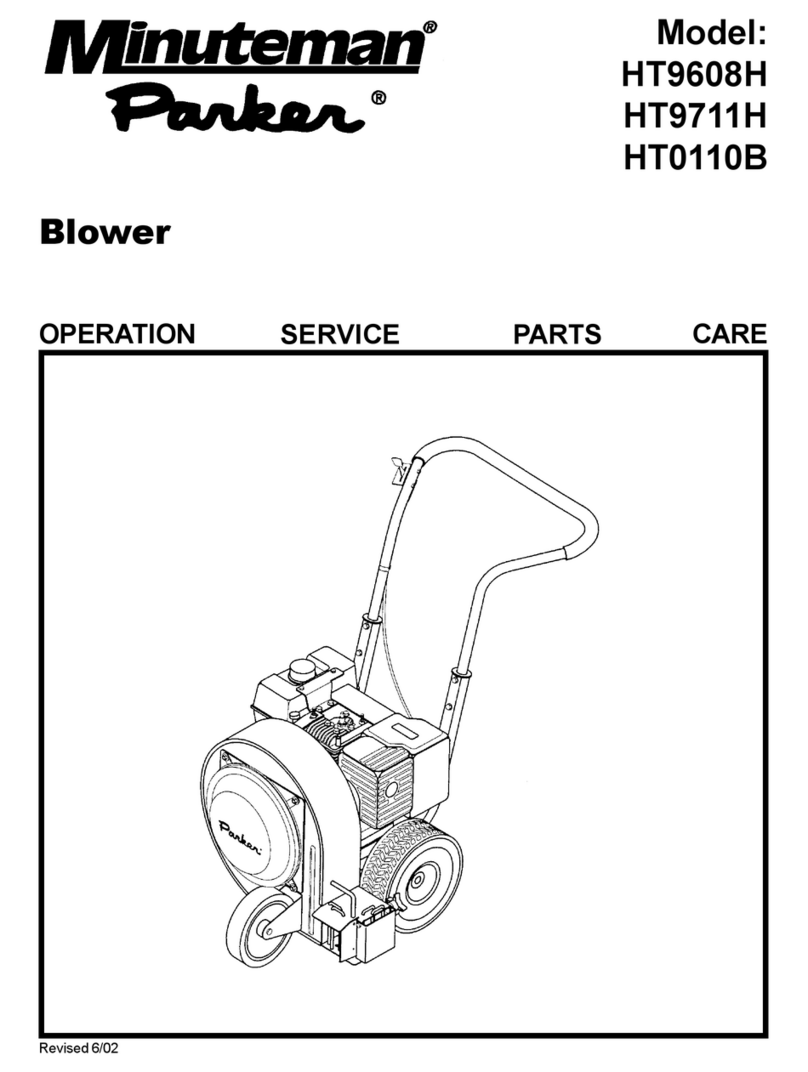
Parker Hurricane Plus Guide

1
Hurricane Plus Blowers
Model:
HT0808B
HT0809H
OPERATION SERVICE PARTS CARE
HT0810B
HT0816B

2
IMPORTANT SAFETY INSTRUCTIONS
READ ALL INSTRUCTIONS BEFORE USING
WARNING
To prevent personal injury or property damage, do not attempt to start engine until all assembly
steps are complete and you have read and understand the safety and operating instructions in this
manual.
Under California law, and under laws of several other states, you are not permitted to operation
internal combustion’s engine using hydrocarbon fuels on any forest covered, brush covered, or
grass covered land, or on land with grain, hay, or other flammable agricultural crop, without an
engine spark arrester in continuous effective working order. The engine on your power equipment,
like most outdoor power equipment, is an internal combustion engine that burns gasoline, a
hydrocarbon fuel. Therefore, your power equipment must be quipped with a spark arrester muffler
in continuous effective working order. The spark arrester must be attached to the engine exhaust
system in such a manner that flames or heat from the system will not ignite flammable material.
Failure of the owner/operator of the equipment to comply with this regulation is a misdemeanor
under California law, and may also be a violation of other state and/or federal regulations, laws,
ordinances, or codes. Contact your local fire marshal or forest service for specific information
about what regulations apply in your area.
Wear approved safety glasses when operating this equipment. The operation of any powered
machine can result in foreign objects being thrown by high-speed rotating parts.
Wear work gloves, sturdy footwear, and hearing protection when operating this equipment.
Remove hearing protection and watch for traffic when operating near, or when crossing roadways.
Before inspecting or servicing any part of equipment, shut off engine, disconnect spark plug wire
from spark plug, and make sure that all moving parts have come to a complete stop. Be aware that
rotating blades slow down gradually after engine is shut off.
Exercise extreme caution on slopes and avoid excessively steep slopes.
Never leave equipment unattended when engine is running. Shut off engine and disconnect spark
plug wire from spark plug before leaving equipment. Turn off fuel shut-off if equipped.
Do not vacuum any burning or smoldering materials such as cigars, cigarettes, ashes, or cinders.
Do not vacuum areas that have been recently treated with fertilizers, pesticides, or herbicides.
Follow chemical manufacturer’s safety instructions regarding contact with treated areas.
Do not vacuum flammable liquids such as gasoline, kerosene, diesel fuel, paint thinner, etc.
Do not operate this equipment on a paved, gravel, or hard surface unless the collection bag is
installed. Discharged material may bounce from a hard surface.
Never pick up or carry equipment while the engine is running.
Walk, never run.
Never allow children or untrained adults to operate this equipment.
Keep the area of operation clear of all persons, particularly small children, and pets. Keep bystanders
at least 25 feet away from the area of operation.
3
Do not run engine in an enclosed area. Engine exhaust contains carbon monoxide gas, a deadly
poison that is odorless, colorless, and tasteless.
Do not operate this equipment near buildings, windows, or air conditioners.
Do not allow hands or any other part of the body or clothing inside the vacuum inlet.
Do not start engine or operate this equipment with any safety guards or housing removed.
Operate machine in daylight or good artificial light.
Do not change the engine governor settings or overspeed the engine.
DANGER
Gasoline is highly flammable and its vapors are explosive. To prevent personal injury or property
damage:
Do not add fuel if engine is running or still hot from recent operation.Allow engine to cool for at least
three minutes.
Do not fill fuel tank indoors. After filling, wipe up any spills and move away from gasoline fumes
before starting engine.
Do not allow open flame, matches, or smoking in area.
Fill fuel tank with fresh, clean unleaded regular automotive gasoline, (leaded regular and unleaded
or leaded premium grades of gasoline are acceptable substitutes).
Do not mix oil with gasoline.
Clean the area around the fuel fill cap and remove the cap from the fuel tank. Insert a clean funnel
into the fuel tank.
Fill the tank to 1/2 inch below the bottom of the filter neck to provide space for any fuel expansion.
Reinstall the fuel fill cap securely and wipe up any spilled gasoline.
Store fuel in containers specifically designed for these purposes.
Replace faulty silencers or mufflers and muffler guards.
Before using, visually inspect to see that the blade and blade bolts are not worn or damaged and,
if needed, replace in sets.
Do not start the engine when standing in front of the discharge chute.
Drain fuel outdoors.
SAVE THESE INSTRUCTIONS

4
SAFETY DECALS

5
HANDLE ASSEMBLY
Install handle assembly to blower, place rubber shim (1)
under handle strut (2) and place 5/16-18 x 2 bolt (4) and 3/
8 washer (3) into holes in handle strut (2) and through frame
(5) and tighten (not all the way) with 5/16 washer (6) and 5/
16-18 nyloc nut (7). Place handle (8) into handle struts (2)
and align holes in handle (8) and struts (2). Place 5/16-18 x
2 bolt (4) and 3/8 washer (3) into strut (2) and handle (8), as
shown, and tighten with 3/8 washer (3) and 5/16-18 nyloc
nut (7). Thighten bolts on strut/frame at this time.
THROTTLE CABLE ASSEMBLY
From operator postion, the throttle cable can be installed
on outside of handle on right side or on inside of handle on
left side. To install throttle cable (1) to handle (5), place
1/4” bolt (2) through center hole in cable (1) Place bolt
through handle (5).add nut (4) and tighten. Mount snap mount
(6) and cable to handle (5). Place and thighten cable tie (7)
and cable around handle strut (8).
ASSEMBLY INSTRUCTIONS
FRONT WHEEL ASSEMBLY
Install front wheel bracket (1) to front housing using 5/16 flat
washers (2) and 5/16 nyloc nuts (3) and tighten. Install front
wheel (4) into front wheel bracket (1). Slide nylon washer
(6) onto sholder bolt (7) and slide sholder bolt(7) all the way
through front wheel bracket (1) and front wheel (4). Place
third 1/2 flat washer (6) onto sholder bolt(7) and secure with
nut(8).

6

7
LIMITED WARRANTY
The Parker Sweeper Company warrants to the original purchaser/user that this product is free from defects in workmanship
and materials under normal use and service for a period of two years from date of purchase. In addition, Parker Sweeper
Company will, at its option, honor labor warranty claims for the first 12 months from date of sale, provided such claims are
submitted through and approved by factory authorized repair stations. Parker Sweeper Company will, at its option, repair or
replace without charge, except for transportation costs, parts that fail under normal use and service when operated and
maintained in accordance with the applicable operation and instruction manuals.
This warranty does not apply to normal wear, or to items whose life is dependent on their use and care, such as belts, cords,
switches, hoses, rubber parts, electrical motor components or adjustments. Parts not manufactured by Parker Sweeper
Company such as engines, batteries, battery chargers, hydraulic pumps, and tires are covered by and subject to the warranties
and/or guarantees of their manufacturers. Please contact Parker Sweeper Company for procedures in warranty claims against
these manufacturers.
Special warning to purchaser — Use of replacement filters and/or prefilters not manufactured by Parker Sweeper Company
or its designated licensees, will void all warranties expressed or implied.
A potential health hazard exists without exact original equipment replacement.
All warranteed items become the sole property of Parker Sweeper Company or its original manufacturer, whichever the case
may be.
Parker Sweeper Company disclaims any implied warranty, including the warranty of merchantability and the warranty of fitness
for a particular purpose. Parker Sweeper Company assumes no responsibility for any special, incidental or consequential
damages.
This limited warranty is applicable only in the U.S.A. and Canada, and is extended only to the original user/purchaser of this
product. Customers outside the U.S.A. and Canada should contact their local distributor for export warranty policies. Parker
Sweeper Company is not responsible for costs or repairs performed by persons other than those specifically authorized by
Parker Sweeper Company. This warranty does not apply to damage from transportation, alterations by unauthorized persons,
misuse or abuse of the equipment, use of non-compatible chemicals, or damage to property, or loss of income due to
malfunctions of the product.
If a difficulty develops with this machine, you should contact the dealer from whom it was purchased.
This warranty gives you specific legal rights, and you may have other rights which vary from state to state. Some states do not
allow the exclusion or limitation of special, incidental or consequential damages, or limitations on how long an implied
warranty lasts, so the above exclusions and limitations may not apply to you.
988401
Revised 0708
Division of Kwik Products Inc.
3700 East Anne Street Phoenix, AZ 85040
Tel: 602 453-3950 Fax: 602 453-3929
Web: www.parkersweeper.com
This manual suits for next models
4
Table of contents
Other Parker Blower manuals

Parker
Parker 947103 Owner's manual

Parker
Parker TIMBERPRO PBLB-6500 User manual

Parker
Parker PGBV-2600 User manual

Parker
Parker 947103-169cc Owner's manual

Parker
Parker Minuteman Hurricane Plus 5 User manual

Parker
Parker Hurricane Plus HT0805H Guide

Parker
Parker HT9608H Guide

Parker
Parker PV-7705 User manual

Parker
Parker VAC-35 User manual
Popular Blower manuals by other brands

Nilfisk-Advance
Nilfisk-Advance SWEEPER SR 1450 B-D user manual

Skil
Skil 8600 Original instructions

Lux Tools
Lux Tools E-LS-3000/40 Original instructions

STERWINS
STERWINS YT6201-13 Assembly, Use, Maintenance Manual

Factory Catry Cat
Factory Catry Cat 48 Series Operator and parts manual

McCulloch
McCulloch MAC BP290 user manual