SAFETY INFORMATION
Other instrucons
• This appliance is designed for domesc use. It must not be used for purposes other
than those for which it was designed for.
• Only wash fabrics that are designed to be machine dried. Follow the instrucons on
each garment label.
• Any electrical work required to install this appliance should be carried out by a
qualied electrician.
• If the machine is situated on a carpet oor, please adjust the feet in order to allow
air to circulate freely under the appliance.
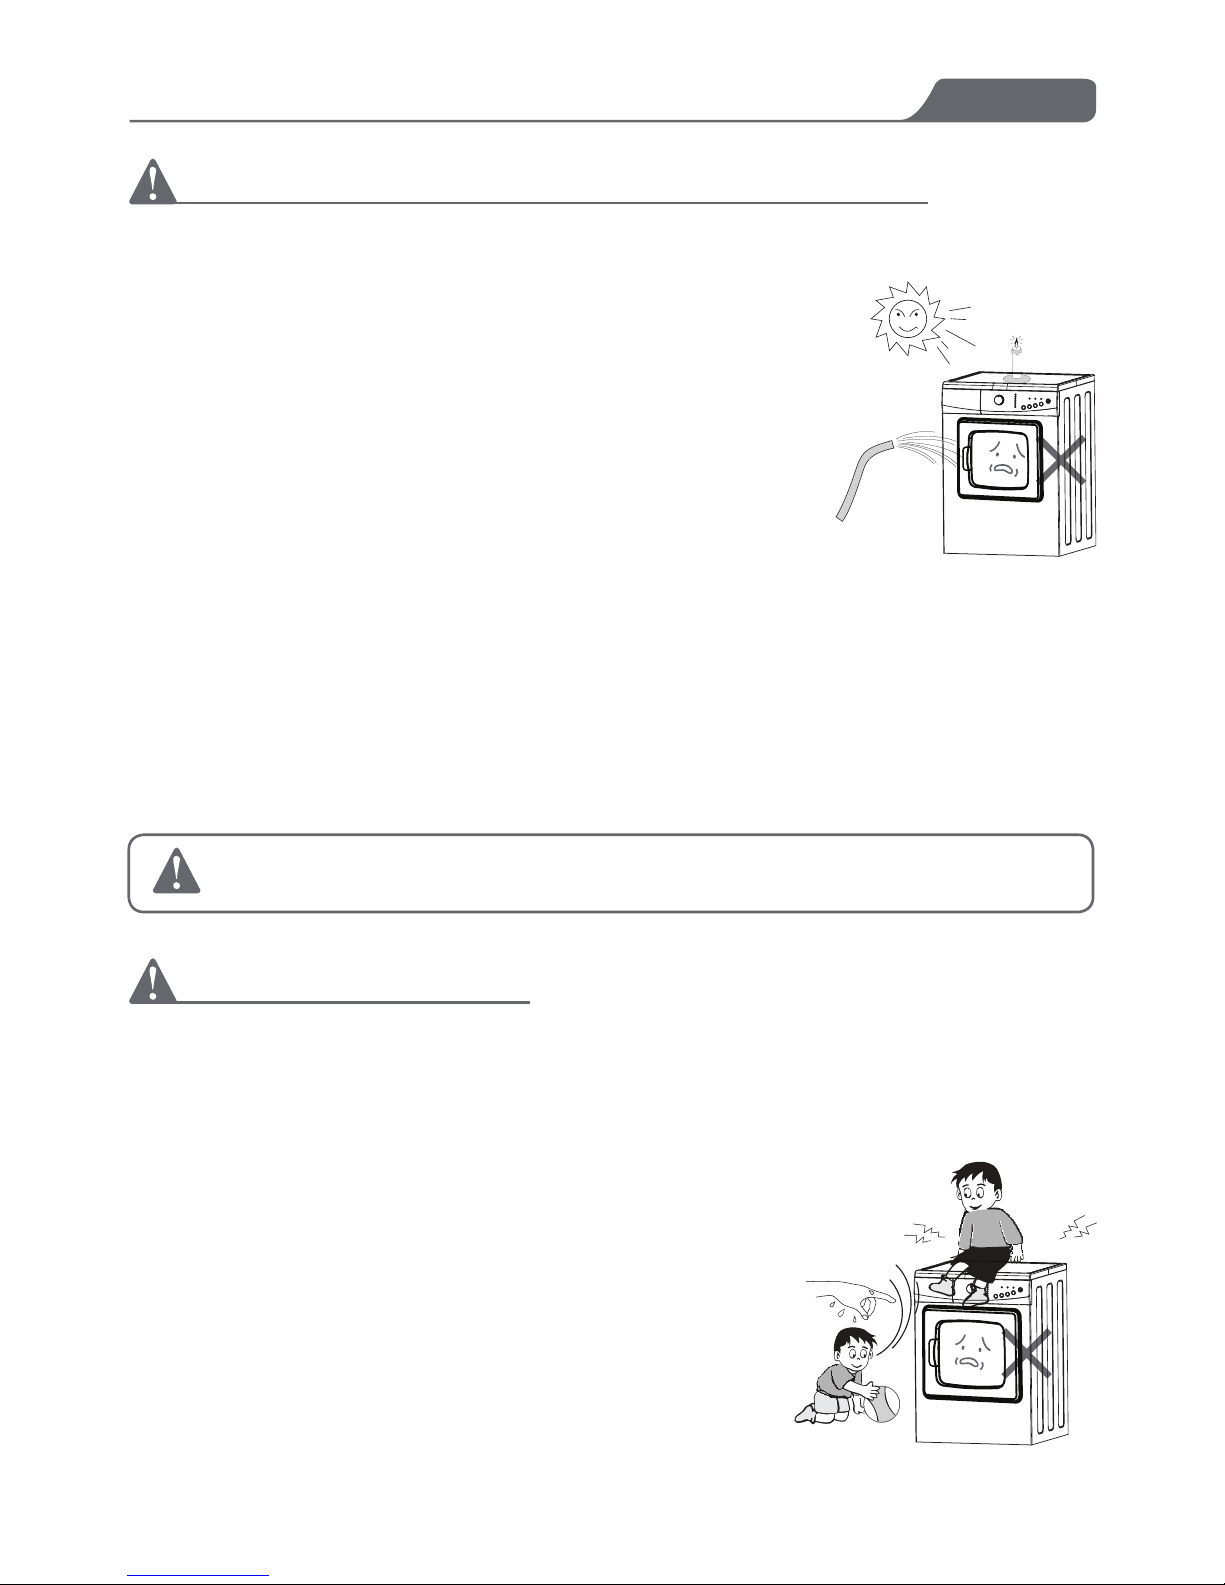
• Do not climb onto the dryer, rest heavy objects/heavy devices, or items with water
or liquid leakage on the dryer to avoid deformaon of the face panel and of plasc
components.
• Any objects such as coins, safety pins, nails, screws, stones or any other hard, sharp
materials can cause extensive damage and must not be placed into the machine.
• Aer installing the appliance, check that it is not pressing or standing on its electrical
supply cable or vent hose.
• Items such as foam rubber (latex foam), shower caps, waterproof texles, rubber
backed arcles, and clothes or pillows ed with foam rubber pads should not be
dried in the tumble dryer.
• Always unplug the appliance aer use, clean, and maintenance.
• Do not overload the appliance. See the relevant secon in the user manual.
• Clothes that are dripping wet should not be placed in the dryer.
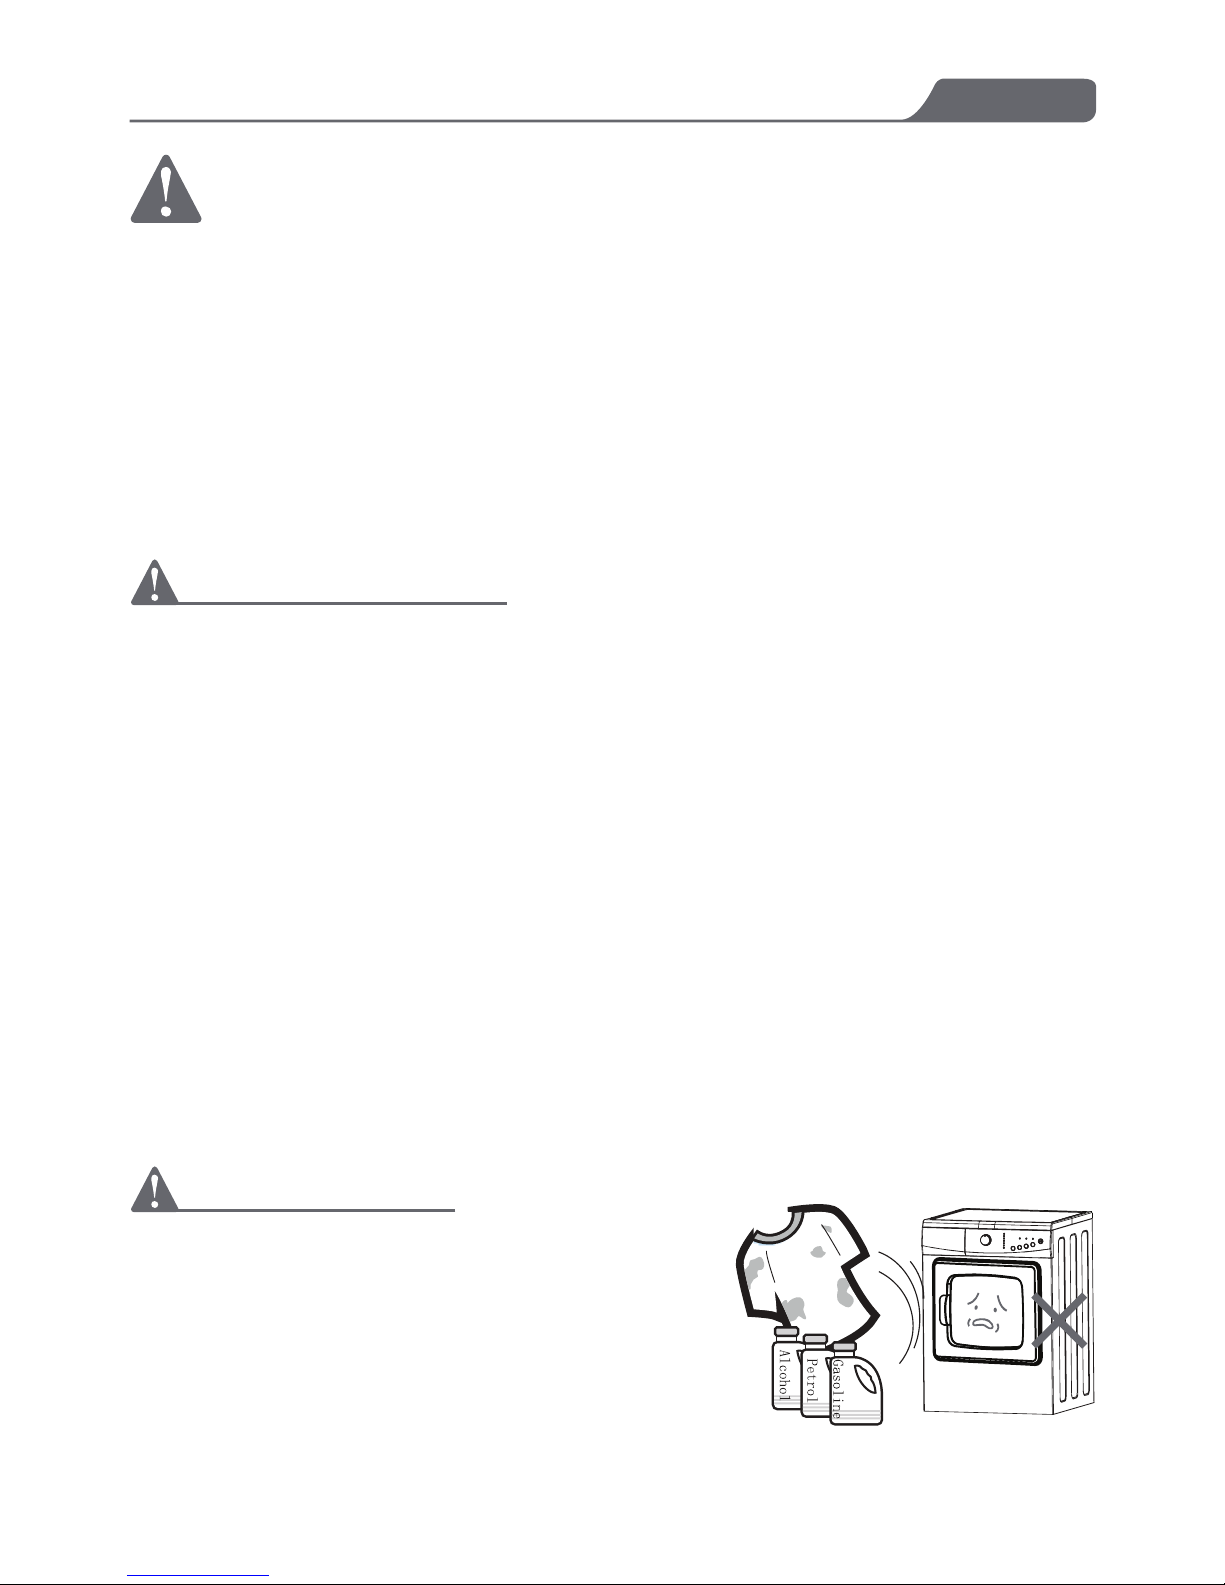
• Garments which have been in contact with volale petroleum products should not
be machine dried. If volale cleaning uids are used, care should be taken to ensure
that the uid is removed from the garment before placing it in the machine.
• Never use the tumble dryer if the power supply cable, the control panel, the working
surface, or the base is damaged so that the inside of the tumble dryer is accessible.
• The tumble dryer is not to be used if industrial chemicals have been used for
cleaning.
• The lint must not be allowed to accumulate around the tumble dryer.
• Do not dry unwashed items in the tumble dryer.
• Fabric soeners or similar products should be used as specied by the fabric soener
instrucons.
• The nal part of a tumble dryer cycle occurs without heat (cool down cycle) to
ensure that the items are le at a temperature that ensures the items will not be
damaged.
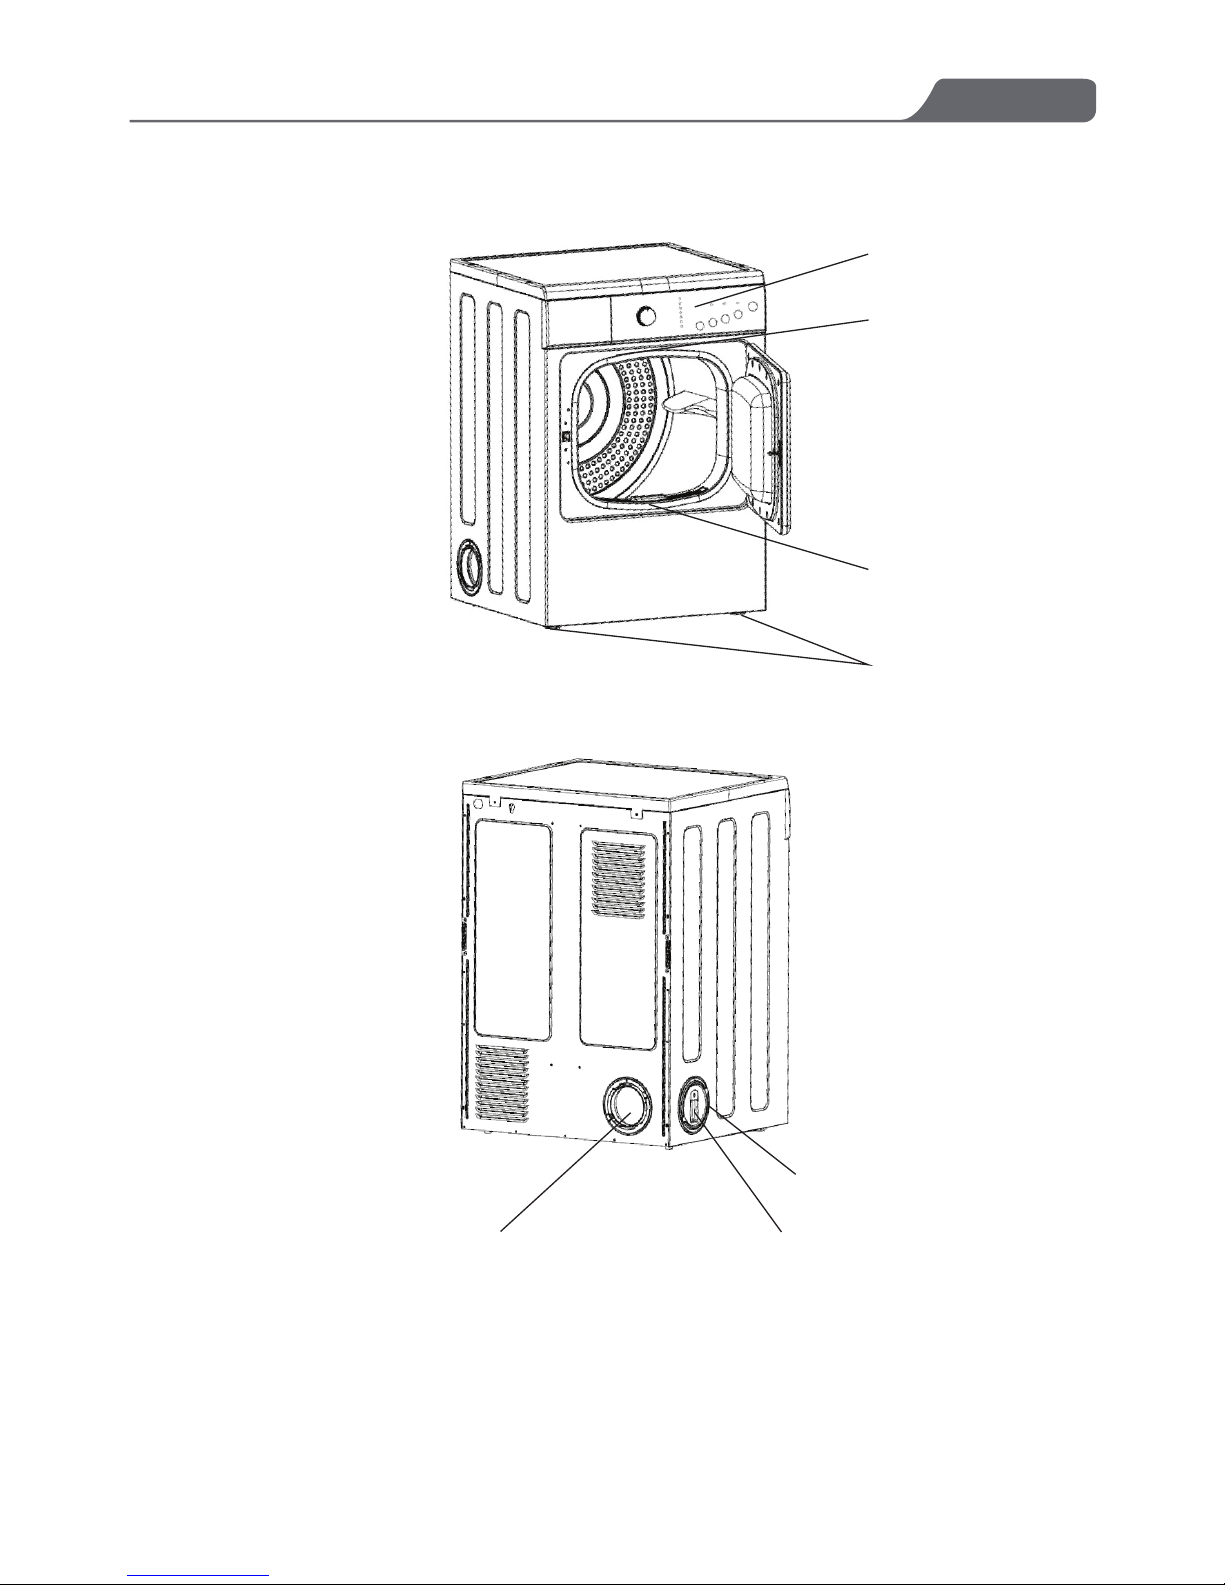
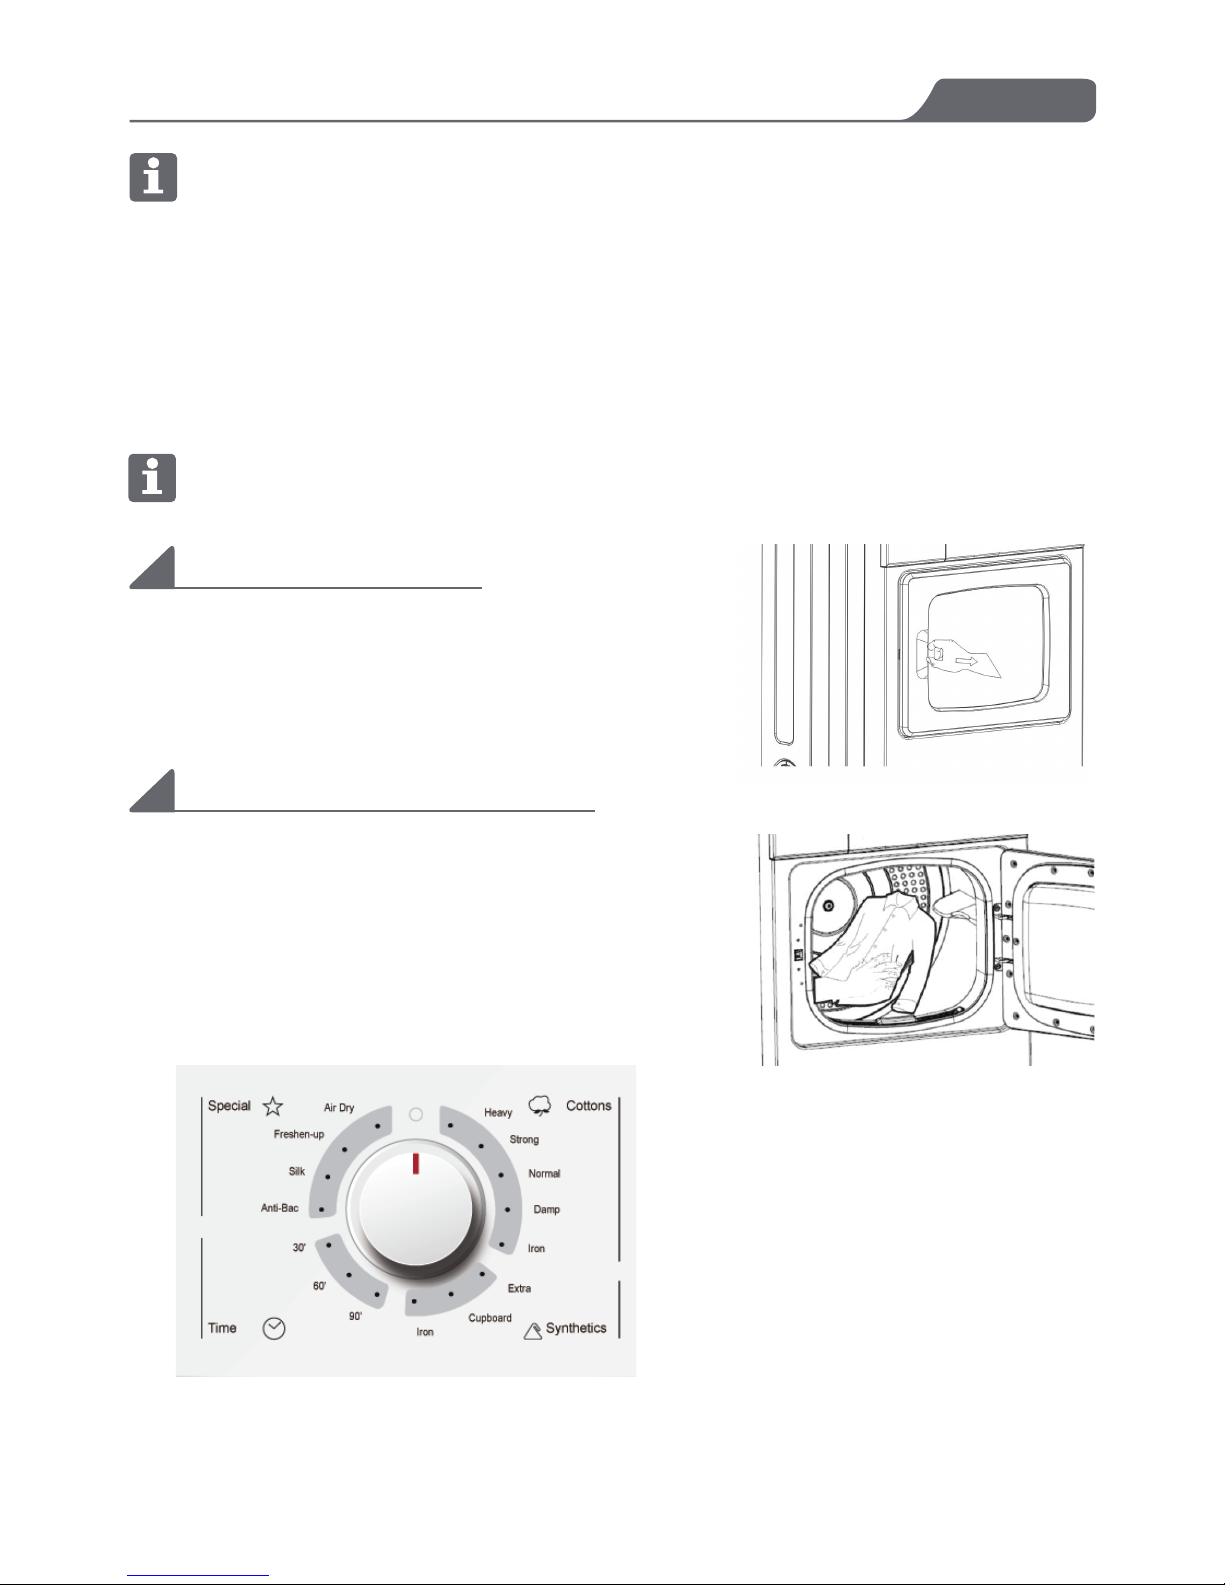
Before Use
3