Parrot Products S1008MC User manual

User Manual
Paper Shredder 8 Sheets
4 x 12mm Mini Cross Cut
- S1008MC
Tel: (RSA) 010 140 4900 / Email: [email protected]
www.parrot.co.za

Read instructions before use.
Avoid touching the document
feed opening with hands.
Product is not intended for use by
children (product is not a toy).
Do not insert foreign objects into
the paper entry slot.
Do not spray or keep any
aerosol products in or around the
shredder.
Keep loose clothing or jewelry
away from the paper entry slot.
Avoid getting hair near the
paper entry slot.
Keep away from moving parts
1
Safety Instructions
• Always turn the shredder off and unplug the power cord from the AC outlet when
not in use, before cleaning it, moving it, or emptying the waste basket.
• RISK OF FIRE. Never use any petroleum based or flammable oils or lubricants in or
around the machine, as some oils may combust causing serious injury.
• Never shred large paper clips, window or insulated envelopes, continuous forms, newsprint,
bound pages (e.g: notepads, magazines, etc...), transparencies,
laminated documents, cardboard, any items with adhesives, hard materials or
plastic (except Credit Cards).
• Do not allow wastebasket to become full. This will lead to shredded material being pulled back up into
the shredder and cause paper jams.
• Never place the shredder near water or any heat source.
• Do not use the shredder if the power cord is damaged in any way.
• Do not attempt to service this product yourself as doing so may expose you to sharp cutting blades
and/or electricity and will void the manufacturers warranty.
• Never try to clean or clear the shredder blades.
• Never shred beyond the specified sheet capacity. This may result in extensive damage to the machine.
* ONE FOLDED SHEET OF PAPER EQUATES TO 2 SHEETS OF PAPER
Heavier paper, humidity or other than rated voltage may reduce shredding capacity.

! Caution:
2
Contents
Installation
Security level
Cut size
Cut type
Paper feed width
Shred capacity
Waste basket capacity
4 x 12mm
8 sheets
High Security (P4)
Mini Cross Cut
220mm
15 Litres
Speed per minute 2m per minute
Continuous run time
Overheat protection
Auto start/stop Yes
Auto forward / reverse Yes
5 minutes
Yes
Dimensions 329 x 226 x 495mm
Shreds credit cards
Shreds cd’s / dvd’s Yes
Yes
Castor wheels
Yes
Specifications
• Installation
• Operation
• Maintenance
• Troubleshooting
Microscut shredders have very sharp exposed blades on the underside.
Remove the shredder from the box.
1Carefully lift and remove shredder head
and casters from the shredder body.
2
1. Make sure the basket door is securely closed shut. This shredder features a safety power cut off and
will not operate if door is open. Shredders with pull-out wastebaskets feature a safety power cut off upon
bin removal. The supplied wastebasket activates this switch, which allows the shredder to be operable.
2. Attach 4 caster wheels to the bottom of the shredder body.
3. A socket-outlet should be near the equipment and be easily accessible.
4. Connect the power cord to any standard 120 volt AC outlet.
Cool down time 30 minutes

3
Installation
3
4
Attach 4 caster wheels to the bottom of the shredder body.
Gently place the shredder head onto
the shredder body.
5Make sure the shredder head is
correctly mounted.

4
Operation
Control Switch
• Using the switch located on the unit, select one of the following
settings by sliding the switch either left or right. (FIGURE 2)
Auto / On: This setting allows the shredder to be automatically started by inserting paper
into the feed slot. Always feed the paper in as straight as possible. When the paper has passed
through, the shredder will automatically stop.
Off: This setting turns off all features of the shredder. For safety reasons, we recommend that
you leave the shredder in the “ off ” position whenever the shredder is unattended or not in use.
Reverse: In the event of a paper jam, the reverse setting can be used to help clear the
cutters of paper that did not pass through. Never attempt to clear a jam by using the reverse
function until you have emptied the wastebasket.
Forward: The forward setting can also be used to help clear the cutters in the event of a
Paper jam. This allows to manually activate the shredder into cutting mode.
FIGURE 2
I
13
1
2

Operation
Do not hold CD/DVD with finger through the
center ring while feeding into the shredder. Serious injury may
occur.
Never feed more than one credit card or CD/DVD at a time.
1) Hold the CD/DVD by the edge and feed one at a time, releasing
when shredding begins.
2) Shredder will stop when the entire disc has been destroyed.
Paper / Credit Card / CD Entry:
NOTE:
• Always turn off and unplug the shredder when not in use.
• This shredder will shred staples and small paper clips. It is recommended that you remove paper clips
whenever possible to extend the lifespan of your shredder.
• Only shred credit cards by feeding them vertically i nto the middle of the entry, releasing when
shredding begins. Never feed more than one credit card at a time.
• Overfeeding the shredder: Shredding beyond the specified sheet capacity can result in extensive
damage to the shredder. Overfeeding will strain the machine and quickly wear and break the cutting
blades and internal components.
• Overheating with extended use: In the event that the shredder has shred continuously beyond the
maximum running time and overheating, the unit will automatically shut off. If this happens, switch the
shredder off for 30 minutes or longer before resuming normal operation.
! Caution:
Features a CD / DVD destroyer:
Make sure you do not exceed sheet
count per pass (8 sheets max).
Insert paper as straight as pos -
sible into feed slot and release.
Insert one credit card at a time into
the middle of the feed slot.
5
2
1
2

Operation
6
• Power On:
The Green LED light indicates the shredder is “On” and ready to operate when paper is inserted.
• Overheat:
The Red LED light indicates the shredder has shred continuously beyond the maximum running time
and overheating, the unit will automatically shut off. If this happens, switch the shredder Off for 30
minutes or longer before resuming normal operation.
• Overload:
The Red LED light indicates when too much paper is inserted. Use the "Reverse" mode to back up
and reduce number of sheets.
• Door Open: The Red LED light indicates the shredder basket is not pushed in properly.
Shredders with pull-out wastebaskets feature a safety power cut off upon bin removal. Make sure the
pull-out wastebasket is properly set back into place and the green “Power On” indicator is lit.
• Bin Full:
When the "Basket is Full", the RED light will indicate it needs to be emptied. While lit, the shredder
will be inoperable until the wastebasket is cleared.
LED Status
Indicators: Bin full / Door open / Overload
/ Overheat / Power On
3

7
Maintenance
FIGURE 3
Warning: Failure to properly maintain your shredder will void the warranty.
Oil the shredder blades every month with basic Parrot Products shredder oil. Follow oiling
procedure below (FIGURE 3). This ensures the cutting blades run smoothly.
Oiling procedure:
1. Turn off shredder.
2. Apply shredder oil across paper entry.
3. Turn shredder in reverse mode for 3~5 seconds.
Note: lubricating oil is NOT included.
• Do not spray or keep any aerosol products
in or around shredder.
• DO NOT USE CANNED AIR ON SHREDDER.
CLEANING:
• ALWAYS UNPLUG THE SHREDDER BEFORE CLEANING!
• Only clean the shredder by carefully wiping the unit with a dry soft cloth or towel.
• Do not clean or immerse shredder in water.
• Never use anything flammable to clean the shredder. This may result in serious injury or
DO NOT USE
AEROSOL PRODUCTS!
! Caution:
damage to the product.

8
Troubleshooting
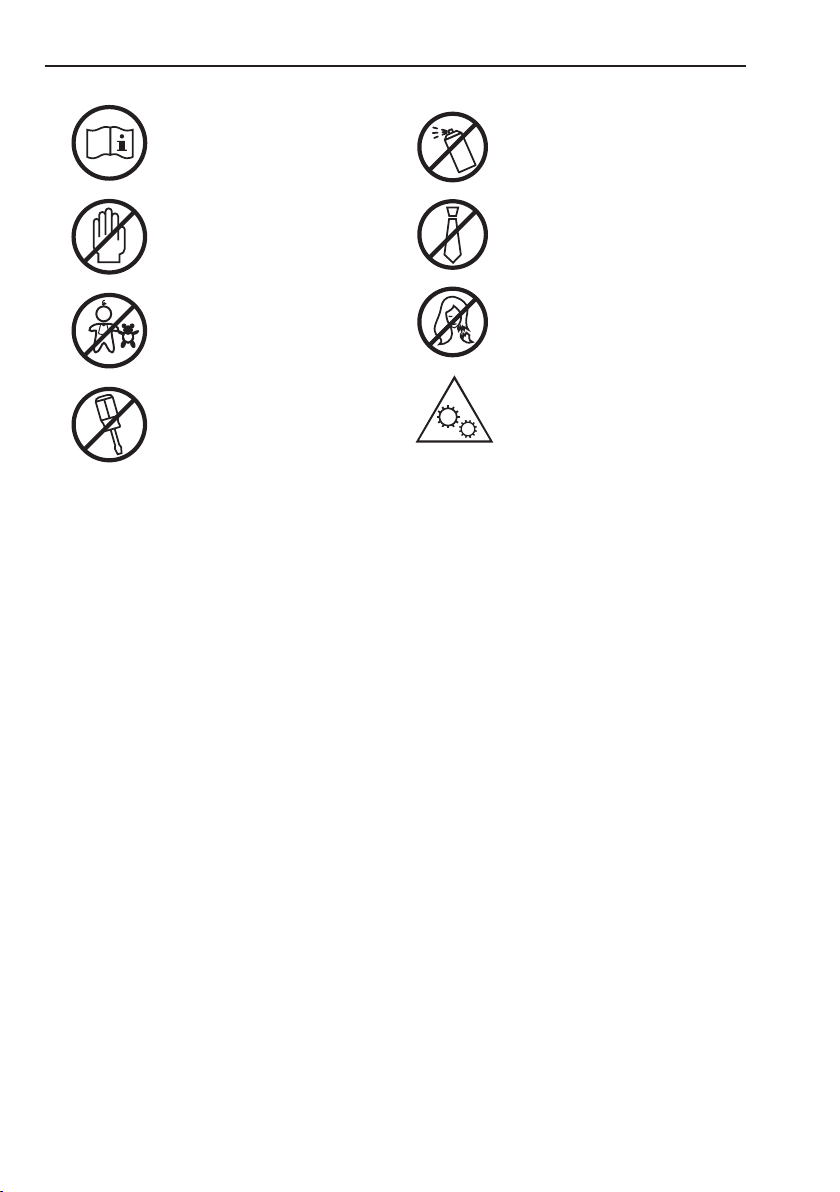
If there is a problem with your shredder, check below for the troubleshooting and steps to resolve. If you
continue to have problems, contact customer support. DO NOT ATTEMPT TO REPAIR BY OPENING
THE SHREDDER HEAD. This will completely void the product warranty.
• The shredder does not work at all.
1) Make sure the unit is plugged in and that the power outlet is in good working order.
2) Overheating with extended use: In the event that the shredder has shred continuously
beyond the maximum running time and overheated, the unit will automatically shut off. If this happens,
switch the shredder Off for 15 minutes or longer before resuming normal operation.
3) If using a plastic bag to line the wastebasket, please remove it. This may cause the shredder not to
operate properly.
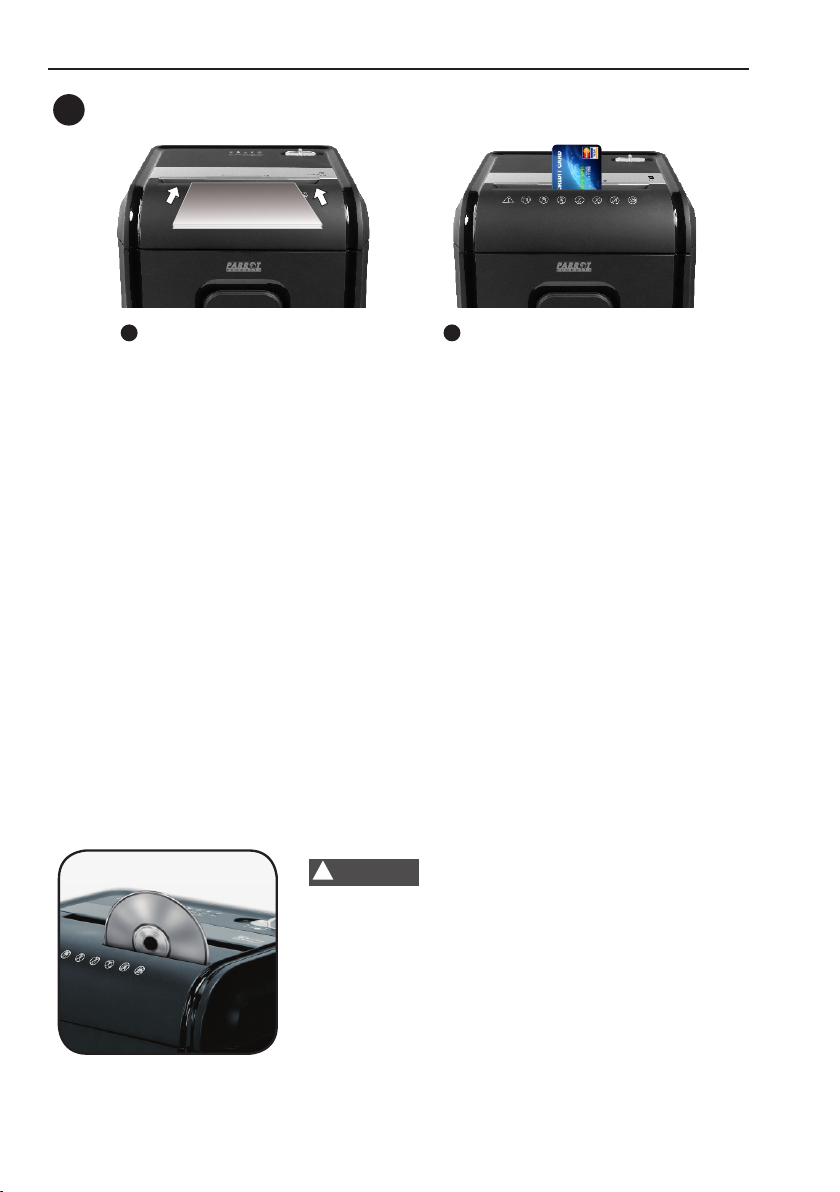
4) The activation sensor of the shredder is located near the center of the feed slot. Be sure to feed
directly into the center area to activate the machine (especially applies to smaller pieces of paper
or credit cards).
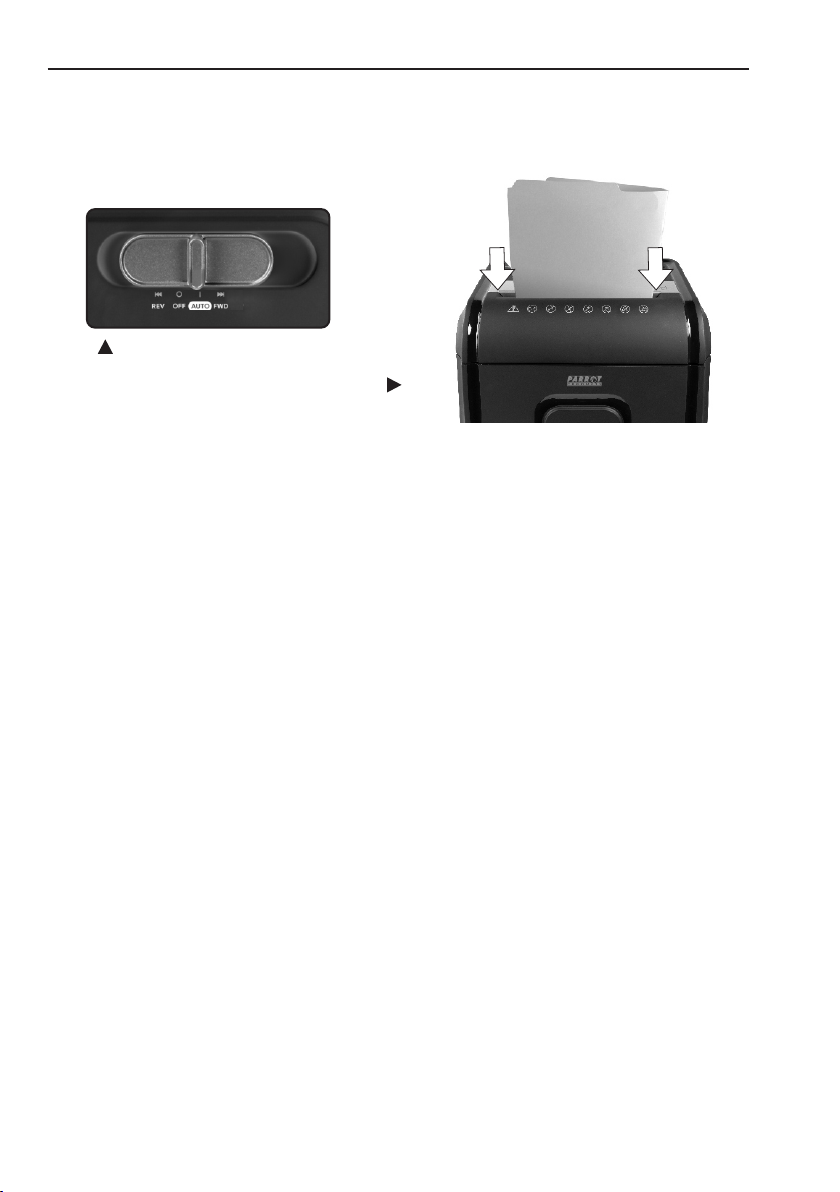
• The shredder runs in "Rev (Reverse)" mode but not in "Auto (On)" mode.
1) While in "Auto" mode, the motor will not start running until paper is inserted into the feed slot. Set
the unit to "Auto" and insert paper to shred. The sensor that activates the shredder in Auto mode is
located directly in the center of the slot. If the paper you are inserting is narrow, it may not be
activating the sensor. It is also possible that the feed slot has become blocked with paper. Insert an
index card or any rigid sheet of cardstock (old greeting card or folded file folder), directly in the
center of the feed slot, while applying force to help push the jammed paper through. This will usually
clear any paper blockage.
• How to clear a paper jam in the shredder.
1) Switch the shredder over into Reverse (REV) mode. While in Reverse, the shredder will back up and
loosen the jammed paper. If required, you may need to tug and remove several sheets to effectively
clear the machine. When jammed paper is loosened or removed, switch back to the Auto-On mode
to continue shredding. Repeat steps if needed.
2) With stubborn situations where the reverse function does not help, you may loosen the jammed
paper with Parrot Products shredder oil (nothing aerosol). Start by drizzling oil into the
feed slot where the paper is jammed. Let it soak for about 30 minutes to completely saturate. Return
the shredder back to Auto-On mode. If required, an index card or a rigid sheet of cardstock
(old greeting card or folded file folder) can be fed into the shredder to help push the
jammed paper through.

MAINTENANCE
9
Troubleshooting
The shredder back to Auto-On mode. If required, an index card or a rigid sheet of
cardstock (old greeting card or folded file folder) can be fed into the shredder to
help push the jammed paper through.
The shredder is constantly running while in "Auto (On)" mode.
1) It is possible that the activation sensor, which starts the shredder, has become blocked with paper.
Insert an index card or any rigid sheet of cardstock (old greeting card or folded file folder), directly
in the center of the feed slot, while applying force to help push the jammed paper through. This will
usually clear any paper blocking the activation sensor and feed entry.
2) The activation sensor is being triggered by dust, debris, or oil. A cotton swab may be
used to clean the sensor. DO NOT USE CANNED AIR. The activation sensor of the shredder is
located around the center of the feed entry.
Power switch in auto position
Use thick paper stock or greeting card
to push the jam through
Table of contents
Other Parrot Products Paper Shredder manuals
Popular Paper Shredder manuals by other brands

Kompernass
Kompernass KH 4406 operating instructions

Martin Yale
Martin Yale intimus 20sc2 operating instructions

GEHA
GEHA top secret 400 operating instructions

Royal Sovereign International
Royal Sovereign International RDS-15C8 owner's manual

Parkside
Parkside PWH 2800 A1 Translation of the original instructions

I.S.V.E.
I.S.V.E. Tritotutto 50 Use and maintenance instructions