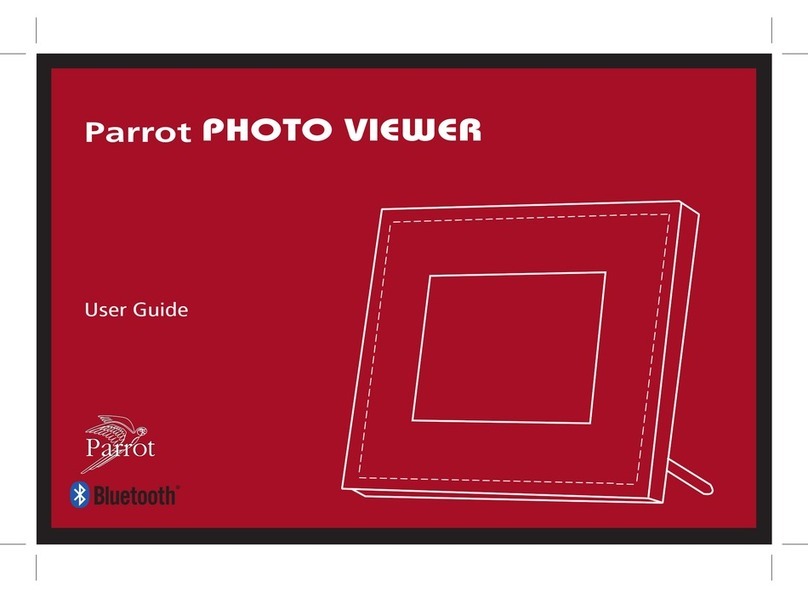
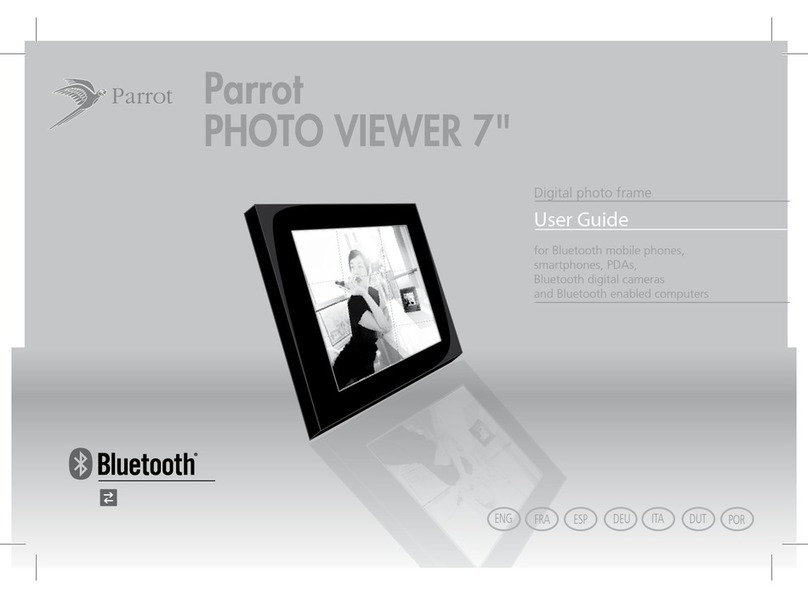
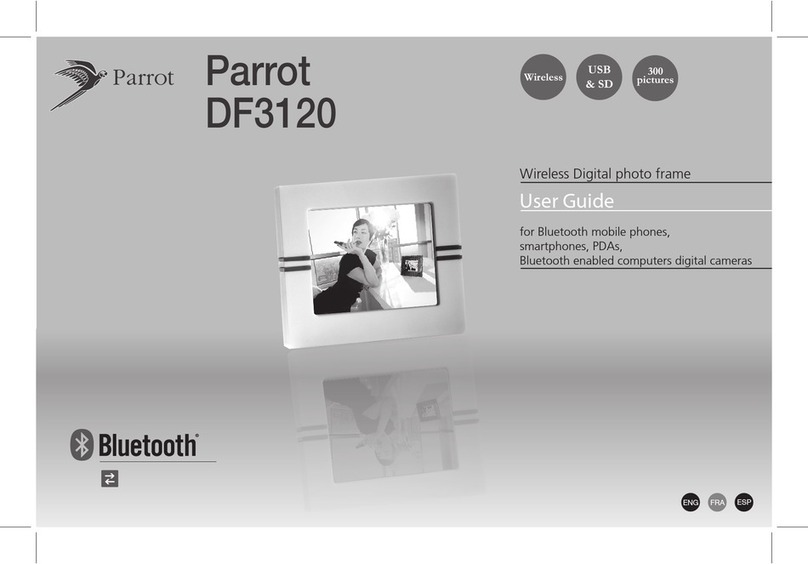
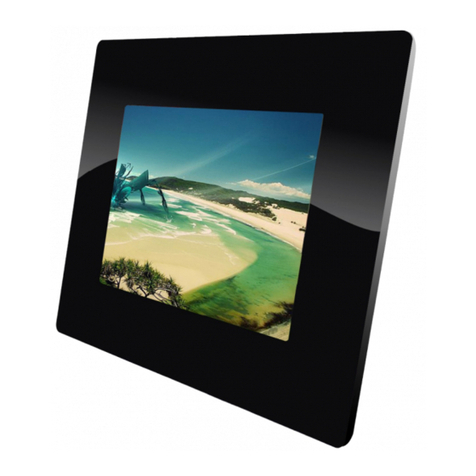
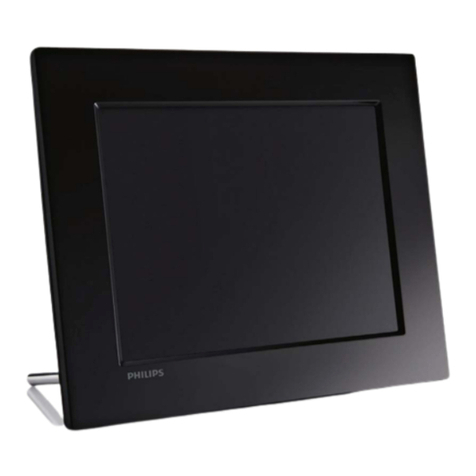
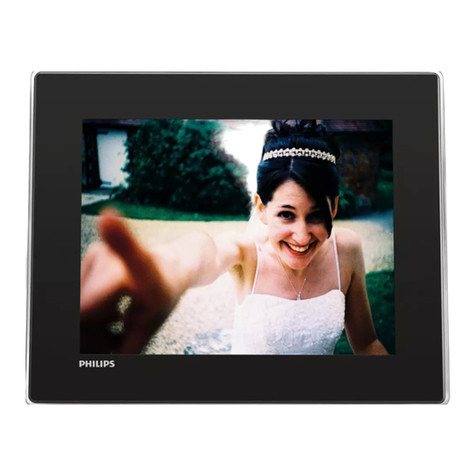
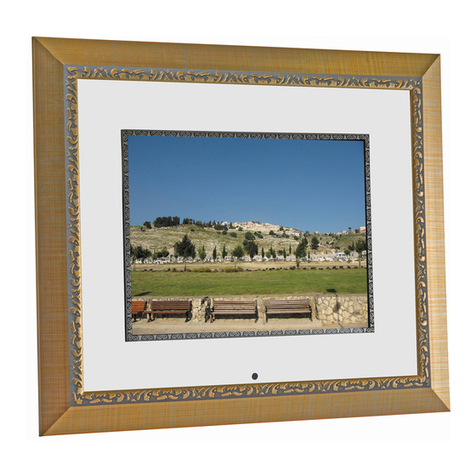
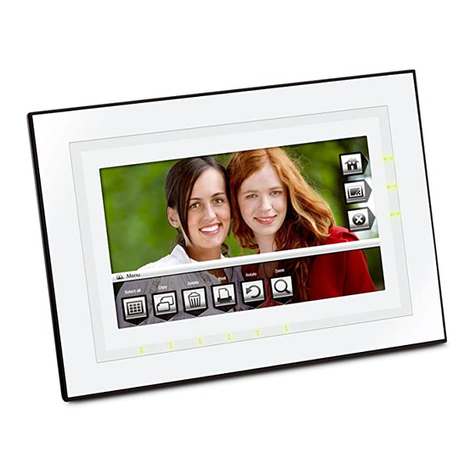
Parrot PUTMAN User manual

BY
QUICK START
GUIDE
GUIDE
D’UTILISATION
RAPIDE
MANUAL DO UTILIZADOR
GUÍA
DE INSTALACIÓN
RÁPIDA
BEDIENUNGSANLEITUNG
GUIDA
ALL’USO
GEBRUIKERSHANDLEIDING

“I WOULD LIKE TO PAY TRIBUTE TO PARROT
FOR DARING TO THINK THAT THIS WONDER OF
TECHNOLOGY COULD BE CURLED UP INSIDE
A BEAUTIFUL SHOWCASE. EVEN THOUGH
THE MOST IMPORTANT THING WILL STILL BE
THE PHOTO OF THE DOG OR FAVOURITE AUNTIE,
IT WAS A GOOD MOVE SURROUNDING THIS
COLLECTION OF SOUVENIRS WITH AN EYE-
CATCHING FLOURISH THAT GOES BEYOND MERE
PRACTICALITY. STORAGE FANS WILL BE THE
MOST VULNERABLE TO THE CHARMS OF THIS
OBJECT, WHICH WILL OVERCOME ANY
PROBLEMS OF ARRANGING PHOTO SOUVENIRS.
I WILL FILL THIS SCREEN WITH PHOTOS OF
MY CHILDREN AND FRIENDS, AND I WILL
PLACE IT NEATLY ON MY DESK.”
ANDRÉE PUTMAN
catalogue_piste 1:Mise en page 1 24/01/2008 18:17 Page 2

3
“I WOULD LIKE TO PAY TRIBUTE TO PARROT
FOR DARING TO THINK THAT THIS WONDER OF
TECHNOLOGY COULD BE CURLED UP INSIDE
A BEAUTIFUL SHOWCASE. EVEN THOUGH
THE MOST IMPORTANT THING WILL STILL BE
THE PHOTO OF THE DOG OR FAVOURITE AUNTIE,
IT WAS A GOOD MOVE SURROUNDING THIS
COLLECTION OF SOUVENIRS WITH AN EYE-
CATCHING FLOURISH THAT GOES BEYOND MERE
PRACTICALITY. STORAGE FANS WILL BE THE
MOST VULNERABLE TO THE CHARMS OF THIS
OBJECT, WHICH WILL OVERCOME ANY
PROBLEMS OF ARRANGING PHOTO SOUVENIRS.
I WILL FILL THIS SCREEN WITH PHOTOS OF
MY CHILDREN AND FRIENDS, AND I WILL
PLACE IT NEATLY ON MY DESK.”
ANDRÉE PUTMAN
catalogue_piste 1:Mise en page 1 24/01/2008 18:17 Page 2
Diagrams:
Recommendation........................
Installation...................................
Sending pictures.........................
English.............................................
Français...........................................
Español............................................
Deutsch...........................................
Italiano.............................................
Nederlands......................................
Português........................................
РУССКИЙ........................................
Arabic..............................................
Technical Specification...................
General Information........................
p.7
p.9
p.10
p.11
p.17
p.23
p.29
p.35
p.41
p.47
p.53
p.64
p.65
p.66
Index

DESEO RENDIR UN HOMENAJE A PARROT QUE HA TENIDO
LA AUDACIA DE IMAGINAR QUE ESTA MARAVILLA TEC-
NOLOGICA PODRIA ACURRUCARSE EN UN REFUGIO DE
BELLEZA. AUNQUE LO MAS IMPORTANTE SIGA SIENDO
LA FOTO DEL PERRO O LA DE NUESTRA ENTRAÑABLE
TIA, ERA INTERESANTE RODEAR ESTA RESERVA DE RE-
CUERDOS CON UN GESTO ESTETICO QUE EXCEDIERA LO
PURAMENTE PRACTICO. LOS ENAMORADOS DEL ORDEN
SERAN LOS MAS VULNERABLES A LOS ENCANTOS DE
ESTE OBJETO QUE RESOLVERA TODOS LOS PROBLEMAS
DE CLASIFICACION DE NUESTROS RECUERDOS FOTO-
GRAFICOS. YO NUTRIRE ESTA PANTALLA CON LAS FOTOS
DE MIS HIJOS Y DE MIS AMIGOS Y LA COLOCARE CON
ACIERTO EN MI DESPACHO.
Andrée Putman

JE SOUHAITE RENDRE HOMMAGE A PARROT QUI A EU
L’AUDACE D’IMAGINER QUE CETTE MERVEILLE TECH-
NOLOGIQUE POURRAIT SE LOVER DANS UN ECRIN DE
BEAUTE. MEME SI LE PLUS IMPORTANT RESTERA LA
PHOTO DU CHIEN OU CELLE DE LA TANTE DE PROVINCE,
IL ETAIT INTERESSANT D’ENTOURER CETTE RESERVE DE
SOUVENIRS D’UN GESTE ESTHETIQUE QUI DEPASSE LE
PRATIQUE. LES AMOUREUX DU RANGEMENT SERONT
LES PLUS VULNERABLES AUX CHARMES DE CET OBJET
QUI RESOUDRA TOUT PROBLEME DE CLASSEMENT DES
SOUVENIRS PHOTOGRAPHIQUES. JE NOURRIRAI CET
ECRAN DES PHOTOS DE MES ENFANTS ET DE MES AMIS
ET L’INSTALLERAI SAGEMENT SUR MON BUREAU.
Andrée Putman

6

7
Warning / Attention / Atención / Wichtig / Attenzione / Let op! / Atenção /
Внимание
cl
In order to avoid any display problem, make sure the power
lead connector is fully plugged into the transformer.
Afin d’éviter tout problème d’affichage, assurez-vous d’avoir
correctement branché le connecteur du câble d’alimentation
au transformateur.
Para evitar cualquier problema de visualización, compruebe
que el cable de alimentación sea bien conectado al trans-
formador.
Um Probleme mit der Anzeige zu vermeiden, sollten Sie
sicherstellen, dass der Anschlussstecker des Stromkabels
ordnungsgemäß mit dem Transfo verbunden ist.
Onde evitare problemi di visualizzazione, accertarsi di aver
collegato il connettore del cavo di alimentazione all’alimenta-
tore in modo corretto.
Controleer, om problemen met de weergave te voorkomen,
of u de connector van de voedingskabel goed op de trans-
formator hebt aangesloten.
Para evitar qualquer problema de visualização, certifique-se
de que o conector do cabo de alimentação está correcta-
mente ligado ao transformador.
Во избежание каких-либо проблем с отображением
информации убедитесь в правильности подключения
разъема шнура питания к трансформатору.
8
2
5
1
1
4

9
1
2
3
Installation / Instalación / Installazione / Installatie / Instalação / Установка

10
5
5
4
PIN code :
0000
Sending pictures / Envoyer des images / Envío de imágenes / Übertragung von Bildern / Invio
di immagini / Foto’s sturen / Enviar imagens / Отправка изображений

11
English
This simplified guide of the Parrot Digital Frame by Andrée
Putman gives you the main instructions to easily use this
product. For more information, refer to the our website
www.parrot.com.
Index
Using the frame for the 1st time
Installing the frame
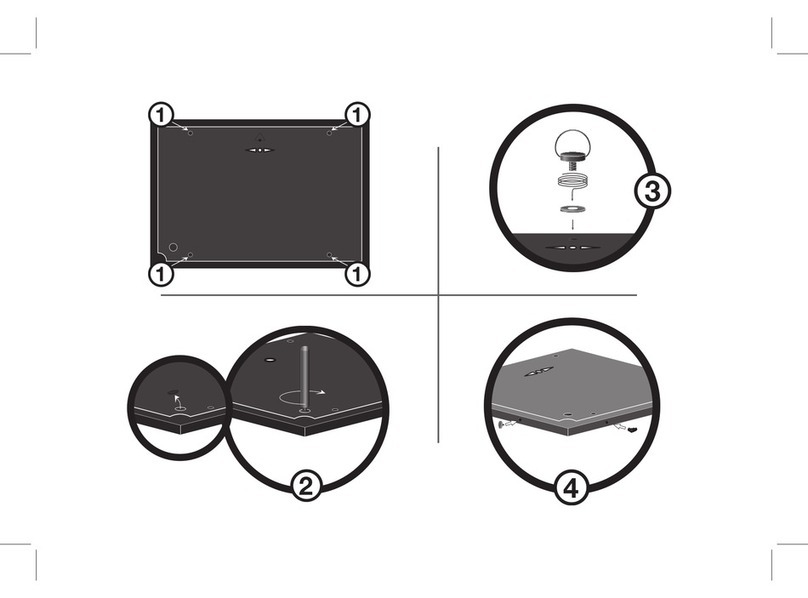
1. Screw the metal rod into the back of the frame.
> If you rotate the frame, the photo displayed turns to
match the new position of the Parrot Frame by
Andrée Putman.
2. Connect the power cable connector to the transformer
and plug it into an electrical socket.
> The frame automatically switches on.
3. Choose the language to be used.
Using the frame for the 1st time.........................
Installing of the frame....................................................
Scrolling through the menus.........................................
Pairing the frame with your phone................................
Sending pictures to the frame.............................
Sending pictures from a Phone or PDA
via Bluetooth ® .............................................................
Sending pictures from a Computer via Bluetooth.......
Sending pictures via USB..............................................
Transferring pictures using a memory card.................
Managing the pictures.........................................
Picture Display Order.....................................................
Deleting pictures............................................................
Choosing and Creating a Slideshow.............................
11
11
12
12
12
12
13
13
13
14
14
14
14
In order to avoid any display problem, make sure
the power lead connector is fully plugged into the
transformer.
The frame can also be hung on the wall. In this case,
screw the hook into the back, insert the provided
clips into the slots and run the power lead through
the clips.

12
Scrolling through the menus
Pairing the frame with your phone
1. Ensure that the frame is visible to all Bluetooth® devices.
To do so, select Settings > Bluetooth > Visibility.
2. Activate the Bluetooth feature on your phone / computer
(refer to your phone’s or computer’s user guide or visit
the Support heading on our website at www.parrot.com
for further information).
3. Search for Bluetooth devices on your phone / computer.
4. Select «Putman Frame» in the list of Bluetooth devices pro
posed by your phone / computer.
5. On your phone / computer, enter the code «0000».
> Your two devices are now paired.
Sending pictures to the frame
Sending pictures from a Phone or PDA via Bluetooth
1. Ensure that the frame is visible to all Bluetooth devices. To
do so, select Settings > Bluetooth > Visibility.
2. Make sure the Bluetooth feature is activated on
your phone or PDA.
3. On your phone/PDA, go to the Pictures menu. Select
a picture and choose «Send via Bluetooth». Your device
starts searching for Bluetooth peripherals.
4. Once the search has finished, select «Putman Frame».
5. If your device prompts you to enter a code, type «0000».
> The picture is then sent to the Parrot Frame by Andrée
You can scroll through the menus using the buttons on
the back of the frame. To access the main menu, press
the button on the back of the frame.
: Move left or up, depending on the frame’s
orientation. It can also be used to select the
previous photo.
: Move right or down, depending on the frame’s
orientation. It can also be used to select the next
photo.
: Enters the selected menu or selects a photo.
The icon takes you back to the previous menu or
exits the menus.
Depending on the model of your phone / computer,
this phase might be optional. However, it will enable
you to send your photos to the frame more quickly.

13
Putman.
> During transmission, the Bluetooth icon appears on the
screen and the picture is displayed.
Sending pictures from a Computer via Bluetooth
(Windows, Linux)
1. Ensure that the frame is visible to all Bluetooth devices. To
do so, select Settings > Bluetooth > Visibility.
2. Activate the Bluetooth feature on your computer.
3. Right-click on the picture that you wish to send and
choose «Send via Bluetooth».
> Your PC will search for any nearby
Bluetooth peripherals.
4. Select «Putman Frame».
5. Type «0000» if your PC prompts you to enter a code.
> During transmission, the Bluetooth icon appears on the
screen and the picture is displayed.
Sending pictures via USB
1. Connect the frame to your PC with the USB cable.
> The computer detects a new device.
2. Copy your JPEG or GIF pictures to the frame.
3. Disconnect the cable from the frame.
> The pictures are automatically saved.
4. Repeat the procedure if you wish to transfer new pictures.
Transferring pictures using a memory card
1. Insert the memory card into the appropriate slot.
> The JPEG and GIF pictures stored on the memory card
are displayed.
> You can now navigate through the memory card content
using the buttons.
2. Select the icon. Select one of the following
options as required:
- Copy current picture
Several pictures can be sent at a time, though this
feature will depend on your device.
The Putman Frame features 10 Mb of storage
space: to save space, remember to resize your pic-
tures before copying them to the internal memory.
Otherwise transfer your pictures and disconnect
the cable when the «memory full» message is
displayed. Then reconnect the cable and transfer
the remaining pictures.
It is also possible to send pictures from a Mac.

14
- Copy selected pictures (in this case, you must select
the pictures that you wish to copy by using the
and buttons, select the icon and then
confirm your choice)
- Copy all pictures
3. Confirm your choice.
> The selected photos are resized and copied to the
internal memory.
Managing the pictures
Picture Display Order
1. Access the main menu of the Parrot Frame by Andrée
Putman and then select the Arrange the pictures menu.
> Your pictures are displayed as thumbnails.
2. Select the picture with the buttons and then
press the button on the back of the frame to
confirm your choice.
> The selected photo is placed at the top of the screen
on the frame and a cursor indicates the photo’s position in
the album.
3. Press the buttons to change the photo’s position.
You can change its position in all the pages of your album.
4. Once the cursor is in the position where you want to place
the image, press the button.
Deleting pictures
Access the main menu of the frame and then select the
icon.
The Delete menu provides you with the following options:
- Delete this picture: Deletes the
displayed picture.
- Delete these pictures: Deletes the
selected images.
- Delete all pictures: Deletes all pictures on the
internal memory.
Choosing and Creating a Slideshow
• The Parrot Frame by Andrée Putman features ve
slideshows: a default slideshow with all the photos in the
internal memory, three user-definable customised
slideshows and an SD card slideshow.
If you wish to switch back to the internal memory,
select the icon.
The display may run over several pages: holding
down one of the buttons will allow you to
scroll through the previous and next pages. Simply
release the button to stop scrolling.

15
• Once the slideshow has been selected, you can enable /
disable or configure it.
• The following options are available for creating
a slideshow:
- Picture choice: use the and buttons to
select the photos for your slides how. The selected
photos are marked with a tick (not available for the
default slideshow).
- Timer: defines the slideshow display time.
- Picture order: used to define the order in
which the photos are displayed in the slideshow
(not available for the default slideshow).
- Random: arranges the photos in the slideshow
at random.
- Delete slideshow: resets the slideshow (the
selected images will no longer be part of the
slideshow, but they will not be deleted from
the frame’s memory).
- Transition: defines the transition effect between the
photos in your slideshow.


17
Français
Parrot DF7220 - Quick start guide
Ce guide simplifié du cadre photo numérique Parrot by
Putman vous donne les instructions principales qui vous
permettront d’utiliser facilement cet appareil. Pour plus d’in-
formations, consultez notre site web www.parrot.com.
Sommaire
Utiliser le cadre pour la 1ère fois
Installer le cadre
1. Vissez la tige métallique au dos du cadre.
> Si vous changez l’orientation du cadre, les photos
pivotent automatiquement pour correspondre à la
nouvelle orientation.
2. Reliez le connecteur du câble d’alimentation au transfor-
mateur et branchez-le à une prise électrique.
> Le cadre s’allume automatiquement.
3. Choisissez la langue dans laquelle vous voulez
utiliser le cadre.
Utiliser le cadre pour la 1ère fois........................
Installer le cadre.............................................................
Naviguer dans les menus...............................................
Jumeler le cadre avec votre téléphone.......................
Envoyer des photos au cadre.............................
Envoyer des photos depuis un téléphone...................
Envoyer des photos depuis un PC via Bluetooth ®....
Envoyer des images via USB.........................................
Utiliser le cadre avec une carte mémoire....................
Organiser les images...........................................
Régler l’ordre d’apparition des images........................
Supprimer des images...................................................
Choisir et créer un diaporama......................................
17
17
18
18
18
18
19
19
20
20
20
21
21
Afin d’éviter tout problème d’affichage, assurez-
vous d’avoir correctement branché le connecteur
du câble d’alimentation au transformateur.
Le cadre peut également être accroché au mur. Dans
ce cas, vissez le crochet mural au dos du cadre, in-
sérez le système de clips dans l’emplacement prévu
à cet effet et faites y glisser le câble d’alimentation.

18
Naviguer dans les menus
Jumeler le cadre avec votre téléphone
1. Vérifiez que votre cadre est réglé pour être visible par
tous les appareils Bluetooth ®. Pour ce faire, sélectionnez
Réglages > Bluetooth > Visibilité.
2. Activez la fonctionnalité Bluetooth de votre téléphone
/ ordinateur (consultez la notice d’utilisation de votre
appareil ou visitez la partie Support de notre site web
www.parrot.com pour plus d’informations).
3. Effectuez une recherche d’appareils Bluetooth depuis
votre téléphone / ordinateur.
4. Sélectionnez «Putman frame» dans la liste des appareils
Bluetooth proposés par votre téléphone / ordinateur.
5. Sur votre téléphone / ordinateur, entrez le code « 0000 ».
> Vos deux appareils sont désormais jumelés.
Envoyer des photos au cadre
Envoyer des photos depuis un téléphone / PDA
via Bluetooth
1. Vérifiez que le cadre soit réglé pour être visible par tous
les appareils Bluetooth. Pour ce faire, sélectionnez Régla-
ges > Bluetooth > Visibilité.
2. Assurez-vous que la fonctionnalité Bluetooth soit activée
sur votre téléphone / PDA.
3. Depuis votre téléphone/PDA, allez dans le menu Images,
Sélectionnez une image et choisissez « Envoyer
Vous pouvez naviguer dans les menus à l’aide des bou-
tons au dos du cadre. Pour accéder au menu principal,
appuyez sur le bouton au dos du cadre.
: Déplacement à gauche ou en haut selon l’orien-
tation du cadre. Permet également de sélection
ner la photo précédente.
: Déplacement à droite ou en bas selon l’orienta-
tion du cadre. Permet également de sélectionner
la photo suivante.
: Accéder au menu sélectionné ou sélectionnez
une photo.
L’icône vous permet de revenir au menu précédent
ou de sortir des menus.
En fonction du modèle de votre téléphone / ordina-
teur, cette étape peut être optionnelle. Cependant,
elle vous permettra d’envoyer vos photos sur le
cadre plus rapidement.

19
par Bluetooth ».
> Votre appareil lance une recherche des
périphériques Bluetooth.
4. Une fois cette recherche terminée, sélectionnez
«Putman frame».
5. Si votre appareil demande un code, entrez ‘’0000’’.
> L’image est alors envoyée vers le cadre.
> Lors de la transmission de l’image, l’icône Bluetooth
s’affiche sur l’écran et l’image apparaît progressivement.
Envoyer des photos depuis un PC via Bluetooth
(Windows, Linux)
1. Assurez vous que le cadre soit réglé pour être visible par
tous les appareils Bluetooth. Pour ce faire, sélectionnez
Réglages > Bluetooth > Visibilité.
2. Activez la fonctionnalité Bluetooth de votre ordinateur.
3. Faites un clic droit sur l’image que vous voulez envoyer, et
choisissez « Envoyer par Bluetooth ».
> Votre PC recherche les périphériques
Bluetooth environnants.
4. Sélectionnez «Putman frame».
5. Entrez ‘’0000’’ si votre ordinateur vous demande un code.
> Lors de la transmission de l’image, l’icône Bluetooth
s’affiche sur l’écran et l’image apparaît progressivement.
Envoyer des images via USB
1. Connectez le cadre à votre ordinateur à l’aide
du câble USB.
> L’ordinateur détecte un nouveau périphérique.
2. Copiez vos images en format JPEG ou GIF sur
le cadre photo.
3. Déconnectez le câble du cadre.
> Le cadre sauvegarde automatiquement les images.
4. Répétez cette procédure si vous souhaitez transférer
de nouvelles images.
Plusieurs images peuvent être envoyées simulta-
nément, mais cette fonctionnalité dépend de votre
appareil.
Pour l’envoi de vos photos, vous disposez de 10Mo
de mémoire. Transférez les images et débranchez le
câble au moment où apparaît le message de mémoire
pleine. Répétez l’opération jusqu’à ce que la mémoire
interne soit pleine.
Dans un souci de gain de place, vous pouvez
redimensionner vos images au préalable avant de les
copier dans la mémoire interne.
Il est également possible d’envoyer vos images
depuis un Mac.

20
Utiliser le cadre avec une carte mémoire
1. Insérez votre carte mémoire dans l’emplacement prévu
à cet effet.
> Les images au format JPEG et GIF stockées sur la carte
mémoire apparaissent.
> Vous pouvez maintenant naviguer dans le contenu de
votre carte mémoire à l’aide des boutons .
2. Sélectionnez l’icône . En fonction de votre intention,
sélectionnez parmi les options :
- Copier l’image en cours
- Copier une sélection d’images (vous devrez alors
sélectionner les images que vous souhaitez copier
en utilisant les boutons et , sélectionner
l’icône puis confirmer votre choix)
- Copier toutes les images
3. Confirmez votre choix.
> Les photos sélectionnées sont redimensionnées et
copiées sur la mémoire interne.
Organiser les images
Régler l’ordre d’apparition des images
1. Accédez au menu principal du cadre puis sélectionnez le
menu Organiser les images.
> Vos images sont affichées en miniatures.
2. Sélectionnez l’image par les boutons puis
appuyez sur le bouton au dos du cadre pour valider
votre choix.
> La photo sélectionnée est placée en haut de l’écran
du cadre et un curseur vous indique la position de votre
photo dans votre album.
3. En appuyant sur les boutons la position de la
photo change. Vous pouvez faire évoluer cette position
dans toutes les pages de votre album.
4. Une fois le curseur positionné à l’emplacement où vous
désirez placer l’image, appuyez sur le bouton .
Si vous souhaitez repasser sur la mémoire interne,
sélectionnez l’icône .
L’affichage peut se faire sur plusieurs pages. Un
appui constant sur un des boutons vous
permettra de défiler respectivement sur les pages
précédentes et suivantes. Il vous suffit de relâcher
ces boutons pour arrêter le défilement.
Table of contents
Languages:
Other Parrot Digital Photo Frame manuals

Parrot
Parrot DF3120 User manual

Parrot
Parrot 7 User manual

Parrot
Parrot PHOTO VIEWER 7 inch User manual

Parrot
Parrot DF3120 User manual

Parrot
Parrot PHOTO VIEWER 7" User manual

Parrot
Parrot Szekely Owner's manual

Parrot
Parrot PHOTO VIEWER 7" User manual

Parrot
Parrot DF7700 User manual

Parrot
Parrot DIA User manual

Parrot
Parrot Andree Putman User manual