Parrot PHOTO VIEWER 7" User manual

PHOTO VIEWER
User Guide
Parrot


Parrot PHOTO VIEWER
www.parrot.biz
2
Parrot PHOTO VIEWER

Parrot PHOTO VIEWER
English
User Guide

4
Parrot PHOTO VIEWER
IMPORTANT SAFETY INSTRUCTIONS
Europe
1. This apparatus shall not be exposed to dripping or splashing and no object filled with liquid, such as vases, shall be placed on the apparatus.
2. The AC/DC adaptor which provides disconnection from mains supply shall remain readily operable. Unplug this apparatus when unused for
long periods of time.
North America
1. Read these instructions
2. Keep these instructions
3. Heed all warnings
4. Follow all instructions
5. Do not use this apparatus near water
6. Clean only with dry cloth
7. Do not block any ventilation openings. Install in accordance with the manufacturer’s instructions.
8. Do not install near any heat as radiations. Heat registers, stoves or other apparatus (including amplifiers ) that produce heat.
9. Do not defeat the safety purpose of the polarized or grounding type plug. A polarized plug has two blades with one wider than the other. A
grounding type plug has two blades and a third grounding prong. The wide blade or the third prong are provided for your safety. If the
provided plug does not fit into your outlet, consult an electrician for replacement of the obsolete outlet.
10. Protect the power cord from being walked on or pinched particularly at plugs, convenience receptacles, and the point where they exit from
the apparatus.
11. Only use attachments/accessories specified by the manufacturer
12. Unplug this apparatus during lightning storms or when unused for long periods of time.
13. Refer all servicing to qualified service personnel. Servicing is required when the apparatus has been damaged in any way, such as power
supply cord or AC/DC adaptor is damaged, liquid has been spilled or objects have fallen into the apparatus, the apparatus has been spilled
or objects have fallen into the apparatus, the apparatus has been exposed to rain or moisture, does not operate normally, or has been
dropped.
14. WARNING: To reduce the risk of fire or electric shock, do not expose this apparatus to rain or moisture. This apparatus is designed for indoor
use only.
5
English
Parrot PHOTO VIEWER
CONTENTS
IMPORTANT SAFETY INSTRUCTIONS
INTRODUCTION
KIT CONTENTS
QUICK START GUIDE
Switching On
SENDING PHOTOS
Sending from a Phone or PDA
Sending from a Computer
FRAME POSITION
BACKLIGHT
MENUS
Scrolling Through the Menus
Menu Description
MAIN MENU
SETTINGS
UPDATING THE SOFTWARE
HOTLINE
SPECIFICATIONS
GENERAL INFORMATION
.................................................
...................................................................................
.....................................................................................
.........................................................................
....................................................................
..............................................................................
........................................
. ...............................................
................................................................................
..........................................................................................
................................................................................................
..........................................
.............................................................
.........................................................................................
.............................................................................................
................................................................
..............................................................................................
..................................................................................
...................................................................
04
06
07
07
08
08
08
09
10
11
11
11
12
12
14
15
15
16
129

6
Parrot PHOTO VIEWER
INTRODUCTION
Thank you for purchasing the Parrot PHOTO VIEWER.
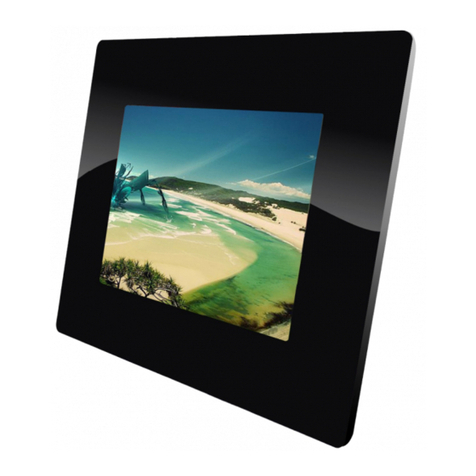
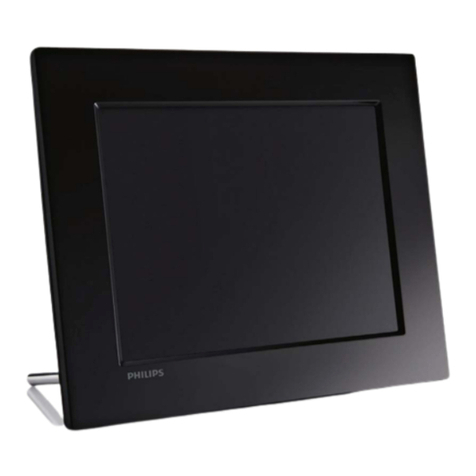
The Parrot PHOTO VIEWER is an LCD photo frame (320 x 234 pixels). Photos can be sent to the viewer from a mobile
phone, PDA or computer via Bluetooth.
Parrot PHOTO VIEWER

7
English
Parrot PHOTO VIEWER
- English
- Français
- Español
- Italiano
- Deutsch
- Portuguès
- ...
KIT CONTENTS
The kit contains:
• An LCD frame.
• A transformer.
• A metal rod to be screwed into the frame.
• A wall bracket.
• A user guide.
• A Parrot product guide.
QUICK START GUIDE
Switching On
• Plug the jack into the transformer.
• Select the language that you wish to use for the Parrot
PHOTO VIEWER. Scroll through the menu using the buttons
on the rear of the frame.
• The Parrot PHOTO VIEWER is ready to receive your photos.

8
Parrot PHOTO VIEWER
SENDING PHOTOS
Sending from a Phone or PDA
• On your phone/PDA, go to the «Pictures» menu. Select a picture and choose «Send by Bluetooth». Your device starts
searching for Bluetooth peripherals.
• Once your phone/PDA has finished searching, select «Parrot PHOTO». If your device prompts you to enter a code,
type «0000». The picture is then sent to the viewer. Several pictures can be sent at the same time, though this feature
will depend on your device.
• During transmission, the Bluetooth icon appears on the screen and the picture is displayed.
• Note: if your phone/PDA is unable to detect the Parrot PHOTO VIEWER, you might have made the Bluetooth PHOTO
VIEWER undetectable to other devices. Refer to «Bluetooth Visibility» in the «Settings» chapter. However, if your Blue-
tooth device is already paired to the frame, it can always connect to the PHOTO VIEWER.
• Note: for further information on how to send photos, refer to your phone’s guide or visit our website at www.parrot.biz.

9
English
Parrot PHOTO VIEWER
Sending from a Computer
• Enable Bluetooth on your computer.
• Right-click on the picture that you wish to send and choose «Send by Bluetooth».
• Your PC will search for any nearby Bluetooth peripherals.
• Select «Parrot PHOTO». Type «0000» if your PC prompts you to enter a code.
• During transmission, the Bluetooth icon appears on the screen and the picture is displayed.
• Note: if your computer is unable to detect the Parrot PHOTO VIERWER, you might have made the Bluetooth
PHOTO VIEWER undetectable to other devices. Refer to «Bluetooth Visibility» in the «Settings» chapter. However, if your
Bluetooth device is already paired to the frame, it can always connect to the PHOTO VIEWER.
• Note: for further information on how to send photos, refer to your phone’s guide or visit our website at www.parrot.biz.

10
Parrot PHOTO VIEWER
FRAME POSITION
Choose the orientation
• Portrait mode. • Landscape mode.
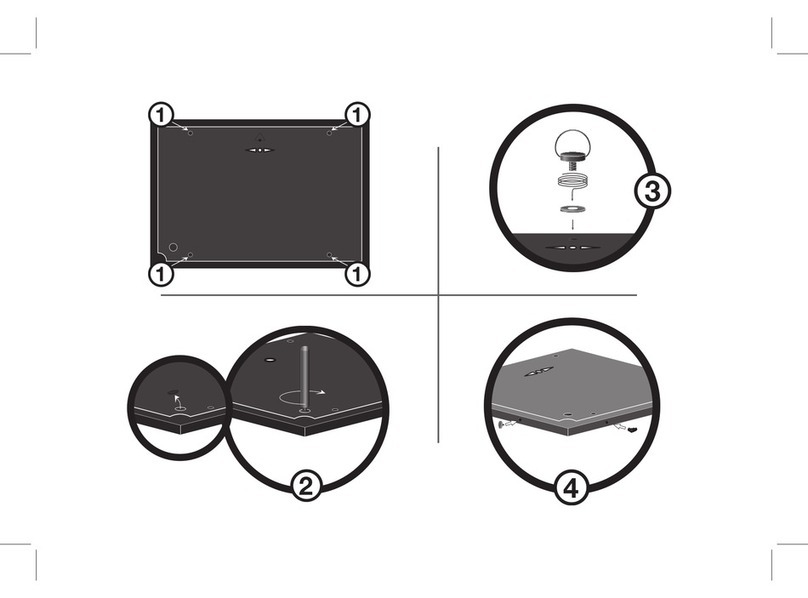
• Note: screw the metal rod into the back of the frame. You can also mount the frame on the wall, in which case,
screw the hook into the back and slide the cable into the slots provided. If you rotate the frame, the photo displayed
automatically changes to landscape or portrait mode.

11
English
Parrot PHOTO VIEWER
BACKLIGHT
There are three different settings for the screen’s backlight (also see p14):
• Predefined Time: define a time range during which the screen’s backlight is on.
• Automatic: a light sensor built into the frame continuously detects the brightness level over 24 hours.
The backlight is controlled automatically.
• Always On: use the switch on the power lead to turn the screen on or off.
MENUS
Scrolling Through the Menus
• Button : move left
• Button : move right
• Button : access to selected menu
• To access the main menu, press the button on the back of the viewer.

12
Parrot PHOTO VIEWER
Menu Description
• The viewer fully controls the way in which your photos are displayed (rotation, slideshow, delete, etc.), as well as
the brightness, language, date and time setting, and so on.
MAIN MENU
Main menu icons:
• Scroll through the menus using the arrows and the button

13
English
Parrot PHOTO VIEWER
Description of the icons and functions
• Exit: return to the main menu.
• Rotate Clockwise: turn the photo to the right.
• Rotate Anti-clockwise: turn the photo to the left.
• Thumbnails: display the photos as thumbnails.
• Delete Current Picture: delete the picture currently displayed.
• Delete All Pictures: delete all the pictures.
• Slideshow: choose the time interval between each photo displayed.
• Settings: adjust the settings for the display and Bluetooth.
• Information.

14
Parrot PHOTO VIEWER
SETTINGS
The «Settings» menu can be accessed from the main menu.
Description of the icons and functions
• Back: return to the main menu.
• Bluetooth Visibility:
• Always Visible: your Parrot PHOTO VIEWER can be detected by
and connected to all Bluetooth devices.
• Hidden: your viewer can only be connected to those devices
known by the Parrot PHOTO VIEWER.
• Brightness: adjust the brightness of the display.
• Backlight:
• Automatic: the screen’s backlight level is controlled by an
algorithm that uses a light sensor built into the viewer.
This is the default setting.

15
English
Parrot PHOTO VIEWER
• Always On: the backlight is always on. Use the power button to switch it off.
• Predefined Time: a predefined time range determines when the screen is backlit.
• Language: select the required language.
• Clock: set the time.
• Reset: restore the factory settings.
UPDATING THE SOFTWARE
The Parrot PHOTO VIEWER can be updated by Bluetooth. Download the utilities and the update procedure
from our website at www.parrot.biz. Doing so will increase the viewer’s compatibility with other Bluetooth
devices.
HOTLINE
•Our hotline is at your disposal. You can contact the hotline by email or telephone.
• Europe: +33 (0) 1 48 03 60 69
• UK: +44 (0) 870 112 5872
• USA: (877) 9 PARROT (toll-free)
• Germany: +49 900 172 7768
• Visit our website at www.parrot.biz for further information.

16
Parrot PHOTO VIEWER
SPECIFICATIONS
Screen:
• LCD screen size: 3.5’’
• Screen resolution: 320 x 234 pixels (QVGA)
• 262 144 colours
• Internal memory of 32 MB for storing over 100 photos
• Light sensor for the automatic backlight mode
• Weight (frame only): 250 g
• Dimensions: 125 x 146 mm
• Power supply: 100 - 240 V, 50 and 60 Hz
Bluetooth:
• Bluetooth 1.2 qualified
• Bluetooth PIN code: 0000
• Profiles supported:
- FTP (File Transfer Profile)
- OPP (Object Push Profile)
- BIP (Basic Imaging Profile)
• Software updates by Bluetooth
• Image format supported: JPEG
• Up to 10 devices paired

Parrot PHOTO VIEWER
Français
Guide d’utilisation

18
Parrot PHOTO VIEWER
CONSIGNES DE SÉCURITÉ
Europe
1. Placer cet appareil de sorte qu’il ne soit pas exposé à des suintements ou projections de liquides. Ne pas placer d’objets remplis de liquide,
comme des vases, sur l’appareil.
2. S’assurer que l’adaptateur AC/DC qui assure la déconnexion avec l’alimentation secteur puisse toujours être facilement manipulé.
Débrancher cet appareil lorsqu’il n’est pas utilisé pendant une longue période.
Amérique du nord
1. Lisez ces instructions
2. Conservez ces instructions.
3. Tenez compte de tous les avertissements.
4. Suivez toutes les instructions.
5. N’utilisez pas cet appareil à proximité de substances liquides.
6. Nettoyez l’appareil uniquement avec un chiffon sec.
7. N’obstruez pas les ouvertures d’aération. Installez l’appareil en respectant les instructions du constructeur.
8. N’installez pas l’appareil à proximité d’une source de chaleur. Radiateurs, fours ou autres appareils (amplificateurs inclus) qui produisent de
la chaleur.
9. Ne modifiez pas les connecteurs polarisés ou de mise à la masse de l’appareil.
Les connecteurs polarisés sont composés de deux fiches métalliques, l’une plus large que l’autre. Les connecteurs de mise à la masse sont
composés de deux fiches métalliques et d’une branche de masse. La plus large des fiches métalliques et la branche de masse sécurisent
l’utilisation de votre appareil. Si les connecteurs fournis ne correspondent pas à votre installation, consultez un électricien pour le
remplacement de votre installation obsolète.
10. Ne marchez pas sur le cordon d’alimentation de l’appareil et évitez les pincements au niveau des connecteurs. Rangez-le dans un
réceptacle adapté. Protégez les connecteurs de l’appareil.
11. Utilisez uniquement les attaches / accessoires spécifiés par le constructeur.
12. Débranchez l’appareil en cas d’orages ou lors d’une longue période d’inutilisation.
13. Pour toute intervention sur l’appareil, veuillez vous adresser aux services qualifiés. Une intervention est requise lorsque l’appareil présente
des détériorations, tel un cordon d’alimentation ou le bloc d’alimentation AC/DC défectueux. Mais également lorsqu’une substance liquide
ait été renversée sur l’appareil ou que des objets étrangers y aient été insérés. Ainsi qu’après toute chute, renversement, exposition à la
pluie ou à l’humidité de l’appareil ou lorsqu’il ne fonctionne pas correctement.
14. AVERTISSEMENT : Afin de réduire les risques d’incendie ou de choc électrique, n’exposez pas l’appareil à la pluie ou à l’humidité. L’appareil
est destiné uniquement à une utilisation intérieure.

18 19
Français
Parrot PHOTO VIEWER
SOMMAIRE
CONSIGNES DE SÉCURITÉ
INTRODUCTION
CONTENU DE L’EMBALLAGE
DEMARRAGE RAPIDE
Mise sous tension
ENVOI DES PHOTOS
Envoi depuis un téléphone ou un PDA
Envoi depuis un ordinateur
POSITION DU CADRE
RETRO ECLAIRAGE
MENUS
Déplacement dans les menus
Description des menus
MENU PRINCIPAL
PRÉFÉRENCES
MISE A JOUR DU LOGICIEL
HOTLINE
SPECIFICATIONS TECHNIQUES
INFORMATIONS GENERALES
...................................................................
...................................................................................
..............................................................
.........................................................................
............................................................
............................................................................
.......................
.............................................
..........................................................................
..............................................................................
................................................................................................
..........................................
.....................................................
................................................................................
.......................................................................................
.................................................................
...............................................................................................
............................................................
.............................................................
18
20
21
21
21
22
22
24
24
25
25
25
26
26
28
29
29
30
129
Other manuals for PHOTO VIEWER 7"
2
Table of contents
Languages:
Other Parrot Digital Photo Frame manuals

Parrot
Parrot DF7700 User manual

Parrot
Parrot PUTMAN User manual

Parrot
Parrot DIA Nodesign Owner's manual

Parrot
Parrot 7 User manual

Parrot
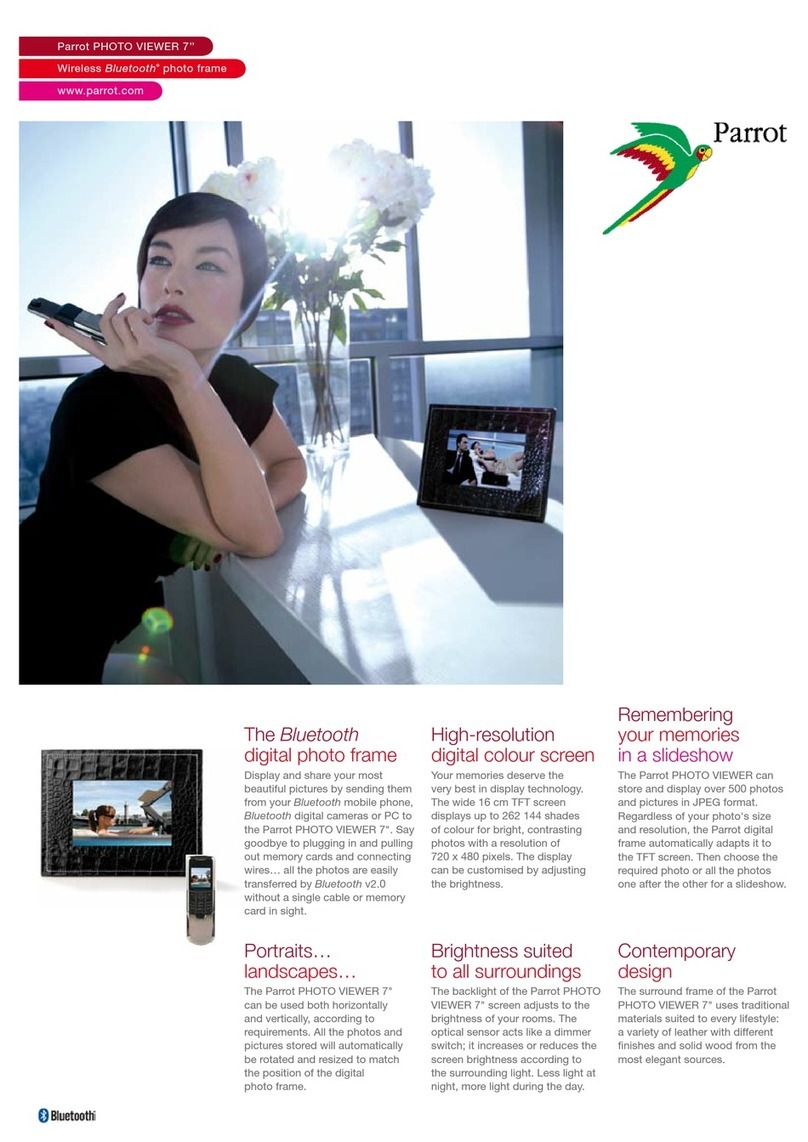
Parrot PHOTO VIEWER 7" User manual

Parrot
Parrot Szekely Owner's manual

Parrot
Parrot DF3120 User manual

Parrot
Parrot Andree Putman User manual

Parrot
Parrot Specchio Owner's manual

Parrot
Parrot DF7220 User manual