Paula Deen kitchen electrics PDAF8TX-2 Quick guide

1
8.5QT CERAMIC NON-STICK XXL
AIR FRYER W/ACCESSORIES
Instructions & Recipes
MODEL PDAF8TX-2

Meet Paula Deen
Culinary icon Paula Deen is a self-
made entrepreneur who learned her
savory secrets from her
grandmother. She started her
career in the food industry with a
small catering company called The
Bag Lady, but business quickly
outgrew her home kitchen. Taking a
leap of faith, she opened her first
restaurant, The Lady and Sons,
which has since become a tourist
hot spot in Savannah, GA. With her
huge personality, delectable recipes
and heart of gold, Paula next found
herself in talks with TV execs after a
friend introduced her to some
influential people in the business.
The rest, as they say, is history.
In addition to her television success,
Paula has sold more than
11,000,000 copies of her 14
cookbooks and launched the Paula
Deen Network, an interactive digital
portal that combines cooking,
lifestyle and game shows with great
recipes, meal-planning tools and
more.
2

Catulatis!
My love for fried food is documented in every one of my cookbooks,
and just rattling off some of my favorite dishes—fried chicken, fried green
tomatoes, fried okra, and fritters—it makes my mouth water y’all.
It’s no secret that over the past few years I have been bringing
healthier food into my life. After having lost 40 pounds, I want to maintain
my trim figure, so I have been avoiding fried foods. However, I will never,
ever completely give up my favorites, so I limit my Southern-fried treats to
one day a week. This is challenging, because so much Southern food is
fried.
When I was introduced to air-frying, I was skeptical. I honestly didn’t
fully understand the concept: no oil, less fat? But what about the crunch
and texture I love from frying? I was pleasantly surprised when I tried the
air fryer for the first time. I prepared my favorite recipe, and I tasted the
same delicious flavor I know and love—and the food was crispy without the
oil! Testing one recipe after another, I found that the air fryer is a healthy
and easy alternative to preparing a variety of recipes that call for frying.
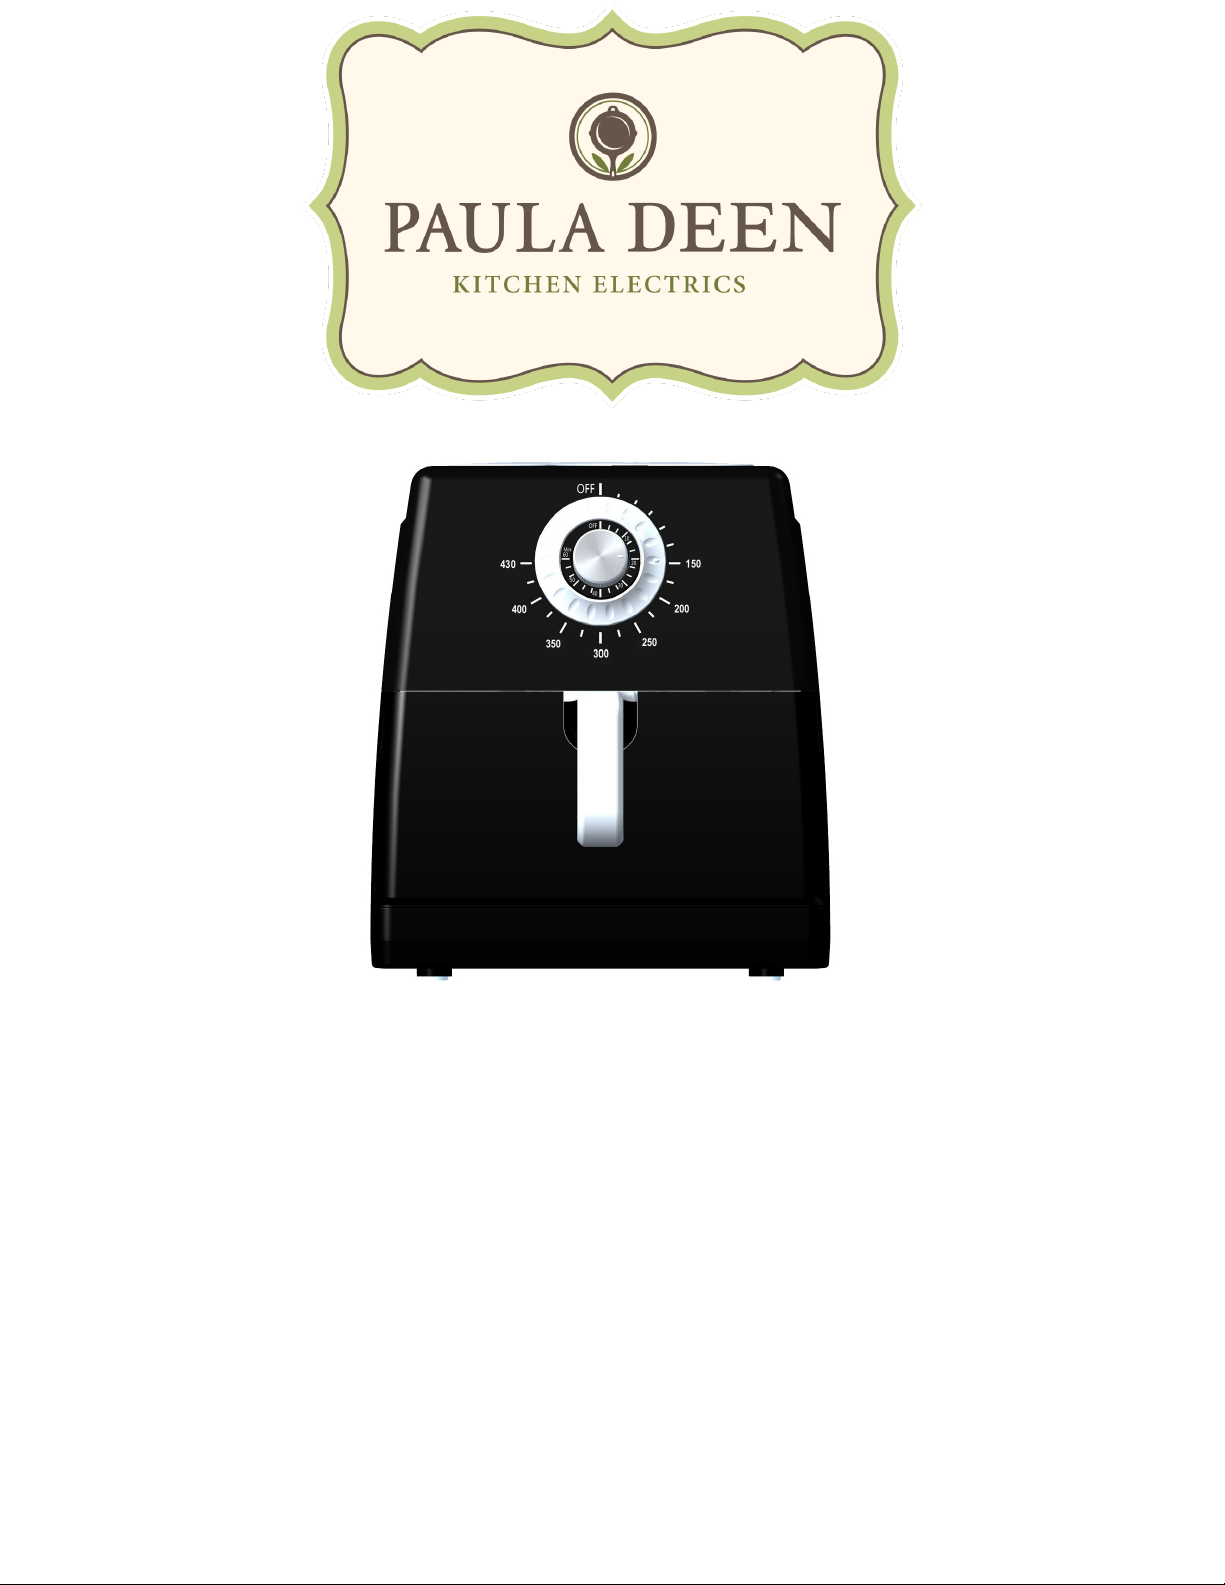
I’ve worked with my team to create a larger air fryer that is easy to
use and will cook fantastic meals. Grill, bake, or fry, this air fryer does it all
and is the answer to preparing quick and healthy meals. I now can enjoy
my favorite foods more often without feeling guilty.
I’m staying on a healthy track cooking with my air fryer, and I
encourage y’all to do the same. Thanks for your purchase, and I know y’all,
too, will love over fifty great recipes in this booklet to get started.
Love and air-fried dishes,
3

WHAT’S INCLUDED
4
Instruction Manual &
Recipes
Divider
USE
-Place inside the
chamber to divide
foods while cooking.
CARE
-Hand washing is
recommended.
Mesh Basket
USE
-Place in the bottom
of the chamber to
make fried foods
such as french fries.
CARE
-Hand washing is
recommended.
Air Fryer
Cooking Insert
USE
-Place in the bottom of
the chamber to give a
crispy finish to food.
CARE
-Hand washing is
recommended.
Grill Insert
USE
-Place in the bottom of
the chamber to make
food with a grilled
finish.
CARE
-Hand washing is
recommended.
Griddle Insert
USE
-Place in the bottom of the
chamber to make
pancakes, bacon, eggs,
etc.
CARE
-Hand washing is
recommended.

IMPORTANT SAFEGUARDS
When using electrical appliances, basic safety precautions
should be followed as follows:
•Read all instructions before first use.
•This appliance is designed for household use only.
•Do not place the appliance against a wall or against another
appliance. Leave at least 5 inches of free space on the back
and sides and 5 inches of free space above the appliance.
•Do not place anything on top of the appliance.
•Do not use the appliance for any purpose other than described
in this manual.
•Do not leave the unit unattended when in operation.
•Any accessible surfaces may become hot during use.
•Do not place the appliance on or near combustible materials,
such as a tablecloth or curtain.
•The appliance needs approximately 30 minutes to cool down
before safely handling or cleaning.
•Do not cover the air inlets and air outlets when the appliance is
working.
•Do not immerse the housing in water or rinse under the tap due
to the electrical and heating components.
•Never use the air fryer without the basket in place.
•Keep all ingredients in the basket to prevent any contact with
the appliance’s heating elements. Do not overfill the basket.
•During hot air frying, hot steam is released through the air
outlets. Keep your hands and face at a safe distance from the
steam and from the air outlets. Also be careful of hot steam and
air when you remove the pan from the appliance.
•Do not touch the cooking chamber, insert, or the inside of the
air fryer during and immediately after use, as they get very hot.
Only hold the food basket by its handle. Always use oven mitts.
Unit is hot!
•Keep all cords away from hot surfaces.
•Keep the appliance and its cords out of the reach of children.
5

•Do not use any unauthorized person to replace or fix a
damaged main cord.
•Do not use the appliance if there is any damage to the plug,
cord or other parts.
•Check that the voltage indicated on the appliance fits the
voltage for your outlet.
•Do not connect appliance to an external timer switch.
•Immediately unplug the appliance if you see dark smoke
coming out of the appliance. Wait for the smoke emission to
stop before you remove the pan from the appliance.
•Keep all ingredients in the cooking chamber to prevent contact
with the heating elements.
•Do not let any liquid enter the appliance (aside from cooking
liquids added to the pan) to prevent electric shock or short-
circuiting.
•Do not touch the inside of the appliance while it is operating, as
it will be very hot.
•Do not use with an extension cord, it must be plugged into a
wall outlet.
•Always unplug the appliance when not in use.
•SAVE THESE INSTRUCTIONS.
6

PARTS DESCRIPTION
AUTOMATIC SWITCH OFF
The appliance has a built in timer. It will automatically
shut off the appliance when it has counted to zero. You
can manually switch off the appliance by turning the timer
knob counter-clockwise to zero.
7
1. Temperature Light
2. Timer Light
3. Temperature Control
Knob
4. Timer Knob
5. Pan Handle
6. Cooking Chamber
7. Main Body
8. Air Inlet
9. Cooking Insert
10. Cooking Chamber
9
10

BEFORE FIRST USE
1. Remove all packaging materials, stickers and labels.
2. Clean the cooking chamber and accessories with hot water,
dishwashing liquid, and a non-abrasive sponge.
3. Wipe the inside and outside of the appliance with a cloth.
USING THE APPLIANCE
1. Place the appliance on a stable, horizontal and even
surface.
2. Remove the cooking chamber from the air fryer and place
the cooking insert in the pan.
3. Place the ingredients on top of the cooking insert, if desired
spritz with cooking oil for a crispier finish. NOTE: Do not over
fill the cooking chamber (for amounts, see “Paula’s
Suggested Cooking Temperatures" chart on page 11), as it
may affect the quality of the food.
4. Slide the cooking chamber back into the air fryer. Never use
the cooking chamber without the cooking insert in it.
5. Turn the temperature control knob to the proper temperature.
6. Determine the required preparation time for the ingredient.
7. To switch on the appliance, turn the timer knob on to the
required preparation time.
8

8. The red power light and the green heating light will go on;
the air fryer quickly begins the cooking process. The timer
will start to count down the set preparation time. During the
cooking cycle, the green heating light will turn off from time
to time. This indicates that the heating element is
maintaining the set temperature.
TIP: Add 3 minutes to preparation time if the appliance is
cold. If you want, you can also preheat the appliance without
any ingredients inside. Turn the timer knob for more than 10
minutes and then turn back to preheat. Then fill the cooking
chamber and turn the timer knob to the required preparation
time.
CAUTION: Do not touch the cooking chamber during and for
30 minutes after use, because it will be very hot. Hold the
cooking chamber ONLY by the handle.
9. Some ingredients may require shaking halfway through the
preparation time. At the halfway point, pull the cooking
chamber out of the appliance by the handle and shake it.
Then slide the cooking chamber back into the air fryer.
10. When you hear the timer bell, the set preparation time has
elapsed. Pull the cooking chamber out of the appliance and
place it on a heat proof surface. NOTE: You can also switch
off the appliance manually by turning the timer control knob
to 0.
11. Check to make sure the ingredients are ready. If the
ingredients are not fully cooked, simply slide the cooking
chamber back into the appliance and set the time for a few
extra minutes.
9

12. Empty the cooking chamber into a bowl or onto a plate. To
remove large or fragile ingredients, lift the ingredients out of
the basket using tongs. The cooking chamber and the
ingredients are hot after air frying. Depending on the
moisture content of the ingredients in the air fryer, steam
may escape from the pan.
CLEANING
•Remove the main plug from the wall outlet and let the
appliance cool down for at least 30 minutes.
NOTE: Remove the cooking chamber to let the Air
Fryer cool before cleaning.
•Clean the appliance after every use. Do not clean the
cooking chamber and the inside of the appliance with
any metal kitchen utensils or abrasive cleaning
materials, as this may damage the non-stick coating
of them.
•Wipe the outside of the appliance with a moist cloth.
•Clean the cooking chamber and accessories with hot
water, some liquid detergent and a non-abrasive
sponge. You can remove any remaining food residue
with degreasing liquid.
•Clean the inside of the appliance with a non-abrasive
sponge.
•Clean the heating element with a cleaning brush to
remove any food residue.
STORAGE
1. Unplug the cord.
2. Make sure all parts are clean and dry.
10

11
PAULA’S SUGGESTED COOKING
Ingredients
Suggested Amount
Temp (°F)
Time (Minutes)
Additional Information
Fries
Thin frozen fries
1 pound
430
15 minutes
Spritz with oil, Shake 2 times
Thick frozen fries
1 pound
430
20 minutes
Spritz with oil, Shake 2 times
Potato wedges
1 pound
430
25 minutes
Spritz with oil, turn once
Meat
Hamburger
1/2 inch thick 4oz.
385
10 minutes
Turn once
Steak
1-1 1/4 inch steak medium rare
385
12- 14 minutes
Turn once
Pork Chops
1 inch boneless pork chops
385
12 minutes
Turn once
Poultry
Frozen chicken wings
10 wings
340
25 minutes
Spritz with oil, Shake 2 times
Frozen chicken tenders
6 tenders
340
15 minutes
Turn once
Frozen chicken nuggets
10 nuggets
340
12 minutes
Shake 2 times
Fish
Shrimp
10 shrimp
340
12 minutes
Spray and turn once
Frozen fish fingers
4 fish fingers
340
12 minutes
Turn once
Frozen crab cakes
4 cakes
340
12 minutes
Shake 2 times
Vegetables
Frozen green beans
2 cups
380
10 minutes
Spritz with oil, Shake 2 times
Baked Potato
2 potatoes
380
45 minutes
Frozen onion rings
1 pound
380
15 minutes
Spritz with oil, Shake 2 times
Baked Goods
Frozen quiche
6 mini quiche
295
15 minutes
Frozen pretzels
2-5 ounces
295
6 minutes
Spritz with oil, turn once
Frozen cinnamon rolls
4 rolls
295
15 minutes
Pizza
Frozen thin crust pizza
1- 6 inch
340
15 minutes
Frozen thick crust pizza
1- 6 inch
340
20 minutes
Frozen pizza bites
8
340
12 minutes

Paula’s Quick Tips
12
•Any food that can be cooked in a conventional, convection, microwave or
toaster oven can be cooked in your air fryer.
•Smaller ingredients usually require a slightly shorter cooking time than
larger ingredients.
•Shaking smaller ingredients halfway during the preparation time optimizes
the end result and can help prevent unevenly fried ingredients.
•For a crispy texture, spritz vegetable, olive or non-stick oil over ingredients
in the cooking chamber.
•Place a glass, silicone, or metal oven-safe dish in the cooking basket when
baking a cake or frying fragile or filled ingredients.
•Frozen foods, such as fries, chicken nuggets and fish sticks can be
prepared by following Paula’s Suggested Cooking Temperatures on page
11.

Deep Fried Mac and Cheese
Serves 6
Ingredients
3 cups Plain bread crumbs for dredging
Flour, for dredging
4 large eggs, beaten
Oil for spraying
For The Mac N Cheese
1-pound elbow macaroni
2 cups grated cheddar cheese
½cup sour cream
4 tablespoons butter, cut into pieces
½teaspoon salt
½teaspoon pepper
1 cup milk
Preparation
1. Cook macaroni according to package instructions.
2. Drain and rinse with cold water. Let the pasta drain and cool for several
minutes.
3. Heat a Dutch oven with the milk and butter over medium heat.
4. Whisk in the sour cream till smooth, then stir in the cheeses stirring till
melted and smooth.
5. Stir in the drained macaroni. Pour into a shallow baking dish and chill for
at least 2 hours.
6. Cut macaroni and cheese into squares.
7. Dredge each Cheesy Mac square in flour, then egg, and then bread
crumbs. Roll to coat each square.
8. Place each square on a baking pan lined with parchment paper. Spray
tops of squares with oil.
9. Working in batches place in the cooking chamber careful not to over
crowd, (6-8 depending on the size.)
10. Close chamber; set temperature for 400 degrees, and timer for 5 minutes.
11. When cook time is complete, open chamber and turn squares; spray again
with oil and close basket.
12. Set timer for 5 minutes. When cook time is complete, open chamber and
remove squares to a serving platter to keep warm.
13. Repeat with remaining squares; serve warm.
13

Fried Green Tomatoes with Vidalia Onion Relish
Serves 2-4
Fried Green Tomato Ingredients
1 large firm green tomato, cut into ¼-inch slices
1 cup buttermilk
1 cup all-purpose flour
Parchment Paper$
Vidalia Relish Ingredients
2 white onions diced
½cup mayonnaise
½cup rice wine vinegar
2 tablespoon brown sugar
2 tablespoon fresh chives, chopped
Vidalia Relish Preparation
1. Mix all ingredients together in a bowl.
2. Cover with plastic wrap and let marinade for a few hours.$
Fried Green Tomato Preparation
1. Slice the tomatoes ¼inch thick.
2. Lay them out in a shallow baking pan and sprinkle with salt.
3. Place slices in a colander and allow time for the salt to pull the water
out of the tomatoes, approximately 30 minutes.
4. Working, in batches of 4, dip tomatoes into the buttermilk, then
dredge them into the flour with a dash of pepper.
5. Line air fryer with parchment paper.
6. Spray slices with oil on each side and place in the air fryer basket.
7. Set temperature to 400 degrees, and time for 5 minutes. Close
chamber.
8. When cook time is complete, open chamber turn slices over, spray
with oil; close chamber.
9. Set timer for 3 minutes.
10. When cook time is complete, open chamber turn slices again; close
chamber.
11. Set timer for 2 minutes; set aside and keep warm.
12. Repeat with remaining slices.
13.Serve hot with relish on the side.
14

Naked Hot Chicken Wings
Serves 4
Ingredients
2-pounds chicken wings, cut at the joint to yield a wingette and a drumette
from each wing
1 teaspoon Kosher Salt
1/8 teaspoon Cayenne pepper
2 tablespoons peanut oil
1 stick butter
5oz. Paula Deen Hot Sauce (sold separately)
Preparation
1. In a small saucepan over a medium heat, heat butter and hot sauce
just until butter melts; keep warm on stovetop.
2. Wash wings thoroughly, pat dry and place in a bowl. Add oil, salt and
cayenne pepper.
3. Thoroughly coat the wings and working in batches of about 8 wings,
place them in the chamber; close chamber.
4. Set temperature to 400 degrees, and timer for 25 minutes. Shake
occasionally and spritz with oil once during the cooking time.
5. When cook time is complete, open chamber and toss the fried
chicken in the buffalo sauce and remove with a slotted spoon.
6. Repeat with the remaining chicken.
15

Southern Fried Chicken
Serves 2-4
Ingredients
Paula Deen House Seasoning (sold separately or see recipe)
2 ½lbs. chicken, cut into pieces
2 cups self-rising flour
1 cup hot sauce
3 large eggs
Preparation
1. In a medium sized bowl, beat the eggs together with the hot sauce.
2. Season the chicken well with the House Seasoning.
3. Working in batches of 2-3, dip the seasoned chicken in the egg, then
coat well with flour.
4. Place on a baking tray lined with parchment paper.
5. Spray the top of the chicken pieces with oil, set into chamber.
6. Spray the chicken pieces again; close chamber.
7. Set temperature for 350 degrees, and timer for 15 minutes.
8. When cook time is complete, turn the chicken, and spray again; close
chamber.
9. Set timer for 10 minutes. When cook time is complete, open chamber,
turn chicken spray with oil again; close chamber.
10. Increase the temperature to 400 degrees, Set timer for 7 minutes.
11. When cook time is complete, and chicken has reached an internal
temperature of 165 degrees, remove to a serving platter and cover to
keep warm.
12. Repeat with remaining chicken.
16

Fried Pork Chops with Tomato Gravy
Serves 2
Ingredients
2 bone-in center cut pork chops, 1-inch thick, ½pound each
¼teaspoon garlic powder
Oil for spraying
4 tablespoons olive oil
4 tablespoons unsalted butter
2 tablespoons finely chopped onion
¼cup all-purpose flour
1 ½cups whole milk
1 ½cups chicken broth or water
1 can (14 ½oz.) tomatoes, drained
Preparation
1. Lightly sprinkle the chops on both sides with salt, pepper and garlic
powder.
2. Spray each chop on both sides and place in chamber; close chamber.
3. Set temperature for 400 degrees, and timer for 10 minutes.
4. When cook time is complete, open the basket, turn the chops and
spray again.
5. Set timer for 10 additional minutes.
6. While chops are cooking, add butter to a small skillet and melt.
7. Add onions and cook, stirring until softened, about 5 minutes.
8. Go ahead and reduce the heat if the onions start to brown too quickly.
9. Sprinkle the flour over the onions and cook, stirring, 1 minute.
10. Slowly whisk in the milk, then the broth or water. Simmer mixture
until thickened, about 5 minutes.
11. Whisk in the tomatoes, ½teaspoon salt, and ¼teaspoon black
pepper.
12. Spoon the sauce over pork chops and serve.
17

Bacon Wrapped Shrimp
Serves 2-4
Ingredients
16 jumbo shrimp, butterflied
16 chunks Monterey Jack cheese
1 serrano pepper, thinly sliced
16 bacon strips, cooked
Toothpicks
Barbecue sauce
Preparation
1. Place shrimp, seam-side down, on a cutting board.
2. Stuff 1 shrimp with a piece of cheese and pepper; close shrimp, wrap
it with a piece of bacon and secure with a toothpick.
3. Repeat last step again with remaining shrimp.
4. Place shrimp in the air fryer 5 at a time. Spray with oil.
5. Close chamber; set temperature to 400 degrees. Set timer for 5
minutes.
6. Shake chamber several times.
7. If the bacon is not cooked crispy enough spray with oil and cook for 2
minutes longer.
8. Serve with barbecue sauce for dipping.
18

Fried Catfish
Serves 2-4
Ingredients
4 catfish filets
Salt
1 cup buttermilk
2 tablespoons hot sauce
Oil for spraying
1 cup flour
1 cup yellow corn meal
1 teaspoon crab boil seasoning
1 teaspoon garlic powder
Preparation
1. Season the catfish fillets on both sides with salt and pepper.
2. Mix together buttermilk and hot sauce in an 8x8 casserole dish.
3. Add cat fish fillets, making sure they are completely covered by the
liquid.
4. Let soak while you prepare the other ingredients.
5. Prepare a baking sheet with parchment paper.
6. Whisk together the flour, cornmeal, crab seasoning, garlic powder in
another casserole dish.
7. Remove the catfish from the buttermilk, letting excess drip off, and
dredge on both sides with the cornmeal mixture, matting it down to
help adhere.
8. Place coated fillets on baking pan and spray with oil on both sides,
sprinkle with a little more cornmeal mixture and place in refrigerator to
set up for 30 minutes.
9. Place 2 fillets in the chamber spray well with oil; close basket.
10. Set temperature for 400 degrees, and timer for 10 minutes.
11. When cook time is complete, open chamber, gently turn fillets and
spray with oil; close chamber.
12. Set timer for 5 additional minutes, or until golden brown and cooked
through.
13. Repeat with remaining fillets.
14. Serve warm.
19

French Fries
Serves 2-4
Ingredients
2 Russet Potatoes, peeled and cut into fries
Oil for frying
Sea salt
Preparation
1. Soak cut potatoes in a bowl of ice water for at least 15 minutes.
2. Pat the potatoes dry with paper towels.
3. Place fries in chamber, in a single layer, not crowding; close chamber.
4. Set temperature for 320 degrees, and timer for 10 minutes, (this is to
remove moisture from the fries).
5. When cook time is complete, spray well with oil, and sprinkle with
salt; close chamber.
6. Set temperature to 400 degrees and set timer for 10 minutes more.
7. Shake occasionally, adding more spray if you like.
20
Table of contents
Other Paula Deen kitchen electrics Fryer manuals