manuals.online logo
Brands
  1. Home
  2. •
  3. Brands
  4. •
  5. Pavement Ends
  6. •
  7. Automobile Accessories
  8. •
  9. Pavement Ends 41517 User manual

Pavement Ends 41517 User manual

Installation Tips
After completing the installation, keep these instructions
for future reference. Before you begin installing this Sun-
Cap, read all instructions thoroughly. Below are a few
tips to make this installation easier.
For a smooth fit:
For ease in installation, this Sun Cap top should be
installed at temperatures above 72º F. Below this
temperature, the fabric may contract an inch or more,
making it difficult to fit to the vehicle.
It is normal for the fabric to contract and wrinkle when
stored in the shipping carton. Within a few days after
the installation, the fabric will relax and the wrinkles will
disappear.
WARNING
This Sun Cap is designed to enhance the appearance of the
vehicle and to shield the occupants from ordinary weather con-
ditions. Do not rely in any way on the components of the Sun Cap
to contain occupants within the vehicle, or to protect against
injury or death in the event of an accident. The Sun Cap will not pro-
tect the occupants from falling objects. Never operate vehicle
in excess of manufacturer’s specifications.
WEAR SEAT BELTS AT ALL TIMES
Read and follow, precisely, all installation instructions provided
when installing this Sun Cap Top. Failure to do so may result
in a poor fit and could place occupants of the vehicle in a
potentially dangerous situation. After installing or reinstalling
the Sun Cap, check to make sure it has been properly installed.
Sun Cap
Installation Instructions
For: Wrangler 1997 - 2002 Part Number: 41517
To be used with or without Soundbar
To be used without Door Surround Side Rails
Important Note: Must be used with a Windshield Channel Kit Number 45810-01.
Parts List
Sun Cap Qty - 1
Note:For best possible installation, check to
make sure that the top is perfectly centered
on the vehicle.
Step Two - Without Soundbar
Wrap the long center strap at the rear of the Sun Cap around the sport
bar, pull it forward into the vehicle to the windshield. Thread the strap
through the footman loop on the windshield frame. Then pull the end
of the strap back and thread it through the buckle. Tighten it securely.
Threading Strap
through Buckle
Loop - In Front
of Sport Bar
Center Strap - Thread
through Footman Loop
Buckle - Behind
Sport Bar
Buckle
Footman Loop
Strap
Hook - Behind
Sport Bar
Drape the fabric over the center sport bar. Make sure that the long
tails of the straps and the buckles are behind the sport bar. Wrap
the long web straps around rear sport bars and thread through the
corner buckles. Wrap the hook and loop around the center sport
bar with the loop in front of the bar and the hook behind the bar.
Step One
Orient the Sun Cap with the plastic ridge to the front and the straps
toward the back. Start on one side of the vehicle and slide the plastic
ridge of the Sun Cap into the Windshield Channels, working it into
position all the way across the front of the vehicle. Make sure that
the fabric is centered in the retainers, as well as the Plastic Retainer
centered relative to the ends of the Windshield Channel.
View from inside vehicle -
looking toward front
Windshield
Insert plastic ridge on front edge of
Sun Cap into Channel and Slide across
Center Strap - Thread
through Footman Loop
Soundbar
Hook -Between Sport
Bar and Sound Bar
Loop -In Front
of Sport Bar Footman Loop
Step Two- With Soundbar
Drape the fabric over the center sport bar. Make sure that the loop straps are in front of the
sport bar and that the long center strap, the hook straps, and the side web straps are resting
on top of the soundbar.
Start with the center strap and push the end of the strap between the center sport bar and the
soundbar. Push the end of the strap through until you can get ahold of the strap to pull the
buckle through. Do this with the hook and other web straps.
- See Note -
Wrap the long center strap at the rear of the Sun Cap around the sport bar, pull it forward into
the vehicle to the windshield. Thread the strap through the footman loop on the windshield
frame. Then pull the end of the strap back and thread it through the buckle. Tighten it securely.
Note: Some soundbars fit extremely tight against the
sport bar preventing the buckles easy access to the
straps. If this is the case, the soundbar must be moved
slightly rearward. The distance will vary on each
vehicle.
Remove the four bolts securing the soundbar in place.
Reposition the soundbar rearward (check the clearance
for buckle accessibility), notch out the soundbar
attachment brackets accordingly - in most cases it will
be less than 1/4". Reinstall the four bolts.
Threading Strap
through Buckle
Buckle
Strap
Soundbar
Step Three
Wrap the straps sewn to the rear corners around the rear
sport bar and thread them through the buckles on the rear
corners of the Sun Cap.
Locate the sets of hook and loop straps on the rear of the
Sun Cap and wrap them around the center sport bar.
Thread Strap
through Buckle
Strap -Between Sport
Bar and Sound Bar
Wrap the hook
and loop
Wrap the straps around bar and
fasten Hook and Loop to each other.
Step Four
Locate the hook and loop strips sewn to each side of the Sun Cap.
Fasten the strips to each other as you wrap them around the front
sport bars.
LIMITED WARRANTY
We warrant our product to be free from defects in material and workmanship, for the terms specified below, provided there has been normal
use and proper maintenance. This warranty applies to the original purchaser only. All remedies under this warranty are limited to the repair
or replacement of any item or items found by the factory to be defective within the time period specified.
If your have a warranty claim, first you must call our factory at the number below for instructions. You must retain proof of purchase and
submit a copy with any items returned for warranty work. Upon completion of warranty work, if any, we will return the repaired or replaced
item or items to you freight prepaid. Damage to our products caused by accidents, fire, vandalism, negligence, misinstallation, misuse, Acts
of God, or by defective parts not manufactured by us, is not covered under this warranty.
THE WARRANTY TIME PERIOD IS AS FOLLOWS: ALL “SOFT GOODS” MANUFACTURED BY OUR COMPANY (USING PRIMARILY VINYLS,
PLASTICS, AND/OR FOAM): ONE YEAR FROM DATE OF PURCHASE.
ANY IMPLIED WARRANTIES OF MERCHANTABILITY AND/OR FITNESS FOR A PARTICULAR PURPOSE CREATED HEREBY ARE LIMITED
IN DURATION TO THE SAME DURATION AND SCOPE AS THE EXPRESS WRITTEN WARRANTY. OUR COMPANY SHALL NOT BE LIABLE
FOR ANY INCIDENTAL OR CONSEQUENTIAL DAMAGE.
PAVEMENT ENDS SOFT TOP HARD TOP

Other Pavement Ends Automobile Accessories manuals

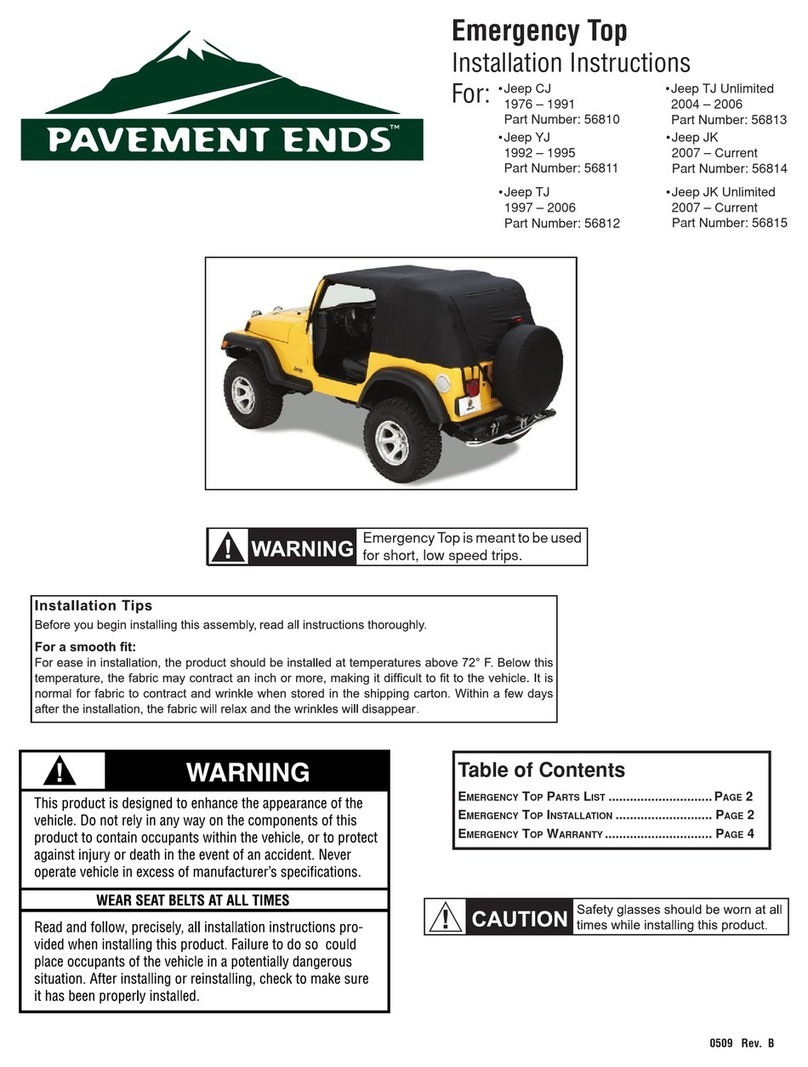
Pavement Ends 56813 User manual

Pavement Ends

Pavement Ends 56813 User manual

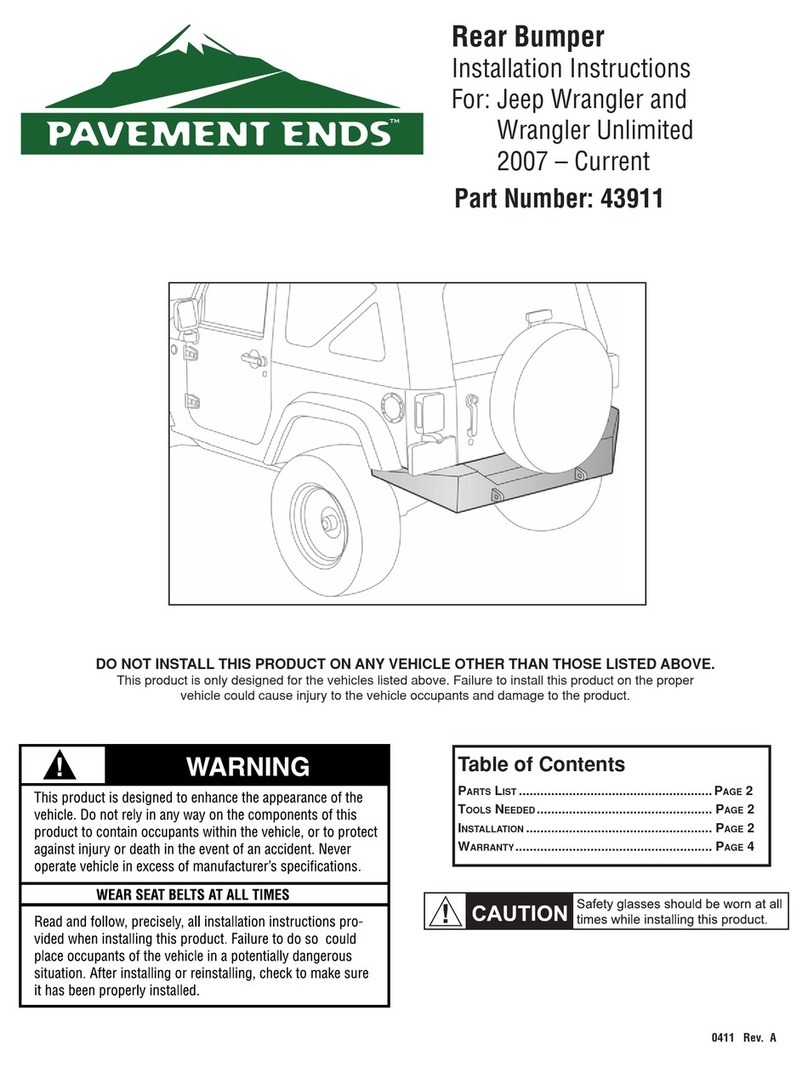
Pavement Ends 43911 User manual

Pavement Ends

Pavement Ends 43911 User manual

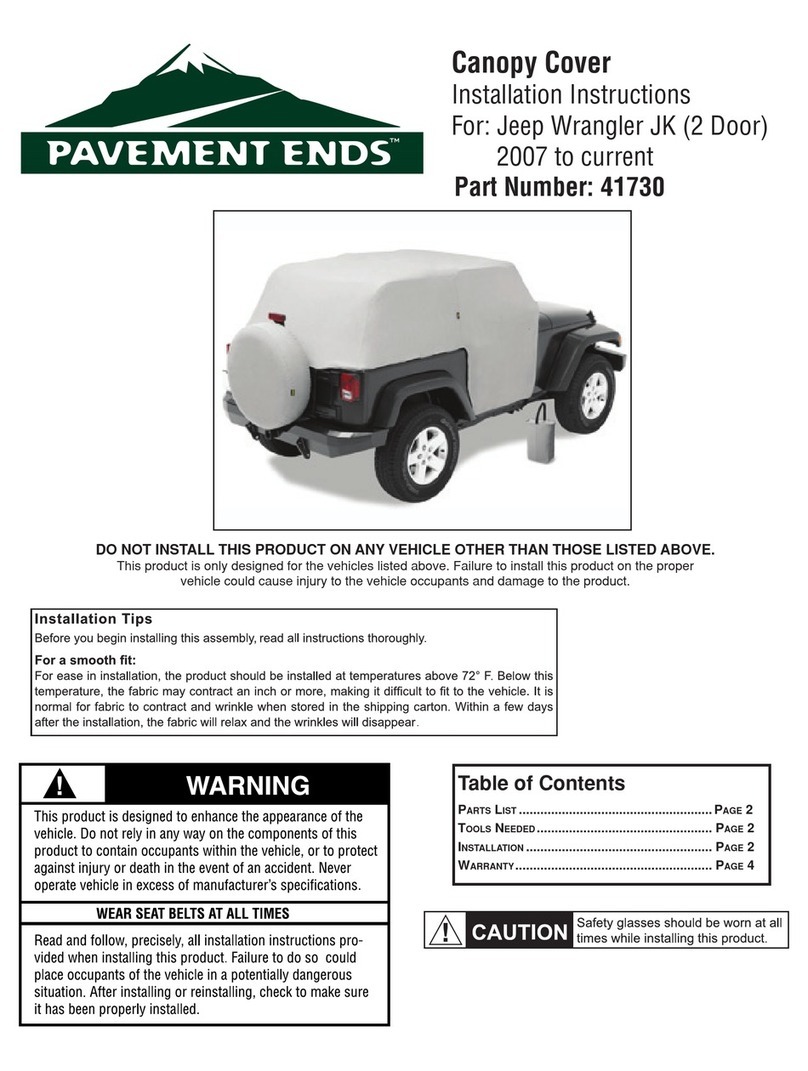
Pavement Ends 41730 User manual

Pavement Ends

Pavement Ends 41730 User manual

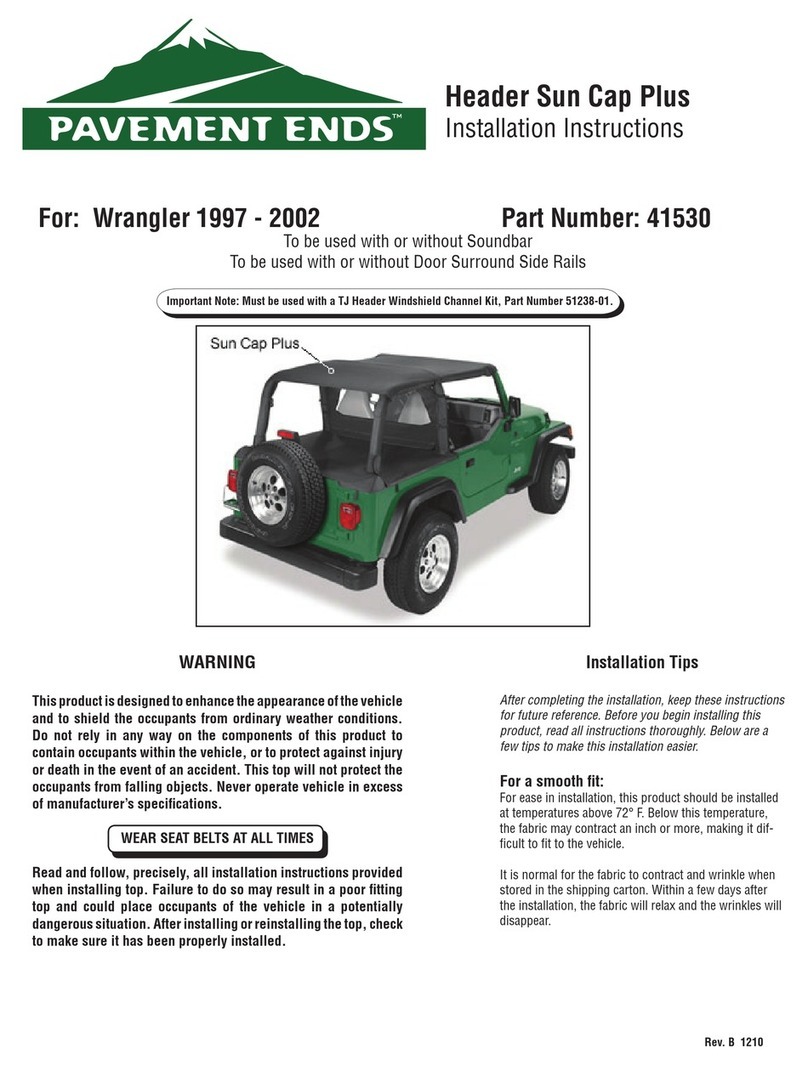
Pavement Ends 41530 User manual

Pavement Ends

Pavement Ends 41530 User manual

Popular Automobile Accessories manuals by other brands

FormFit Tough Guard TG 6R09 installation instructions

FormFit

FormFit Tough Guard TG 6R09 installation instructions

Air Lift 75670 instructions

Air Lift

Air Lift 75670 instructions

Tyrepal TC215B user manual

Tyrepal

Tyrepal TC215B user manual

IFZ 09162739 installation instructions

IFZ

IFZ 09162739 installation instructions

Axxess Automobile Parts installation instructions

Axxess

Axxess Automobile Parts installation instructions

HAKR HV1160 quick start guide

HAKR

HAKR HV1160 quick start guide

TAUBENREUTHER 5-285 manual

TAUBENREUTHER

TAUBENREUTHER 5-285 manual

Metra Electronics 99-7954 installation instructions

Metra Electronics

Metra Electronics 99-7954 installation instructions

Kongsberg cNODE Embed instruction manual

Kongsberg

Kongsberg cNODE Embed instruction manual

Porsche 7PP.971.675.J manual

Porsche

Porsche 7PP.971.675.J manual

Diamondback 270 installation guide

Diamondback

Diamondback 270 installation guide

Blaupunkt BP RSE AD 10.1 manual

Blaupunkt

Blaupunkt BP RSE AD 10.1 manual

Enel X Waybox Pro user manual

Enel X

Enel X Waybox Pro user manual

Bosch 1 987 432 003 installation instructions

Bosch

Bosch 1 987 432 003 installation instructions

CipherLab CP55 quick start guide

CipherLab

CipherLab CP55 quick start guide

Steinhof N-096 FITTING AND OPERATION MANUAL

Steinhof

Steinhof N-096 FITTING AND OPERATION MANUAL

Alpine ACTIVE VIEW HCE-C305R owner's manual

Alpine

Alpine ACTIVE VIEW HCE-C305R owner's manual

Roav SmartCharge T2 user manual

Roav

Roav SmartCharge T2 user manual

manuals.online logo
manuals.online logoBrands
  • About & Mission
  • Contact us
  • Privacy Policy
  • Terms and Conditions

Copyright 2025 Manuals.Online. All Rights Reserved.