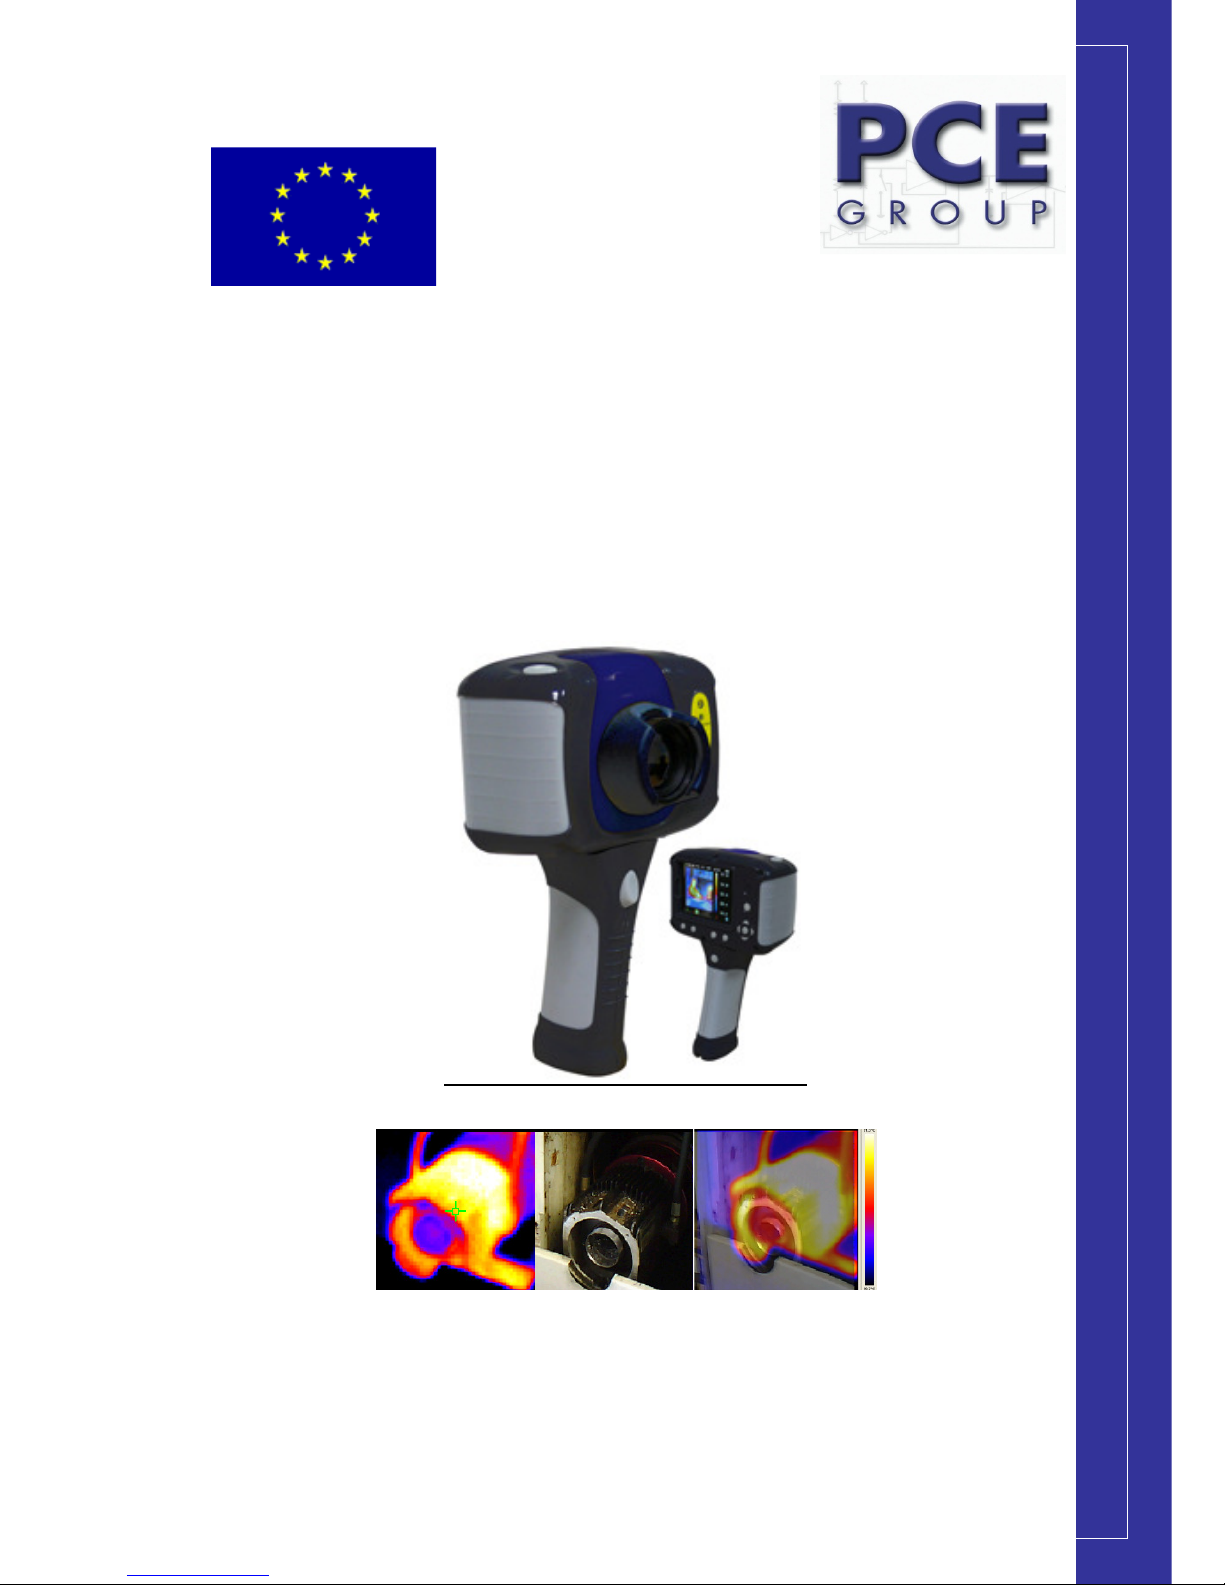
Users manual
_____________________________________________________________________________________________________
_______________
www.pce-group-europe.com
2
Inhaltsverzeichnis
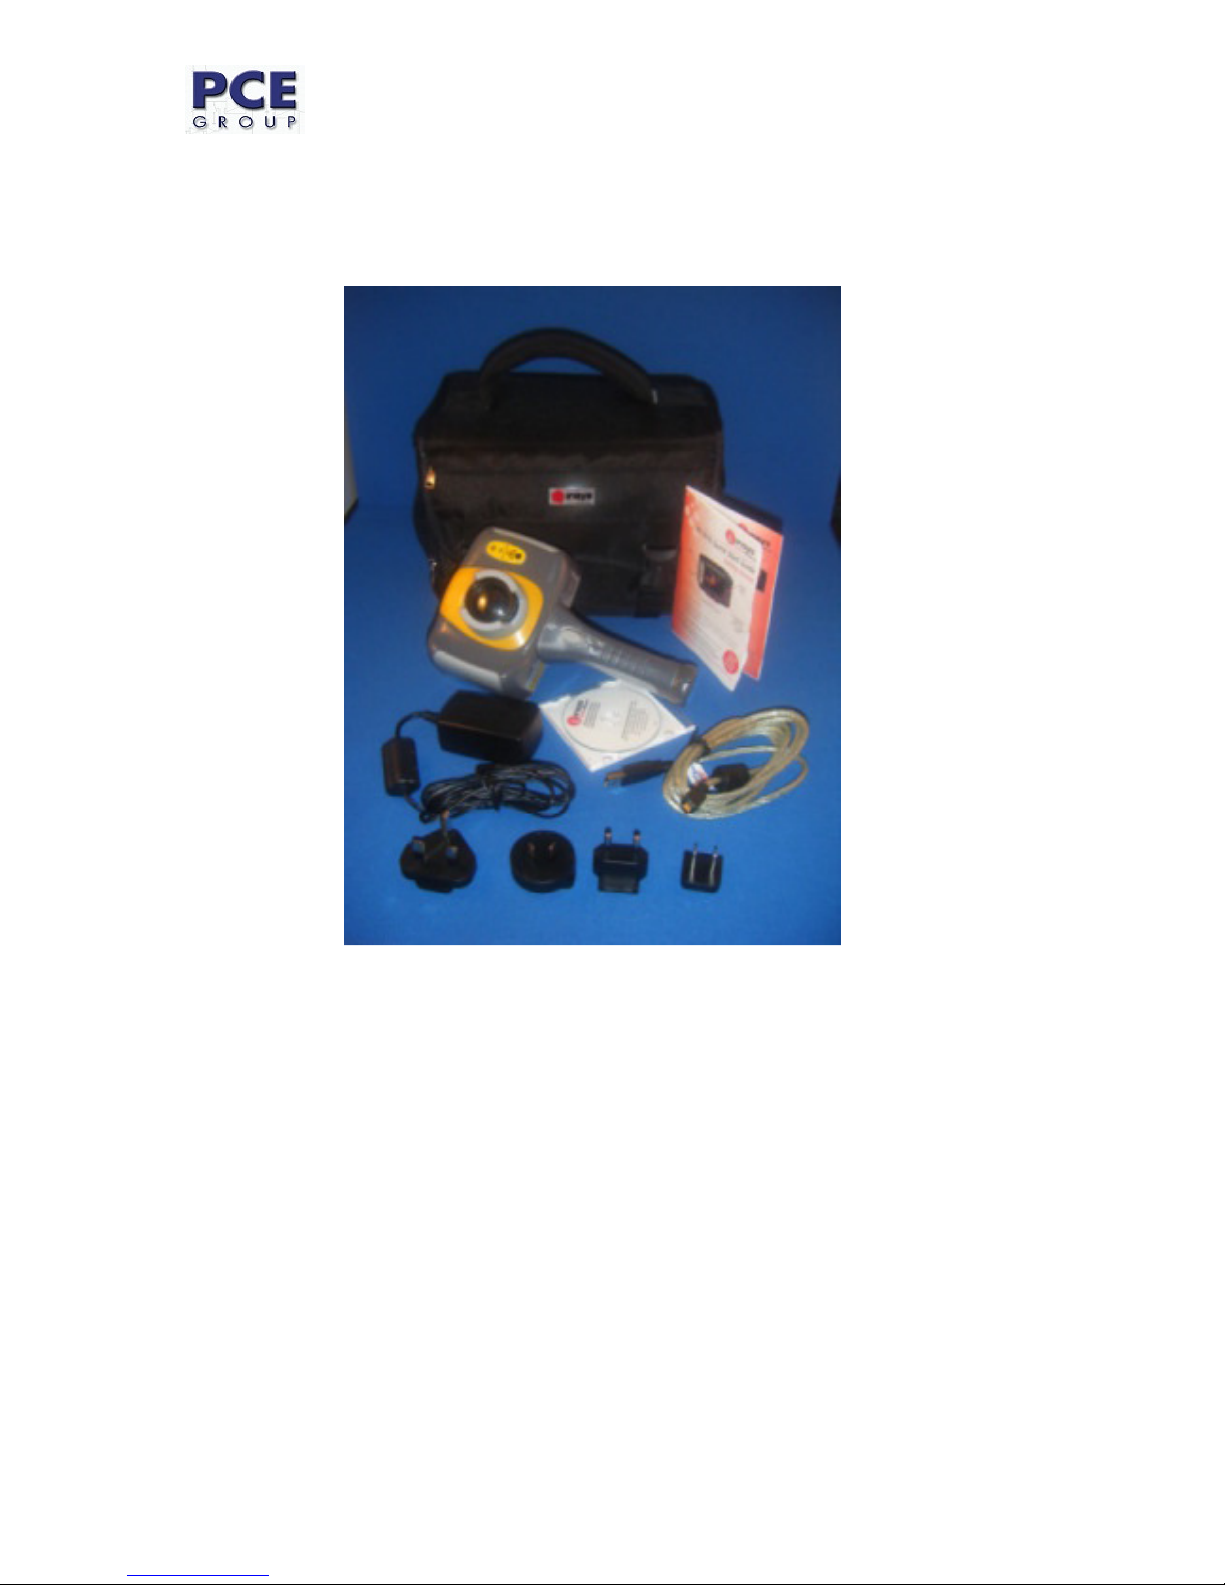
1.
Contents of the Case....................................................................................................................... 3
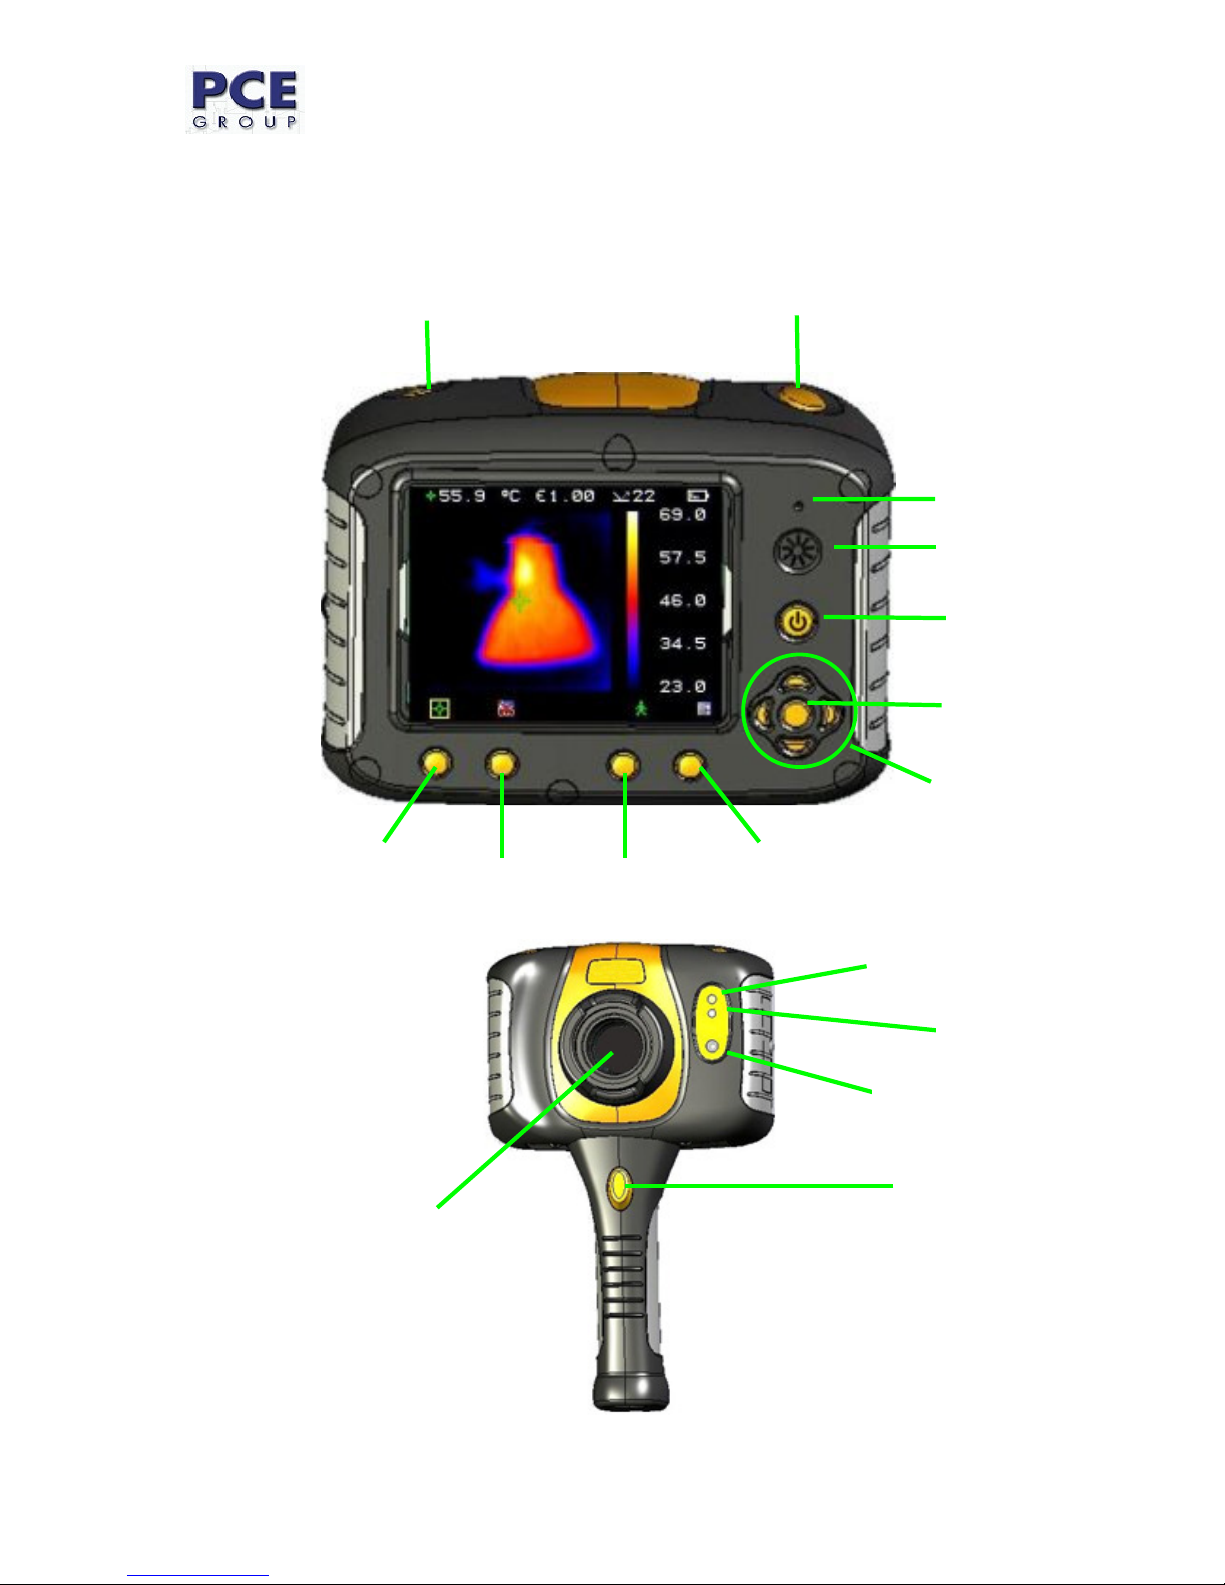
2.
Main Features and Controls. ........................................................................................................... 4
3.
Getting Started................................................................................................................................. 5
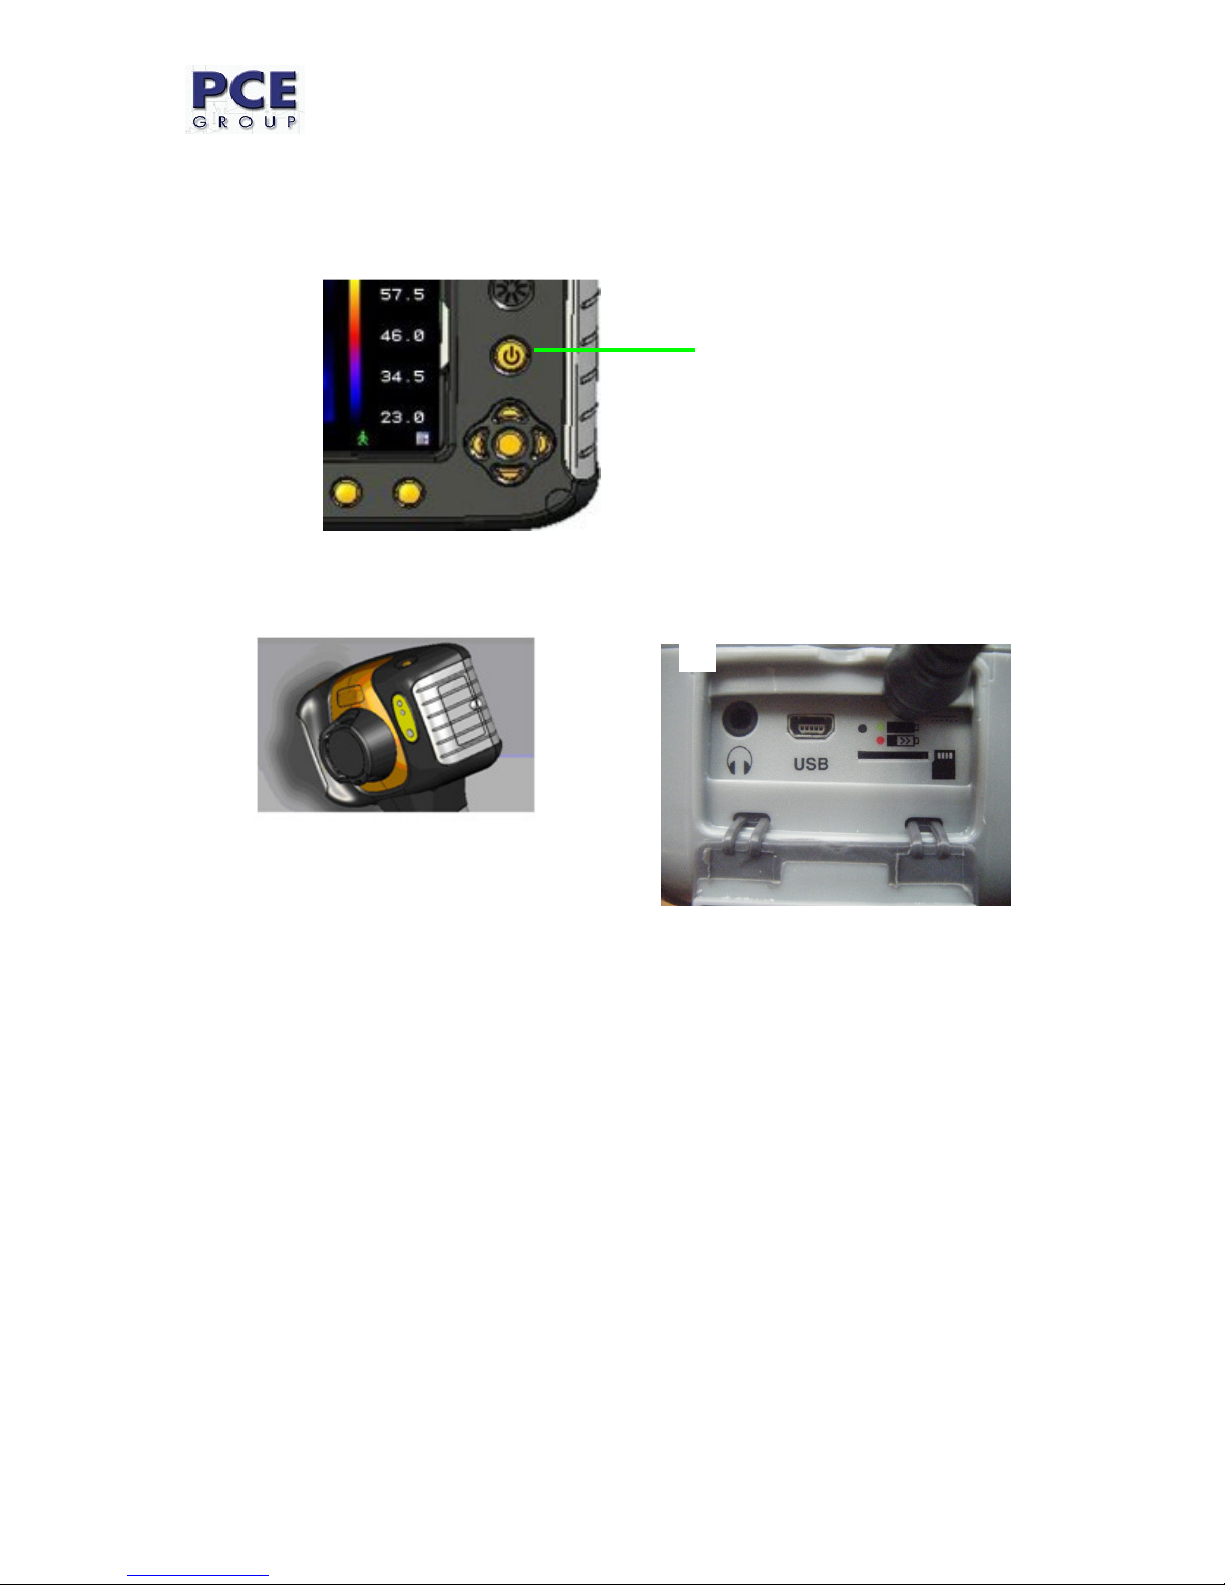
3.1
Switching the Camera on/off ................................................................................................... 5
3.2
Charging the internal battery ................................................................................................... 5
3.3
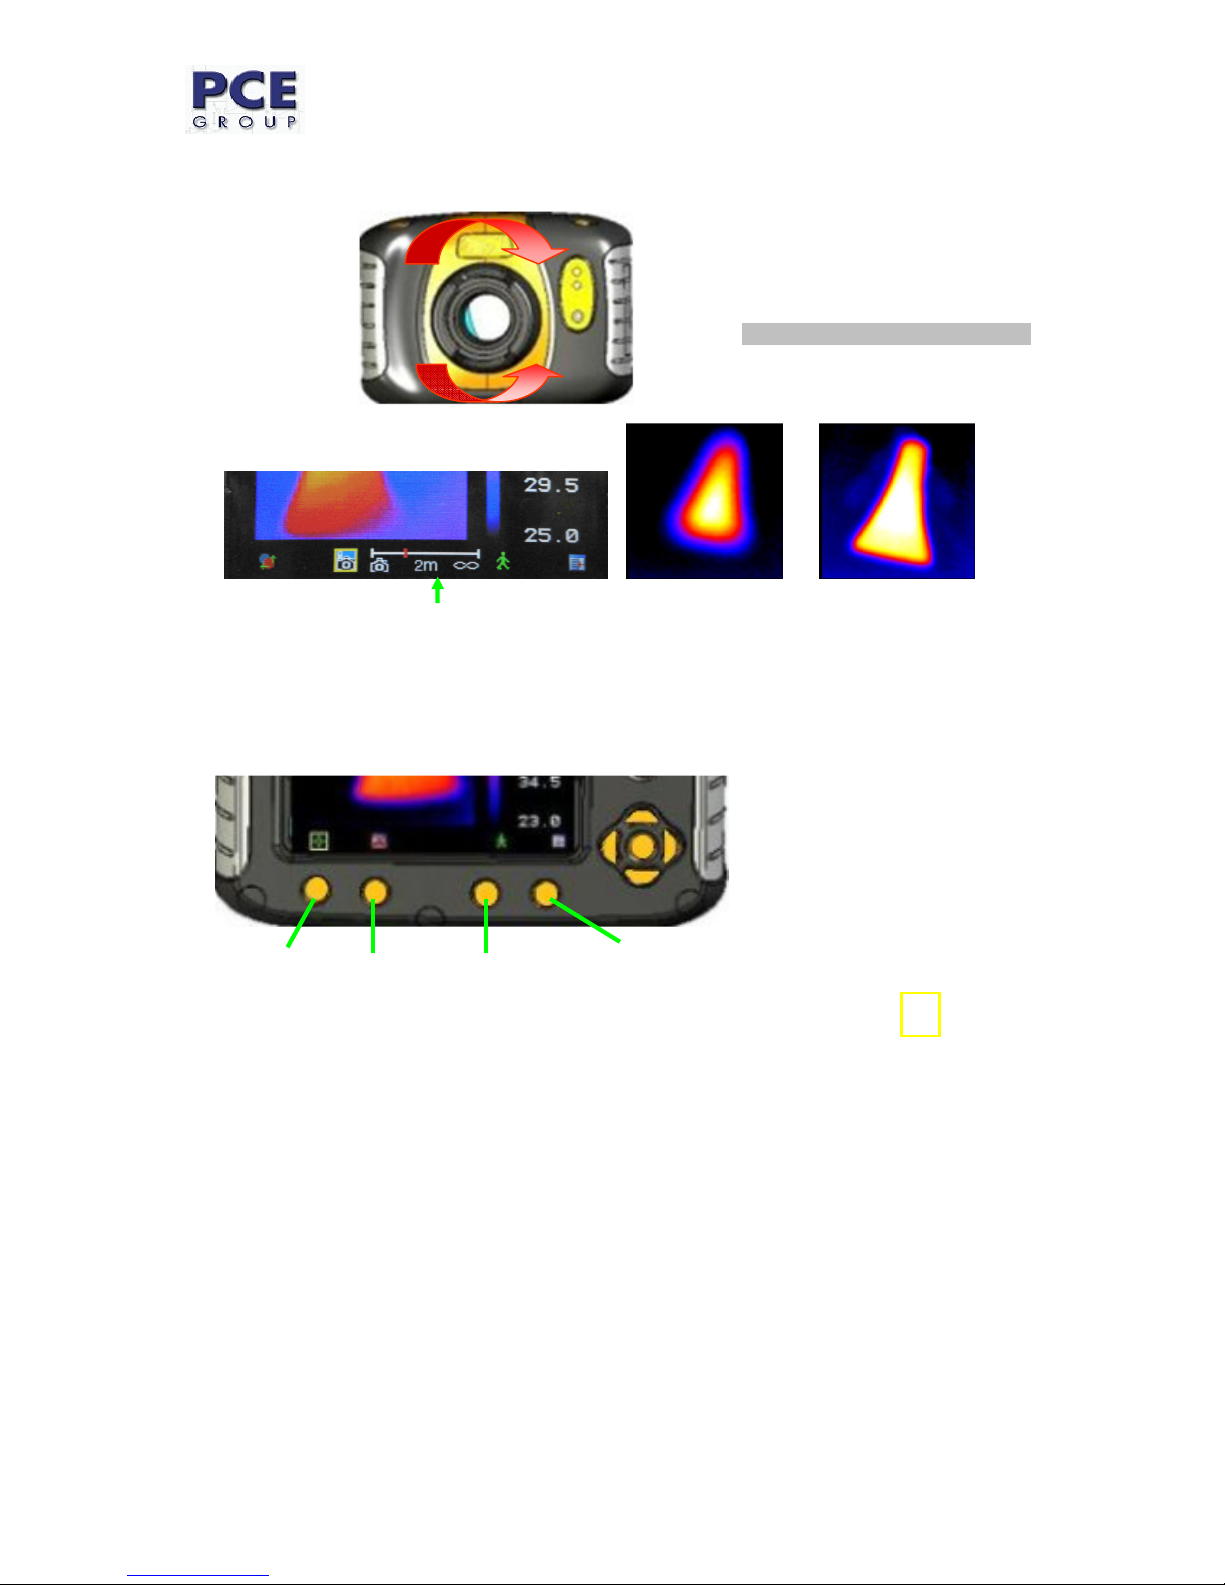
Focusing .................................................................................................................................. 6
3.4
Hotkey Buttons ........................................................................................................................ 6
3.4.1
Menu.................................................................................................................................... 7
3.4.2
Saving an Image.................................................................................................................. 7
3.4.3
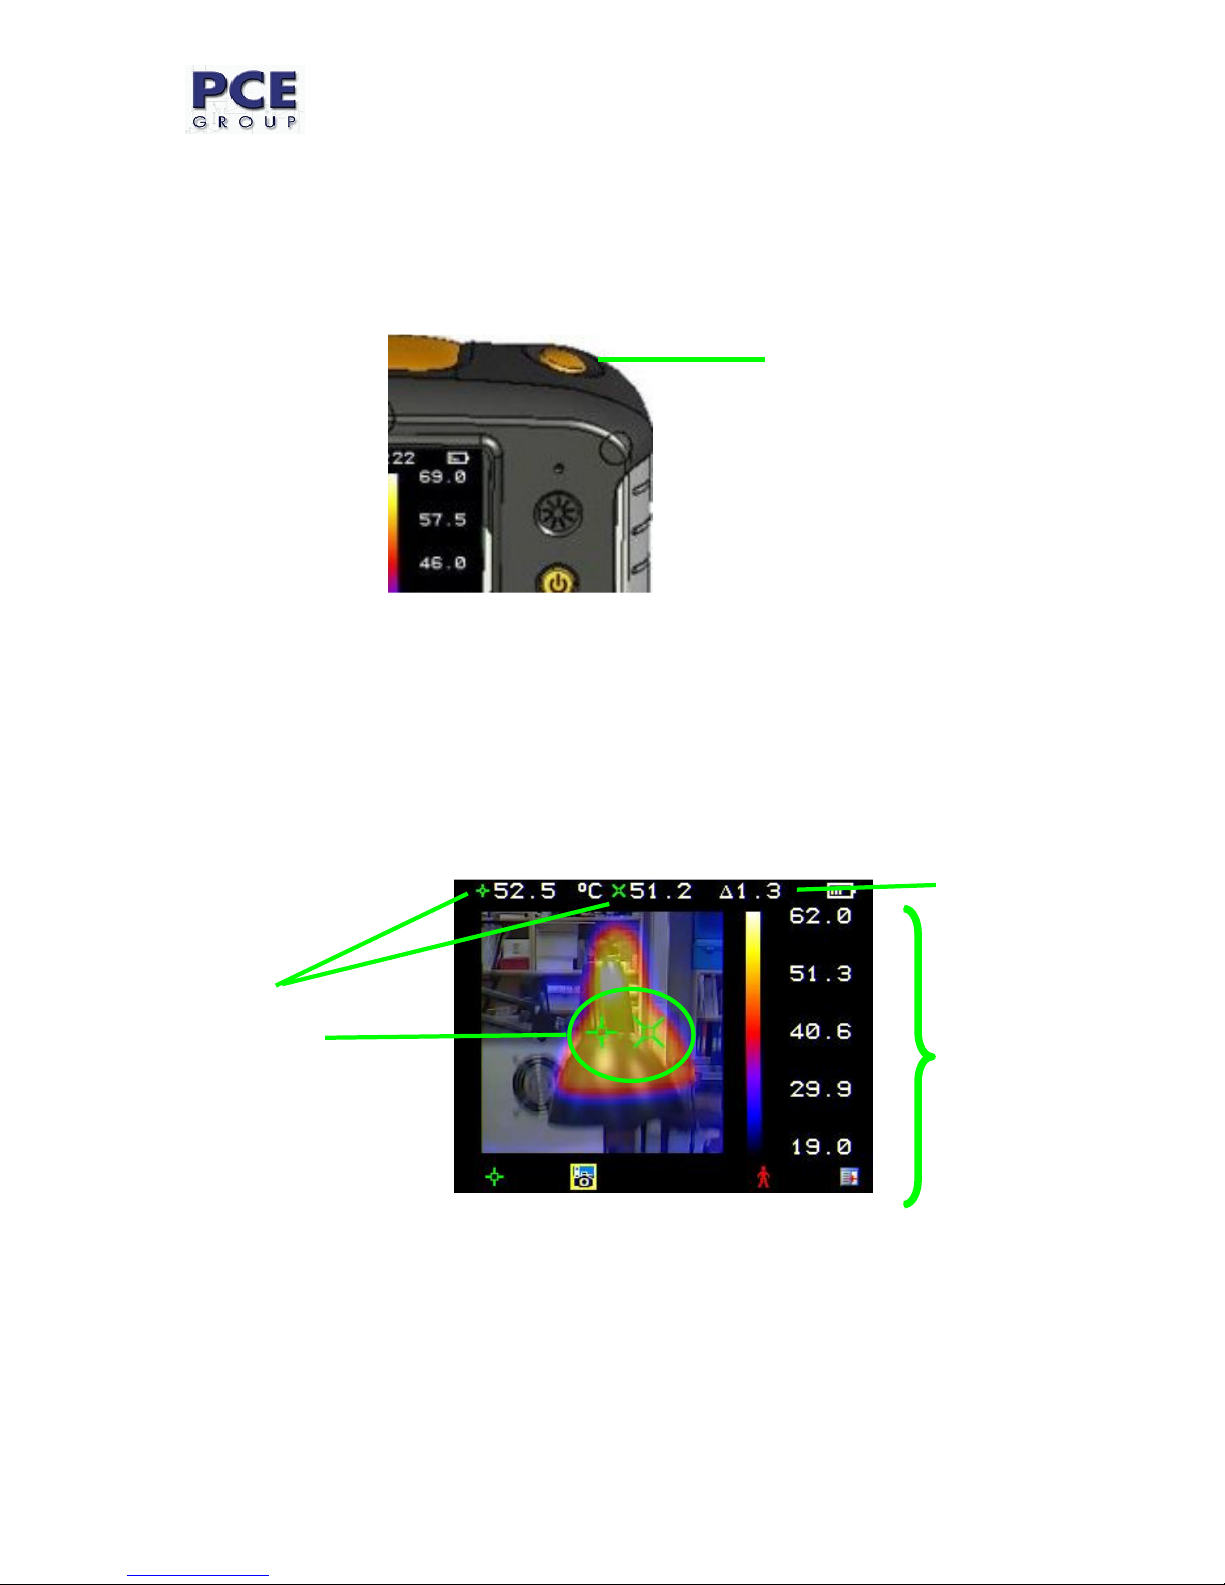
Temperature Measurement ................................................................................................. 7
4.
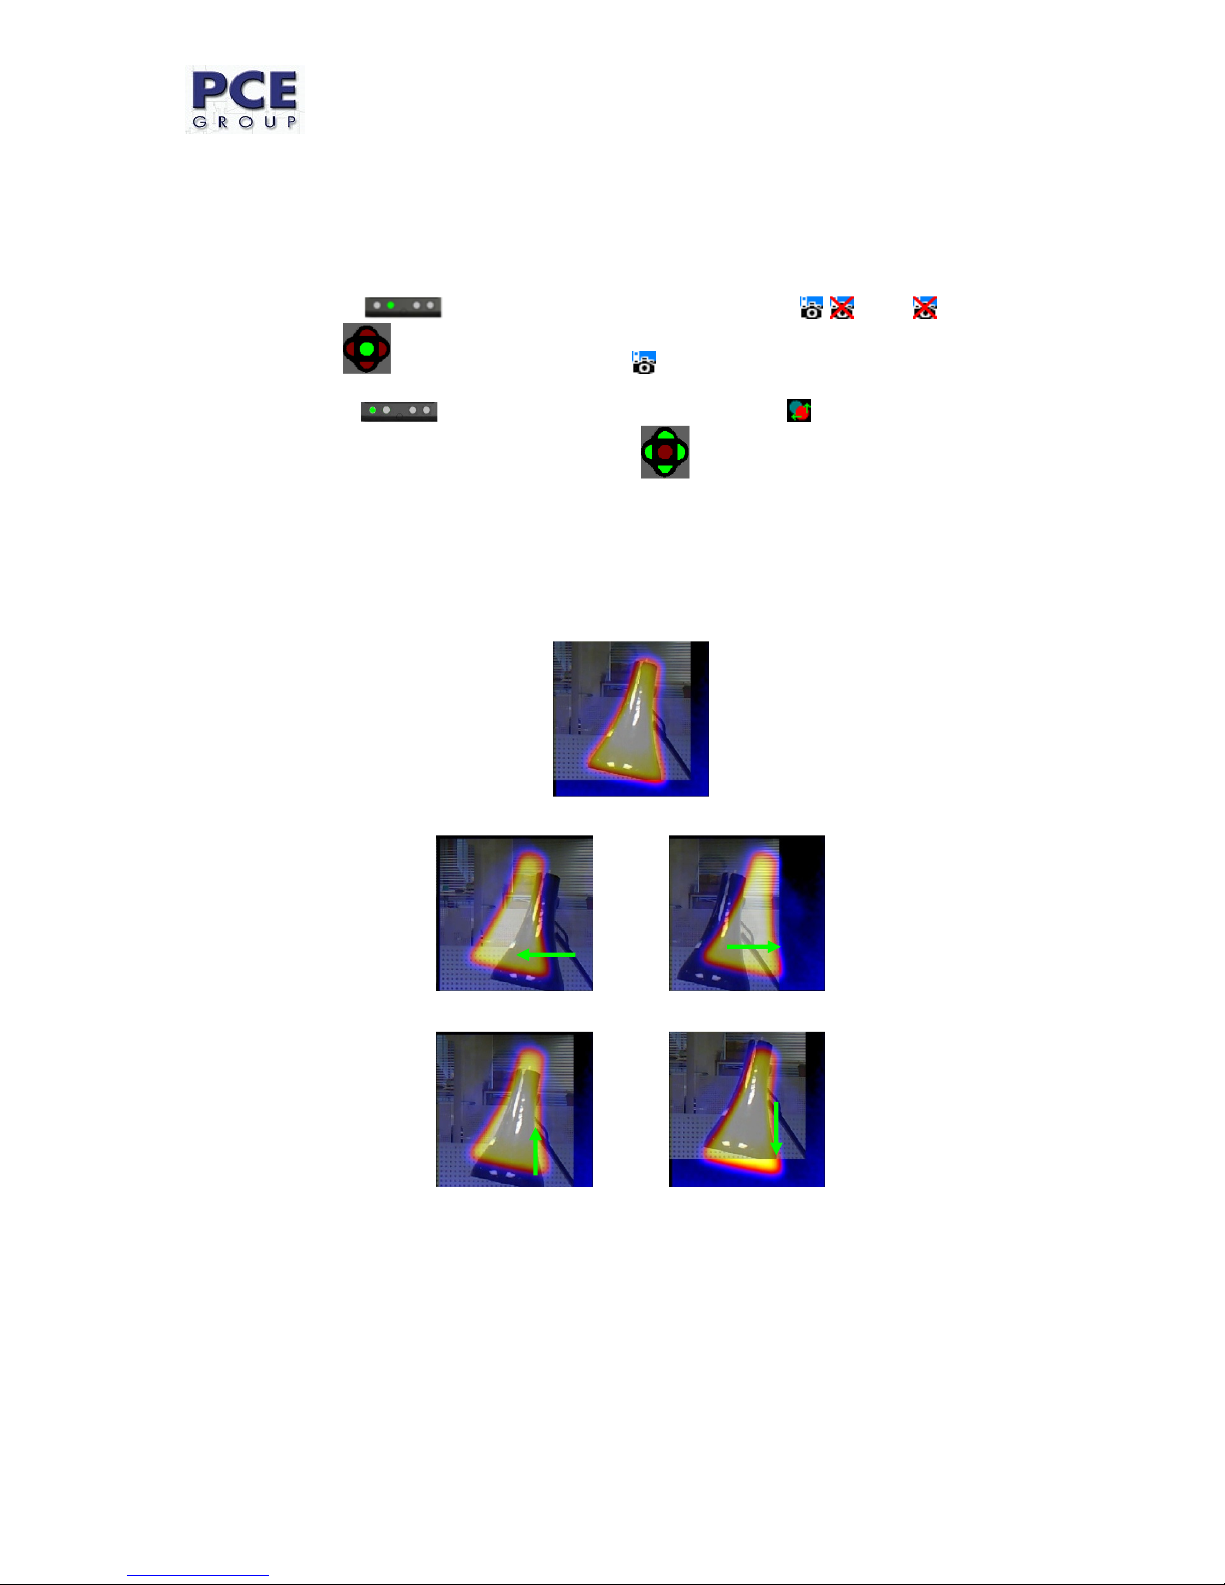
Thermal and Visible Image Blending............................................................................................... 8
4.1
Image Alignment...................................................................................................................... 9
4.1.1
Settinngs.............................................................................................................................. 9
4.1.2
Examples of alignment. ....................................................................................................... 9
5.
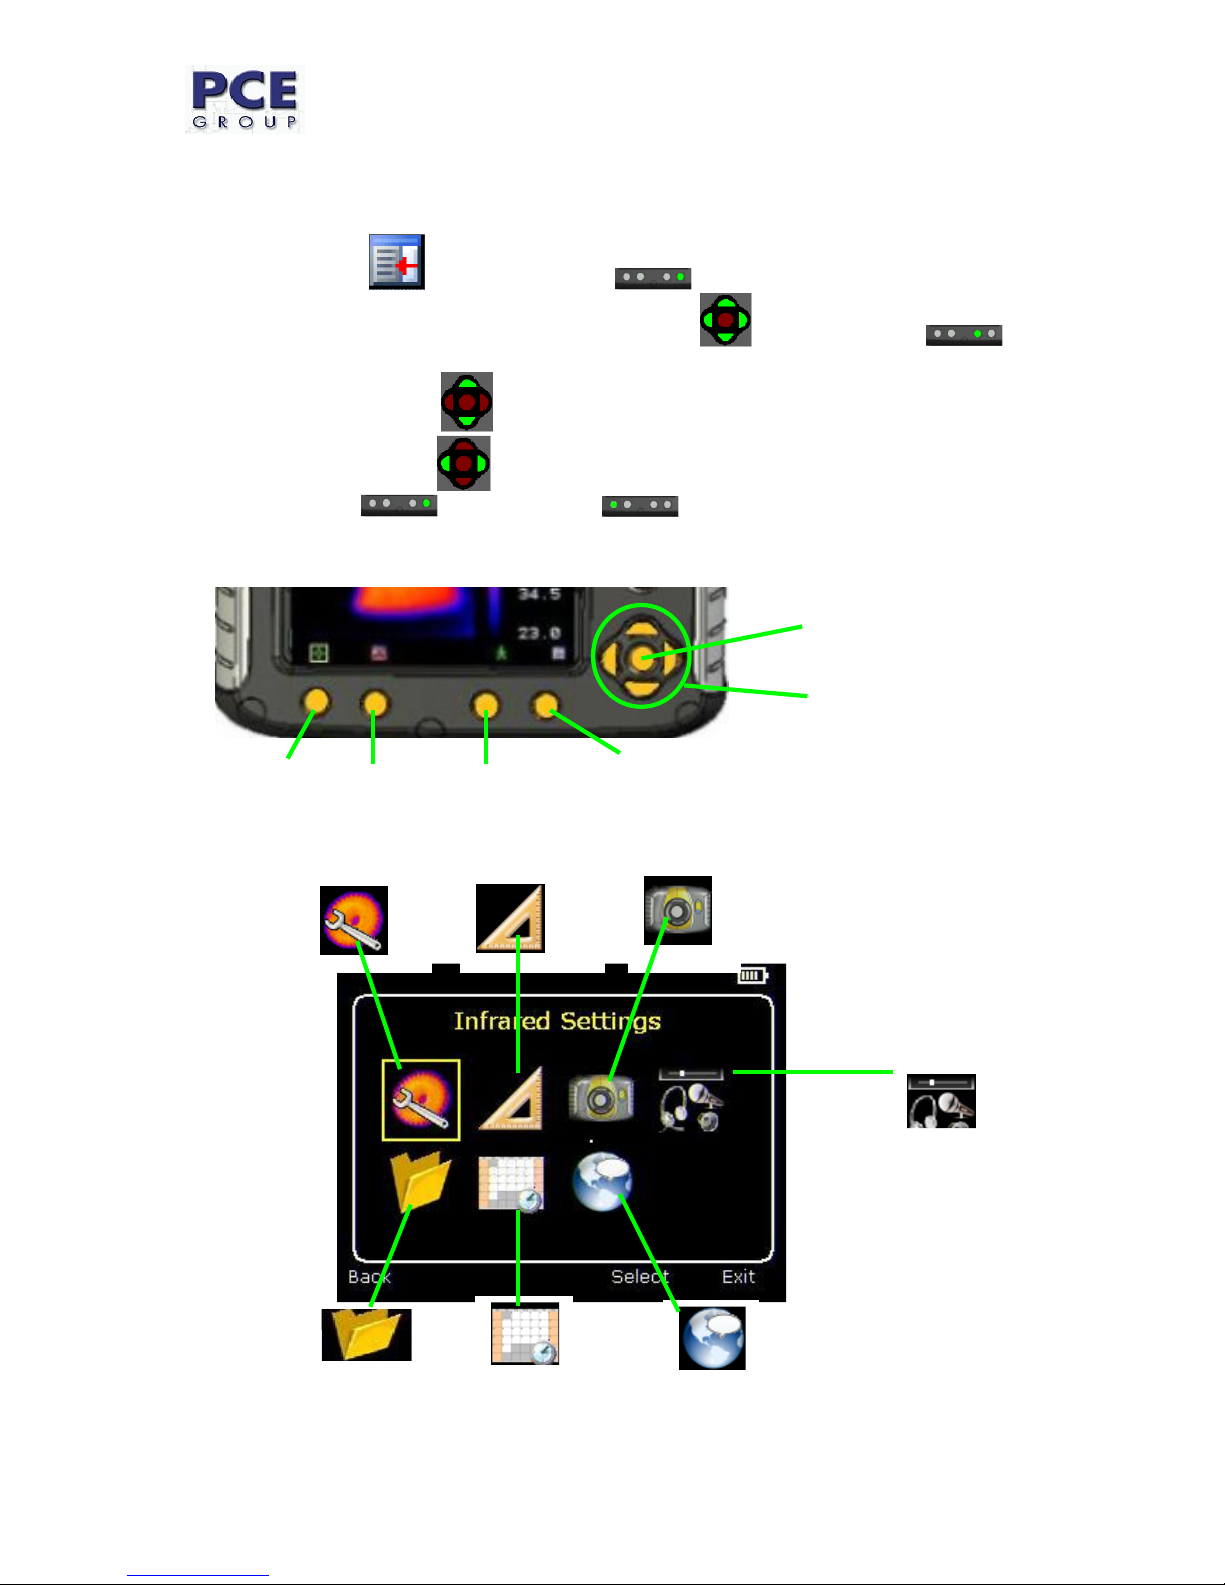
Menu Structure. ............................................................................................................................. 10
5.1
Infrared Settings .................................................................................................................... 11
5.2
Measurement Options ........................................................................................................... 12
5.3
Camera Settings .................................................................................................................... 13
5.4
Audio Settings........................................................................................................................ 14
5.5
Image Browser....................................................................................................................... 15
5.6
Date & Time Settings............................................................................................................. 15
5.7
Language Selection............................................................................................................... 16
6.
Adding Captions when Saving Images.......................................................................................... 17
6.1
Voice message ...................................................................................................................... 17
6.2
Text Captions......................................................................................................................... 18
7.
Appendix........................................................................................................................................ 19
7.1
Emissivity Look up tables. ..................................................................................................... 19
7.2
Technical Specification.......................................................................................................... 20