manuals.online logo
Brands
  1. Home
  2. •
  3. Brands
  4. •
  5. Pelonis
  6. •
  7. Fan
  8. •
  9. Pelonis FZ10-9LR User manual

Pelonis FZ10-9LR User manual

1
OWNER'S MANUAL
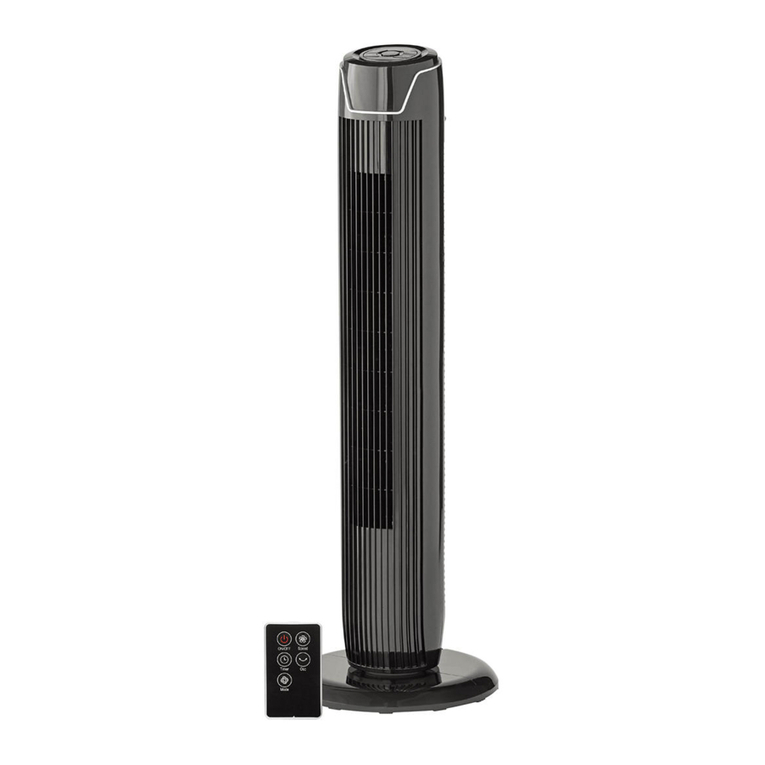
36"OSCILLATING TOWER FAN
MODEL: FZ10-9LR
READ AND SAVE THESE INSTRUCTIONS
SAFETY INFORMATION
PACKAGE CONTENTS
CAUTION
• Do not leave the fan running unattended.
• Do not use fan in a window. Rain may create an electrical hazard.
• This is not a toy. Keep out of the reach of children and pets.
• Do not insert any object or body parts in the grilles of the fan while the fan is plugged in.
• This appliance has a polarized plug (one blade is wider than the other). To reduce the risk of
electric shock, this plug is intended to fit in a polarized outlet only one way. If the plug does
not fit fully into the outlet, reverse the plug. If the plug still does not fit, contact a qualified
electrician. Do not attempt to bypass this safety feature.
WARNING
23
1. Do not operate any fan with a damaged cord or plug. Discard fan or return to
an authorized service facility for examination and/or repair.
2. Do not run cord under carpeting. Do not cover cord with throw rugs, runners, or similar
coverings. Do not route cord under furniture or appliances. Arrange cord away from traffic area
and where it will not be tripped over.
3. Fan should be used under rated voltage.
4. Connect power after the fan is fully assembled.
5. Never insert fingers, pencils, or any other object through the guard when fan is running.
6. Unplug from outlet when not in use, when moving fan from one location to another, before putting
on or taking off parts, and before cleaning.
7. Disconnect fan when removing grilles for cleaning.
8. Be sure fan is on a stable surface when operating to avoid overturning.
9. DO NOT use fan in window, rain may create electrical hazard.
RULES FOR SAFETY OPERATION
ASSEMBLY INSTRUCTIONS
PREPARATION
Before beginning assembly of product, make sure all parts are present. Compare parts with
package contents list and diagram above. If any part is missing or damaged, do not attempt
to assemble the product. Contact customer service for replacement parts.
Estimated Assembly Time: 10 minutes
Fig. 2
1. Pull power cord (E) out slightly.
2. Put front base (B) onto rear base (C) and join them together.
3. Put the round base on the body (A) by inserting the cylinders under
(A) to blind holes on the round base as shown on diagram.
4. Fix (A) with base clip (D) as shown.
A
B
C
E
D
OPERATING INSTRUCTIONS (Fig. 3)
Fig. 3
CARE AND MAINTENANCE
• Always unplug the fan before cleaning.
• Do not allow water and steam to drip on or into the fan motor housing.
• Do not use any of the following as a cleaner: gasoline, paint thinner, benzine.
• Periodically clean this fan by lightly running a vacuum cleaner nozzle over the fan
grilles to remove any dust or dirt that may have accumulated inside or on the unit.
• Wipe all parts with a soft cloth.
• Dry all parts completely before reassembling or reconnecting the fan to the wall outlet.
• Keep surfaces dry and clean for a longer-lasting finish.
Proble
TROUBLESHOOTING
m Possible Cause Corrective Action
The fan will not
operate.
The fan isn’t plugged in and/or the
electrical outlet isn’t working properly.
Make sure the fan is plugged in and/or
the electrical outlet is working properly.
The fan will not
operate.
Obstructions stop the fan from working. Check for obstructions. If you find an
obstruction, turn the fan off.
Unplug the fan and carefully remove the
obstruction. Plug the fan in and turn it
on again by referring to the operating
instructions.
INSERT BATTERIES (Fig. 4)
Fig. 4
Notes:
.
ICON FUNCTION
Power
Speed Setting
Wind Mode
Timer
Oscillating
DETAIL
Press this key to turn the fan on/off
Press this key to desired fan speed,
1 = Low, 2 = Medium, 3 = High
Press this key to desired wind mode in the
sequence of NORMAL-BREEZE ( ) -SLEEP ( )
Press this key repeatedly to set the timer
from 1 hour to 8 hours
Press this key to start or stop the fan oscillation
1. Grasp plug and remove from the wall outlet.
Do not unplug by pulling on cord.
2. Open fuse cover. Slide open fuse access cover on top of attached
plug toward blades.
3. Remove fuse carefully. Push the fuse from the other side or turn
fuseholder over to remove fuse.
4. Risk of fire. Replace fuse only with 2.5 Amp, 125 Volt fuse.
5. Close fuse cover. Slide closed the fuse access cover on top of attached plug.
6. Risk of fire. Do not replace attachment plug. Contains a safety device (fuse) that should not be
removed. Discard product if the attached plug is damaged.
WARNING: This appliance has a polarized plug (one blade is wider than the other). The polarized
plug is not intended to be used in non-polarized outlets (having both slots the same size). To reduce
the risk of electric shock, this plug is intended to fit in a polarized outlet only one way. If the plug does
not fit fully in the outlet, reverse the plug, if it still does not fit, contact a qualified electrician. Do not
modify the plug in any way.
USER SERVICING INSTRUCTIONS
Battery
Compartment Cover
Batteries
Remote Control
1. Press down on the battery compartment cover and slide it out.
2. Insert the batteries, making sure that the positive terminals are facing
the proper direction marked inside the battery compartment.
3. Close the cover by sliding it in.
1) Use 2 “AAA” batteries (NOT INCLUDED).
2) Do not mix old and new batteries.
3) Do not mix alkaline, standard (carbon-line) or rechargeable
(nickel-cadmium) batteries.
4
SERVICE & SUPPORT
In the event of a warranty claim or if service is required for this product, please contact us at the
following:
Toll Free: 1-866-646-4332
Email us at: [email protected]
For questions or comments, please write to:
Midea America Corporation
Customer Care Center
11800 NW 100th Rd. Suite 4
Medley, FL 33178
For your records, staple your sales receipt to this manual and record the following:
DATE OF PURCHASE:
PLACE OF PURCHASE:
(STAPLE SALES RECEIPT HERE)
NOTE: PROOF OF PURCHASE IS REQUIRED FOR ALL
WARRANTY CLAIMS
5
ONE (1) YEAR LIMITED WARRANTY
● Please read all instructions before attempting to use this product.
● Please return the Warranty Registration card within fifteen (15) days from the
date of purchasing this product.
Midea America Corporation, referred to hereafter as Midea America, warrants as
limited herein to the original purchaser of retail that each new Pelonis Fan, shall be
free of defects in material and workmanship for a period of one (1) year from the
date of original purchase. This one (1) year warranty is limited to the fan motor,
fan blades, and electric control circuit board.
In the event of malfunctions or failure of your Pelonis Fan, simply deliver or send
the product, postage prepaid along with PROOF OF PURCHASE, within the
warranty period of one (1) year, to Midea America. Midea America reserves the right
to inspect the claimed defective part or parts to determine if the defect or malfunction
complaint is covered by this warranty. Midea America shall, within sixty (60) days after
receipt of the product, at its option, repair and/or replace the defective part or parts
free of charge. This warranty shall only cover defects arising from normal usage.
Midea America assumes no responsibility whatsoever if the Pelonis Fan
should fail during the warranty period by reasons of:
● Misuse, negligence, physical damage or accidents.
● Lack of maintenance (see cleaning).
● Repair by any unauthorized party during the warranty period.
● Damage caused by connection to an improper input voltage (see specifications).
Midea America makes no further warranties or representations, express or implied
except those contained herein. No representative or dealer is authorized to
assume any other liability regarding the Pelonis Fan. The duration of the implied
warranty granted under State law, including warranties of merchantability and
fitness for particular purpose are limited in duration should the duration of the
express warranty grant it hereunder. Midea America shall in no event be liable for
direct, indirect, special or consequential damages.
Some states do not allow limitations on how long an implied warranty lasts,
and/or the above limitations or exclusion may not apply to you. This warranty
gives you specific legal rights and you may have other rights, which vary from
state to state.
Should your Pelonis Fan fail to operate under the terms of this
limited warranty, contact Midea America at 1-866-646-4332
(M-F 9:00am to 5:00pm CST).

Other Pelonis Fan manuals

Pelonis PFT42A5BGB User manual

Pelonis

Pelonis PFT42A5BGB User manual

Pelonis WF18RC User manual

Pelonis

Pelonis WF18RC User manual

Pelonis FB50-16H User manual

Pelonis

Pelonis FB50-16H User manual

Pelonis FT30-8MBWV User manual

Pelonis

Pelonis FT30-8MBWV User manual

Pelonis PFT30T3ABB User manual

Pelonis

Pelonis PFT30T3ABB User manual

Pelonis FT30-16J User manual

Pelonis

Pelonis FT30-16J User manual

Pelonis PFS45A5BBB User manual

Pelonis

Pelonis PFS45A5BBB User manual

Pelonis FT40-8HC User manual

Pelonis

Pelonis FT40-8HC User manual

Pelonis FS40-19PRD User manual

Pelonis

Pelonis FS40-19PRD User manual

Pelonis FZ10-17JR User manual

Pelonis

Pelonis FZ10-17JR User manual

Pelonis FZ10-10JRH User manual

Pelonis

Pelonis FZ10-10JRH User manual

Pelonis FT30-14AU User manual

Pelonis

Pelonis FT30-14AU User manual

Pelonis FB50-17H User manual

Pelonis

Pelonis FB50-17H User manual

Pelonis FZ10-19M User manual

Pelonis

Pelonis FZ10-19M User manual

Pelonis NTH15-17BRA User manual

Pelonis

Pelonis NTH15-17BRA User manual

Pelonis PFT40A4AGB User manual

Pelonis

Pelonis PFT40A4AGB User manual

Pelonis PSF20B3ABB User manual

Pelonis

Pelonis PSF20B3ABB User manual

Pelonis PFT28A2BWW User manual

Pelonis

Pelonis PFT28A2BWW User manual

Pelonis FZ10-19JR User manual

Pelonis

Pelonis FZ10-19JR User manual

Pelonis FS45-3ER User manual

Pelonis

Pelonis FS45-3ER User manual

Pelonis FS45-3ER User manual

Pelonis

Pelonis FS45-3ER User manual

Pelonis FS40-8M User manual

Pelonis

Pelonis FS40-8M User manual

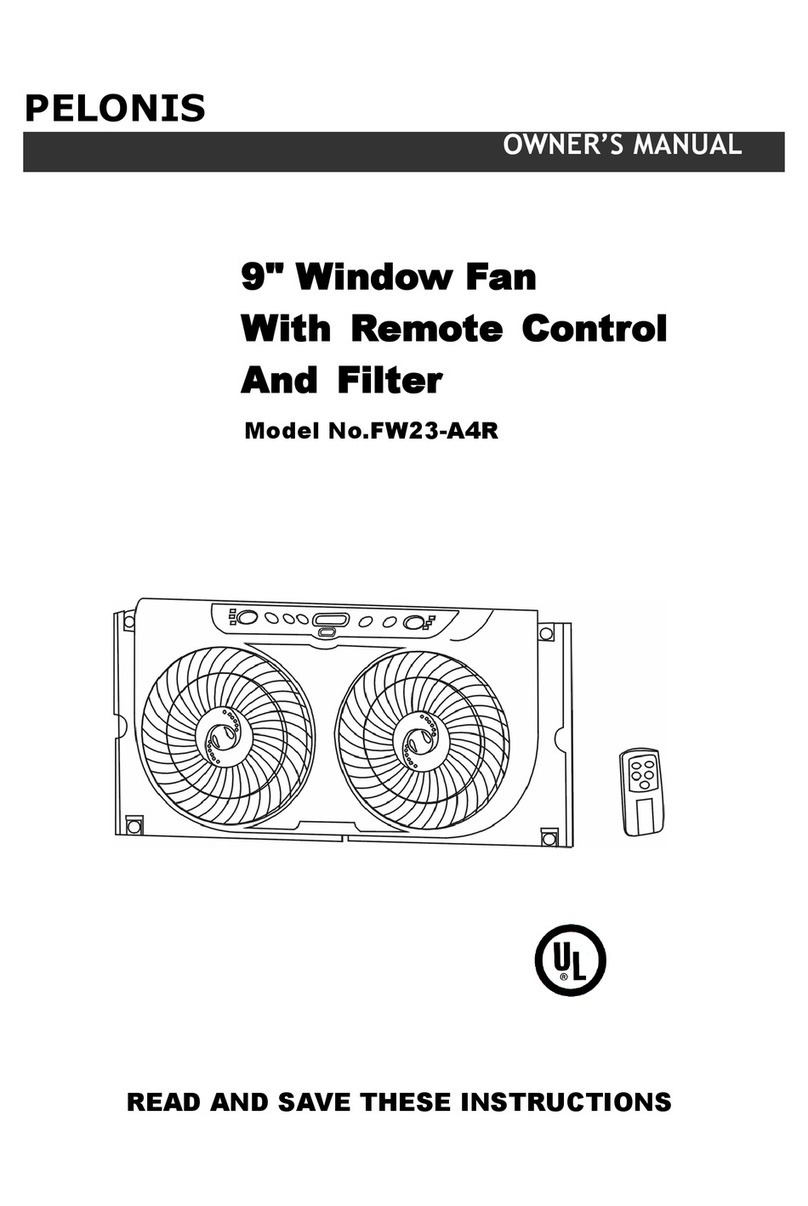
Pelonis FW23-A4R User manual

Pelonis

Pelonis FW23-A4R User manual

Pelonis PFS40M2ABB User manual

Pelonis

Pelonis PFS40M2ABB User manual

Popular Fan manuals by other brands

Sandstorm STFBW19E instruction manual

Sandstorm

Sandstorm STFBW19E instruction manual

Kooltronic Advantage Sentry Series Operator's manual

Kooltronic

Kooltronic Advantage Sentry Series Operator's manual

EUROLAMP 300-20509 instructions

EUROLAMP

EUROLAMP 300-20509 instructions

Xiaomi Mi Smart Standing Fan Pro user manual

Xiaomi

Xiaomi Mi Smart Standing Fan Pro user manual

Dantherm DanX AF Series user manual

Dantherm

Dantherm DanX AF Series user manual

Ebmpapst A4D350-AA06-02 operating instructions

Ebmpapst

Ebmpapst A4D350-AA06-02 operating instructions

NuTone ARP6 installation instructions

NuTone

NuTone ARP6 installation instructions

Viessmann Vitovent 300-W installation instructions

Viessmann

Viessmann Vitovent 300-W installation instructions

Bionaire BTF4310AR Instruction leaflet

Bionaire

Bionaire BTF4310AR Instruction leaflet

RoboVent CLARION CFX Series owner's manual

RoboVent

RoboVent CLARION CFX Series owner's manual

Bionaire BBLF01 instruction manual

Bionaire

Bionaire BBLF01 instruction manual

CFM WEB-0807 Brochure & specs

CFM

CFM WEB-0807 Brochure & specs

Air Creatve Classic Line 925 installation guide

Air Creatve

Air Creatve Classic Line 925 installation guide

Prem-I-Air EH1795 user manual

Prem-I-Air

Prem-I-Air EH1795 user manual

Goldair GCTF410 operating instructions

Goldair

Goldair GCTF410 operating instructions

Singer SF40-55 WH instruction manual

Singer

Singer SF40-55 WH instruction manual

Parrot Uncle F8218 User and care guide

Parrot Uncle

Parrot Uncle F8218 User and care guide

Helios HelioVent HVR 150 Series Installation and operating instructions

Helios

Helios HelioVent HVR 150 Series Installation and operating instructions

manuals.online logo
manuals.online logoBrands
  • About & Mission
  • Contact us
  • Privacy Policy
  • Terms and Conditions

Copyright 2025 Manuals.Online. All Rights Reserved.