JET-VAC INSTALLATION MANUAL
9
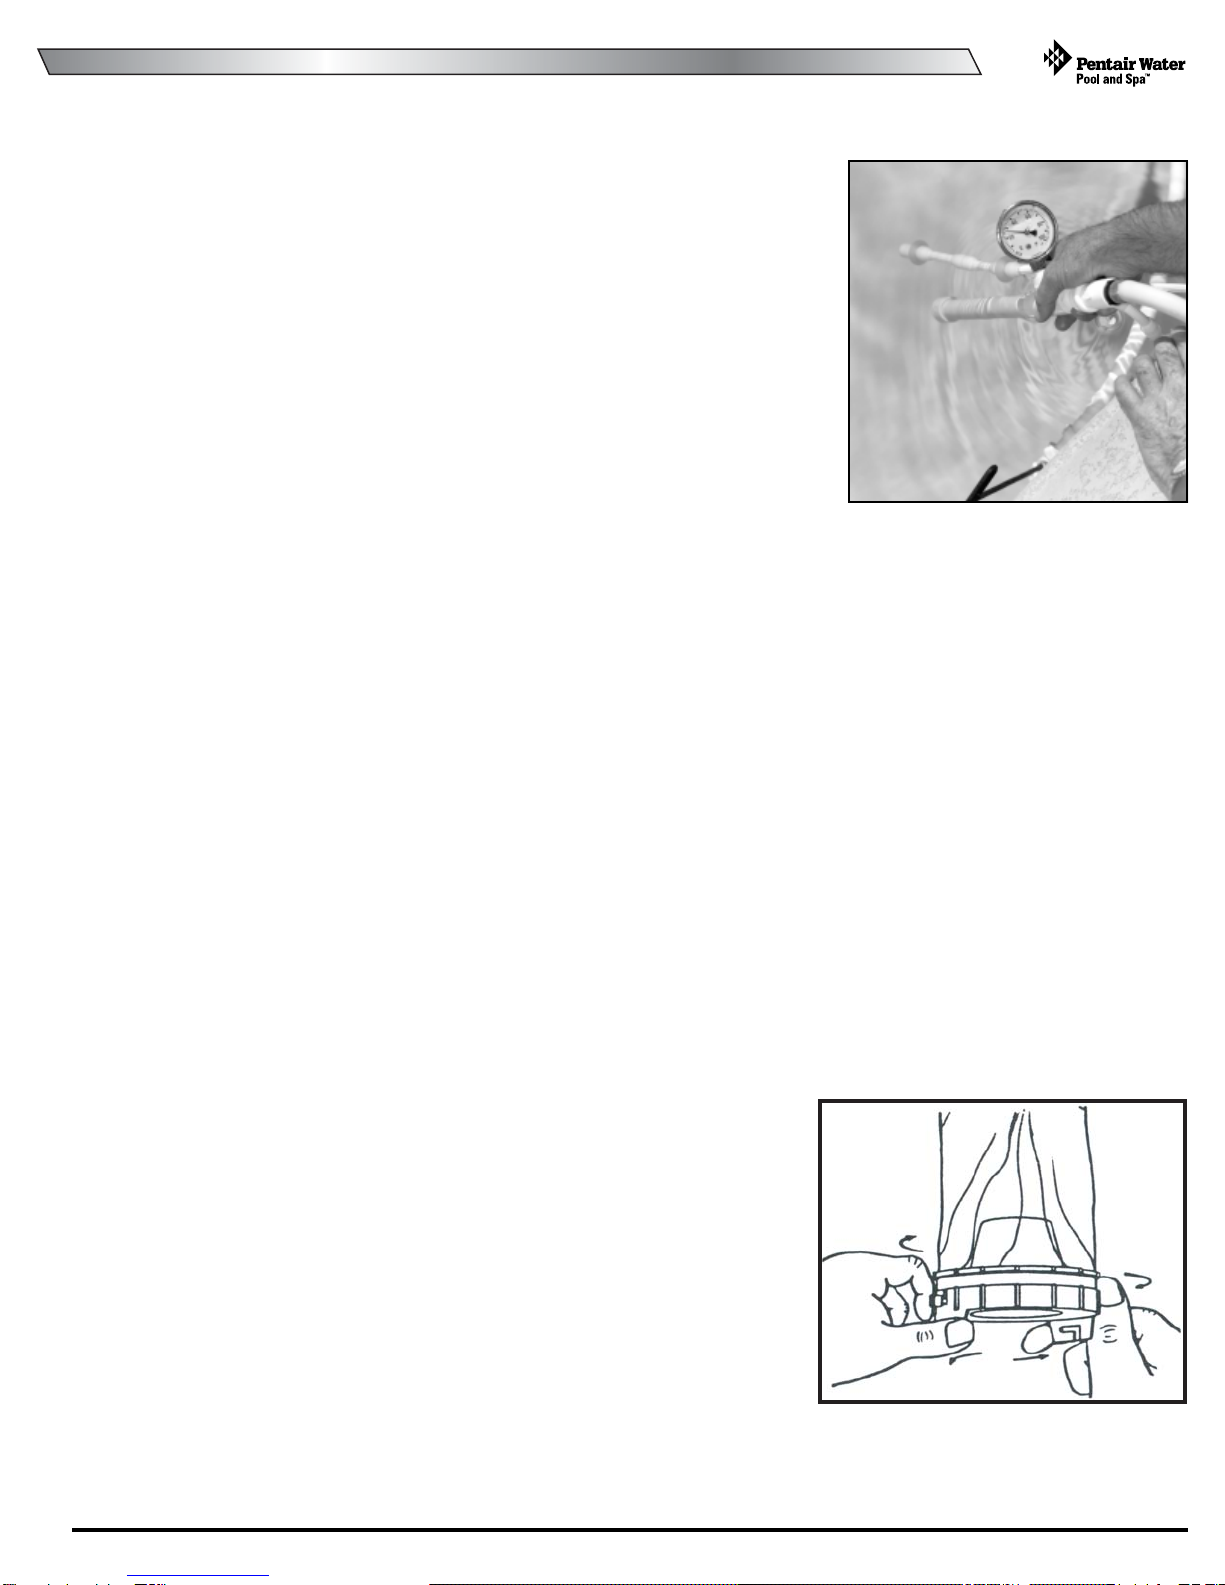
PRESSURE TEST STICK - USE JET-VAC TEST STICK ONLY
To assure optimum performance of the JET-VAC, the water pressure must be
adjusted after the feed hose assembly is cut to fit your individual pool size. Too
little pressure will cause sluggish performance and to much pressure will damage
the JET-VAC or burst the feed hose, jeopardizing the warranty. Excess pressure
can also cause the JET-VAC to "fly" off the bottom of the pool surface.
1. FIRST, turn OFF booster pump, filter pump and clock.
2. Screw pressure gauge into threaded fitting in pressure test stick (JV-P8).
Snap pressure test stick onto Quick Disconnect Swivel at the end of the
feed line where the whip hose is attached.
3. Hold the ends of the whip hose and pressure stick under the water and
turn ON filter pump.
NOTE: If you do not have someone to assist you, secure the pressure test
stick and whip hose with a tool box or similar heavy object.
After turning ON the pumps, grasp the test stick and whip hose
firmly before removing the heavy object used to secure them.
Hold the ends of the whip hose and test stick under the water.
4.
While holding the ends of the whip hose and pressure stick under the water,
open pressure relief valve until the
pressure gauge reads 25 to 28 PSI. Do not adjust the pressure with the water stream from the Pressure Stick or
the Sweep Hose shooting into the air. This will cause a false reading. Use a JET-VAC Pressure Stick
only!
5. Turn OFF booster pump AND filter pump.
6. Disconnect pressure test stick from feed line.
ASSEMBLE AND INSTALL JET-VAC HEAD UNIT:
1. Attach funnel adapter to JET-VAC head.
2. Attach bag to funnel adapter.
3. Attach connector at whip-end of feed hose to JET-VAC housing.
4. Place the assembled unit with hoses in the water.
5. Turn ON filter pump for at least 30 seconds to purge the air from the unit.
6. Turn ON booster pump and clock.
7. THE JET-VAC IS INSTALLED AND CLEANING THE POOL!!!
CLEANING THE BAG:
Remove the entire bag assembly (including funnel adapter) from the JET-VAC
bytwistingcounterclockwisetoreleasethesnap-lock. Toremovebag withlocking
ring from funnel adapter, position fingers as shown by putting thumb on one tab
and finger on the other tab. Push in opposite directions to unlock (see drawing
at right). Empty debris from bag and rinse clean with cold water. Next, hold the
funnel adapter upside down and gently tap against a solid surface to dislodge
theflexible funnel adaptergasket. Rinseany debrisfrombothsides ofthegasket
and the funnel adapter. Press the gasket back into the funnel adapter, and lock
ring and bag assembly in place with the same technique used to remove the
lockingring. Lockthe funnel adapter onto the JET-VAC,andit'sreadytoresume
cleaning.
Photo #5
To RemoveBagwithLockingRing fromFunnelAdapter
Position fingers as shown by putting thumb on one tab and
fingeron the other tab. Push in oppositedirections to snap off.