manuals.online logo
Brands
  1. Home
  2. •
  3. Brands
  4. •
  5. Pentair
  6. •
  7. Water Heater
  8. •
  9. Pentair WELLMATE CLASSIC Guide

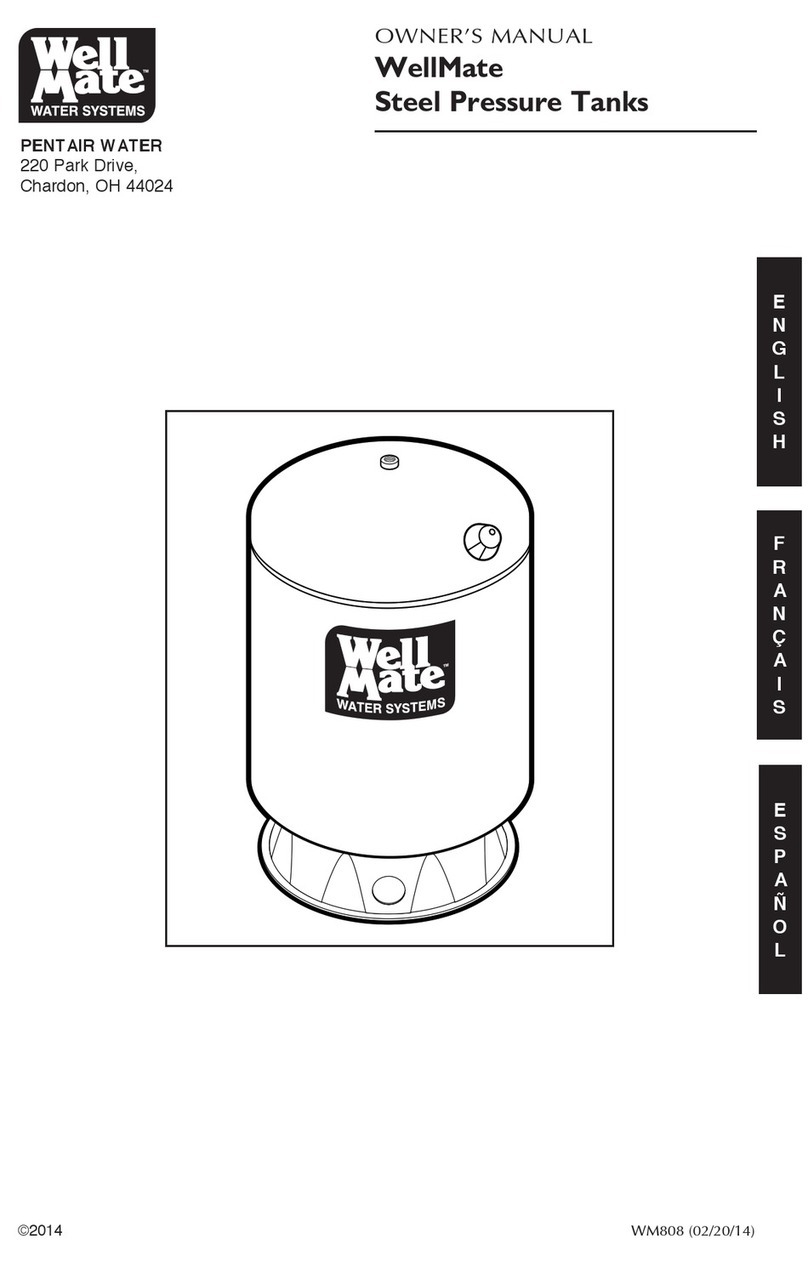
Pentair WELLMATE CLASSIC Guide

FILTRATION & PROCESS AIR CELL REPLACEMENT INSTRUCTIONS
WELLMATE®CLASSIC & CLASSIC QUICK CONNECT
AIR CELL REPLACEMENT INSTRUCTIONS
KIT INCLUDES
MAY ALSO REQUIRE
Qty. Description
1 O-ring Lubricant Packet
1 Drain Assembly O-ring
(for black drain) CH2694-114
1 Drain Assembly O-ring
(for grey drain) 2694-112
2 Drain Assembly “C” Clips
(for back drain) CH20514
1 Replacement Air Cell
1 String Kit
1 Nylon String
1 Brass Valve Stem Connector
1 Valve Stem Nut
1 Valve Stem Washer
1 White Spacer
1 Valve Stem Cap
1 “H” Clip for Service Connection Fitting
(for black drain)
1 O-ring for Service Connection Fitting
(for black drain) 40951
Valve Core Tool
3/4” Diameter x 18” Long Wooden Dowel
Hacksaw
Channel Lock Pliers
Air Source
1/2” Deep Well Socket
LUBRICANT
LUBRICANT
LUBRICANT
LUBRICANT
LUBRICANT
LUBRICANT
Lubricant Packet CH13279
(for both classic & classic QC)
H-Clip 40876
(for black drain)
Air Stem Cap CH4630-1
(for both classic & classic QC) String Kit
(for both classic & classic QC)
C-Clip (x2) CH20514
(for black drain)
O-ring 2694-112
(for grey drain)
O-ring 40951
(for black drain)
O-ring CH2694-114
(for black drain)
NOTES
If replacing rubber air cell, drain with tether hole is required. See figure 3. If incorrect drain is
used, the tank will not function properly.
If tank has black (rubber) air cell, natural colored air cell is a direct replacement.
TO REMOVE OLD AIR CELL
1. Turn off electric power to the pump at the control box or main switch.
2. Drain water from the tank by opening faucet closest to the tank. Allow all
water to escape and leave faucet open after water stops running.
WARNING: Make sure all the pressure has been released from the tank
and system.
3. Remove valve core from the air valve at the top of the tank. Ensure that no
compressed air remains in the tank.
4. Using a 1/2” deep well socket, remove metal nut and washer from the air
valve.
NOTE: The valve stem at this time should pull into the tank.
If it does not, all of the pressure may not have been released.
5. For tanks with black drain - Disconnect the tank from the water supply line.
a. Push service connection fitting in towards tank to relieve pressure on
red clip (Figure 3B). Pull red clip from end of drain pipe (Figure 3A).
b. Remove service connection fitting from end of drain pipe (Figure 3C).
6. Carefully lay the tank on its side (protect sides of tank). Do not drop.
7. Remove drain assembly and base from tank.
a. Push drain fitting into the tank to relieve pressure on the large red
clips.
b. Using a flathead screwdriver, pry (2) red clips that retain drain
assembly in tank (Figure 3D).
c. Pull drain assembly straight out of the bottom of the tank.
8. Remove old O-ring from drain assembly (Figure 3E). Replace with O-ring
from kit and completely cover O-ring with lubricant.
9. Remove old air cell from tank through the bottom opening. Two people are
recommended when removing air cell. One person should secure the tank
while the other firmly pulls and works the air cell from side to side.
INSTALLATION OF NEW AIR CELL
1. With drain assembly removed from tank, stand tank upright on base with
drain connection on the bottom. Tank is unstable on base without drain
connected. Therefore it is recommended that one person hold the tank
while another continues with the next two steps.
2. Remove nylon line from kit. Separate steel nut and washer from nylon line
leaving brass stem connector attached. Feed brass valve stem connector
through the steel nut and washer. Feed through the nut first. Flat sides of
nut and washer should be facing the valve stem during assembly.
3. Drop valve stem connector through valve stem hole at top of tank. The steel
nut and washer should be tied together at the other end of the line. Feed
nylon line through the hole until steel nut and steel washer are against the
tank and suspending line from top of tank. Carefully lay tank on its side.
Valve stem connector should be easily accessible at the bottom of the tank.
4. Attach valve stem connector to valve stem on top of new air cell. This is
accomplished by screwing connector into the inside thread on valve stem.
NOTE: To avoid damage to valve core, do not screw connector too far into
stem.
5. To install replacement aircell, two people are recommended. With the aid
of the nylon line, one person should guide the valve stem through the valve
stem hole while the other person pushes the air cell through the drain
opening.
NOTE: Nylon line should only be used to guide the stem and not to pull the
air cell into the tank.
6. Attach metal washer and nut to valve stem. Hand tighten nut at this time so
that air cell is able to spin freely in the tank. Remove valve stem connector.
7. Place bottom drain pipe through the hole in the base.
8. Insert barb on the bottom of the air cell through the hole in the drain
screen.
9. Lubricate the O-ring on the drain assembly with silicone grease. Check that
the O-ring is in place.
FILTRATION & PROCESS AIR CELL REPLACEMENT INSTRUCTIONS
Valve Stem Cap
Dust Cap
Metal Nut
Metal Washer
Tank
Air Cell*
Securing Pin Hole
Base
Barb
(goes through hole on
drain screen)
Bottom Drain Assembly
Classic
Classic QC
Figure 1
Rubber Washer
Gray/White/Brass Retainer
Valve Stem
Figure 2
OR

FOR TANK WITH GREY DRAIN ASSEMBLY
10. Thread grey drain into bottom of tank.
11. Connect all plumbing lines.
FILTRATION & PROCESS AIR CELL REPLACEMENT INSTRUCTIONS
Figure 3 - Drain Assembly
FOR TANK WITH BLACK DRAIN ASSEMBLY
10. Press the drain fitting into the bottom of the tank until it is
fully seated.
11. Install (2) large red C-clips into drain. The clips should snap
easily into place and should not be forced.
12. Press black threaded plumbing connection into the open end
of the drain. Press until fully seated.
13. Install (1) smaller red H-clip, securing the plumbing
connection to the drain.
14. Connect all plumbing lines.
A
B
C
E
Tether hole
for air cell
D
FILTRATION & PROCESS
5730 NORTH GLEN PARK ROAD, MILWAUKEE, WI 53209
P: 262.238.4400 | F: 262.238.4404 | WWW.PENTAIRAQUA.COM | CUSTOMER CARE: 800.279.9404
All Pentair trademarks and logos are owned by Pentair, Inc. or its affiliates. All other registered and unregistered trademarks and logos are the property of their
respective owners. Because we are continuously improving our products and services, Pentair reserves the right to change specifications without prior notice.
Pentair is an equal opportunity employer.
CH20779 REV E AP14 © 2014 Pentair Residential Filtration, LLC. All Rights Reserved.

This manual suits for next models

1

Other Pentair Water Heater manuals

Pentair PSC-14-4-02 User manual

Pentair

Pentair PSC-14-4-02 User manual

Pentair Pro-Source APSC Series User manual

Pentair

Pentair Pro-Source APSC Series User manual

Pentair MASTERTEMP MT125HD User manual

Pentair

Pentair MASTERTEMP MT125HD User manual

Pentair PRO-SOURCE PS6H-S05 User manual

Pentair

Pentair PRO-SOURCE PS6H-S05 User manual

Pentair 175K BTU/HR User manual

Pentair

Pentair 175K BTU/HR User manual

Pentair Pro-Source PS2 S01 User manual

Pentair

Pentair Pro-Source PS2 S01 User manual

Pentair WellMate SSWM4 User manual

Pentair

Pentair WellMate SSWM4 User manual

Pentair N20 User manual

Pentair

Pentair N20 User manual

Pentair STA-RITE PRO-Source Plus User manual

Pentair

Pentair STA-RITE PRO-Source Plus User manual

Pentair PSC Series User manual

Pentair

Pentair PSC Series User manual

Pentair Pro-Source AW42 User manual

Pentair

Pentair Pro-Source AW42 User manual

Pentair PRO-SOURCE PS6-S02 User manual

Pentair

Pentair PRO-SOURCE PS6-S02 User manual

Pentair Pro-Source PSC Series User manual

Pentair

Pentair Pro-Source PSC Series User manual

Pentair SEP 100 User manual

Pentair

Pentair SEP 100 User manual

Pentair MASTERTEMP MT200HD User manual

Pentair

Pentair MASTERTEMP MT200HD User manual

Pentair AND 1060G Operating instructions

Pentair

Pentair AND 1060G Operating instructions

Pentair JUNG PUMPEN BAUFIX 200 User manual

Pentair

Pentair JUNG PUMPEN BAUFIX 200 User manual

Pentair Myers MS Series User manual

Pentair

Pentair Myers MS Series User manual

Popular Water Heater manuals by other brands

Sime MINI 16 BF ErP user manual

Sime

Sime MINI 16 BF ErP user manual

US CRAFTMASTER ES2J40RD045V Installation Instructions and Use & Care Guide

US CRAFTMASTER

US CRAFTMASTER ES2J40RD045V Installation Instructions and Use & Care Guide

Rheem W27 Owner's guide and installation instructions

Rheem

Rheem W27 Owner's guide and installation instructions

Kospel EPS - 3,5 manual

Kospel

Kospel EPS - 3,5 manual

Midea JSG52-26VH3 Installation guide and operation manual

Midea

Midea JSG52-26VH3 Installation guide and operation manual

Stafor COMBI 200TDHW Installation and user manual

Stafor

Stafor COMBI 200TDHW Installation and user manual

SOLATHERM STHS 120 TECHNICAL, INSTALLATION AND USE MANUAL

SOLATHERM

SOLATHERM STHS 120 TECHNICAL, INSTALLATION AND USE MANUAL

clage DCX13 ELECTRONIC MPS Installing instructions

clage

clage DCX13 ELECTRONIC MPS Installing instructions

FOGATTI FDG-CS120S Installation and operation manual

FOGATTI

FOGATTI FDG-CS120S Installation and operation manual

A.O. Smith HSE-HAS user guide

A.O. Smith

A.O. Smith HSE-HAS user guide

A.O. Smith 100 Series instruction manual

A.O. Smith

A.O. Smith 100 Series instruction manual

A.O. Smith DSE-120-24 Description, operation, installation and maintenance manual

A.O. Smith

A.O. Smith DSE-120-24 Description, operation, installation and maintenance manual

Webasto Thermo Top E installation instructions

Webasto

Webasto Thermo Top E installation instructions

Lochinvar Innovo Installation, user and service manual

Lochinvar

Lochinvar Innovo Installation, user and service manual

Webasto Thermo Top E Operating and maintenance instructions

Webasto

Webasto Thermo Top E Operating and maintenance instructions

A.O. Smith BTR 120-400 Service handbook

A.O. Smith

A.O. Smith BTR 120-400 Service handbook

Heatrae Sadia HOTFLO quick start guide

Heatrae Sadia

Heatrae Sadia HOTFLO quick start guide

Mitsubishi Electric ecodan EHSC Series installation manual

Mitsubishi Electric

Mitsubishi Electric ecodan EHSC Series installation manual

manuals.online logo
manuals.online logoBrands
  • About & Mission
  • Contact us
  • Privacy Policy
  • Terms and Conditions

Copyright 2025 Manuals.Online. All Rights Reserved.