2
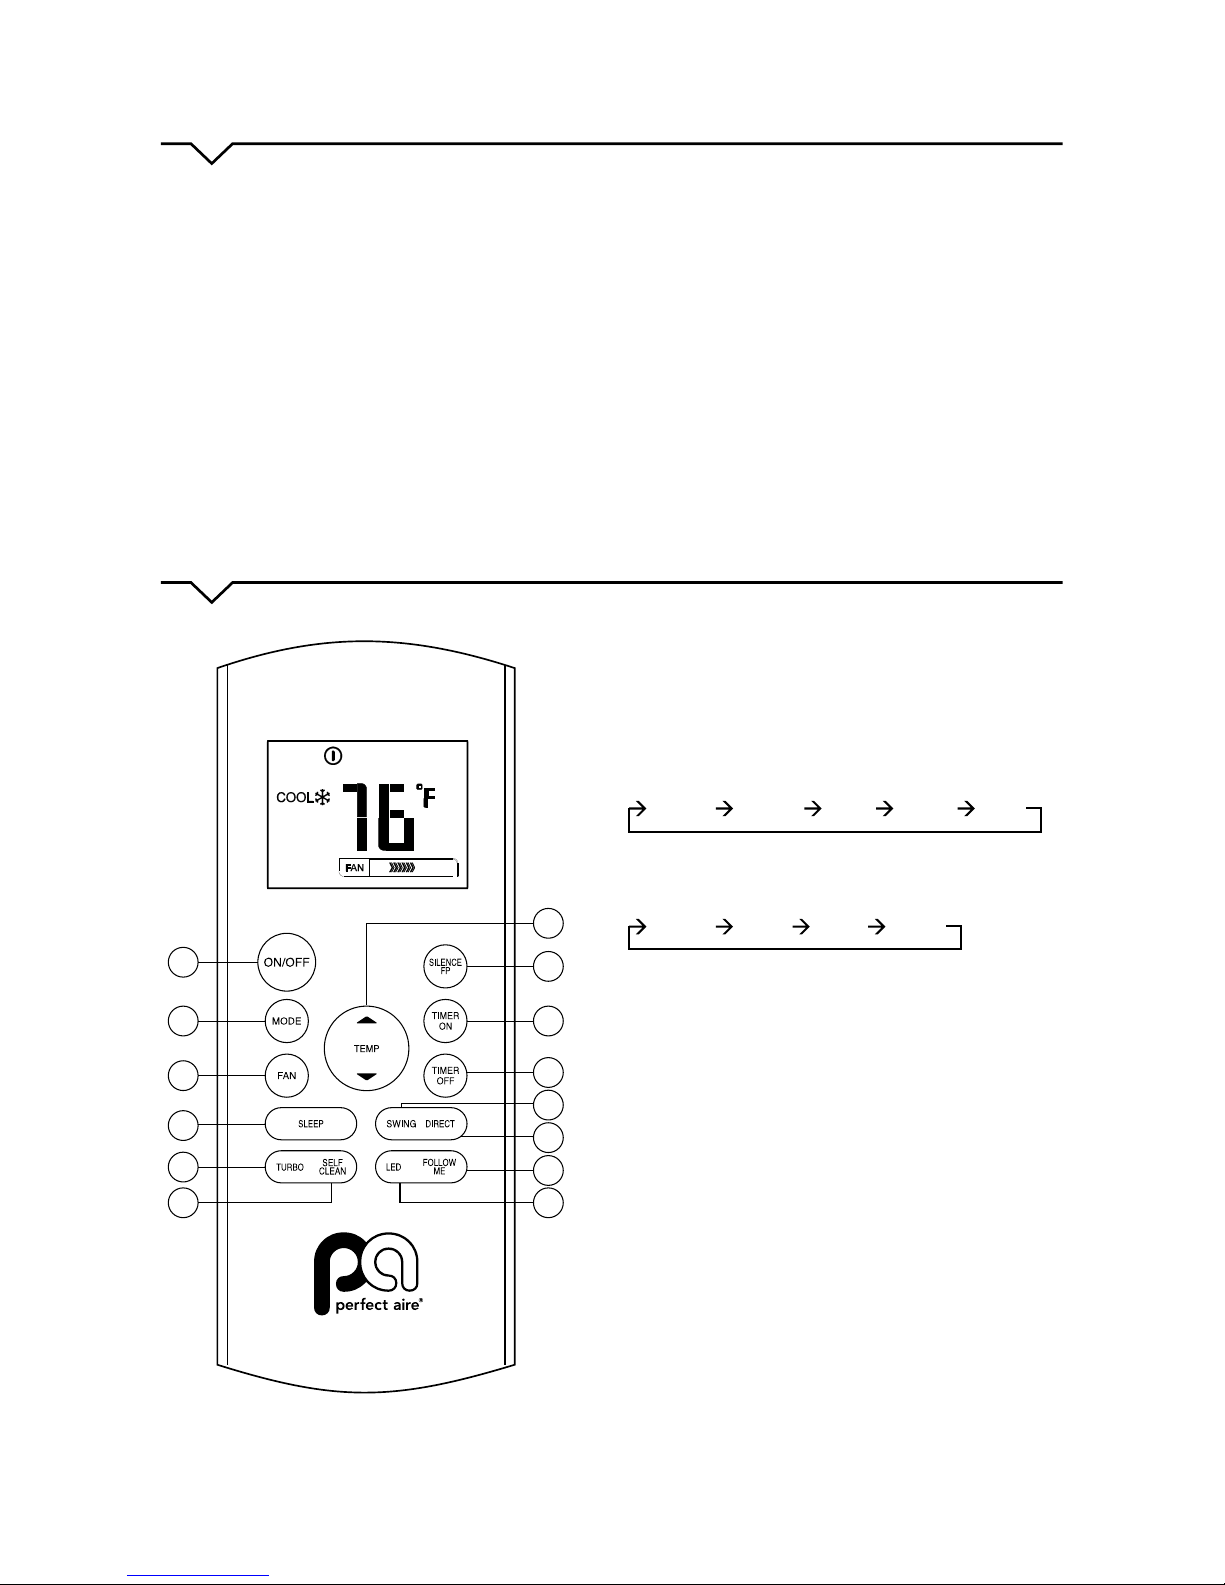
6. SELF CLEAN Button
Activate/Disable Self Clean function.
Under SELF CLEAN mode, the air
conditioner will automatically clan and dry
the Evaporator and keep it fresh for the
next operation.
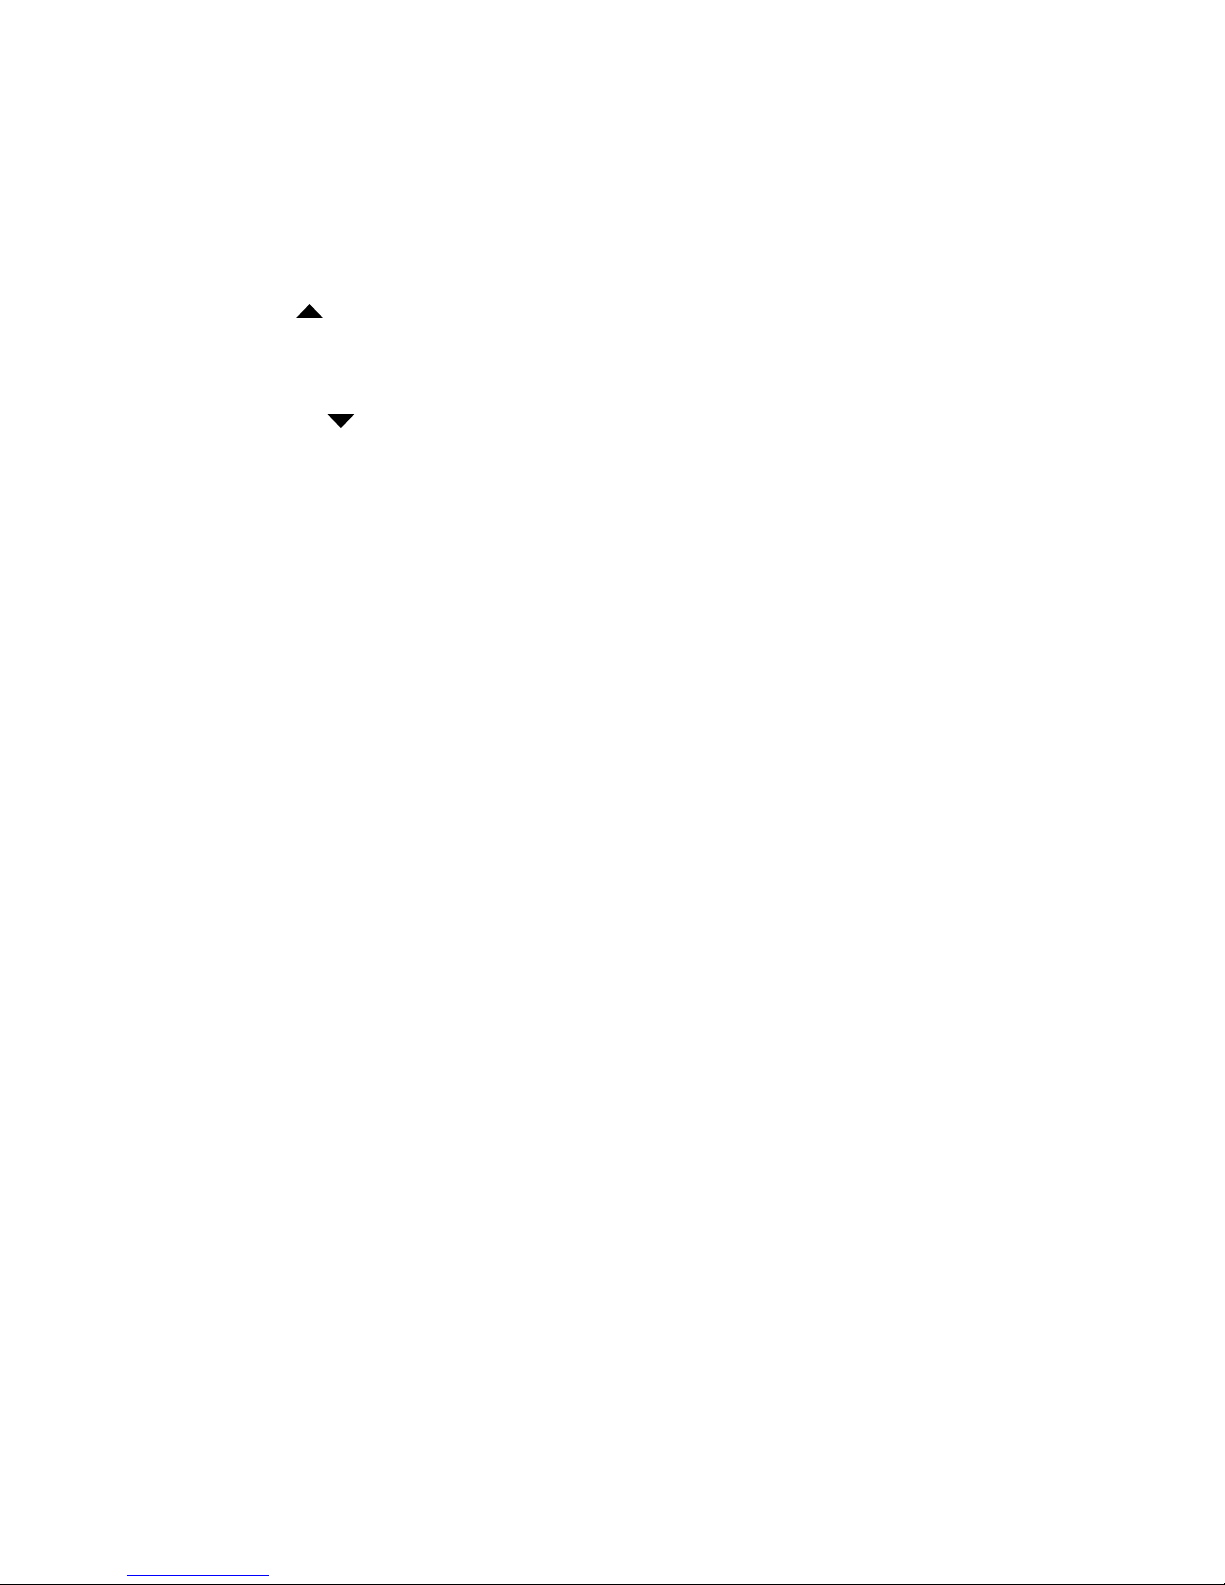
7. UP Button ( )
Push this button to increase the indoor
temperature setting in 1°F increments to
86°F.
DOWN Button ( )
Push this button to decrease the indoor
temperature setting in 1°F increments to
62°F.
NOTE: Temperature control is not available
in FAN mode.
NOTE: Press and hold UP and DOWN
buttons together for 3 seconds to
alternate the temperature display between
the °F and °C scale.
8. SILENCE/FP Button
• Activate/Disable Silence function: Press
button for more than 2 seconds and the
FP button will be activated. Pressing again
for 2 seconds disables the FP function.
• When the Silence function is activated,
the compressor will operate at low
frequency and the indoor unit will blow
at a faint breeze, which will reduce noise
to the lowest level, creating a quiet and
comfortable room. Due to low frequency
operation of compressor,
it may result in insucient cooling and
heating output.
• The FP function can only be activated
during the heating operation (only when
the setting mode is HEAT). The unit will
operate at a setting temperature of 46°F.
The display window of indoor unit will
display ‘FP’. Pressing the ON/OFF, SLEEP,
FP, MODE, FAN SPEED, UP or DOWN
while operating will cancel the
FP function.
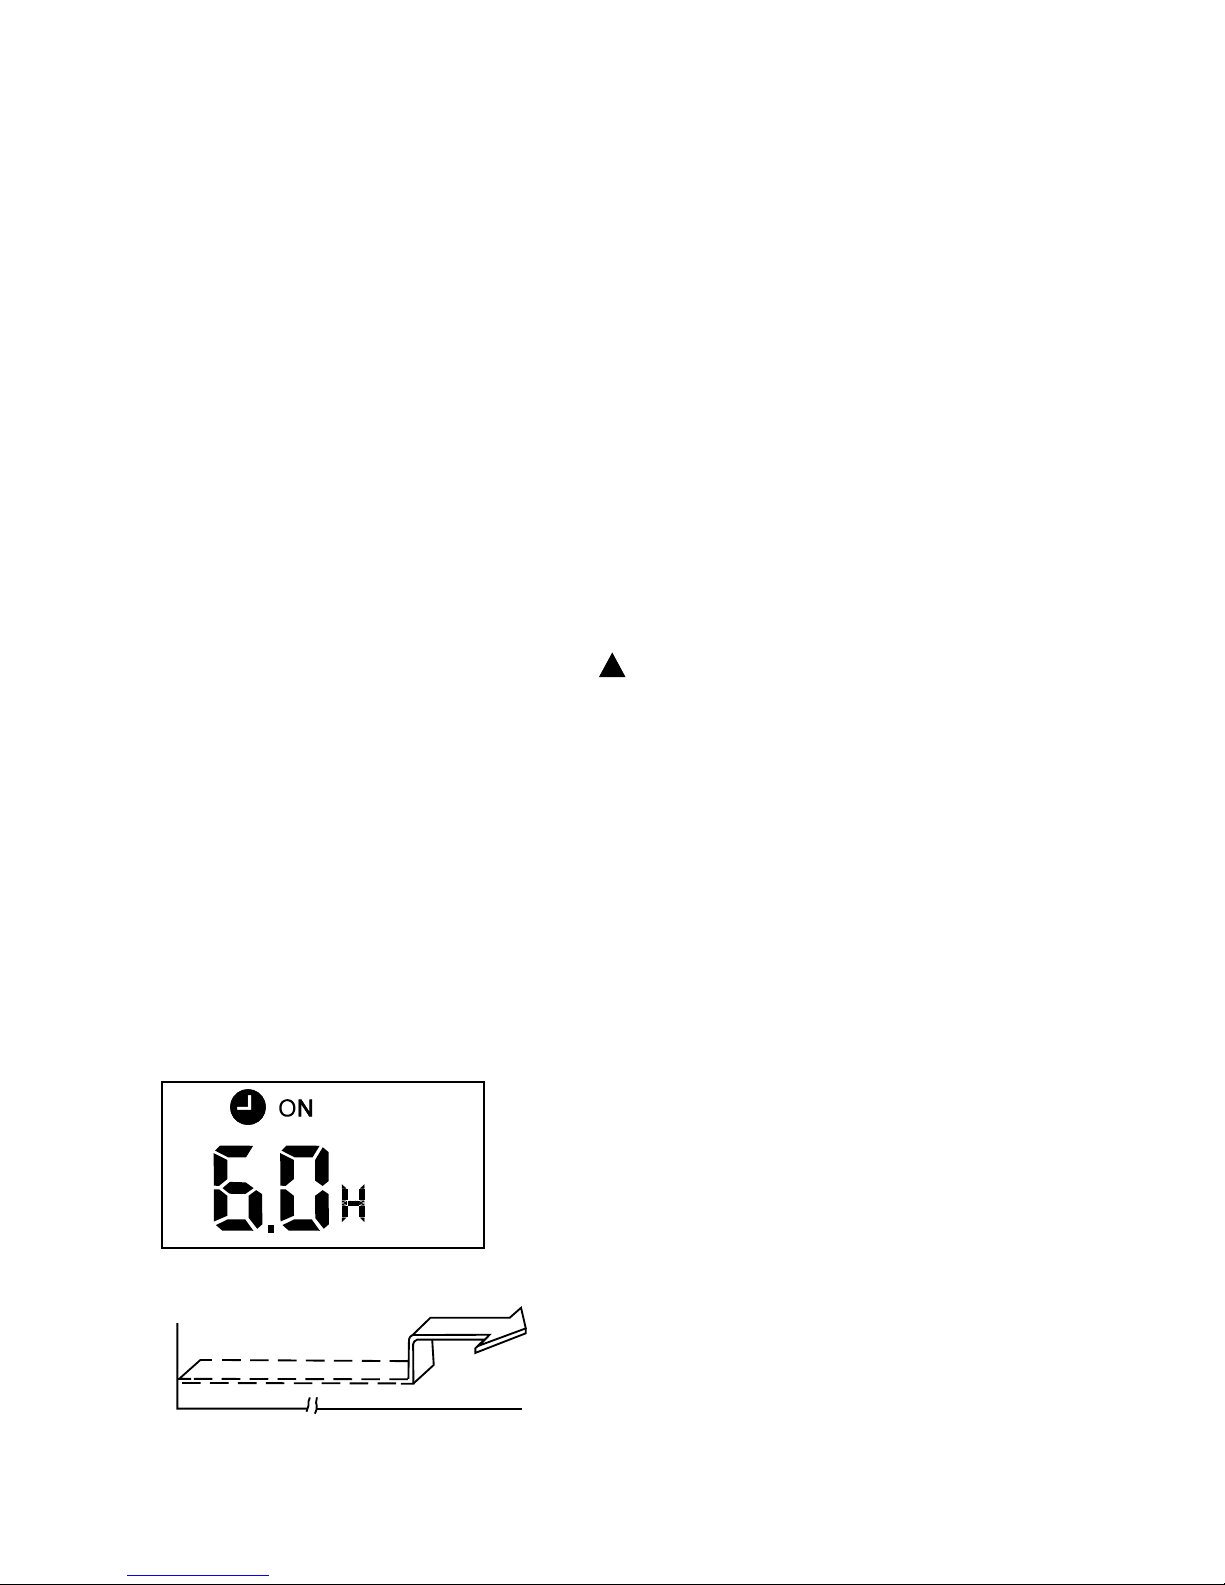
9. TIMER ON Button
Press the button to initiate the auto-on
time sequence. Each press of the button
will increase the auto-time setting in 30
minute increments. When the setting time
displays 10.0, each press of the button
will increase the auto-time setting in 60
minute increments. To cancel the auto-
time program, simply adjust the auto-on
time to 0.0.
10. TIMER OFF Button
Press the button to initiate the auto-o
time sequence. Each press of the button
will
increase the auto-time setting in 30
minute increments. When the setting time
displays 10.0, each press of the button
will increase the auto-time setting in 60
minute increments. To cancel the auto-
time program, simply adjust the auto-on
time to 0.0.
11. SWING Button
Used to stop or start horizontal louver
auto swing feature.
12. DIRECT Button
Used to change the louver movement and
set the desired up/down air ow direction.
The louver changes 6° in angle with each
press of the button.
13. FOLLOW ME Button
Push this button to initiate the Follow Me
feature. The remote will display actual
temperature at its location. The remote
control will send this signal to the air
conditioner in 3 minute intervals until the
FOLLOW ME button is pressed again. The
air conditioner will cancel the Follow Me
feature automatically if it does not receive
the signal during any 7 minute interval.
14. LED Button
Disable/Activate indoor screen display.
When pushing this button, the indoor unit
screen display is cleared. Press the button
again to light the display.