Even though your Triumph is shipped completely assembled and
tested, damage may have occurred in transit or storage. A
PermaGreen Servicing Dealer or the purchaser of the Tri-
umph shall perform the Pre-Operation Inspection and com-
plete and fax or mail the Warranty Registration Card to:: Per-
maGreen 5609 Murvihill Rd Valparaiso, IN 46383;
While conducting the Pre-Operation Inspection, identify any
unusual noises, vibration, or irregular operation. Adjust or
service as required.
After the Triumph is uncrated, perform each and every step
of this Pre-Operation Inspection in order.
THIS SYMBOL IDENTIFIES A SAFETY CHECK
Place the machine on level pavement.
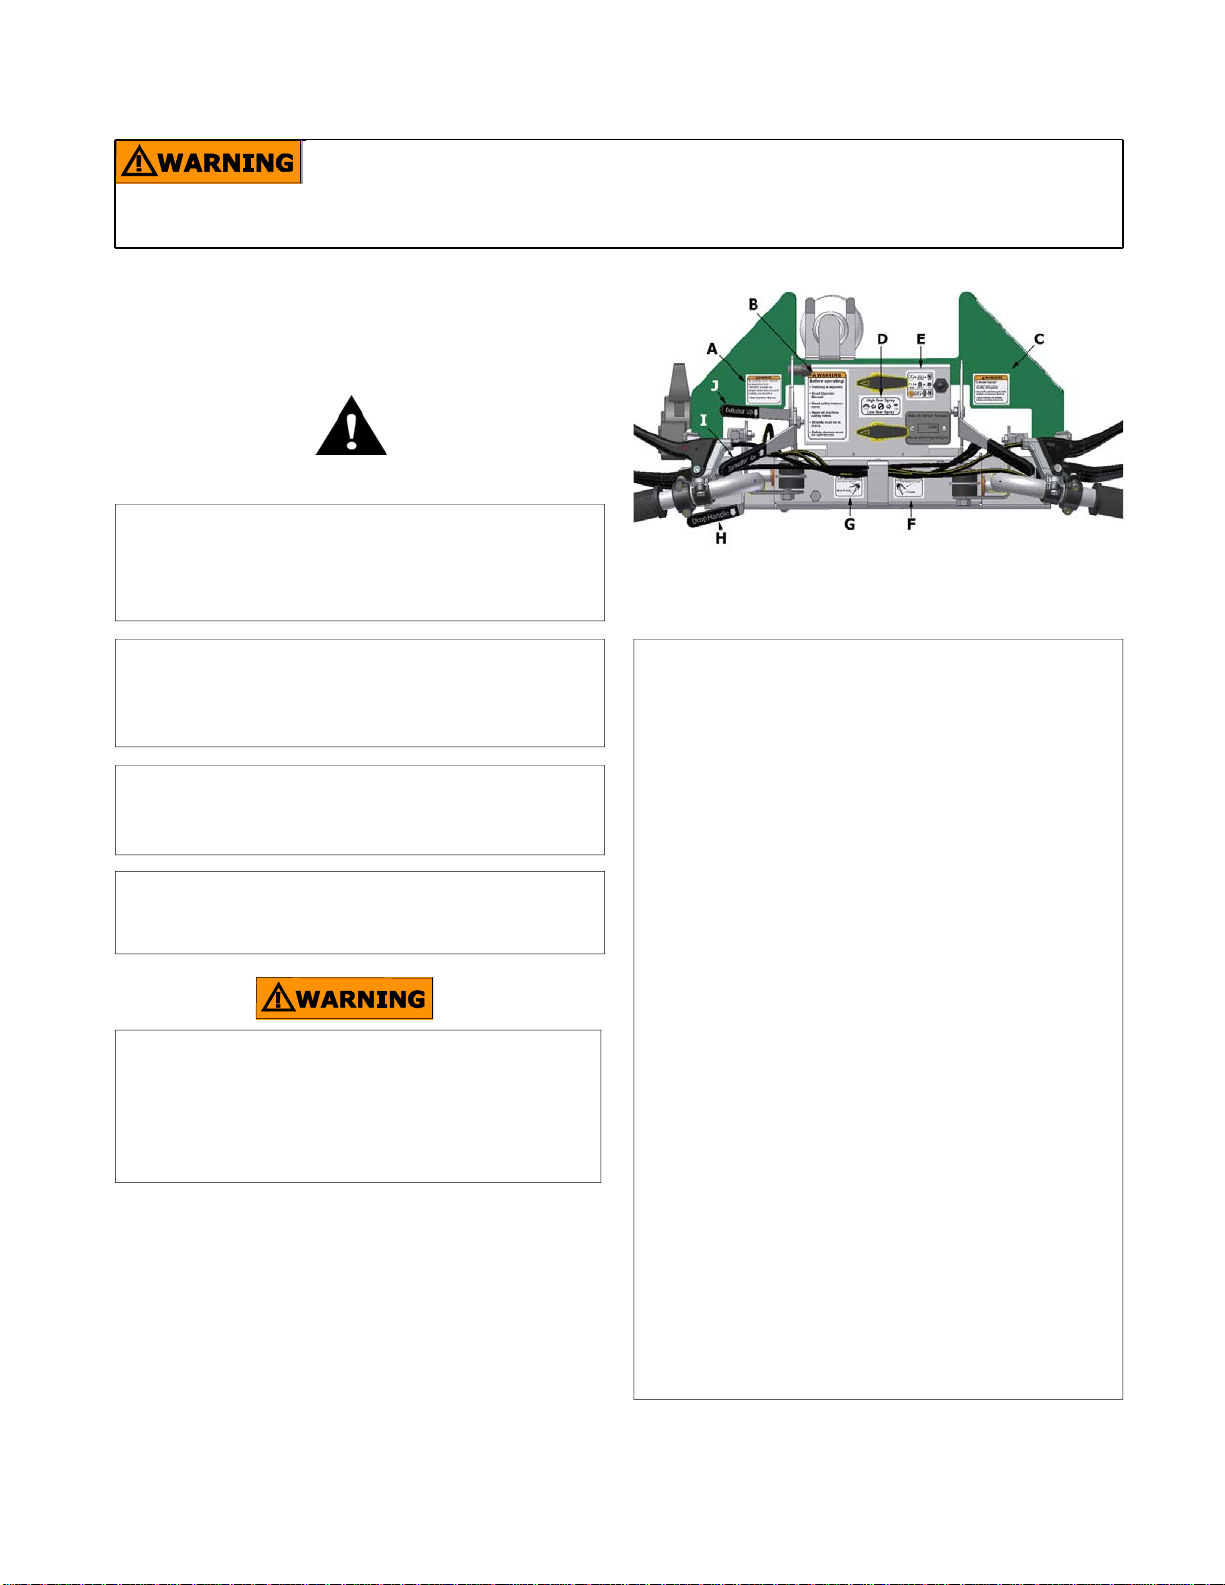
Control Systems Inspection (see pg. 14 for locations)
The Throttle Lever, Front and Rear Brake Levers, Handle
Release Lever, and Spray Lever shall move smoothly
when pulled and automatically snap back to their original
position when released.
The Auxiliary Throttle Return Spring is in place
Test operation of the Spray and Brake Levers have index
finger operated locks that hold these levers in the pulled or
retracted position. Pulling and releasing any of these lev-
ers automatically releases the lock.
The Shift, Hopper, Pattern, and Deflector Levers operate
push/pull cables and use friction or detents that will hold
their position when released.
Move the Shift Lever downward until it hits the top of the
Neutral Stop. The machine shall roll forward easily con-
firming Neutral Gear has been located..
When the Drop Handle Lever is pushed backwards, the
entire Handle bar assembly will pivot up or down and shall
automatically latch when placed in either position.
Component Inspection.
Lock both brake levers.
Check machine for damage, loose or missing bolts and
fasteners.
Inspect the machine to make sure all safety labels are in
place. See Safety Manual for locations.
Inspect Anti-slip Footpads for damage and adhesion.
Tire Inspection.
WARNING: Avoid injury! Wear a face shield. The tires
contain a liquid ballast of diluted pressurized RV antifreeze.
DO NOT operate the machine without ballast in the tires.
With the Valve Stem in the 12 o’clock position, make sure
the tire pressure is 12 PSI.
Engine and Clutch Inspection.
Check and add 10w30 oil, if necessary, to both engine
crankcase and clutch housing. NOTE: Do not screw dip-
stick in when checking level. See Engine Manual for details.
Lubricate all moving parts. See the Service Manual for
details.
Using only the Approved gas can provided with the ma-
chine, add regular unleaded gasoline to the gas tank.
Connect the spark plug wire.
Open the fuel shutoff valve.
Shift into Neutral. The machine shall easily roll forward
confirming Neutral Gear.
Lock both Brake Levers.
Chock the wheels to prevent movement.
Choke the engine, but DO NOT operate the Throttle Lever
while starting. High engine speed causes the centrifugal
clutch to engage and the machine might lurch unexpectedly
during starting.
Set the kill switch to the ON position.
Have firm footing on the ground when attempting to start
the Machine.
Pull the starter cord to start the engine. After the engine
starts, place the choke in the RUN position. IMPORTANT:
Avoid Damage! If unusual noise or vibration is detected,
stop engine and correct the problem.
While in Neutral, the engine shall idle at no more than 1650
rpm. IF THE IDLE SPEED EXCEEDS 1650 RPM, adjust the
idle speed down (see Service Manual).
While in Neutral, pull the Throttle lever. The top engine
speed shall be 3450 RPM ( plus or minus 25 RPM) at full
throttle. If necessary, adjust the full throttle speed. Pull and
release the Throttle Lever several times. The engine shall
automatically and quickly return to idle.
Neutral Safety Switch Inspection
Following the starting procedures above attempt to start the
machine in Low Gear, High Gear, and Reverse. It SHALL
NOT start in gear. IF THE MACHINE STARTS IN ANY
GEAR, DO NOT CONTINUE THE TEST OR OPERATE
THE MACHINE Contact PermaGreen support and/or
refer to the Troubleshooting Section for details.
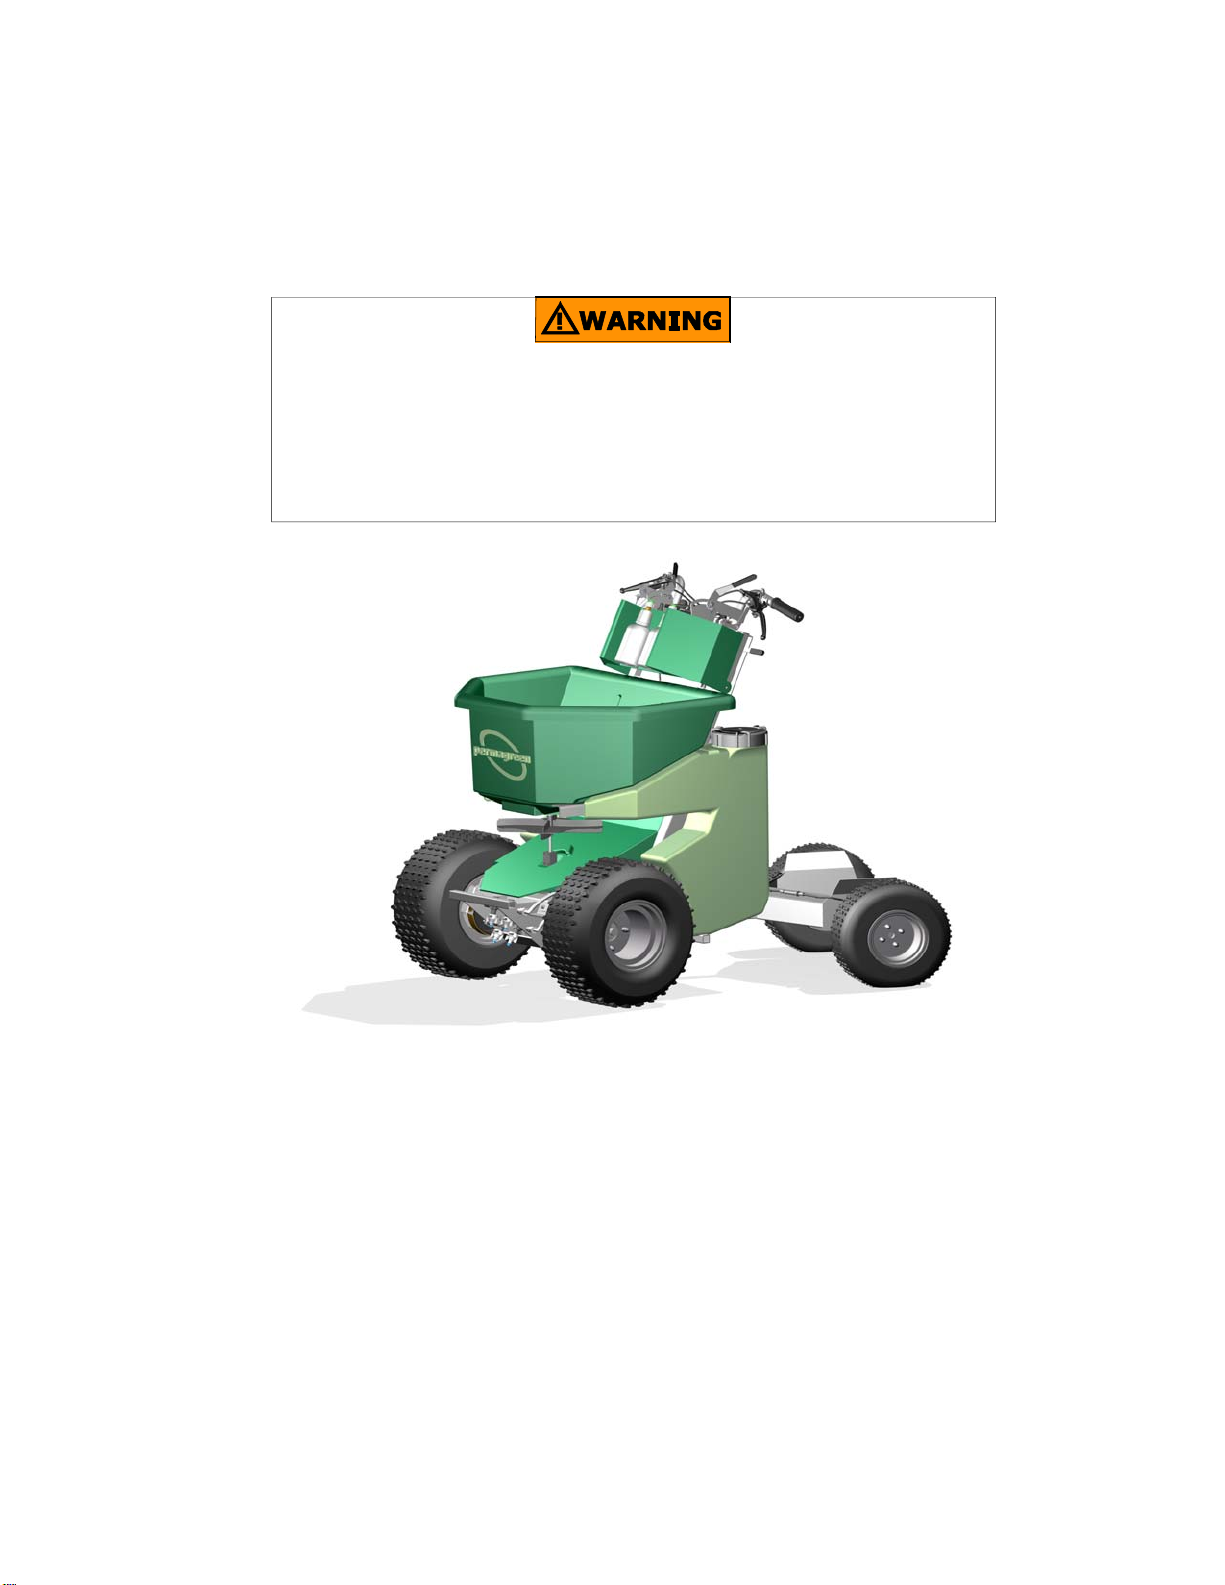
New Machine Pre-Operation Inspection
2
Avoid serious injury!
This Triumph MUST pass a Pre-Operation inspection prior to
use.
DO NOT start the machine until instructed to do so.
Do not operate unless all Safety Devices are functioning prop-
erly.
If any Safety Device fails the inspection, contact PermaGreen
replacement of any missing, damaged or malfunctioning part.
If you are not entirely familiar with the Safety Manual read it
now before proceeding with the Pre-Operation Inspection.
Pre-Operation Inspection
Avoid serious injury!
Lack of training, operator error, or carelessness may cause
serious injury or death to the operator, mechanic, or others.
All users, mechanics, and owners SHALL read and understand
this Safety manual before inspecting, operating or repairing the
Triumph. If you are not entirely familiar with the Safety Manual,
read it now before proceeding with the Pre-Operation Inspec-
tion.