manuals.online logo
Brands
  1. Home
  2. •
  3. Brands
  4. •
  5. Pfaff
  6. •
  7. Sewing Machine
  8. •
  9. Pfaff 93 User manual

Pfaff 93 User manual

Other Pfaff Sewing Machine manuals
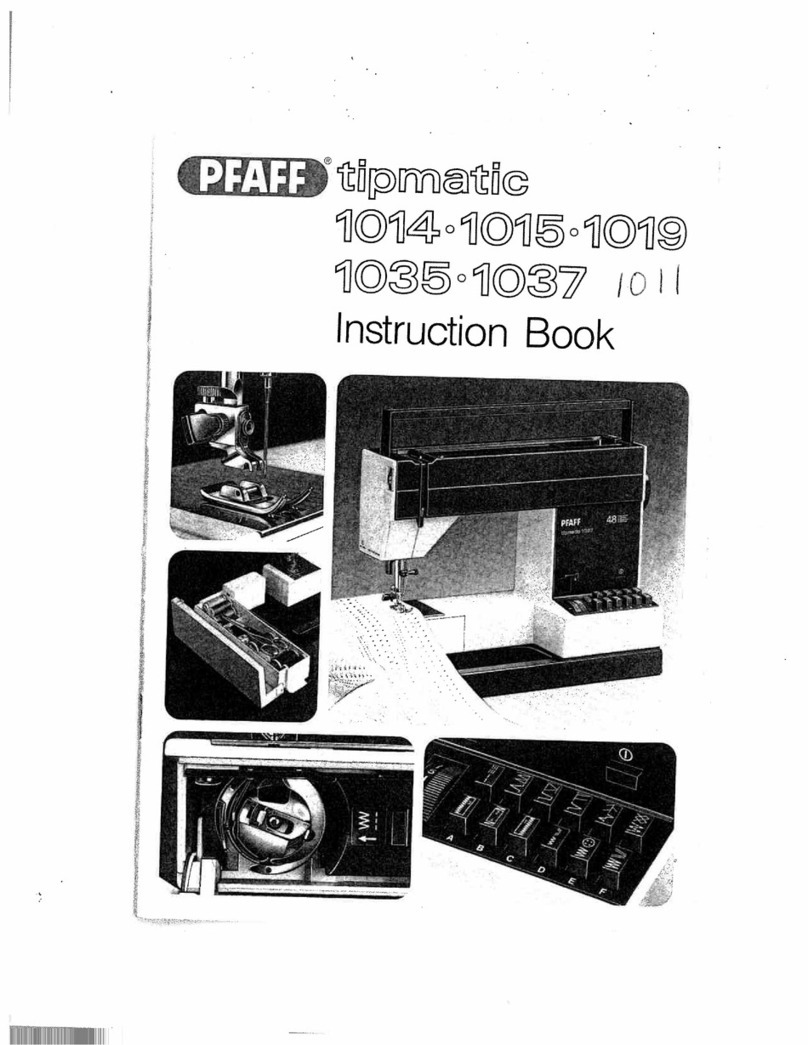
Pfaff expression 2026 User manual

Pfaff

Pfaff expression 2026 User manual

Pfaff 1445 User manual

Pfaff

Pfaff 1445 User manual

Pfaff tiptronic 2040 User manual

Pfaff

Pfaff tiptronic 2040 User manual

Pfaff EXPRESSION 2038 - User manual

Pfaff

Pfaff EXPRESSION 2038 - User manual
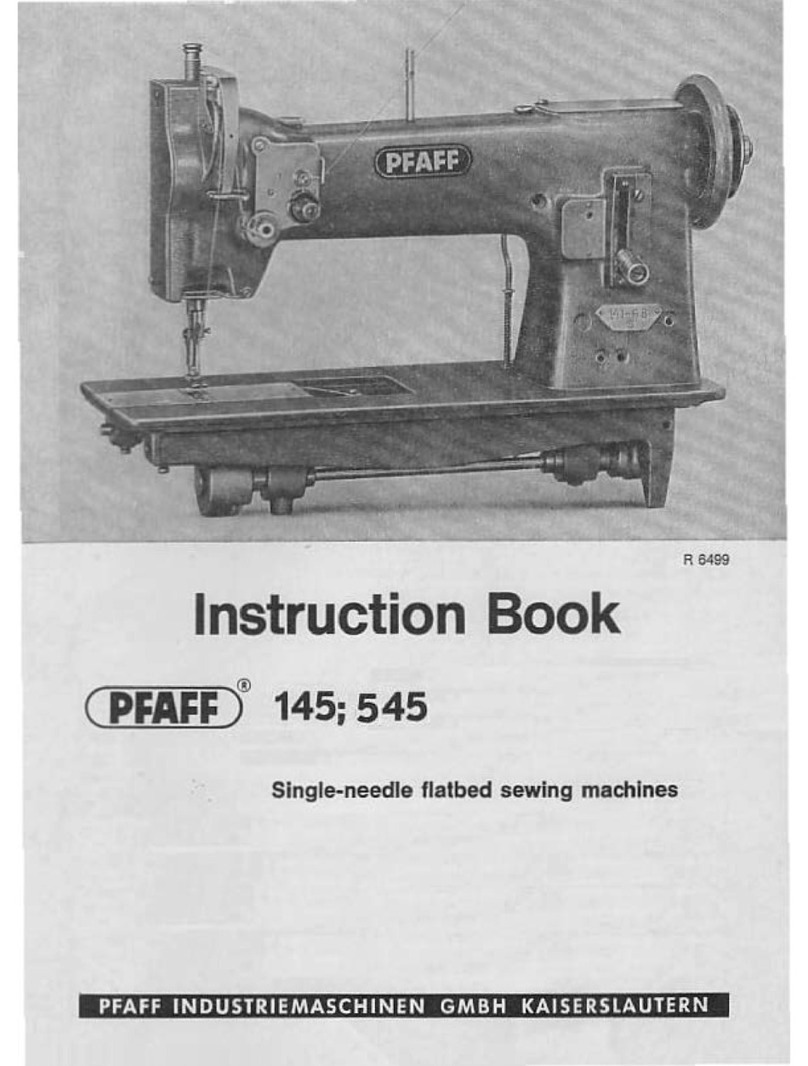
Pfaff POWERLINE 3741 User manual

Pfaff

Pfaff POWERLINE 3741 User manual

Pfaff 910 Series User manual

Pfaff

Pfaff 910 Series User manual

Pfaff hobby 1122 User manual

Pfaff

Pfaff hobby 1122 User manual

Pfaff 487 User manual

Pfaff

Pfaff 487 User manual

Pfaff CREATIVE VISION - V13598 UPDATE CREATIVE VSION SEWING AND EMBROIDERY... Technical manual

Pfaff

Pfaff CREATIVE VISION - V13598 UPDATE CREATIVE VSION SEWING AND EMBROIDERY... Technical manual

Pfaff 3108-1/1306 User manual

Pfaff

Pfaff 3108-1/1306 User manual

Pfaff 118 User manual

Pfaff

Pfaff 118 User manual

Pfaff 1181 Guide

Pfaff

Pfaff 1181 Guide

Pfaff powerLine 2595 Manual

Pfaff

Pfaff powerLine 2595 Manual

Pfaff Ambition line User manual

Pfaff

Pfaff Ambition line User manual

Pfaff 1571 User manual

Pfaff

Pfaff 1571 User manual

Pfaff 145 User manual

Pfaff

Pfaff 145 User manual
Pfaff CREATIVE 2124 User manual

Pfaff

Pfaff CREATIVE 2124 User manual

Pfaff Quilt Expressions 4.0 User manual

Pfaff

Pfaff Quilt Expressions 4.0 User manual

Pfaff 1529 User manual

Pfaff

Pfaff 1529 User manual

Pfaff dorina 72 User manual

Pfaff

Pfaff dorina 72 User manual

Pfaff 2144 User manual

Pfaff

Pfaff 2144 User manual

Pfaff creative 2170 Guide

Pfaff

Pfaff creative 2170 Guide

Pfaff 3307-3 Series User manual

Pfaff

Pfaff 3307-3 Series User manual

Pfaff 3119 User manual

Pfaff

Pfaff 3119 User manual

Popular Sewing Machine manuals by other brands

Brother PE-180D Service manual

Brother

Brother PE-180D Service manual

Singer 569U1100 Operator's guide

Singer

Singer 569U1100 Operator's guide

ELNA 2002 instruction manual

ELNA

ELNA 2002 instruction manual

Siruba DL7200D-NM1 Instruction book

Siruba

Siruba DL7200D-NM1 Instruction book

Silver Viscount 9500e instruction manual

Silver

Silver Viscount 9500e instruction manual

JUKI DDL-9000A instruction manual

JUKI

JUKI DDL-9000A instruction manual

Reliable MSK-335B Specification sheet

Reliable

Reliable MSK-335B Specification sheet

Kenmore 385. 19000 owner's manual

Kenmore

Kenmore 385. 19000 owner's manual

Brother FD4-B271 instruction manual

Brother

Brother FD4-B271 instruction manual

Brother Computerized Embroidery Machine Operation manual

Brother

Brother Computerized Embroidery Machine Operation manual

Husqvarna Viking Designer SE user guide

Husqvarna Viking

Husqvarna Viking Designer SE user guide

Singer 645 owner's manual

Singer

Singer 645 owner's manual

Riccar RL634DE user manual

Riccar

Riccar RL634DE user manual

ZOJE ZJ9800 Operation manual

ZOJE

ZOJE ZJ9800 Operation manual

Siruba C007JP Instruction book

Siruba

Siruba C007JP Instruction book

IKEA SY user guide

IKEA

IKEA SY user guide

Singer 15-91 Adjusters manual

Singer

Singer 15-91 Adjusters manual

Brother BB370 Quick setup guide

Brother

Brother BB370 Quick setup guide

manuals.online logo
manuals.online logoBrands
  • About & Mission
  • Contact us
  • Privacy Policy
  • Terms and Conditions

Copyright 2025 Manuals.Online. All Rights Reserved.

CPFAFFi
Automatic
93
INSTRUCTIONS
FOREWORD
Your
dream
has
come
true.
You
ore
now
the
proud
owner
of
a
Pfaff
Automatic
93,
the
sewing
machine
which
will
enable
you to
master
all
ordinary
sewing
and
darning
lobs
that
may come up
in
a
home.
In
addition,
your
machine
can
sew
a
large
number
of
beautiful
decorative
designs
completely
automatically.
This
instruction
book
will
help
you
understand
the machine
and
give
you
valuable
tips
to
make
sewing
more
fun
four
you.
Even
if
you
are
an
experienced
seamstress,
you
will
find
this
book
a
valuable
guide
to
easy
sewing.
Follow
these
simple
instructions
and
familiarize
yourself
with
the
exclusive
features
of
your machine.
You
will
find
sewing
exciting
on
your
eosy4o-operate
Pfaff
93.
If
you
have any
sewing
problems,
please
contact
your
Pfaff
dealer.
He
will
be
glad
to
help
you
at
any
time.
G.M.
PFAFF
AG
Karlsruhe-Durlach
Branch
DR506
DR
508
DR
507
Qieijicn
c6
$,“i
Machiw
Engaging
the
Sewing
Mechanism
.4
Hold
balance
wheel
and
turn stop
motion
knob
clockwise
(as
indicated
by
black
arrow).
Disengaging
the
Sewing
Mechanism
Hold
balance
wheel
and
turn stop
motion
knob
counter-clockwise
(toward
you).
The
sewing
mechanism
is
disengaged
for bobbin
winding.
The
Workplate
The
plate
is
used
to
enlarge
the
work
area
for
ordinary
sewing.
Before
you
attach
the
workplate, raise
the
presser
bar
lifter
and
turn
the
balance
wheel
until
the
take-up
lever
is
at
its
lowest
position
(see
arrow
at
right).
.4
Hold
workplate
level
and
push
it
between
free
arm
and
sewing
foot
tilt
it
slightly
so
that
its
lugs
enter
the
holes
in
the
machine
bose
(see
arrows).
Swing
out the
support
and
lower
workplate
into
position.
I.
4
DR5
I
Power
Drive
and
Sewlight
Push
plug
I
into
receptacle
2
on
back
of
machine,
and
plug
3
at
other
end
of
cord
into
the
wall
outlet.
Cord
4
leads
to
the
foot
control.
Foot-driven
machines
hove merely
a
sewlight cord
whose
plug
is
pushed
into
the
wall outlet.
To
switch
on
the sewlight,
push
button
on
face
cover. Mount
driving
belt. Before
you
drop
the machine,
remove the
beltfrom
the
stand
wheel,
pulling
itto
the
right.
Motor
Disengaging
Mechanism
Power-driven
machines
feature
a
lever
underneath
the
balance
wheel
which
serves
to
swing the
motor
to
its
operotive
position.
To
do
this, flick
the
lever
down.
After
you
hove
completed
sewing,
flick
the
lever
to
its
top
position
in
order
to
return
the
motor
to
the
inoperative
position.
With
the
motor
swung out
of
engagement,
oIl
machines
set
upon
treadle
stands
can
be
driven
by
foot
power.
Foot
Control
Place
the
foot
control
under
the
cabinet
within
easy
reach
of
your
foot.
Rest
the
right
foot
on
the
control
pedal
and
press.
The
harder
you
press,
the
faster
the
machine
will
run.
On
some
sewing
cabinets,
the
foot
control
cord can
be
passed
through
the
opening
in
the
bedplate
extension.
Sewing
Speed
The
Pfaff
rotary
hook
enables
you
to
sew
ot
speeds
of
over
1200
stitches
a
minute.
Such
high
speeds
ore
ideal
for
straight
stitching
operations.
Wide
zigzag
stitches
and
Automatic
embroidery
work
require
a
lower
speed
which
is
obtained
by
depresssing
the
foot control
only
slightly.
5
R7I32
DR
4898
6
$&ip1e
$tIu4iq
.4
For
stroight-stitch
sewing
set:
Lever
A=O
Lever
B=Center+
(For
stroight
stitching, too,
a
fashion
disc
should
be
inserted
in
the
machine.)
Control
G
regulates
the
stitch
length.
For
detailed
instructions
please refer
to
page
20.
To
backtack
the end
of
a
seam,
simply
depress
the
finger-tip
control.
6
DROO9A
DR
489A
i92a1
$“i
If
you
want
to
switch
from
straight
(A
on
“0”)
to
zigzag
stitching,
insert
the
zigzag
disc,
and
turn
lever
A
to
desired
stitch
width
(indicated
by
numbers
ito
4).
For most
sewing
jobs
it
is
best
to
leave
zigzag
disc
(A)
in
the
machine
so
that
you
can
quickly
change
over
from
straight
to
zigzag
stitching.
Lever
B
changes
the
position
of
the
needle
in
the
needle
plate
slot. Thus
the
stitching
con
be
moved
from the
center
to
the
left
or
right
of
the
slot,
as
desired.
The
position
of
lever
B
(left,
center,
right)
indicates
the position
of
the
needle
in
the
needle
plate
slot.
4—
.
-+
Control
G
lengthens
zigzag
stitches
or
packs them
more
closely
together
(satin
stitch).
I
Aiitcusati
9a.chtcn
7t.cts
Functional Stitches
Three
exchangeable
fashion
discs
are
furnished
with
each
machine.
These
discs
are
used
to
make
the
zigzag
stitch,
the elastic
serpentine
stitch,
and
the
blindstifch,
and
are
marked
as
follows:
Disc
A
=
zigzag
stitch
Disc
B
=
elastic
serpentine
stitch
Disc
C
=
blindstitch
Ornamental
Stitches
Fashion
discs
D,
E,
F
and
G
serve
to
produce
various
decorative
designs.
Countless
pattern
variations
are
possible
by
changing
both
the
stitch
length
and
the
stitch
width.
8
OR
544A
Changing
the
Fashion
Discs
Always
lerk
stitch
width
lever
A
to
“0’
before
you
insert
or
remove
adisc.
Turn
thumb
nut
R
counter-clockwise
to
release
the
disc
in
the
zigzag
mechanism,
then pull
ii
up
and
take
it
out.
Push
the
disc
onto
the
stud
and
rotote
it
until
stud
H
snaps
into
one
of
the
slots.
Then
tighten
the
thumb
nut
by
turning
it
clockwise.
Set
the
machine
for
the
desired
stitch
width
and
stitch
length.
9
DR
614
DR
613
icoj,ig
e4
1
3c
6
6in
Case
Raise
needle
to
its
highest point
and
open
free
arm
cover.
Lift
latch
k
with
the
thumb
of
your
left
hand and
pull
out
bobbin
case
with
bobbin.
When
you
release
the
latch, the
bobbin
drops
out.
10
I
Oni
th
73ô66in
Disengage
the
sewing
mechanism
(see
page
4)
and
flick
presser
bar
lifter
to
highest
position.
Raise
the spool
pins
to
the vertical
position.
Place
spool
of
thread
on
one
of
the
spool
pins
and
set
bobbin
on
bobbin winder
spindle
so
that
the
key
at
base
of
spindle
enters
slot
in
bobbin,
Threading
the
Machine
Lead
the
thread
from
spool
I
through
both
front
holes
of
thread
retainer2
and
thence
to
the
bobbin
on
the
bobbin
winder
spindle.
Pass
end
of
thread
through
slot
in
bobbin,
from inside.
Press
bobbin
winder
lever
toward
bobbin
and
start
winding.
Having
wound
a
few
turns,
break
off
end
of
thread.
Bobbin
winder
will
stop
automatically
when
bobbin
is
full.
Since
the
upper thread
is
passed
through
the
rear
holes
of
the
four-hole
thread
retainer,
you
can
wind
the
bobbin
from
a-
second
spool
without
unthreading
the
needle.
Before
you
drop
the
machine
into
the
cabinet
or
place
it in
the
carrying case
(portable
machines)
the
spool
pins
should
be
swung
forward
to
the
horizontal
position.
DR
549
11