manuals.online logo
Brands
  1. Home
  2. •
  3. Brands
  4. •
  5. Pfaff
  6. •
  7. Sewing Machine
  8. •
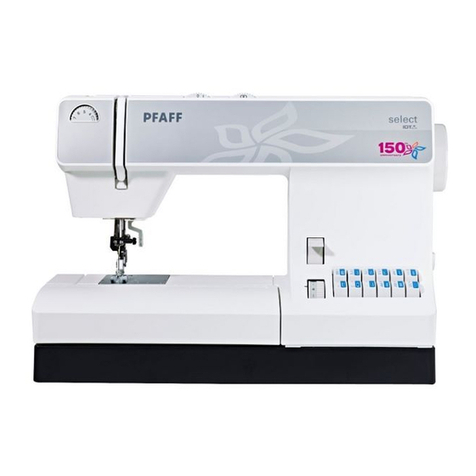
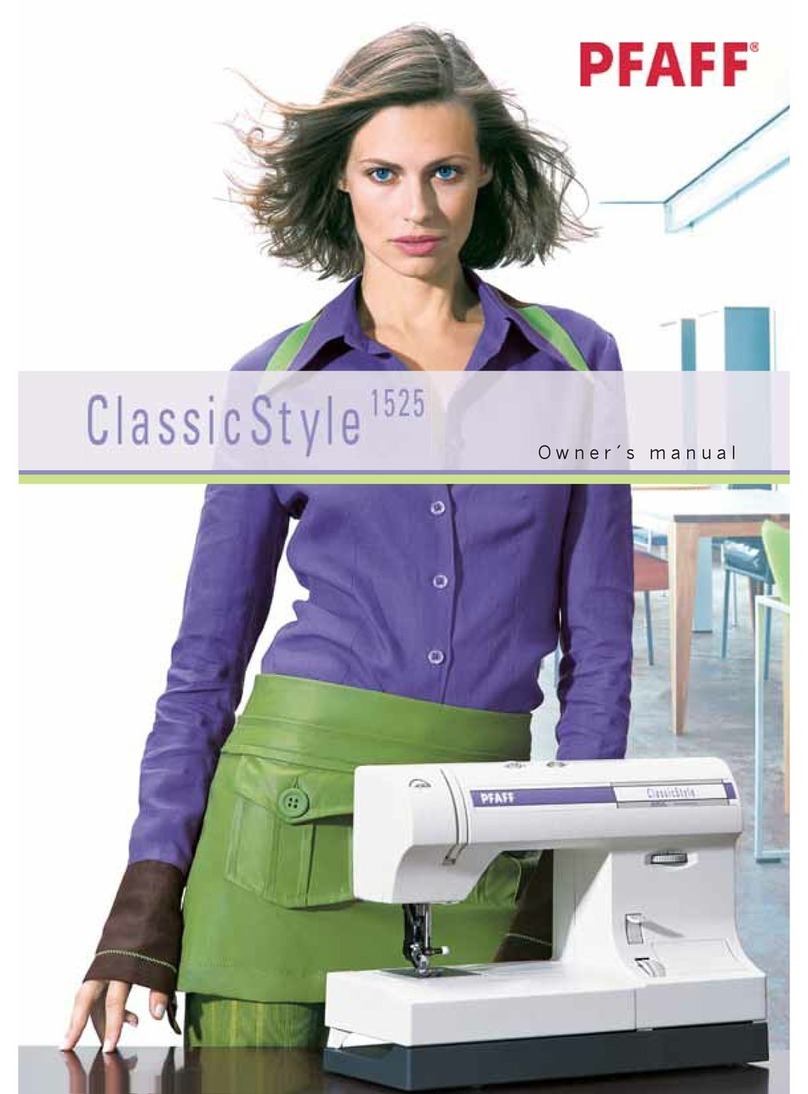
  9. Pfaff 94 User manual

Pfaff 94 User manual

This manual suits for next models

1

Other Pfaff Sewing Machine manuals

Pfaff Creative Vision Technical manual

Pfaff

Pfaff Creative Vision Technical manual

Pfaff 1571 User manual

Pfaff

Pfaff 1571 User manual

Pfaff PLUSLINE 2483-3/03-980 Series Guide

Pfaff

Pfaff PLUSLINE 2483-3/03-980 Series Guide

Pfaff 145 User manual

Pfaff

Pfaff 145 User manual

Pfaff 294 User manual

Pfaff

Pfaff 294 User manual

Pfaff 1422-900/81 User manual

Pfaff

Pfaff 1422-900/81 User manual

Pfaff CREATIVE 4.0 - User manual

Pfaff

Pfaff CREATIVE 4.0 - User manual

Pfaff 463 User manual

Pfaff

Pfaff 463 User manual

Pfaff Creative Performance User manual

Pfaff

Pfaff Creative Performance User manual

Pfaff Creative 2134 User manual

Pfaff

Pfaff Creative 2134 User manual

Pfaff powerquilter 1600 User manual

Pfaff

Pfaff powerquilter 1600 User manual

Pfaff smart 100s User manual

Pfaff

Pfaff smart 100s User manual

Pfaff 3371-1 series User manual

Pfaff

Pfaff 3371-1 series User manual

Pfaff 3516-1/25 User manual

Pfaff

Pfaff 3516-1/25 User manual

Pfaff creative icon User manual

Pfaff

Pfaff creative icon User manual

Pfaff 212 User manual

Pfaff

Pfaff 212 User manual

Pfaff creative 4874 User manual

Pfaff

Pfaff creative 4874 User manual
Pfaff hobby 1122 Guide

Pfaff

Pfaff hobby 1122 Guide

Pfaff creative 1469 User manual

Pfaff

Pfaff creative 1469 User manual

Pfaff 481 User manual

Pfaff

Pfaff 481 User manual

Pfaff hobby 4240 User manual

Pfaff

Pfaff hobby 4240 User manual

Pfaff quilt ambition 2.0 User manual

Pfaff

Pfaff quilt ambition 2.0 User manual

Pfaff dorina 72 User manual

Pfaff

Pfaff dorina 72 User manual

Pfaff 1213 User manual

Pfaff

Pfaff 1213 User manual
Popular Sewing Machine manuals by other brands

Brother PE-180D Service manual

Brother

Brother PE-180D Service manual

Singer 569U1100 Operator's guide

Singer

Singer 569U1100 Operator's guide

ELNA 2002 instruction manual

ELNA

ELNA 2002 instruction manual

Siruba DL7200D-NM1 Instruction book

Siruba

Siruba DL7200D-NM1 Instruction book

Silver Viscount 9500e instruction manual

Silver

Silver Viscount 9500e instruction manual

JUKI DDL-9000A instruction manual

JUKI

JUKI DDL-9000A instruction manual

Reliable MSK-335B Specification sheet

Reliable

Reliable MSK-335B Specification sheet

Kenmore 385. 19000 owner's manual

Kenmore

Kenmore 385. 19000 owner's manual

Brother FD4-B271 instruction manual

Brother

Brother FD4-B271 instruction manual

Brother Computerized Embroidery Machine Operation manual

Brother

Brother Computerized Embroidery Machine Operation manual

Husqvarna Viking Designer SE user guide

Husqvarna Viking

Husqvarna Viking Designer SE user guide

Singer 645 owner's manual

Singer

Singer 645 owner's manual

Riccar RL634DE user manual

Riccar

Riccar RL634DE user manual

ZOJE ZJ9800 Operation manual

ZOJE

ZOJE ZJ9800 Operation manual

Siruba C007JP Instruction book

Siruba

Siruba C007JP Instruction book

IKEA SY user guide

IKEA

IKEA SY user guide

Singer 15-91 Adjusters manual

Singer

Singer 15-91 Adjusters manual

Brother BB370 Quick setup guide

Brother

Brother BB370 Quick setup guide

manuals.online logo
manuals.online logoBrands
  • About & Mission
  • Contact us
  • Privacy Policy
  • Terms and Conditions

Copyright 2025 Manuals.Online. All Rights Reserved.

Instruction
Book
CPFAFFD®
94
CPFAFFD®
95
Needle
and
Thread
Chart
Thread
Needle
Type
of
Fabric
Type
Size Size
Point
Style
Bed
linen
80
Fine
linen
Cotton
40
70
—80
Muslin
70—80
Dress
fabrics,
such
as
brocade,
Silk
50
satin
ottoman,
taffeta,
georgette,
70—80
crêpe,
chiffon,
botiste,
blouse
-
fabrics and
poplin shirting
cotton
50
Suitings
and mantlings
Silk
40
80—90
Twill,
denim
Cotton
40 90—
100
130
R
Heavy
linen________
Cotton
4090-100
Cotton
or
linen
40
90—100
Burlap
Linen
40
110
Terry
cloth,
chenille
goods
Cotton
40
knitted
pile
fabric
for
both-obes,
—
——---—
—-—
80—90
corduroy
Silk
50
Cotton, rayon
staple
fabrics
Cotton
50
70—80
Synthetic
50
Jersey fabrics
(synthetic)
70—80
130
ses
Cotton
—
Synthehc___
Lostex,
Helanca
fabrics
70—90
130
sos
TW
50
—
Synthec
—
40
-80
Foambacks
130
R
Silk
40
90
Jersey fabrics
(wool) Silk
50 80
130
ses______________
Woolens
Mercerizeclcotton
50
70—80
130R
Cotton
curtains
Mercerized cotton
40
70—80
130
stik
Synthetic
curtains
Synthetic
thread
40
70—80
—
Acella,
leatherette,
oilcloth
Cotton
40 80
PCL
Elastic
corsetry
fabrics,
Firm
Synthetic
thread
—
40
70—90
130
ses
corsetry
fabrics,
corset satin
Cotton
40
913
Cotton
40
110
l3OLr
Leather
Linen
40
Embroidery
thread
30—50
70
Heavy
embroide read
90
—100
Buttonhole
sHk
—
90—100
Decorative
stitching
Embroidery
and
30
-
80
130
R
darning thread
so
o—ao
Silver-gold
thread
70
80— 100
Silver
thread
Instructions
CPFAFFi
and
95
Foreword
Your
new Pfaff
sewing machine
will
enable
you
to
master
a
large
variety
of sewing,
embroidering and
darning
jobs
eosily
and
quickly.
This
instruction
book
has been
com
piled
in
order
to
familiarize
you
thoroughly
with
oil
the sewing
jobs coming
up
in
a
home.
We suggest
that
you
try
out the
various
sew
ing
techniques
discussed
in
this
book
so
that
you
will
become
well
acquainted
with
your
machine.
If
you
have any
sewing
problems,
please
do
not
hesitate
to
contact
your
Pfaff
dealer
who
will
be
glad
to
help
you
at
any
time.
We
hope
you
will
always
enjoy sewing
with
your
Pfaff.
PFAFF-Haushaltmaschinell GmbH
Karisruhe-Durlach
Essential Parts
of
Your
Pfaff
94
1
Face
cover
2
Take-up
lever
3
Thread
guide
4
Top
cover
5
Thread
retainer
stud
6
Spool
pins
7
Bobbin
winder
8
Balance wheel
9
Stop
motion knob
10
Motor
disengaging
mechanism
11
Stitch
length control
12
Reverse
feed
control
13
Bed
cover
14
Transverse
rotary
hook
15
Needle
plate
16
Sewing
foot
thumb screw
17
Light
switch
18
Stitch
width
control
19
Needle
position
lever
20
Needle
thread
tension
21
Presser
bar
lifter
(on
back
of
machine
arm)
22
Needle
set
screw
23
Sewing
foot
345j64
17
9
16
15
—=------‘,w-
-
14 13
2
Essential Parts
of
Your
Pfaff
95
1
Face
cover
2
Take-up
lever
3
Thread
guide
4
Top
cover
5
Thread
retainer
stud
6
Spool
pins
7
Bobbin
winder
8
Balance
wheel
9
Stop
motion
knob
10
Motor
disengaging
mechanism
9
11
Stitch
length
contro’
12
Reverse
feed
control
13
Free
arm
14
Free
arm
cover
(enclosing
transverse
rotary
hook)
10
15
Needle plate
16
Sewing
foot
thumb screw
17
Light
switch
11
18
Stitch
width control
19
Needle
position
lever
20
Needle
thread
tension
21
Presser
bar
lifter
(on
back
of
machine
arm)
22
Needle
set
screw
23
Sewing
foot
ii
3
17
Preparing
Your
Machine
for
Sewing
Push
plug
A
into
the
receptacle
on
the back
of
the machine
and
the
plug
at
the
other
end
of
the
cord
into
the
wall outlet.
If
your machine
is
foot-operated,
push
the
plug of
the
sewlight
cord
into
the
wall
out
let.
To
switch
on
the
sewlight,
push
the
button
on
the
face
cover
(see
ill.).
Place
the
foot
control
within
easy
reach
of
your
foot
and depress
the
pedal.
The
harder
you
press,
the
faster
the
machine
will
run.
4
Power-driven
machines
feature
a
lever
(10)
underneath
the
balance
wheel
which
serves
to
swing
the
motor
to
its
operative
position.
To
engage
the motor,
flick
this
lever down.
After
you
have
completed
sewing,
flick
this
lever
to
its
top position.
With the
motor
swung
out
of
engagement,
oil
machines
fitted
with
a
treadle
mechanism
con
be
driven
by
foot
power.
5
To
remove
the
bobbin
case,
rotate
the
ba
lance
wheel
until
the
needle
is
at
the
top of
its
stroke.
On
the Pfaff
94,
remove
bed cover
(13),
as
illustrated.
Lift
latch
k
on
the
bobbin
case
and
pull
out
the
bobbin
case
with
the
bob
bin.
The
bobbin cannot
fall out
as
long
as
you
hold
the
case
by
its
open
latch.
When
you
release
the
latch,
the
empty
bobbin
drops
out.
On the Pfaff
95,
the
bobbin case
is
removed
just like
on
the Pfaff
94.
To
get
at
the
bobbin
case,
however,
you must
first
open
free
arm
cover
(14)
by
swinging
it
toward
the
left.
6
For
bobbin
winding,
disengage
the sewing
mechanism.
Hold
balance
wheel
(8)
while
turning
stop
motion
knob
(9)
toward
you
(see
ill.).
To
engage
the sewing
mechanism
after
the
bobbin has been
wound,
turn
the
stop
mo
tion
knob
away
from you
(as
indicated
by
an
arrow
in
the
ill.).
Pass
the
thread
around
thread retainer
stud
(2)
in
the
direction
indicated
by
an
arrow.
Place
a
bobbin
on
the
bobbin winder
spindle,
making
sure
that
key
A
at
its
base
enters
slot
B
in
the
bobbin
(see
ill.).
Wind
a
few
turns of
thread
on
the
bobbin
and
push
the
bobbin
toward
the
right.
Start
the
ma
chine.
When
the
bobbin
is
full,
it
is
pushed
toward
the
left
and
can
be
removed
from
the
spindle.
7
Hold
the
full
bobbin
so
that
the
thread
un
winds
toward
you
and
place
it in
the
bobbin
case.
Pull
the
thread
into
slot
(2)
and under
spring
(3).
As
you
pull
the
thread,
the
bobbin
should
rotate
clockwise
(4).
Leave
about
three
inches
of
thread
hanging
from
the
bobbin
case.
8