manuals.online logo
Brands
  1. Home
  2. •
  3. Brands
  4. •
  5. Pfister
  6. •
  7. Toilet
  8. •
  9. Pfister Bernini VTP-E11W User manual

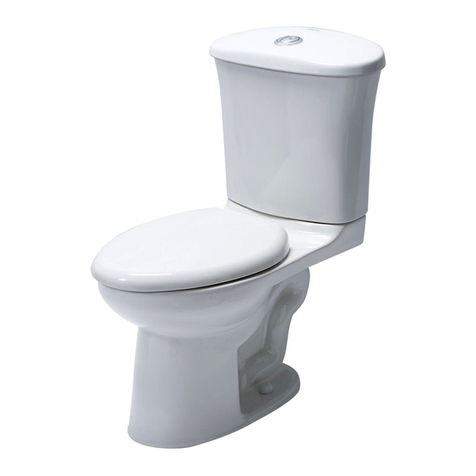
Pfister Bernini VTP-E11W User manual

Installation Support • Soporte de instalación • Support d’installation
Personal Assistance, Product Specs, &
“How-to” Questions:
Asistencia personal, especificaciones del
producto y preguntas sobre “cómo hacerlo”:
Aide personnelle, spécifications du produit
et questions « pratico-pratiques » :
467950200
Feb 29, 2016
18003407608
pisterfaucets.ca
1117813
Copyright © 2016, PisterInc.
Bernini™
VTPE11W
Required Tools
Herramientas necesarias
Outils nécessaires
Parts in the Box
Piezas en la caja
Pièces dans la boîte
Not Included
No Incluido
Non Inclus
To reduce the risk of injury or property damage, read all instructions before installing product. Wear safety goggles. Product must be installed
in accordance with all state & local plumbing & building codes. Call a professional if you are uncertain about installing this product. Mounting
surface must be clean and level before installing toilet. If not level, use shims according to manufacturer's instructions.
Para disminuir el riesgo de lesiones o daños a la propiedad, lea todas las instrucciones antes de instalar el producto. Utilice gafas de seguridad. El producto
deberá instalarse de acuerdo con la normativa de plomería y construcción estatal y local. Llame a un profesional si no está seguro sobre cómo instalar este
producto. Ubique las entrada del suministro de agua y cierre la válvula de suministro de agua. Generalmente se encuentran debajo del tanque del inodoro. Si se
trata de un reemplazo de inodoro, quite el inodoro viejo y limpie completamente la supericie.
Pour réduire le risque de blessures ou de dommages, lire toutes les instructions avant d’installer le produit. Porter des lunettes de sécurité. Le produit doit
être installéen conformité avec tous les codes de construction et de plomberie locaux et de l'état. Appelez un professionnel si vous n’êtes pas certain de la
façon d’installer ce produit. Localisez l'entrée de l'approvisionnement en eau et fermer la vanne d'alimentation en eau. On les trouve généralement sous le
réservoir de la toilette. Si il ya une toilette de remplacement, retirez la vieille toilette et nettoyer la surface.
WARNING / ADVERTENCIA / AVERTISSEMENT
Two Piece, Dual Side Flush Toilet
Inodoro de Dos Piezas con Doble Descarga Lateral
Deux pièces Toilette avec Décharge Double Side
Quick Installation Guide
Guía de instalación rápida
Guide d’installation rapide
1
Safety Goggles
Anteojos de seguridad
Lunettes de sûreté
Cloth
Paño de limpieza
Chion
Items shown are not to scale.
De resultados no están a escala.
Produits aichés ne sont pas à l'échelle.
Phillips Screwdriver
Destornillador de estrella
Tournevis Phillips
Locate water supply inlet and shut of the water supply valve. These are usually found
under the toilet tank. If you are replacing an existing toilet, remove the old toilet and clean
the surface thoroughly.
Ubique las entrada del suministro de agua y cierre la válvula de suministro de agua. Generalmente se
encuentran debajo del tanque del inodoro. Si se trata de un reemplazo de inodoro, quite el inodoro
viejo y limpie completamente la supericie.
Localisez l'entrée de l'approvisionnement en eau et fermer la vanne d'alimentation en eau. On les
trouve généralement sous le réservoir de la toilette. Si il ya une toilette de remplacement, retirez la
vieille toilette et nettoyer la surface.
Turn O Water Supply •Cierre el suministro de agua •Couper l’alimentation en eau
A
B
E
D
F
LJG
KH
C
Caulking or Sealant
Calafateo o sellante
Calfeutrage ou mastic
Adjustable Wrench
Llave ajustable
Clé â mollette
SAMPLE COPY
2
Mounting surface must be
clean and level before installing
toilet. If surface can’t be
leveled, use shims according to
manufacturer's instructions.
La supericie de montaje debe estar
limpia y nivelada antes de instalar el
inodoro. Si la supericie no puede
ser nivelada, use calzas de acuerdo
con las instrucciones del fabricante.
La surface de montage doit
être propre et de niveau avant
d'installer les toilettes. Si la surface
ne peut pas être mise à niveau,
en utilisant des cales selon les
instructions du fabricant.
Work Area inspection
Inspección del Área de Trabajo
Inspection de la Zone de Travail
2
Install New Wax Seal
Instalar Nuevo Sello de la Cera
Installer un Nouveau Joint de Cire
3
F
K
3A
K
No Tools Required for This Step
No se necesitan herramientas para este paso
Pas d'outil nécessaire pour cette étape
F
3
Outlet Connector Installation
Instalación del Conector de Salida
Installation de Connecteur de Sortie
J1
K
971099
J2
4A
4B
Optional Order Part 971099
Use a 10mm drill bit
4
K
Phillips Screwdriver
Destornillador de estrella
Tournevis Phillips
Adjustable Wrench
Llave ajustable
Clé â mollette

Use una broca de 10mm

Utilisez un 10mm de forage
J
4
Toilet Installation
Instalación del Inodoro
Installation de Toilette
5A
5
A K
K
A
Phillips Screwdriver
Destornillador de estrella
Tournevis Phillips
L
Align bracket to toilet hole
Alinear el soporte con el agujero del inodoro
Aligner le support de l'oriice de toilette
L
5
6A
6B
6E
6C
E
Toilet Seat Installation
Instalación del Asiento del Inodoro
Installation du Siège de Toilette
6
Phillips Screwdriver
Destornillador de estrella
Tournevis Phillips
6D
E2
E3
E4
E1
E3
E2
E1
E5
Ensure seat is aligned with hinges
before inal tightening
Asegúrese que las silla esté alineada
con bisagras antes de apretar


Temporarily remove seat by
pushing buttons.
Temporalmente retire el asiento
presionando botones.

en appuyant sur les boutons.
6
Install Tank
Instale el Tanque
Installez le Réservoir
7
G
CC
A
7A 7B
7D7C
If there's not enough space to tighten
screws, remove valves. Refer to
Maintenace and Care Guide.
Si no hay suiciente espacio para apretar
tornillos, quitar las válvulas. Consulte la
Guía de Mantenimiento y Cuidado.
Si l'espace est insuisant pour serrer
les vis, enlever les vannes. Voir le Guide
d’Entretien et Soin.
Rubber side up
Goma hacia arriba
Caoutchouc vers le haut
C
G
A
H1
H1
H1
H2
H2
Phillips Screwdriver
Destornillador de estrella
Tournevis Phillips
G H
7
8A 8B
8
A
B
A
B
D1
D2
No Tools Required for This Step
No se necesitan herramientas para este paso
Pas d'outil nécessaire pour cette étape
D
Install Lid and Button
Instale la Tapa y el Botón
Installez le Couvercle et Bouton
For Additional Installation Help:
Para la instalación adicionales de ayuda:
Pour aider à l’installation supplémentaires: 18003407608
pisterfaucets.ca
Supply Line Installation and Application of Sealant
Instalación y Aplicación de la Tubería de Suministro y Sellante
l'installation de la Conduite d'alimentation et l'application du Matériau d'étanchéité
9
A
A
Check for leaks BEFORE using sealant
Compruebe si hay fugas ANTES de usar sellador
Vériier les fuites AVANT d'utiliser étanchéité
Caulking or Sealant
Calafateo o sellante
Calfeutrage ou mastic
9B
Supply line is not included
La línea de suministro no está incluida
La ligne d'alimentation ne sont pas inclus
9A
SAMPLE COPY

Other Pfister Toilet manuals

Pfister VTP-E21W User manual

Pfister

Pfister VTP-E21W User manual

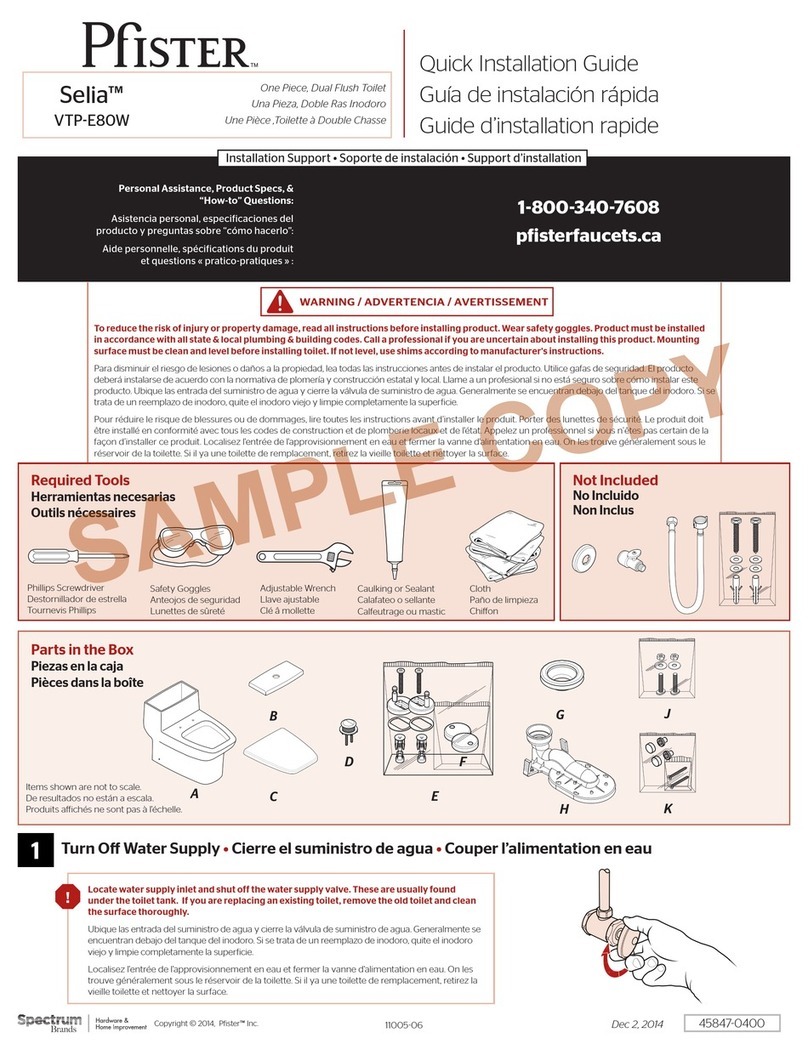
Pfister Selia VTP-E80W User manual

Pfister

Pfister Selia VTP-E80W User manual

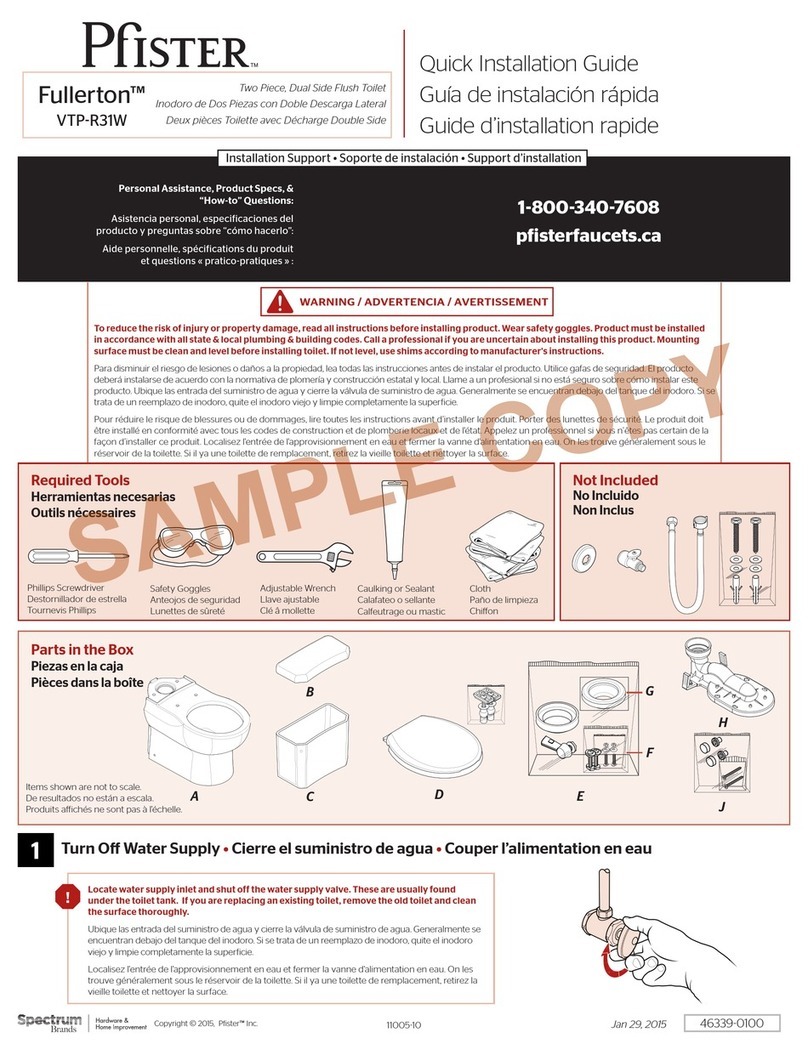
Pfister Fullerton VTP-R31W User manual

Pfister

Pfister Fullerton VTP-R31W User manual

Popular Toilet manuals by other brands

Scarabeo Moai 8606 manual

Scarabeo

Scarabeo Moai 8606 manual

American Standard Studio Right Height 2794 INSTALLATION INSTRUCTIONS CARE AND MAINTENANCE

American Standard

American Standard Studio Right Height 2794 INSTALLATION INSTRUCTIONS CARE AND MAINTENANCE

Roper Rhodes MINERVA Fitting instructions

Roper Rhodes

Roper Rhodes MINERVA Fitting instructions

Toto WASHLET SW2043R instruction manual

Toto

Toto WASHLET SW2043R instruction manual

Clou CL/04.06060.20 installation instructions

Clou

Clou CL/04.06060.20 installation instructions

Woodbridge T-0047 Installation and care guide

Woodbridge

Woodbridge T-0047 Installation and care guide

Mirabelle GALATIA MIRGA241 installation instructions

Mirabelle

Mirabelle GALATIA MIRGA241 installation instructions

Cinderella CLASSIC product manual

Cinderella

Cinderella CLASSIC product manual

Project Source DANVILLE MT-20206TC manual

Project Source

Project Source DANVILLE MT-20206TC manual

Woodbridge B0970S installation manual

Woodbridge

Woodbridge B0970S installation manual

Evac 910 technical information

Evac

Evac 910 technical information

Kohler K-29918T-NSHC installation instructions

Kohler

Kohler K-29918T-NSHC installation instructions

Cinderella Classic NA user manual

Cinderella

Cinderella Classic NA user manual

Toto NEOREST LS instruction manual

Toto

Toto NEOREST LS instruction manual

Glacier bay N2441EB Series Use and care guide

Glacier bay

Glacier bay N2441EB Series Use and care guide

Kohler K-3901 Homeowner's guide

Kohler

Kohler K-3901 Homeowner's guide

Geberit Ifo Spira 6260 Operating and maintenance instruction

Geberit

Geberit Ifo Spira 6260 Operating and maintenance instruction

Kohler SAN SOUCI CLASS FIVE K-21865T-S installation instructions

Kohler

Kohler SAN SOUCI CLASS FIVE K-21865T-S installation instructions

manuals.online logo
manuals.online logoBrands
  • About & Mission
  • Contact us
  • Privacy Policy
  • Terms and Conditions

Copyright 2025 Manuals.Online. All Rights Reserved.