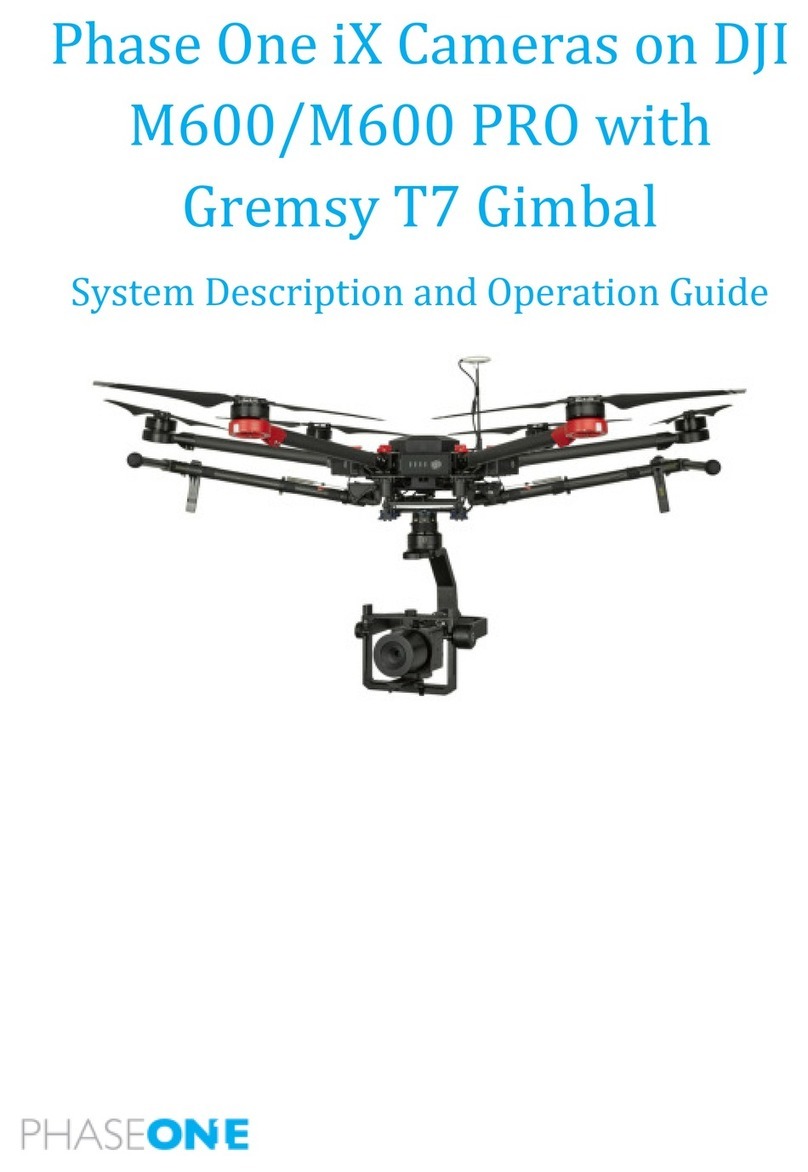
PhaseOne XF V-Grip User manual

XF V-Grip
Quick Guide

XF V-Grip |
2

| XF V-Grip
3
Overview – Buttons, Dials and Parts 4
Supplied content and accessories 6
Mounting the XF V-Grip 7
Adjusting the Quick Release 10
Attaching the Hand Strap 12
Using Buttons and Dials 14
Content | XF V-Grip Quick Guide

XF V-Grip | Overview – Buttons, Dials and Parts
4
Clamp Distance
Adjustment Knob
Quick Release Latch
Electronic Contacts
V-Grip Shutter Button
V-Grip Front Dial

Overview – Buttons, Dials and Parts | XF V-Grip
5
V-Grip Side Dial
V-Grip Rear User Buttton
Quick Release Safety Switch
Tripod Mount Socket
Hand Strap Mount

XF V-Grip | Supplied content
6
Supplied content and accessories
Pin
Tube
XF V-Grip
Hand Strap
Screwdriver
Disc
Quick Release
Adaptor
L-Bracket
Thread

Mounting the V-Grip | XF V-Grip
7
Mounting the XF V-Grip
The XF V-Grip is designed with a quick
release system that makes it quick and
easy to add or remove the grip from
the XF camera body when necessary.
The design incorporates an Arca-Swiss
compatible mounting adaptor and
L-Bracket, making it easy to mount the
XF camera body on a tripod in both
portrait and landscape position.
Warning: Releasing the dual-action quick release of the
XF V-Grip while not supporting the XF camera body
may result in dropping the camera. The quick release
of the XF V-Grip has a dual-action button, which
functions as a security lock. Releasing the security
lock alone will not allow the quick release to open — it
requires a deliberate open action to release the V-Grip
from the XF camera body. Mounting and releasing the
V-Grip with the quick lock requires two hands, and it
is advisable to locate a surface to rest the camera on
while mounting the XF camera body.
Instructions on next page

XF V-Grip | Mounting the V-Grip
8
Use the supplied disc to remove
the 1/4” - 3/8” thread adapter
screw from the XF camera body’s
tripod socket by turning it
counterclockwise.
Use the supplied screwdriver and
remove the small retaining screw
from the tripod mounting socket
of the XF camera body. Make sure
to store the screw a safe place, as
you will need it again if you want
to secure the tripod thread
adapter later on.
Remove the rubber cover from the
electronic contacts by gently
prying it from its recess.
2
Place the supplied quick release
adapter or L-Bracket over the
tripod mount so that the screw
and pins align with the holes in the
XF camera body. Tighten the
screw by placing it in the groove
and turning the head clockwise.

Mounting the V-Grip | XF V-Grip
9
Press the V-Grip against the XF
camera and turn the quick release
latch 90 degrees up in order to
lock the V-Grip securely into
place. Please make sure that the
safety switch locks correctly with
a tactile click.
Make sure that the quick release
on the V-Grip is open. The latch
should point 90 degrees out from
the grip. Place the V-Grip on the
bracket on the XF camera body so
it aligns with the XF hand grip and
the contact pins integrates well
into the connector recession.
To remove the V-Grip, first press
the top of the quick release hatch
towards the front (1) Then push
the quick release safety switch
towards the top of the grip with
your thumb. (2) Then use your
index finger to flip the quick
release latch 90 degrees out from
the V-Grip. Remove the V-Grip.
Use the supplied disc or a coin to
securely fasten the quick release
adapter or L-Bracket, turning it
clockwise.
12
3

XF V-Grip | Adjusting the Quick Release
10
Adjusting the Quick Release
The Quick Release is adjusted to connect correctly and
exhibit accurate tension from the factory.
Over time, however, the locking mechanism may become
slightly loose with repetitive use.
You can easily adjust this tension by turning the clamp
adjustment knob clockwise with your thumb. This is best
done by placing the V-Grip firmly in the correct position
on the XF Camera Body and locking the Quick Release.
You can then turn the clamp adjustment knob clockwise
as tight as possible using your thumb.
In a similar fashion, you can loosen the tension of the
Quick Release by turning the clamp adjustment knob
counterclockwise.
If the tension of the Quick Release appears too tight,
please refer to next page for a complete re-adjustment. It
is recommended that you do not use excessive force when
locking the Quick Release.
Front Side Quick Release
Adjustment Knob
+
-

Adjusting the Quick Release | XF V-Grip
11
Adjusting for optimal tension of the
Quick Release
If you want to adjust the V-Grip Quick Release for the
optimal tension, or if the Quick Release gives too much
resistance when locked, please follow this procedure:
Open the Quick Release latch and check that it can reach
the line (1) without resistance when closed. If the latch is
too tight and giving resistance before the point indicated (1)
then the clamp adjustment knob (2) needs to be loosened
by turning it counterclockwise. If the latch is too loose, and
can continue past the line (1) then the clamp adjustment
knob needs to be tightened by turning clockwise (2).
After carrying out the above procedure finish by tightening
the clamp adjustment knob to the recommended maximum
tension in the locked position, as described on previous page.
It is recommended that you do not over-tighten the clamp
adjustment knob as using excessive force may introduce
deformation in the materials of the V-Grip Quick Release.
2
1
+
-

XF V-Grip | Attaching the Hand Strap
12
Attaching the Hand Strap
The supplied hand strap ensures
that the XF Camera System can be
operated without fear of dropping,
and provides extra support to the
wrist. You can attach the hand strap to
the XF V-Grip whether it is mounted
on the XF camera or not.

Attaching the Hand Strap | XF V-Grip
13
Fold the tip of the strap as shown,
and push it into the end of the
tube that will then be inserted
through the hand strap. Push the
thread to approximately the point
where the tube meets the hand
strap. Make sure that the strap is
not twisted while you complete
this step.
Ensure the side of the hand strap
with the tube and the buckle is
facing outward, away from the
V-Grip. Thread the loose end of
the strap through the bottom
mounting point on the V-Grip.
Thread it through the top opening
first and out through the bottom
opening, as shown.
Push the supplied pin into the
tube in order to make sure that
the strap is attached firmly to the
tube. This step is important to
ensure that the strap can be
guided from one end of the hand
strap channel to the other.
Hold onto the hand strap with one
hand, and gently pull the tube all
the way out through the hand
strap channel. Remove the pin
from the tube and remove the
tube from the strap. Next, pull the
strap all the way out until the hand
strap is tightened against the
bottom of the V-Grip.

XF V-Grip | Attaching the Hand Strap
14
Thread the strap through the top
end of the buckle and then pull it
until the hand strap is tightened to
the V-Grip. Thread the strap
through the bottom opening of
the buckle and pull it all the way to
tighten the strap.
Thread the loose end of the strap
through the top hand strap mount
on the V-Grip. Make sure that you
thread it through the bottom
opening first and out through the
top opening. Take the strap and
turn it towards you, being sure not
to twist it.
In order to secure the hand strap as
much as possible, thread the strap
back through the top end of the
buckle and then pull to fasten it.
Using scissors, cut the remaining
end of the strap and, to prevent
unraveling, burn the tip of the nylon
strap in order to seal the end.

Using Buttons and Dials | XF V-Grip
15
Using Buttons and Dials
The XF V-Grip Shutter Release Button, Front Dial, Rear
User Button and Side Dial mirror their functions and
the customization that you may have assigned to the
dials and buttons on the XF Camera System. You can
configure these on the XF Camera System Control Setup
menu, accessed by selecting the Rear Key > UI Setup
> Control Setup.
These are the primary functions that are assigned to the
buttons and dials by default:
• XFV-GripShutterReleaseButtonHalf-press
activatesAFandmeteringsystems
• XFV-GripFrontDialadjusttheshutterspeed
• XFV-GripSideDialadjusttheaperturevalue
• XFV-GripRearUserButtonactivatethe
camera’sAE-L(AutoExposureLock)function

Part # 86718401
Table of contents
Other PhaseOne Camera Accessories manuals
PhaseOne
PhaseOne PhotoPhase 85280002 User manual

PhaseOne
PhaseOne H 10 M645 User manual

PhaseOne
PhaseOne PAS 150 User manual

PhaseOne
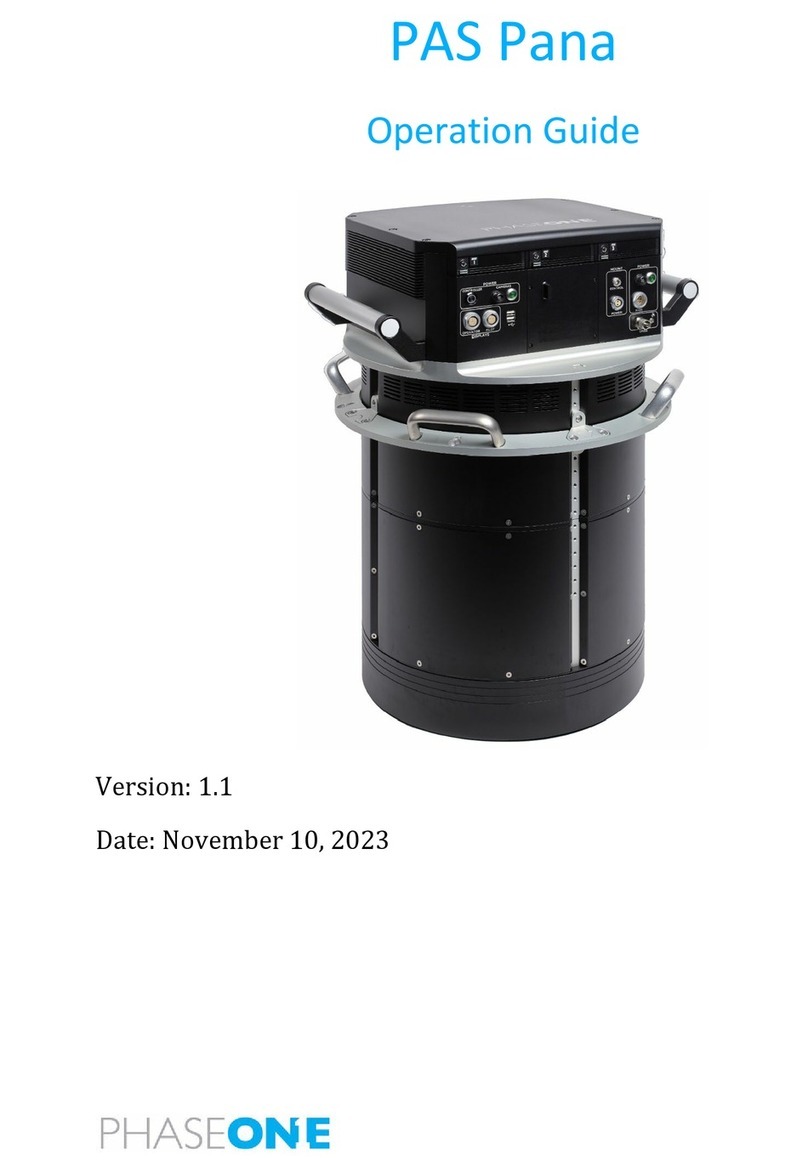
PhaseOne PAS Pana User manual

PhaseOne
PhaseOne H 25 User manual

PhaseOne
PhaseOne P+ Series User manual

PhaseOne
PhaseOne H 5 User manual

PhaseOne
PhaseOne H 101 User manual
PhaseOne
PhaseOne P+ Series User manual
PhaseOne
PhaseOne PhotoPhase User manual