English
Install the car audio
These instructions are for a typical installation.
However, if your car has different requirements,
make the corresponding adjustment. If you have
any questions regarding installation kits, consult your
Philips car audio dealer.
Caution
This unit is designed for negative ground (earth)
•
12 V DC operation only.
Always install this unit in the car dashboard.
•
Other locations can be dangerous as the rear
of the unit heats up during use.
To avoid short-circuit: before you connect,
•
ensure that the ignition is off.
Ensure that you connect the yellow and red
•
power supply leads after all other leads are
connected.
Ensure that all loose leads are insulated with
•
electrical tape.
Ensure that the leads do not get caught under
•
screws orin parts that will move
(e.g. seat rail).
Ensure that all ground (earth) leads are run to
•
a common ground (earth) point.
Use only the supplied mounting hardware for
•
a safe and secure installation.
Improper fuses can cause damage or re.
•
When you need to change the fuse, consult
a professional.
Note on the power supply lead (yellow)
When you connect other devices to this•
system, ensure that the rating of the car
circuit is higher than the total fuse value
of all the connected devices.
Notes on speaker connection
Never connect speaker wires to the metal•
body or chassis of the car.
Never connect speaker wires with stripes•
to one another.
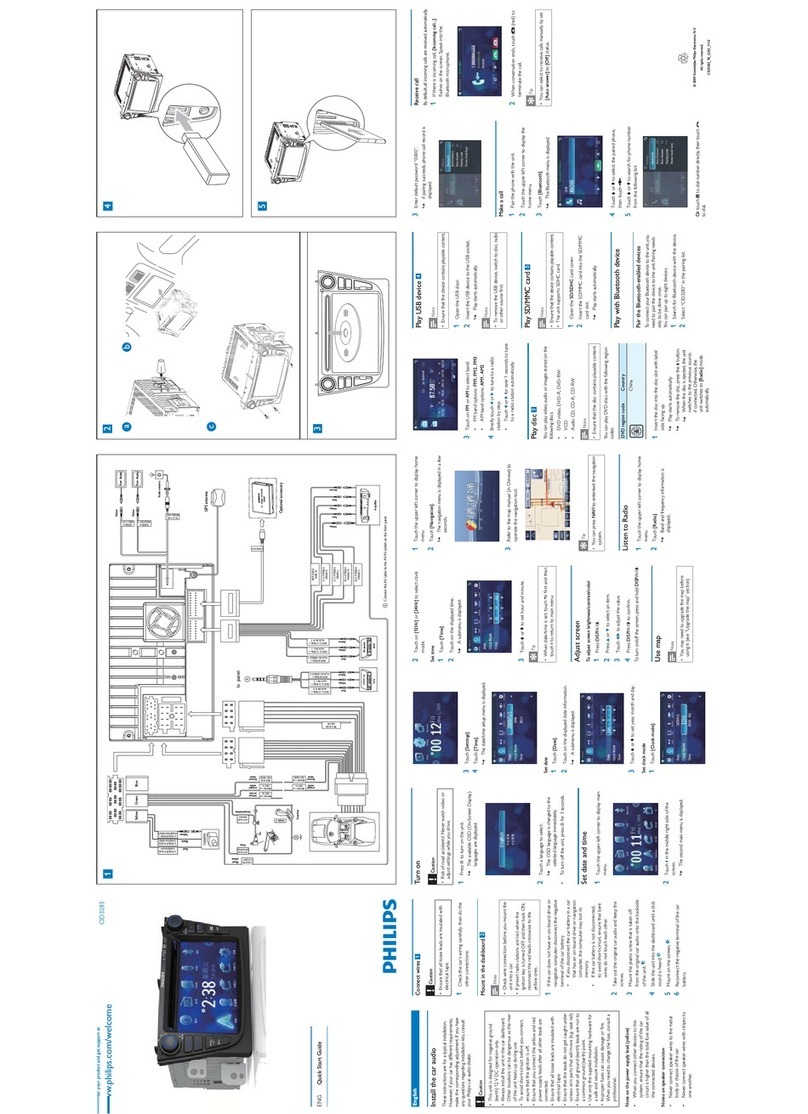
Connect wires 1
Caution
Ensure that all loose leads are insulated with
•
electrical tape.
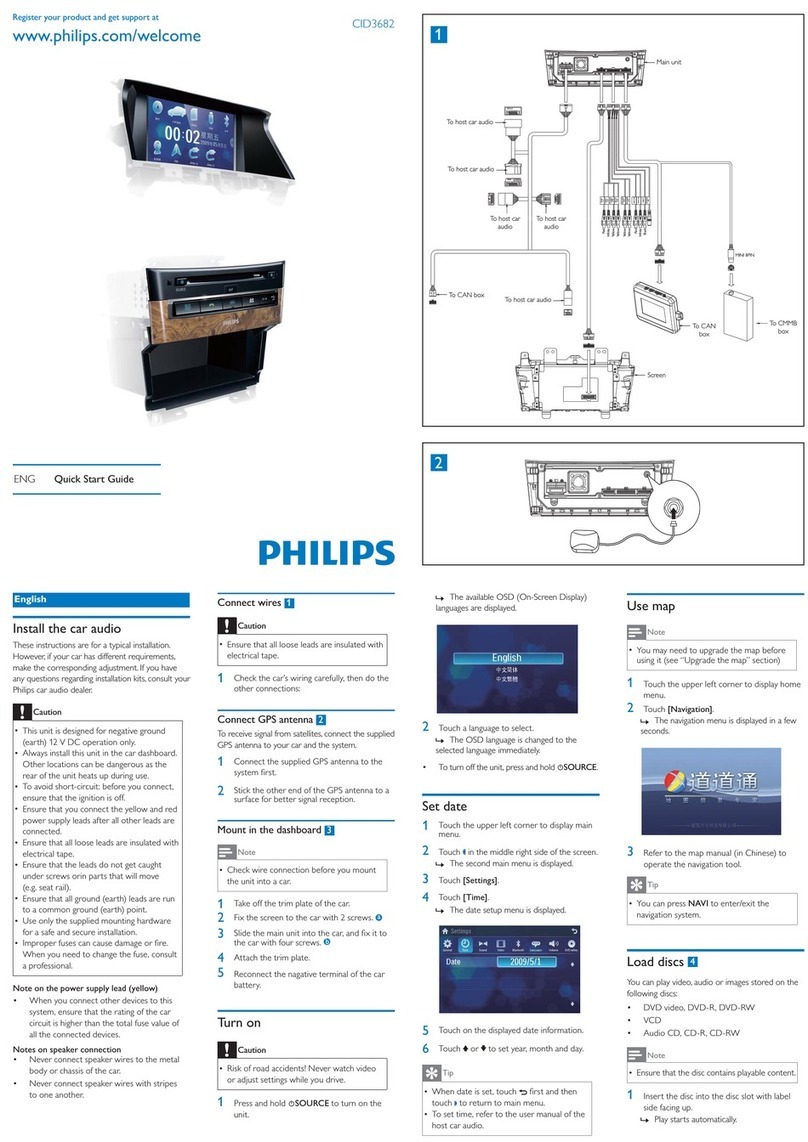
1Connect the two ISO connectors to the car
audio system. a
2If necessary, do the other connections. b
Connect GPS antenna 2
To receive signal from satelite, you need to connect
the supplied GPS antenna to your car and the
system.
1Connect the supplier GPS antenna to the
system rst.
2Stick the other end of the GPS antenna to a
surface for signal reception.
Connect radio antenna 3
If your car has built-in radio antenna, connect it to
the radio antenna of the system for better radio
signal.
1Connect the radio antenna to the car antenna.
Mount into the dashboard 4
Note
Check wire connection before you mount the
•
unit into a car.
1Take off the trim plate of the car.
2Screw off the host car audio.
3Fix the mounting brackets to CID3686 with
the supplied screws.
4Fix the unit to the dashboard with screws
(supplied by the car manufacturer). b
5Attach the trim plate.
6Reconnect the negative terminal of the car
battery.
a

