Tools Needed
1. Drywall saw, jigsaw, or other wallboard cutting device.
2. Medium standard screwdriver (only needed to dismount)
3. 2 conductor stranded speaker wire in at least 16 gauge to 18 gauge for up to 30 feet,
and 12 gauge to 14 gauge for 30 feet or more.
4. A ‘fish tape’ or wire pulling device
Installing SnapSound Speakers
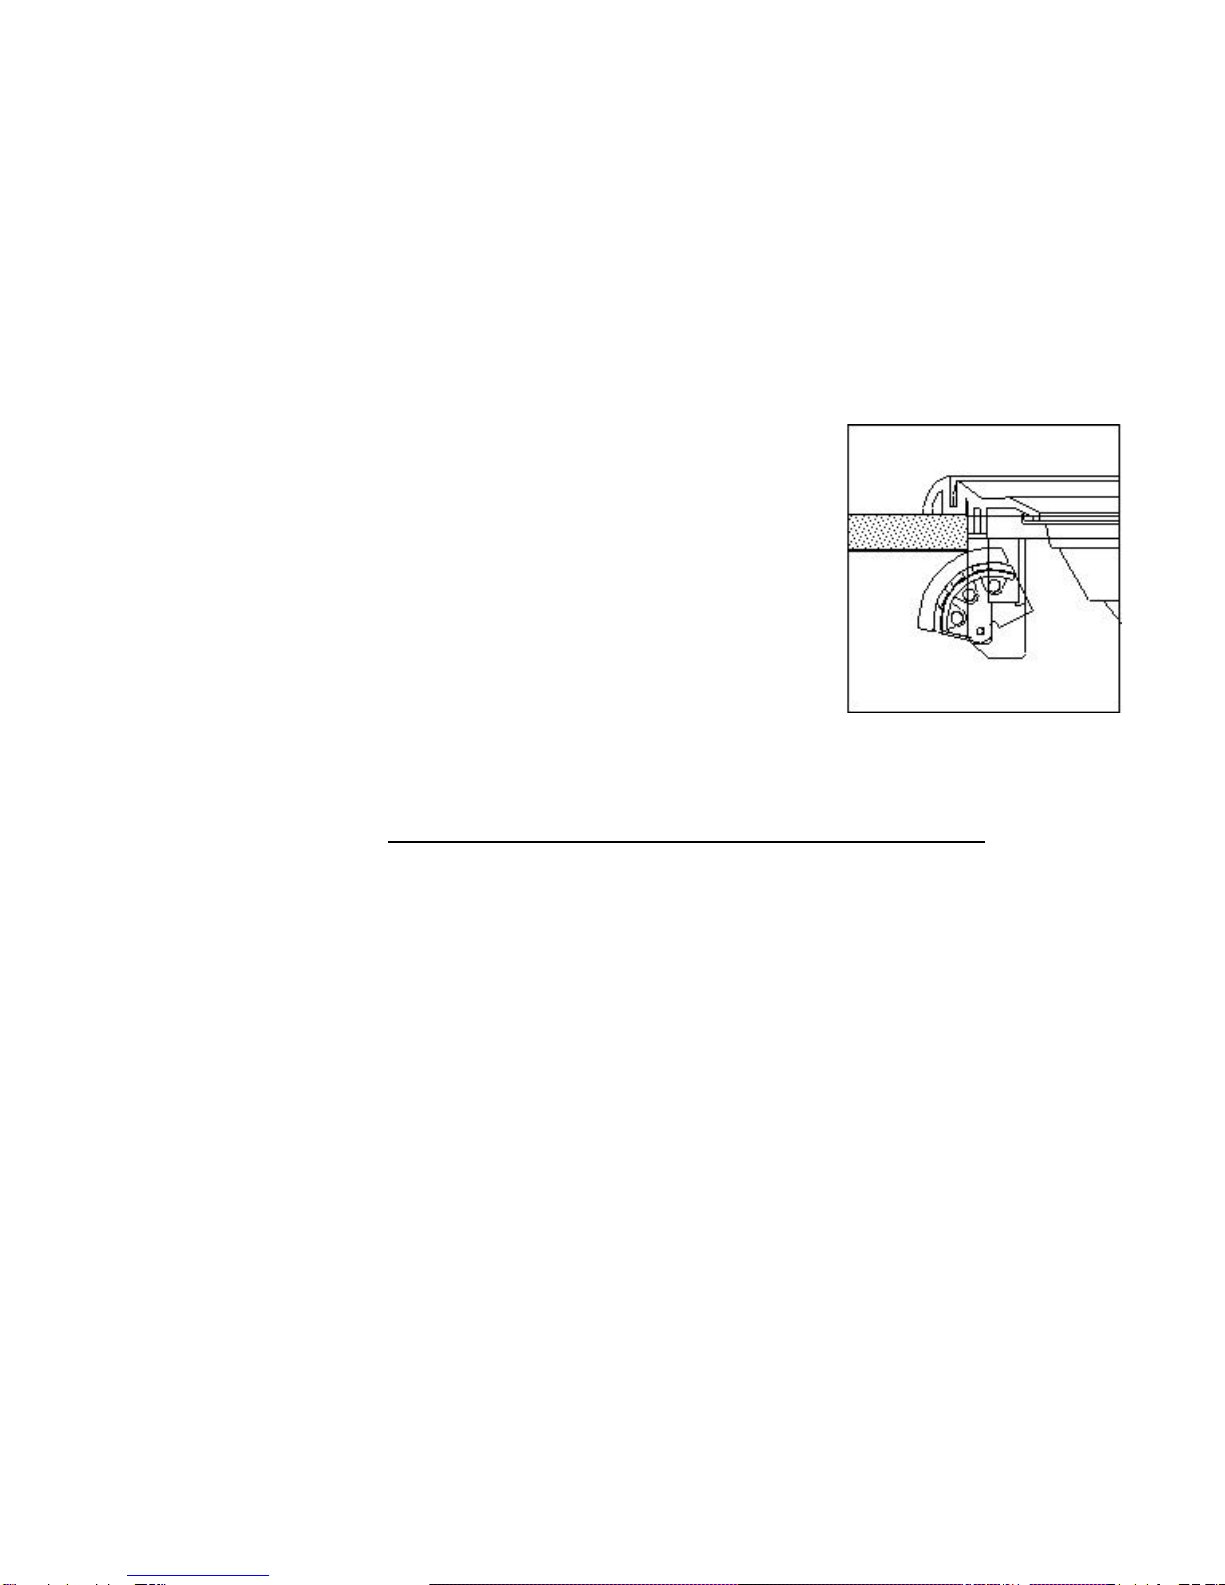
SnapSound speakers use a built-in locking cam system, which
automatically engages when the speaker is pushed into a prepared
location of proper depth and hole size. The speaker can be removed by
using a medium standard screwdriver to push and rotate the brass cam
screws on the front face of the speaker (behind the grille). Approximately
three turns are required to lock the cams in the open position to remove
the speaker from its mounting location. The beauty of the SnapSound
installation is that it literally takes longer to attach the wires than it does to
mount the SnapSound speaker, because it truly “snaps” into place in the
wall. It even dismounts in a fraction of the time it takes to install a
conventional in-wall speaker.
1. After choosing the installation site, use the enclosed template to mark the cutout on
the ceiling. Remember specs are subject to change, so measure twice cut once!
2. Mask and paint the speaker grilles and frame if desired, being very careful not to get
paint on the speakers themselves! This will negatively impact the sound quality of your
speakers. Always mask the front of the speakers completely to ensure proper
operation.
3. Remove the wallboard from inside the cutout area with the drywall saw, jigsaw, etc.
4. Run the wire to the desired location using the fish tape, or other such wire pulling
device to hide the wire inside the ceiling.
5. Fill the cutout cavity with poly fill (available at craft stores, fabric stores etc.) to improve
low-frequency response (Optional, but recommended).
6. Strip the wire ends approximately 3/8”-1/2” from the ends. Connect the speaker wires
to the correct terminals on the back of the speaker, being careful to observe correct
polarity.
7. Carefully push all excess wiring into the hole, and then gently align the speaker with
the cutout and push. The speaker will click into place when you have inserted it fully
into the ceiling.
Caution: If the speaker does not lock into place, your ceiling surface may be too
thick, or you may not have sufficient depth within the ceiling to install the
speaker. Make sure that the cams are not locked out of position preventing
them from engaging the ceiling surface.
3