PICOTE MINI MILLER 8/16 Use and care manual

MINI CLEANER
MINI MILLER 8/16 | MINI MILLER +C 8/16
These instrucons are for your personal safety. Always ensure that you
have read and understood these instrucons before using the machinery.
SAVE THESE INSTRUCTIONS FOR FUTURE REFERENCE.
MINI MILLER
OPERATION & SAFETY MANUAL
MINI MILLER 8/16 | MINI MILLER +C 8/16

2www.picoteinstute.com
TABLE OF CONTENTS
To watch praccal demonstraon videos, take a course, or to download an electronic copy of these Instrucons, please visit www.picoteinstute.com.
Please note that videos and courses are not intended as a replacement or alternave to this operang and safety manual, but only as an addional learning tool.
TOPIC PAGE
Safety Informaon 3
Environment, Transport, Storage & Disposal 5
General Informaon 6
Technical Data 7
Intended Use 7
Available Tooling 7
Voltage & Power Supply 8
Safety Features 8
Noise Levels, Vibraons & Emissions 9
CE Declaraon of Conformity 10
Operang Instrucons 11
Starng & Using the Machine 11
Aaching Tools, Tightening Set Screws & Sleeve Bearings in DN50/2” bends 12
Rotaon Speed Dial 13
Maintenance Programme & Warranty Periods 14
Maintenance 15
Replacing Carbon Brushes 15
Replacing Safety Clutch 18
Inspecng Sha for Damage 19
Servicing Flexible Sha 20
Changing Flexible Sha 20
Sha Extensions 20
Accessories & Spare Parts 21
Praccal Tips & Safety Advice 22
Picote MINI MILLER +C 8/17 24
+C Camera Kit Instrucons 25
+C Camera Funcon Guide 26
+C Technical Data 27
+C Spare Parts 28
Troubleshoong Flowchart 29
Warranty Policy & Procedure 30

Personal Protecve Equipment (PPE)
Always use Personal Protecve Equipment including suitable protecve clothing, footwear, plus:
Suitable eye protecon to protect against sewage, chemicals or dust from irritang
eyes.
Suitable ear protecon to protect against hearing loss.
Suitable heat and cut-resistant gloves to help prevent any hand injuries. Any open
injuries or skin irritaons should always be covered to avoid contact with sewage,
chemicals or dust.
Suitable respirator to prevent any dust or fumes being inhaled or consumed, which
could cause occupaonal asthma or dermas.
www.picotesoluons.com www.picoteinstute.com 3
Picote Soluons Oy Ltd
SAVE ALL WARNINGS AND INSTRUCTIONS FOR FUTURE REFERENCE
SAFETY INFORMATION
This secon contains important safety informaon. Failure
to comply could result in serious injury.
Safety Symbols
Safety symbols are used throughout this manual to draw aenon to potenal hazards.
Danger risk of serious injury or death by electrocuon, follow instrucons.
Danger risk of serious injury, follow instrucons.
Danger risk of serious injury from rotang parts, follow instrucons.
Danger risk of serious injury from hot parts, follow instrucons.
Danger do not touch. Risk of injury, follow instrucons.

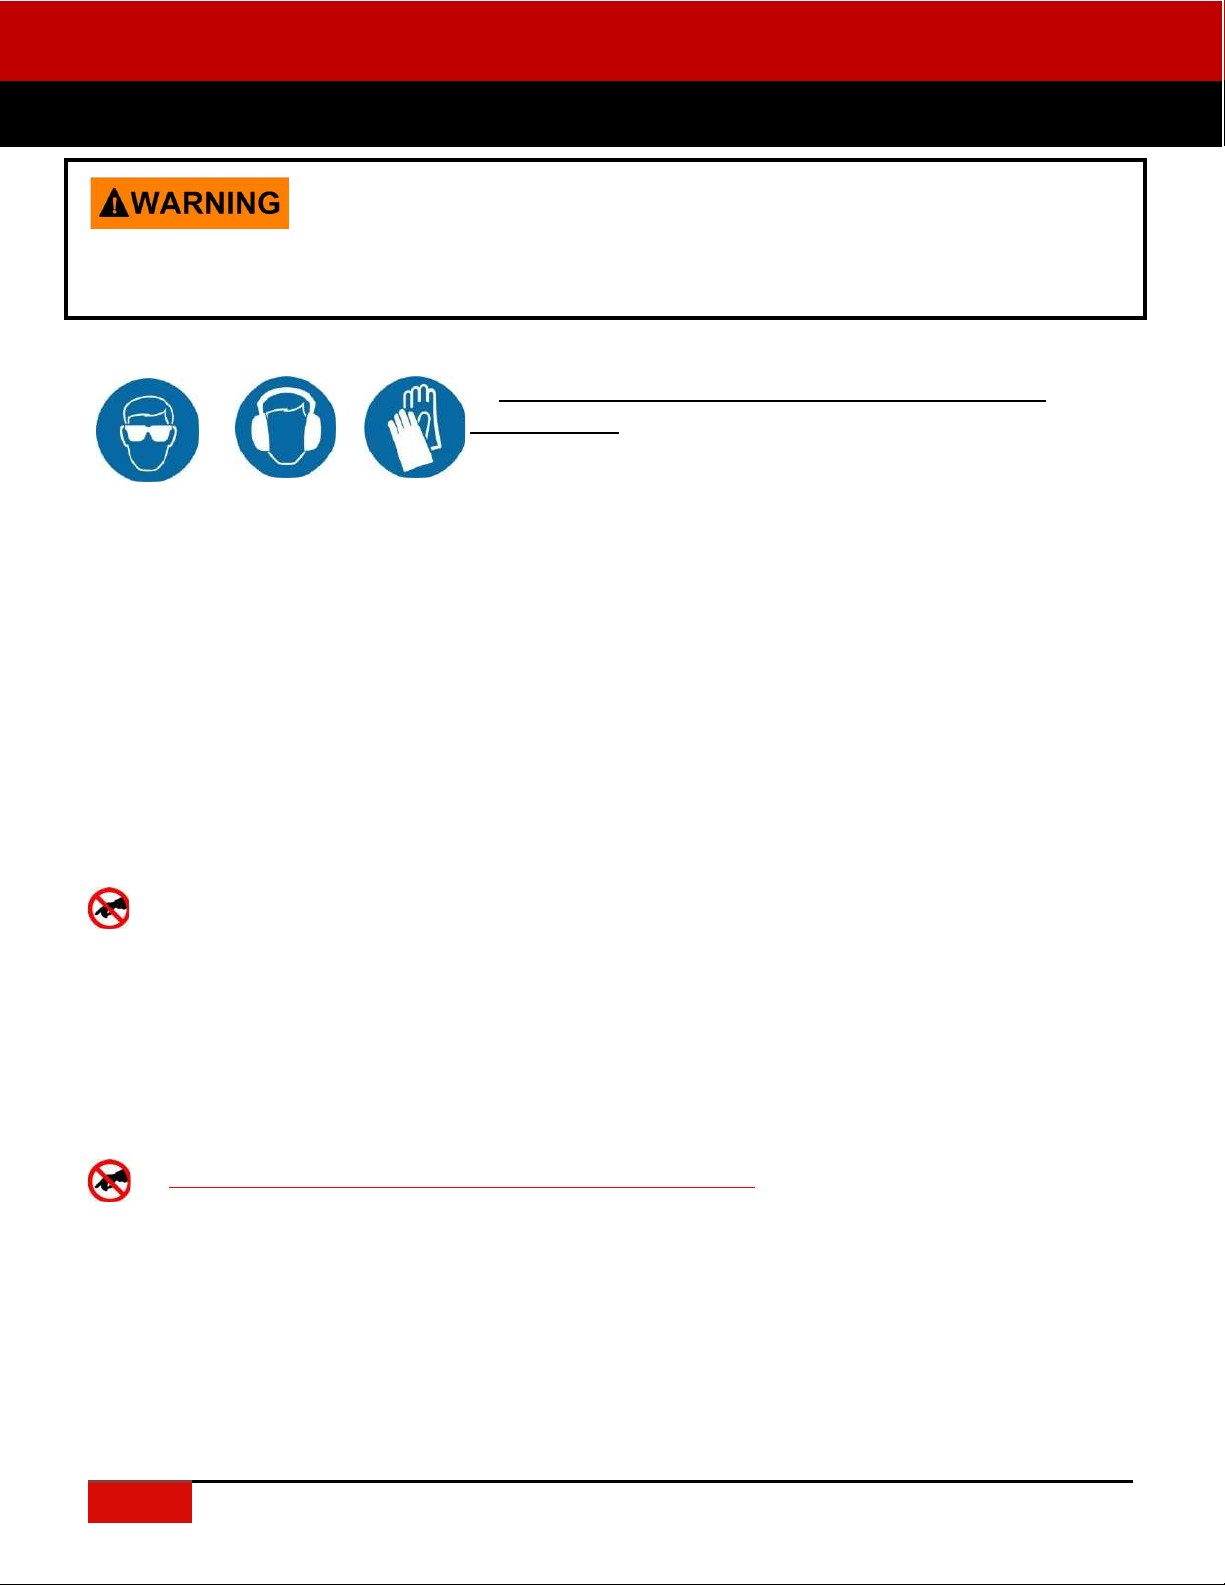
1. Always wear eye and ear protecon as well as heat and cut-
resistant gloves.
Other personal protecve equipment, such as dust mask, gloves and
overalls should be worn when necessary. Dust produced when working
can be dangerous to your health, inammable or explosive. Always wear appropriate personal protecve
equipment.
2. Make sure the pipe has been opened and venlated to prevent any gases accumulang.
3. Always ensure that the machine is fully turned o and unplugged before inspecon, maintenance, or installing any
accessories to the machine. Always follow the instrucons in the manufacturer’s manual.
4. Before each use inspect the machine carefully for any potenal break or damage. Change damaged parts
immediately. It is especially important to check the end of the sha for any signs of wear and tear, and repeat the
process for the outer casing.
5. When in use, it is very important that the machine is stable and on an even surface at all mes.
6. Never leave the machine running unaended. Always hold the cable when operang the machine.
7. Do not touch the Cuer or Grinding Chains immediately aer use, they may be hot and could burn your skin.
8. If the working environment is extremely hot and humid, or badly polluted by conducve dust, use a GFCI-enabled
power outlet to ensure the safety of the operator.
9. Make sure that the job locaon is well venlated before grinding or drilling. Always use a vacuum extracon
system in the pipe to remove dust. The operator must wear a dust mask when using dry grinding to clean pipes.
10. Ensure that the venlaon openings are kept clear when working in dusty condions. If it should become neces-
sary to clear dust, rst unplug the machine. Avoid damaging internal parts.
11. Do not use the machine on any pipes containing asbestos bres.
12. Never touch rotang parts. Do not stand on the machine.
13. Only use this machine with the accessories and spare parts oered by the Picote Soluons. Accessories and spare
parts should only be used in the manner intended and as described by Picote Soluons.
14. Only operate the foot pedal or OPC as instructed. Never place anything on it in place of a foot.
15. Do not extend the sha by more than one extension. Use only Picote Soluons sha extension and connector.
4Picote Soluons Oy Ltd www.picoteinstute.com
Always read all safety warnings and instrucons. Failure to follow warnings and instrucons may result in electric
shock, re and/or serious injury.
This secon contains important safety informaon. Failure to comply could result in serious injury or death.
SAVE ALL WARNINGS AND INSTRUCTIONS FOR FUTURE REFERENCE
GENERAL MACHINE SAFETY INFORMATION

www.picoteinstute.com Picote Soluons Oy Ltd
5
TRANSPORT
The Mini Miller or Mini Miller +C should be transported in a car or other vehicle and laid down and secured with ratchet
straps to prevent any sudden movements or accidents caused by hard braking or accident.
Never transport the machine with tool aached to the sha. Always retract the camera back to it’s housing during
transport. If using a pick-up or trailer to transport Picote Millers always suitable cover the unit to protect it from the
elements
STORAGE
It is recommended that Picote Millers be stored indoors to protect them from rain and sunlight, and also in a constant
ambient temperature. The best way to store the machines is using the same box that the machine has been shipped in.
If the Mini Miller or Mini Miller +C has been stored in an environment colder than +10 oC or 50 oF , the machine should
be stood at room temperature for 24 hours before use.
If the Mini Miller or Mini Miller +C has been stored for long periods of me (over 2-3 months), it should be checked and
tested according to the maintenance programme before use.
Charge the DVR baery fully before storing for long periods. Do not leave the DVR unit unaended while it is charging.
DISPOSAL
Mini Miller motor, control box, electric wires, axle package including slip ring, camera monitoring box, power supply
and camera head can be disposed in Europe at Waste Electrical and Electronic Equipment (WEEE) collecon points.
The Miller frame, reel, exible sha, camera cable reel and name plate can be recycled in metal waste collecon points.
Outer casing of the sha and the camera plasc supports can be disposed of as plasc waste.
Always follow local waste handling rules and regulaons.
The +C camera monitoring box includes a Li-ion baery.
ENVIRONMENTAL
Operaonal Ambient Temperature Range: -10 oC to 50 oC (14 oF to 122 oF) frost and condensaon free
Storage Ambient Temperature Range: -20 oC to 60 oC (-4 oF to 140 oF) frost and condensaon free
Maximum Altude: 2000m or 6500 . Derate above 1000m or 3280: 1% / 100m or
328
Maximum Humidity: 95% non-condensing
Camera Maximum Humidity: 90% non-condensing
This secon contains important safety informaon. Failure to comply could result in serious injury or death
SAVE ALL WARNINGS AND INSTRUCTIONS FOR FUTURE REFERENCE
ENVIRONMENT, TRANSPORT, STORAGE & DISPOSAL

SAVE ALL WARNINGS AND INSTRUCTIONS FOR FUTURE REFERENCE
GENERAL INFORMATION
When in use always lay the machine down horizontally on the oor. When not in use
some non-hazardous Picote Flexible Sha Lubricant might leak from the hand guard.
6Picote Soluons Oy Ltd www.picoteinstute.com

Size
(mm/inches)
Range
(m/)
Drain Diameter
(mm/inches)
Rotang
Speed
(rpm)
Output
(W)
Weight
(kg/lbs)
Sha
(mm/
Power
Source
740x519x404
29”x20”x16”
16 / 50 DN50-DN100 / 2”-4”
DN50-DN150 / 2”-6” for
cleaning pipes
500-2900 110V:1100
230V:1200
27 / 608 / 1/3” Electric
Motor
INTENDED USE
This machine is intended for the following uses;
1. Cleaning and unblocking pipes, drains and sewers by grinding.
2. Descaling pipes.
3. Opening lateral connecons.
4. Internal pipe coang using the Picote Brush Coang™ System and the Mini Coang Pump.
Always follow the Picote Soluons instrucons when installing and using the machine with accessories.
AVAILABLE TOOLING
Original Chains Cyclone Chains 3D Chains
Smart Cuer™Nylon Cleaning / Coang Brush Mini Sweeper
Special Drill Head Wire Brush Twister Mini
Tiger Bore Tiger Drill Chains
SAVE ALL WARNINGS AND INSTRUCTIONS FOR FUTURE REFERENCE
TECHNICAL DATA
Please check Picote Soluons Quick Guides and Tool Manuals for more detailed informaon:
www.picoteinstute.com
www.picoteinstute.com Picote Soluons Oy Ltd
7

SAFETY FEATURES
The machine is equipped with an Emergency Switch O Buon. The power supply to the motor is cut o
when the Emergency Switch O Buon is pushed. Always make sure the Emergency Switch O Buon is
pressed or completely unplug the machine when the machine accessories (e.g. Cuer or Grinding Chains)
are not inside a pipe. Always unplug the machine from the power source when performing any
maintenance or repairs to the machine.
The machine is operated by foot pedal (Operator Presence Control or ‘OPC’). When the control is not
held down, the machine stops. Never place any kind of object on the pedal in place of a foot (such as a
brick).
Power plugs
For safety purposes, use only grounded outlets. If the plug does not t securely or match the outlet, do not force it
— contact an electrician to determine required power supply. Never alter the plug in any way. Use the plug with an
extension cord only if it can be fully inserted into the receptacle. Use the Mini Miller with a heavy duty extension
cord only.
If a power generator is used as power source, ensure that the power rang is sucient.
EU Schuko 230V 16A. Power cable lead minimum thickness 1.5mm2 .
The Mini Miller is equipped with a 15 amp (125V) NEMA 5-15 plug. Power cable lead minimum
thickness 2,5mm2 / 14 AWG. The Mini Miller must be supplied with sucient power and proper
current rang. A minimum of 15 amps are needed to operate it safely and eciently. When used
with an extension cord, the plug must be a 3 prong, 15amp (125V). If a power generator is used,
a minimum 3 kW required. Adapters may be necessary for generator connecons. Contact your
reseller or Picote technical support for more informaon.
Mini Millers in these regions have special plugs.
Australia: CEE 16A 230V colour blue. Power cable minimum lead thickness 2.5mm2.
UK: UK Plug BSEN 60309 16A 110V colour yellow. Power cable lead minimum thickness 2,5mm2.
Mini Miller requires a transformer to comply with the site power regulaons and safe usage in
UK.
NOTE: If working with a generator always use the 110 V transformer. Do not plug directly in to
the generator.
Ensure that the supply voltage is correct. The voltage of the power source must match the value given on the
nameplate of the machine within the tolerances of ±10 %. Machines with a 230V plate can be used in 220V mains
and 110V machines in the 120V grid.
The machine has been double sealed according to European standards. The power source has to be grounded.
Camera power supply can operate with Input: 110VAC ~ 240 VAC, Output:12V DC 1200mA . The DVR unit has in-built
5200 mAh Li-ion baery (7.4 V).
SAVE ALL WARNINGS AND INSTRUCTIONS FOR FUTURE REFERENCE
VOLTAGE & POWER SUPPLY
8Picote Soluons Oy Ltd www.picoteinstute.com
220-230V:
AUSTRALIA/UK:
110-125V:

The typical A-weighted noise level determined according to EN60745:
Sound pressure level (LpA): 90 dB (A)
Sound power level (LWA): 103 dB (A)
WEAR EAR PROTECTION
Emissions during actual use of the machine can dier from declared values depending on the ways that the
machine is used. Safety measures to protect the operator should be determined by actual condions, taking into
account all aspects of the operang cycle (such as when the machine is switched o and when it is running idle).
Due to connuing product development, the specicaons herein are subject to change without noce.
8
This secon contains important safety informaon. Failure to comply could result in serious injury or loss
of hearing.
9Picote Soluons Oy Ltd www.picoteinstute.com
Hand vibraon levels depend on the distance from the tool head to the user and working condions. he vibraon
levels below have been measured during normal lining acvies at Picote worksites in Finland. Vibraon has
been determined according to ISO-5349 and EU-direcve 2002/44/EG. The table below details the safe daily ex-
posure me for the user depending on tool used.
Safe daily exposure me for user:
Exposure Acon Value (EAV) 2,5 m/s2
Exposure Limit Value (ELV) 5,0 m/s2
VIBRATION
Tooling Working Distance
m/
EAV ELV
Mini Twister DN50 / 2” 2m / 6.6 10h 14min Over 24h
Mini Twister DN50 / 2” 10m / 32.8 Over 24h Over 24h
Original Cleaning Chain
DN50 / 2”
0-2m / 0-6.6 9h 42min Over 24h
Original Cleaning Chain
DN50 / 2”
0-15m / 0-49.2 16h 42min Over 24h
SAVE ALL WARNINGS AND INSTRUCTIONS FOR FUTURE REFERENCE
NOISE LEVELS, VIBRATIONS & EMISSIONS
www.picoteinstute.com Picote Soluons Oy Ltd
9

We Picote Soluons Oy Ltd as the responsible manufacturer, declare that the following Picote Soluons Oy Ltd
drain cleaning machine:
Mini Miller
Model No: 8/16
and
Mini Miller +C
Model No: 8/16
are of series producon and
Conform to the following EU Direcve:
2006/42/EY
And is manufactured in accordance with the following standards or standardised documents:
EN62841-1
EN62841-13
ISO-5349-1:2001
The technical documentaon is kept by our authorised representave in Europe who is:
Picote Soluons Oy Ltd, Pienteollisuuse 24
06450 Porvoo, Finland
31st July 2020
8
10 Picote Soluons Oy Ltd www.picoteinstute.com
Katja Lindy-Wilkinson
C.E.O.
Picote Soluons Oy Ltd
Pienteollisuuse 24, 06450 Porvoo, Finland
SAVE ALL WARNINGS AND INSTRUCTIONS FOR FUTURE REFERENCE
CE DECLARATION OF CONFORMITY

www.picoteinstute.com Picote Soluons Oy Ltd
11
STARTING & USING THE MACHINE
Before operaon:
• Before installing Picote tools, always make sure that the machine is fully turned
o and unplugged.
• Always round o the sharp edges of the sha to avoid cuts and to make it easier
to insert the sha into the tool or for a leader to be used.
• Check that there is the correct length of exible sha (without its plasc casing) at the end of the exible sha
and that all screws have been loosened so that the sha can be easily inserted inside the tool. Posion the sha
inside the tool, as far as it will go, and ghten the screws. Consult accessory manuals (cuers & grinding chains)
for detailed informaon.
While in operaon:
• Always lay the machine down horizontally on the oor. During drilling, grinding and cung processes, always use
a separate vacuum extracon system or run water in the drain to remove dust.
This secon contains important safety informaon. Failure to comply could result in serious injury.
1. The machine has an operator presence control or ‘OPC’. When the control is not held down, the machine
stops. The machine can also be stopped by pushing the Emergency Stop Buon down, rotang the power
gear to “O” or unplugging the machine.
2. Check the rotaonal speed of the sha before powering up. The The rotaonal speed control is located on
the motor. The rotaonal speed can be set at speed levels from 1 to 6.
3. Place the tool inside the pipe.
4. Turn on the power switch.
5. Release the Red Emergency Switch O Buon.
6. The machine starts when the OPC foot pedal is pressed down. Always hold the exible sha with both
hands rmly while operang the machine.
7. Rotang the tool slowly makes it easier to move the tool forward inside the pipe.
8. The lifespan of the sha outer casing can be prolonged by using a Sleeve Bearing designed for the outer
casing.
There is a mechanical safety clutch installed in the Mini Miller. If the machine is overloaded the safety clutch
separates the sha from the motor. The user will hear a loud noise when this happens. Release the foot pedal,
pull the sha back a lile bit and connue working. If the safety clutch is released constantly the silicone spring
inside of it may have worn down. Brief changing instrucons can be found in this manual pages 17-18.
Avoid overloading the motor.
SAVE ALL WARNINGS AND INSTRUCTIONS FOR FUTURE REFERENCE
OPERATING INSTRUCTIONS

12
SAVE ALL WARNINGS AND INSTRUCTIONS FOR FUTURE REFERENCE
OPERATING INSTRUCTIONS
13
TIGHTENING THE SET SCREWS
When you add a tool always ghten the screws
starng from the screw furthest away from the
end of the exible sha (where applicable).
ATTACHING TOOLS
12 Picote Soluons Oy Ltd www.picoteinstute.com
SLEEVE BEARING IN DN50 / 2” BENDS
Depending on the type of bend you
may not be able to easily navigate a
DN50 / 2” bend unless you rst re-
move the Sleeve Bearing. This is usu-
ally the case for ght bends (see ex-
amples to the right).

10
Opmal rotaon speed of the Mini Miller is dependent on work load. Minimum rotaon speed is normally best
when moving the tool around ght bends. When beginning to work, adjust the speed up to the level which seems
to work the best.
The speed dial can be found on the motor itself (see below image). Set the speed by rotang the buon. Check
the corresponding rotaon speed from table below.
This secon contains important safety informaon. Failure to comply could result in serious injury.
Rotaon
Speed Speed dial
3200 X
2700 X
2100 X
1500 X
900 X
600 X
123456
SAVE ALL WARNINGS AND INSTRUCTIONS FOR FUTURE REFERENCE
ROTATION SPEED DIAL
www.picoteinstute.com Picote Soluons Oy Ltd
13

13
Service Period 3 months 6 months 1 year
A
B
C
AMilling machine & spare parts, except:
BElectric motors
CService Centre repair work
WARRANTY PERIODS
Picote Soluons grants limited warranty for certain machines, equipment & components. Read more detailed
informaon on page 29 (Picote Warranty Policy and Procedure).
Months
Maintenance task 3612 24
Change motor carbon brushes IR
Tightness of motor xing II
Alignment of motor II
Condion of frame II
Condion of wheels & rubber bushes II
Condion of control box II
Condion of electric cables IIII
Condion of electrical connecons IIII
Lubricate Sha PPPP
Operaon of E-Stop IIII
Safety clutch silicone ring IIII
Operaon of safety clutch IIII
I: Inspect, x or replace if needed.
P: Perform, replace if needed.
R: Replace
SAVE ALL WARNINGS AND INSTRUCTIONS FOR FUTURE REFERENCE
MAINTENANCE PROGRAMME & WARRANTY PERIODS
14 Picote Soluons Oy Ltd www.picoteinstute.com

1. Before performing any maintenance always check that the machine is fully turned o and unplugged.
2. Always inspect the exible sha before each use. If there are potenal weak points, or the sha is damaged,
cut o the damaged length using a band saw or replace the enre sha as needed.
3. For safety and eciency, always keep the machine and its motor, drive unit, venlaon and cooling slots clean.
4. Remove handguard and check that the screws for the sha socket are securely ghtened (weekly).
5. Check that all the bolts and screws on the machine are securely ghtened.
6. It is recommended that the oil in the bevel gear should be changed about every 12 months. Only use regular oil
developed for gearboxes.
REPLACING CARBON BRUSHES
Remove and check carbon brushes regularly and replace when worn down to the limit mark. See page 13 for
maintenance intervals. Keep the carbon brushes clean and free to slip in the holders. Both carbon brushes should
be replaced at the same me. Use only idencal carbon brushes.
New Mini Millers have a maintenance hole for carbon brush changing. Skip to step 4. For older versions the
complete motor needs to be removed in order to change both of the carbon brushes. Follow the steps shown
below.
Use a screwdriver to remove the brush holder caps. Take out the worn carbon brushes, insert the new ones and
secure the brush holder caps.
Step 1. Open Allen Bolts and remove
the hand guard.
SAVE ALL WARNINGS AND INSTRUCTIONS FOR FUTURE REFERENCE
MAINTENANCE
10
www.picoteinstute.com Picote Soluons Oy Ltd
15

Step 2. Open Set Screws and detach the sha from the Safety Clutch.
Step 3. Open the Allen Bolts which aach the motor to the reel.
SAVE ALL WARNINGS AND INSTRUCTIONS FOR FUTURE REFERENCE
MAINTENANCE
15
16 Picote Soluons Oy Ltd www.picoteinstute.com

Step 4. Open the protecve caps with a screwdriver and replace both of the carbon brushes. Re-
peat the steps in reverse order to reassemble. Tighten the Allen Bolt which aaches the motor to
the reel with torque of 12 Nm. Recommended use of Locte 542.
SAVE ALL WARNINGS AND INSTRUCTIONS FOR FUTURE REFERENCE
MAINTENANCE
10
www.picoteinstute.com Picote Soluons Oy Ltd
17

Step 2. Remove the
Upper Cover and push
the Lower
Cover down.
NOTE: The silicone
ring for the Mini
Miller and Mini Miller
+C is WHITE.
Step 1. Remove the
hand guard and detach
the exible sha from
the Safety Clutch.
Open and remove four
screws from the Safety
Clutch Covers.
REPLACING SAFETY CLUTCH SPRING
Remove and check the silicone spring of the Safety Clutch regularly and replace when worn
down. When safety clutch begins to release constantly the spring should be changed.
The silicone spring can be easily changed even in eld condions.
SAVE ALL WARNINGS AND INSTRUCTIONS FOR FUTURE REFERENCE
MAINTENANCE
17
18 Picote Soluons Oy Ltd www.picoteinstute.com

Step 4. The correct way to install sha into
the safety clutch is shown below. There
should only be 3mm or 1/8” between the
outer casing and safety clutch. Push the
sha all the way to the end of the safety
clutch. Recommended : use Locte 542.
Step 3. Remove the old Silicone Spring and
replace it with a new one. Be careful not to
drop axles from the heart of the clutch.
Repeat the steps in reverse order.
SAVE ALL WARNINGS AND INSTRUCTIONS FOR FUTURE REFERENCE
MAINTENANCE
10
INSPECTING FLEXIBLE SHAFT FOR DAMAGE
Carefully inspect the exible sha and its casing on a regular
basis to ensure that there are no signs of wear and tear.
Change the exible sha and casing as and when required.
Damaged sha needs to be trimmed back before aaching
tools (see examples to right).
www.picoteinstute.com Picote Soluons Oy Ltd
19

CHANGING THE FLEXIBLE SHAFT
Only use the sha and its special outer casing specied by Picote Soluons. Order the replacement sha from your
reseller. The exible sha is pre-treated with Picote Flexible Sha Lubricant and the casing replaced prior to
shipping.
1. Loosen the bolts holding the hand guard and remove the hand guard.
2. Open bolt which is holding strain relief spring.
3. Loosen the screws in the safety clutch that hold the sha. Pull strain relief spring away from the sha. Pull
the old sha out of the machine.
4. Insert new sha. Before inserng the sha inside the safety clutch, add strain relief spring and ghten it.
Verify that the sha goes all the way to the end. Tighten the screws.
5. Mount the hand guard. Tighten the bolts.
FLEXIBLE SHAFT EXTENSION
SERVICING THE FLEXIBLE SHAFT & ITS OUTER CASING
The exible sha is pre-treated with Picote Flexible Sha Lubricant and the casing replaced prior to shipping.
Always inspect the condion of the sha and its outer casing regularly. Also, inspect at least once a week that
the sha is well aached under the hand guard at the machine end. If the sha appears to have gaps between
the windings from the beginning to the end, the enre sha will need to be replaced.
Lubricant can be added between the exible sha and its outer casing when the sha is aached to the
machine. To add lubricant the sha has to be disconnected from the clutch and removed from the reel. Around 1
-1.5m (3-5) of sha should be removed from the outer casing, with the lubricant applied to the inside of the
casing. No more than 20ml/20g/1oz will be required for the enre sha. Too much lubricant can cause a strain
on the sha. Aer the lubricant has been poured, the free sha end should be pushed through the outer cas-
ing. The sha will push the lubricant evenly inside the outer casing. Connect the sha to the machine and rotate
on a low rotaon speed so that the sha will push excess lubricant to the outside. Use a mat to protect the work
area under the machine to prevent damage to oors.
Keeping the sha well lubricated will prolong its lifespan and decrease the fricon caused by the sha while it
turns round. Lower fricon will decrease the burden caused to the motor.
If preferred, the sha can be taken out of its outer casing for lubricaon.
Appropriate oil to use: Picote Flexible Sha Lubricant (available from your reseller)
SAVE ALL WARNINGS AND INSTRUCTIONS FOR FUTURE REFERENCE
MAINTENANCE
Flexible shas extensions are available for the Mini Miller and Mini Miller +C in lengths of 10 metres (33).
Do not extend the sha by more than one extension and only use a Picote sha extension and connector.
Before aaching or removing the sha extension always make sure that the machine is fully turned o and
unplugged.
1. Machine as far as possible with the exible sha before ng the extension.
2. Remove the exible sha from the pipe.
3. Push the extension down the pipe and then connect onto the exisng exible sha using a sha connector.
Note: for vercal pipes connect the extension onto the exisng exible sha before pushing the extension down the pipe.
20 Picote Soluons Oy Ltd www.picoteinstute.com
This manual suits for next models
1
Table of contents
Popular Lawn And Garden Equipment manuals by other brands

Vetus
Vetus PQ Operation manual and installation instructions

Grillo
Grillo DUMPER 406 Operator's manual

Grizzly Tools
Grizzly Tools EMH 2440 Translation of the original instructions for use

Ikra
Ikra GMTI 33 operating instructions

Jula
Jula Meec TOOL SPS38 operating instructions

GMC
GMC GHT26 Original instructions