How To Use Your Sterilizer
Before sterilizing the bottles and accessories, they should be washed and thoroughly
rinsed in clean water.
NOTE: To minimize the water residue formation caused by condensation after each sterilization cycle, place all bottles
and accessories face down inside the sterilizer. 12 minutes sterilization is based on sterilizing 2 glass bottles with hoods,
screw caps and nipples, using 50ml of water, at room temperature of 25-27ºC and humidity 45-50%. Result may vary if
above conditions are different.
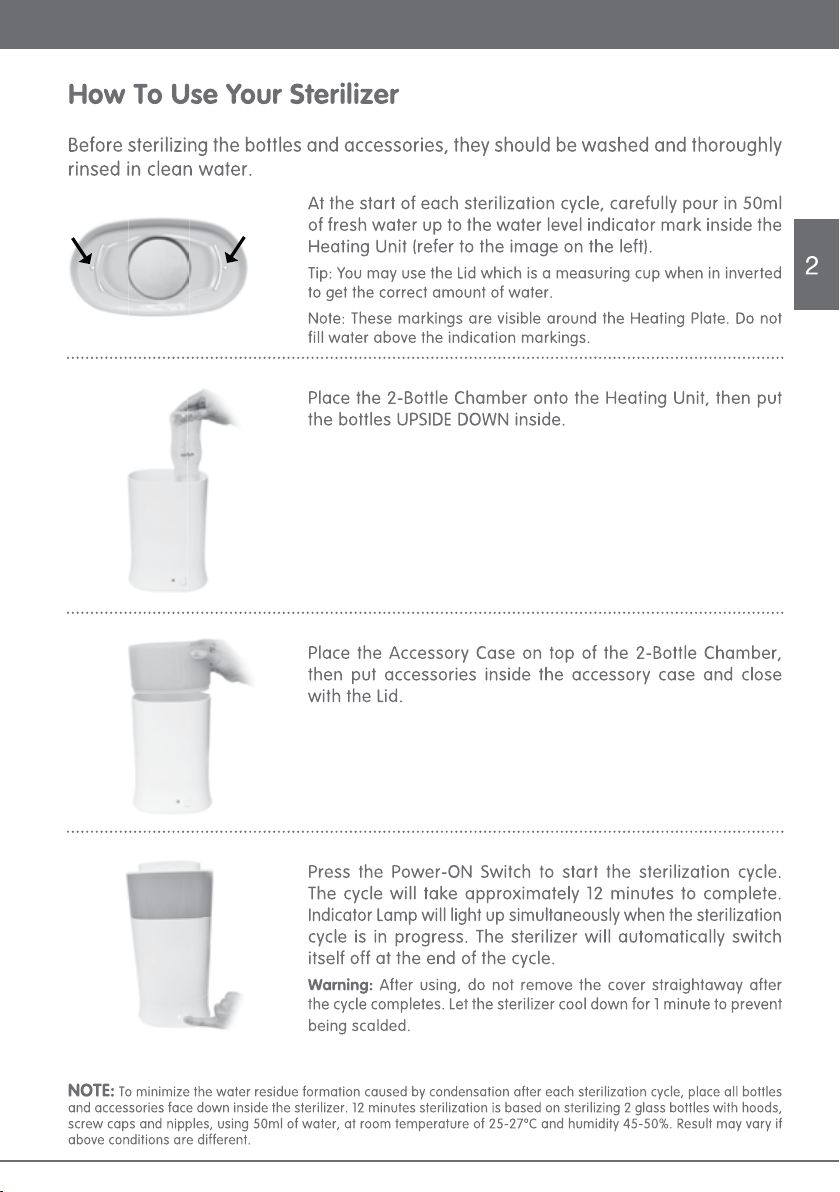
At the start of each sterilization cycle, carefully pour in 50ml
of fresh water up to the water level indicator mark inside the
Heating Unit (refer to the image on the left).
Tip: You may use the Lid which is a measuring cup when in inverted
to get the correct amount of water.
Note: These markings are visible around the Heating Plate. Do not
fill water above the indication markings.
Place the 2-Bottle Chamber onto the Heating Unit, then put
the bottles UPSIDE DOWN inside.
Place the Accessory Case on top of the 2-Bottle Chamber,
then put accessories inside the accessory case and close
with the Lid.
Press the Power-ON Switch to start the sterilization cycle.
The cycle will take approximately 12 minutes to complete.
Indicator Lamp will light up simultaneously when the sterilization
cycle is in progress. The sterilizer will automatically switch
itself off at the end of the cycle.
Warning: After using, do not remove the cover straightaway after
the cycle completes. Let the sterilizer cool down for 1 minute to prevent
being scalded.