©)
PIONEER
The
Art
of
Entertainment
Service
Manual
BRIDGEABLE
FOUR-CHANNEL
POWER
AMPLIFIER
GM-X4d04
@
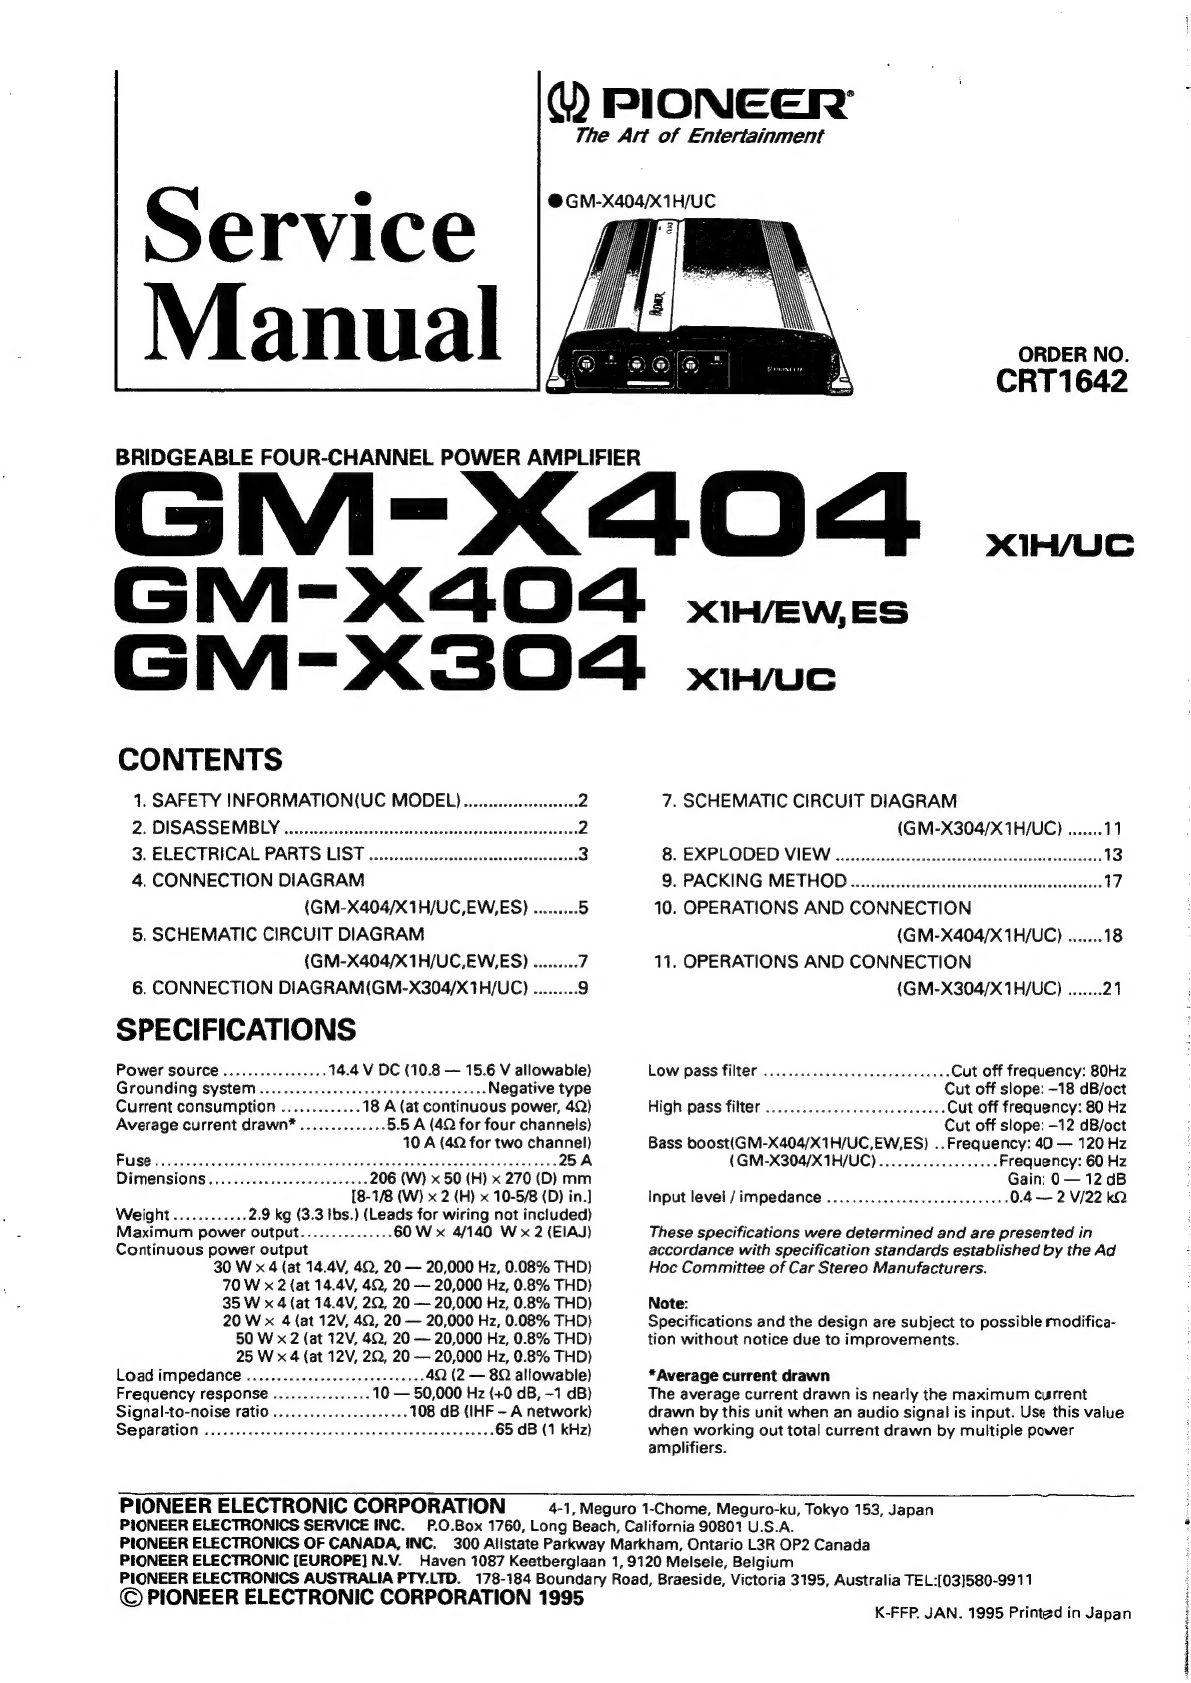
GM-X404/X1H/UC
ORDER
NO.
CRT
1642
xMIR/UC
GM-X4044
XIH/EW,ES
GM=-X304
xc
CONTENTS
1.
SAFETY
INFORMATION(UC
MODEL)......-ssescsessee
2
2
DISASSEMBLY
decide
onertteccnttsneaniaatoene
2
3.
ELECTRICAL
PARTS
LIST
cassssssssesseenceessetnseeeneeeee
3
4,
CONNECTION
DIAGRAM
(GM-X404/X1H/UC,EW,ES)
.........
5
5.
SCHEMATIC
CIRCUIT
DIAGRAM
(GM-X404/X1H/UC,EW,ES)
.........
7
6.
CONNECTION
DIAGRAM(GM-X304/X1H/UC)
.........
9
SPECIFICATIONS
Power
source...............4.
14.4
V
DC
(10.8
—
15.6
V
allowable)
Grounding
SysteM...............ccceeseteeeeeeeereenees
Negative
type
Current
consumption
.............
18
A
(at
continuous
power,
4Q)
Average
current
drawn”
..............
5.5
A
(4Q
for
four
channels)
10
A
(4Q
for
two
channel)
PUSC
cciscedescetes
Heeveddaboawes
devas
sees
cacees
nynesewsis
daven
oahdes
els
25A
Dimensions...............6eseeeeeeee
206
(W)
x
50
(H)
x
270
(D)
mm
[8-1/8
(W)
x
2
(H)
x
10-5/8
(D)
in.]
Weight
............
2.9
kg
(3.3
Ibs.)
(Leads
for
wiring
not
included)
Maximum
power
output...............
60
W
x
4/140
W
x
2
(EIAJ)
Continuous
power
output
30
W
x
4
(at
14.4V,
42,
20
—
20,000
Hz,
0.08%
THD)
70
W
x
2
(at
14.4V,
49,
20
—
20,000
Hz,
0.8%
THD)
35
W
x
4
(at
14.4V,
2Q,
20
—
20,000
Hz,
0.8%
THD)
20
W
x
4
(at
12V,
42,
20
—
20,000
Hz,
0.08%
THD)
50
W
x
2
(at
12V,
4Q,
20
—
20,000
Hz,
0.8%
THD)
25
W
x
4
(at
12V,
2Q,
20
—
20,000
Hz,
0.8%
THD)
Load
impedance
....................ceeee
eee
4Q
(2
—
8Q
allowable)
Frequency
response
................
10
—
50,000
Hz
(+0
dB,
-1
dB)
Signal-to-noise
ratio
............
eee
eens
108
dB
(IHF
-
A
network)
SO
parationyii
seer
sess
sas
heeweca
seca
bees
sedcae
tec
eceenehs
65
dB
(1
kHz)
PIONEER
ELECTRONIC
CORPORATION
7.
SCHEMATIC
CIRCUIT
DIAGRAM
(GM-X304/X1H/UC)
.......
11
BH
EXPLODED:
VIEW?
ceenccccecescescctuecstesecensaseseicesnstectieden
13
9.
PACKING
METHOD
........
cc
esessssssesscesseeesseeeseseneesseenes
17
10.
OPERATIONS
AND
CONNECTION
(GM-X404/X1H/UC)
.......
18
11.
OPERATIONS
AND
CONNECTION
(GM-X304/X1H/UC)
.......
21
Low
pass
filter
.........
2.2...
c
cece
cece
Cut
off
frequency:
80Hz
Cut
off
slope:
-18
dB/oct
High
pass
filter
..............ccccceceeeeeuee
Cut
off
frequency:
80
Hz
Cut
off
slope:
-12
dB/oct
Bass
boost(GM-X404/X1H/UC,EW,ES)
..Frequency:
40
—
120
Hz
(GM-X304/X1H/UC)
............
cece
eee
Frequency:
60
Hz
Gain:
0
—
12
dB
Input
level
/
impedance
................
2.2.
ceceeee
ee
0.4
—
2
V/22
kQ
These
specifications
were
determined
and
are
presented
in
accordance
with
specification
standards
established
by
the
Ad
Hoc
Committee
of
Car
Stereo
Manufacturers.
Note:
Specifications
and
the
design
are
subject
to
possible
modifica-
tion
without
notice
due
to
improvements.
*Average
current
drawn
The
average
current
drawn
is
nearly
the
maximum
current
drawn
by
this
unit
when
an
audio
signal
is
input.
Use
this
value
when
working
out
total
current
drawn
by
multiple
power
amplifiers.
4-1,
Meguro
1-Chome,
Meguro-ku,
Tokyo
153,
Japan
PIONEER
ELECTRONICS
SERVICE
INC.
P.0.Box
1760,
Long
Beach,
California
90801
U.S.A.
PIONEER
ELECTRONICS
OF
CANADA,
INC.
300
Allstate
Parkway
Markham,
Ontario
L3R
OP2
Canada
PIONEER
ELECTRONIC
[EUROPE]
N.V.
Haven
1087
Keetberglaan
1,
9120
Melsele,
Belgium
PIONEER
ELECTRONICS
AUSTRALIA
PTY.LTD.
178-184
Boundary
Road,
Braeside,
Victoria
3195,
Australia
TEL:[03]580-9911
©
PIONEER
ELECTRONIC
CORPORATION
1995
K-FFP.
JAN.
1995
Printed
in
Japan


