Pioneer inno User manual


Quick Start
2
Quick Start
1. Charge battery for at least 8 hours (page 12).
2. Set up your inno™ (page 20).
3. Activate your XM subscription (page 18).
4. Listen to and record live XM* (pages 26 and 33).
5. Listen to recorded content (page 37).
6. Buy songs from XM+Napster (page 55).
7. Manage your songs and playlists from
your computer (page 56).
*Hardware and required monthly subscription sold separately. Recorded music not for use in commercial establishments.
Installation cost and other fees and taxes, including a one-time activation fee may apply. Subscription fee is consumer
only. XM products, programming, services, and fees are subject to change, at any time, without notice. Channels with
frequent explicit language are indicated with an XL. Channel blocking is available for XM radio receivers by calling
1-800-XM-RADIO. Subscriptions subject to Customer Agreement available at xmradio.com. XM service only available in
the 48 contiguous United States. ©2006 XM Satellite Radio Inc. All rights reserved.

Contents
Contents 3
Introduction ...................................... 4
Features .................................................... 4
Safety Instructions .................................... 7
What’s in the Box .................................... 10
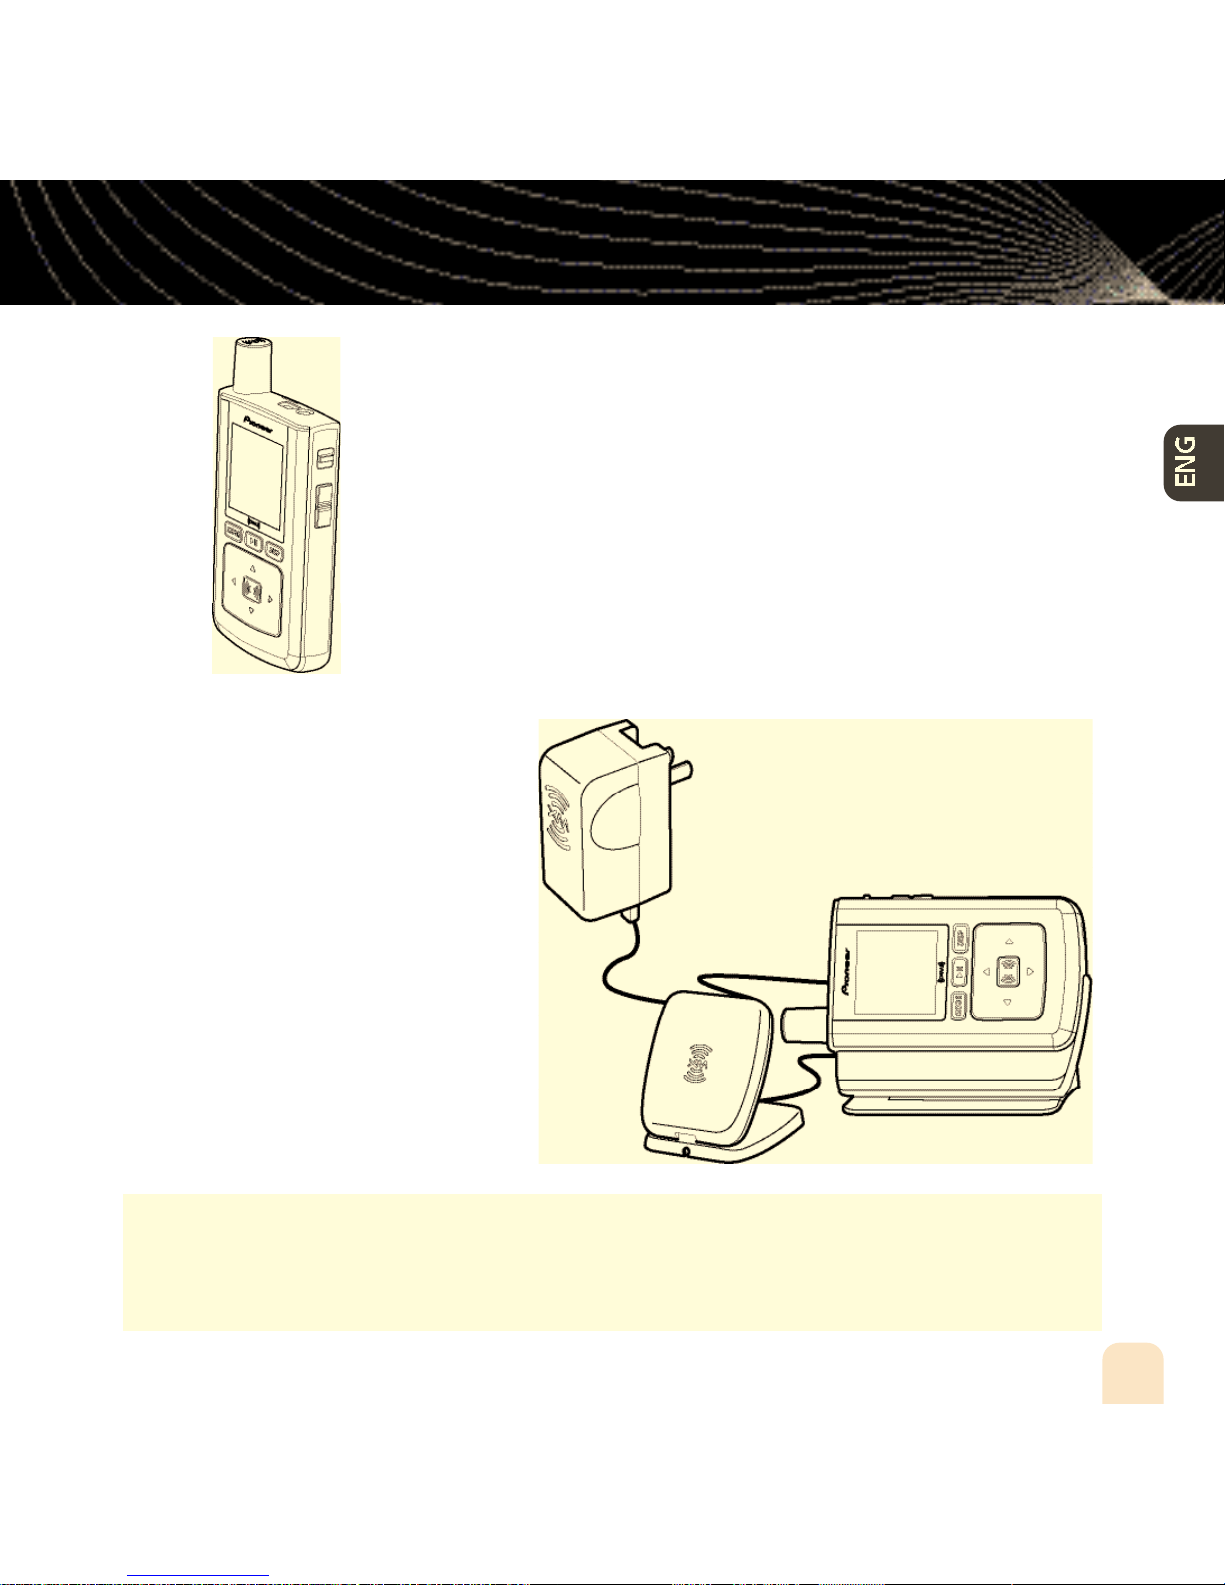
Charging the Battery .............................. 12
inno Controls .......................................... 13
Using this Guide...................................... 15
inno Display ............................................ 16
Remote .................................................... 17
Subscribing to XM........................ 18
Using Your inno Alone .............. 20
Setup ...................................................... 20
Live XM .................................................. 26
TuneSelect™ .......................................... 29
Info Extras .............................................. 31
Recording XM.......................................... 33
Listening to Recorded XM Content
(My Music) .............................................. 37
Organizing Your Music ............................ 38
Using inno with a PC.................. 48
System Requirements .............................. 48
Setup ...................................................... 49
Registering with XM+Napster ................ 51
What Can You Do with XM+Napster? .... 54
Exploring ................................................ 54
Purchasing Music .................................... 55
Organizing Your Music ............................ 56
Disconnecting Your inno From the PC...... 60
Listening to XM Radio Online (XMRO) .... 61
Using Your CDs or MP3/WMA Files ........ 62
Updating inno Firmware .......... 64
Using XM+Napster.................................. 64
Using the Update Tool ............................ 65
Using the Web ........................................ 65
Settings .............................................. 66
FM Modulator ........................................ 66
Aiming the Antenna ................................ 69
Audio ...................................................... 70
Display .................................................... 71
Channel Access........................................ 73
Clock and Sleep Timer ............................ 75
Vehicle Mode .......................................... 76
Memory Partition .................................... 77
Restoring Factory Defaults ...................... 78
Customer Support........................ 80
Troubleshooting ...................................... 80
Specifications .......................................... 83
Patent Information .................................. 85
FCC Statement ........................................ 86
Warranty.................................................. 88

Introduction
4
Introduction
Features
Congratulations on your purchase of the Pioneer inno™. It’s the next-generation XM2go®
radio, with an XM receiver, built-in antenna, and storage for XM, MP3, or WMA music files
in one portable device.
Enjoy XM’s 170 channels from coast to coast, with over 80,000 hours of entertainment each
month. XM offers musical choice, variety, and discovery – worlds beyond your own collection
– plus a wide range of news, sports, talk, comedy, kids, and entertainment channels. Hear XM
live, or save XM programming on your inno to listen at your leisure.
We’ve also teamed up with Napster, a leading provider of online music. Imagine discovering
a new artist on XM and then, with just a few clicks of a mouse, buying high-fidelity tracks
and albums by that artist and similar artists. It’s that simple.
Manage all your music – XM tracks, songs you purchase from Napster, and MP3/WMA files
you rip from your CDs – with the easy-to-use XM+Napster program on your Microsoft®
Windows®PC.
One device, all the music you could ever hope for, and the easiest way to find the music you
want – now that’s a music experience!
We recommend that you read the entire manual before using your inno.

Introduction
Introduction 5
inno™
, Undocked
Listen to live and recorded XM* content
Play MP3 and WMA files
Manage your tracks, favorite channels, and playlists
Listen on the go
inno + Dock +
Antenna
Listen to live and recorded
XM* content
Play MP3 and WMA files
Manage your tracks, favorite
channels, and playlists
Listen in your car or home
*Hardware and required monthly subscription sold separately. Recorded music not for use in commercial establishments.
Installation cost and other fees and taxes, including a one-time activation fee may apply. Subscription fee is consumer
only. XM products, programming, services, and fees are subject to change, at any time, without notice. Channels with
frequent explicit language are indicated with an XL. Channel blocking is available for XM radio receivers by calling
1-800-XM-RADIO. Subscriptions subject to Customer Agreement available at xmradio.com. XM service only available in
the 48 contiguous United States. ©2006 XM Satellite Radio Inc. All rights reserved.

Introduction
6
Introduction
inno + Dock + Antenna + PC
Manage content using inno or your PC
Listen to XM Radio Online
Purchase music from XM+Napster and upload it to your inno

Introduction
Introduction 7
Safety Instructions
Please read and understand all the instructions to avoid injury to yourself
and/or damage to your inno. Please be aware that Pioneer claims no
responsibility for damage from data loss due to breakdown, repair, or
other causes.
inno Digital Audio Player
Do not expose to extreme temperatures (above 140°F or below -4°F, or above 60°C or
below -20°C).
Do not expose to moisture. Do not use inno near or in water.
Do not let any foreign matter spill into inno.
Do not expose to chemicals such as benzene and thinners. Do not use liquid or aerosol
cleaners. Clean with a soft damp cloth only.
Do not expose to direct sunlight, fire, flame or other heat sources for a prolonged period.
Do not try to disassemble and/or repair inno yourself.
Do not drop your inno or subject it to severe impact.
Do not place heavy objects on inno.
Do not subject inno to excessive pressure.
Do not touch the inno with wet hands.
Do not store in dusty areas.
WA R N I N G : Handling the cord on this product or cords associated with accessories sold
with the product will expose you to lead, a chemical known to the State of California and other
governmental entities to cause cancer and birth defects or other reproductive harm.
Wash hands after handling.

Introduction
8
Introduction
Battery Charger Safety
Caution: Opening the case may result in electric shock.
Caution: The uninsulated parts inside the power adapter and dock may cause electric shock
or fire. For your safety, please do not open these components. Do not let metallic objects,
such as necklaces or coins, come into contact with the power adapter plugs or battery
terminal.
Caution: To avoid electric shock, use the power adapter only with an outlet that matches
the shape of the adapter’s plug.
Caution: Make sure that you insert the adapter’s plug all the way into the outlet.
Caution: Do not plug several devices into the same electrical outlet.
Important: Always read and understand the user guide to prevent problems.
Warning: Use the power adapter and dock away from water sources to avoid fire or
electric shock.
Environmental Information
Follow local guidelines for waste disposal when discarding packaging, batteries, and
electronic appliances.
Your player is packaged with cardboard, polyethylene, etc., and does not contain any
unnecessary materials.
Earbuds and Headphones
Follow traffic safety instructions.
Do not use earbuds or headphones while operating a bicycle, automobile, or motorcycle.
Not only is it dangerous, it may be prohibited by law in some areas.
For your safety, make sure the earbud or headphone cable does not get in the way of your
arm or other surrounding objects while you’re walking or exercising.

Protect Your Ears
Sound can be deceiving. Over time your hearing “comfort level” adapts to higher volumes of
sound. So what sounds “normal” can actually be loud and harmful to your hearing. Set your
equipment at a safe level BEFORE your hearing adapts.
To establish a safer level: Start your volume control at a low setting; Slowly increase the
sound until you can hear it comfortably and clearly, without distortion.
Once you have established a comfortable sound level: Set the dial and leave it
there; taking a minute to do this now will help to preserve hearing.
Pioneer and the Consumer Electronics Association recommend you avoid prolonged exposure
to excessive noise. Under constant exposure such as sustained listening, sound levels above
85 decibels can be dangerous without hearing protection. (For reference, a garbage disposal
or loud shouting at 3 feet away are around 80 decibels; a food blender or gas lawn mower
at 3 feet away are around 90 decibels.) The longer your exposure and/or higher the sound
level, the greater the danger of permanent hearing damage. Pioneer disclaims all liability for
hearing loss, bodily injury or property damage as a result of use or misuse of this product.
Introduction
Introduction 9
Maintain a moderate volume when walking or exercising, so that you can be aware
of what is happening around you.
Using earbuds or headphones for an extended time can cause serious damage to your
hearing.
We strongly advise you to set the volume level to medium, which is usually less than 2/3
of the maximum.
If you hear ringing in your ear(s), lower the volume or stop using the earbuds or
headphones.
WA R N I N G : inno should be placed in your vehicle where it will not interfere with the func-
tion of safety features, e.g., deployment of airbags. Failure to correctly place inno may result in
injury to you or others if the unit becomes detached during an accident and/or obstructs the
deployment of an airbag.

Introduction
10
Introduction
What’s in the Box
inno
(GEX-INNO1)
Battery
Home dock
Earbuds
Remote Home XM antenna

Introduction
Introduction 11
What’s in the Box
RCA audio cable
Also included:
User guide
XM+Napster install CD
USB cable
AC power
adapter
Carrying
case/holster
Travel power
cable

3. Plug adapter into dock and
wall socket. When you insert
inno into a dock, wait for the
beep before powering on.
Introduction
12
Introduction
Charging the Battery
Charge the battery for at least 8 hours before using inno for the first time,
or if you have not used it for several months. Be sure to charge the battery
in a place where the temperature is between 32°F and 113°F (0°C to 45°C).
1. Open battery compartment.
2. Insert battery into player.

Introduction
Introduction 13
inno Controls
Power button – Slide
down to turn power on
or off. Slide up to “hold”
controls, preventing you
from accidentally pressing
a button.
Display button –
Change what’s showing
on the display.
XM button – Start
here; press to access
channels, playlists,
menus, and confirm
selections.
Mode – Switch
between “Live XM”
or “My Music”
(recorded content).
Arrow buttons –
Select menu entries,
change channels.
Display
Volume
Earbud jack
USB jack
Play/Pause
Left arrow button –
Pressing the left arrow
button allows you to
“back out” of or exit
most menus.

Introduction
14
Introduction
inno Controls
When you put inno in its home dock, both
the display and arrow buttons rotate by 90°
so that “up” really points up!

Using This Guide
Throughout this guide, you will see instructions such as “Select XM Settings Setup
Antenna Aiming.” This tells you to perform the following actions:
1. Press the XM button.
2. You will see a menu whose last option is “Settings.” Press the down arrow button several
times to highlight “Settings,” then press the XM button to select it.
3. You will see another menu whose third option is “Setup.” Again, press the down arrow
button to highlight “Setup,” and press the XM button to select it.
4. You will see another menu; one of the options is “Antenna Aiming.” Press the down arrow
button to highlight “Antenna Aiming,” and the XM button to select it.
Not all of the menu items described in this guide may appear on your inno display. For
example, if you have not created any playlists, you will not see “Playlists” if you press the
XM button while listening to “My Music.”
Introduction
Introduction 15
NOTE: In most instances, pressing the left arrow button allows you to “back out” of
any menu.

Available memory or signal strength –
Green portion indicates amount of storage taken up
by locked XM songs (page 40). In “Live XM” mode,
you will see a signal strength indicator instead.
Indicates XM channel,
playlist, or MP3 genre.
Introduction
16
Introduction
inno Display
play
reverse or fast-forward through track
pause
skip to previous or next track
PC track (MP3 or WMA file)
track assigned to a playlist
PC track assigned to a playlist
XM track is locked
repeat track
play tracks randomly
Additional symbols:
c
ript Pi
c
m
all ic
o
S
cript Pi
c
a
rd smal
l
i
pt
l
cript Pi
s
small
t
Script Pict
n
g small ic
o
c
ript P
o
ng s
m
c
ript
P
PC son
S
cript Pic
t
o
ng small
Battery charge
Mode – (((XM))) shows
you’re listening to live XM.
(((My Music))) shows
you’re listening to stored
XM content or MP3/WMA
tracks.
H– ”H” indicates that the
power switch is set in the
“hold” position.
Clock
Channel number
Artist name
Song title
Progress bar – Shows
total track length and cur-
rent location within a track
while playing songs in
“My Music.”

Introduction
Introduction 17
Remote
Power button
Left arrow button –
Pressing the left arrow button
allows you to “back out” of or
exit most menus.
Volume
Record – Record a song
or channel.
Bookmark – Tag interesting
songs or tracks.
Numeric keypad – Select
XM channels by channel
number.
Mode – “Live XM” or
“My Music” (recorded
content).
XM button – Access
menus and confirm
selections.
Arrow buttons –
Select menu entries,
change channels.
Pause/Mute – Pause
playback or mute live XM.
Favorites –Goto
favorite channels.
Jump – Switch to previous
channel you listened to.
Display – Change what’s
showing on the display.

Subscribing to XM
18
Subscribing to XM
Before you can listen to or record XM content, you must activate your inno.
1. Set up your inno, dock station, power adapter, and antenna (page 20 or page 22). Make
sure inno can receive the XM signal.
2. Place inno in the “Live XM” mode (page 26).
3. Find the 8-character XM Radio ID, which is printed on the package or in the battery com-
partment underneath the battery. Or select XM channel 0 to view the Radio ID. Record the
Radio ID here for reference:
The XM Radio ID does not use the letters I, O, S, or F.
4. Activate your XM Satellite Radio service online at http://activate.xmradio.com or by calling
1-800-XM-RADIO (1-800-967-2346). You will need a major credit card.
XM will send a signal from the satellites to activate the full channel lineup. A c t i vation normally
takes 10 to 15 minutes, but during peak busy periods you may need to keep your player on
for up to an hour. When you can access the full channel lineup on your inno, you’re finished!

19
Product registration
Visit us at the following site:
1. Register your product. We will keep the details of your purchase on file to help you refer
to this information in the event of an insurance claim such as loss or theft.
2. Receive updates on the latest products and technologies.
3. Download owner’s manuals, order product catalogues, research new products, and much
more.
IMPORTANT (Serial Number) The serial number of this device is located on the back
of this unit. For your own security and convenience, be sure to record this number on the
enclosed warranty card.

Using Your inno Alone
20
Using Your inno Alone
Setup
At Home
1. Insert inno into home
dock.
2. Connect inno to your
audio system as shown.
Connect power adapter
and home antenna. Point
antenna toward the south-
ern sky through a window.
3. To optimize signal recep-
tion, you may mount the
home antenna outdoors,
facing south. Make sure
the antenna is not blocked
by buildings or trees.
To AC power adapter
To your audio system’s
line input or AUX input
To home antenna
Table of contents
Other Pioneer Radio manuals

Pioneer
Pioneer XM2GO User manual

Pioneer
Pioneer CD-XMCASE1 User manual

Pioneer
Pioneer Inno2BK GEX-INN02B User manual

Pioneer
Pioneer XMp3 User manual

Pioneer
Pioneer XM2GO User manual

Pioneer
Pioneer XMp3 User manual

Pioneer
Pioneer XM2GO User manual

Pioneer
Pioneer XMp3 User manual

Pioneer
Pioneer XM2GO User manual