3 59324 V0605
Introduction
Congratulations on your purchase of the Impulse GII Racing System, an innovative tool for racing
student-designed dragsters. The Impulse GII’s quality construction ensures it will be a dynamic part
of a fun activity.
Pitsco has been providing teachers and students with exciting science and technology products for
years. As we forge ahead in education, we continue to develop and offer innovative products that
help students want to learn. Be sure to check the latest Pitsco Ideas & Solutions catalog for other
equipment, kits, books, videos, and activities.
Since its inception, Pitsco’s mission has been to provide teachers with motivating, teacher-friendly
education tools. We are confident this product will aid in achieving this goal. However, we realize
that change is constant and necessary to meet the needs of teachers. To that end, we encourage your
written response and input about the Impulse GII or any Pitsco product.
Planning Your Racetrack Setup
Determine a good location for the track setup and take measurements to ensure there is enough
space. The track can be almost any length between 30 feet and 80 feet. (If your track is less than 40
feet, you should use “short shot” four-gram CO2cartridges. See the Pitsco catalog.)
Here are some things to think about when planning the racetrack setup:
Actual Racing Distance
Actual racing distance extends from the start line to the finish line. The ideal racing distance is 20
meters (65 feet, 6 inches) because it is approximately 1/20 of a quarter mile. This is useful for mak-
ing mathematical comparisons to real dragsters. (Metric dragsters are also roughly 1/20 the size of
real dragsters.)
Staging Zone
Allow a minimum of four to five feet at the start end for staging cars. A five-foot staging will allow
four pairs of cars to be staged behind the launchers. If available, more space can be used to stage
more cars.
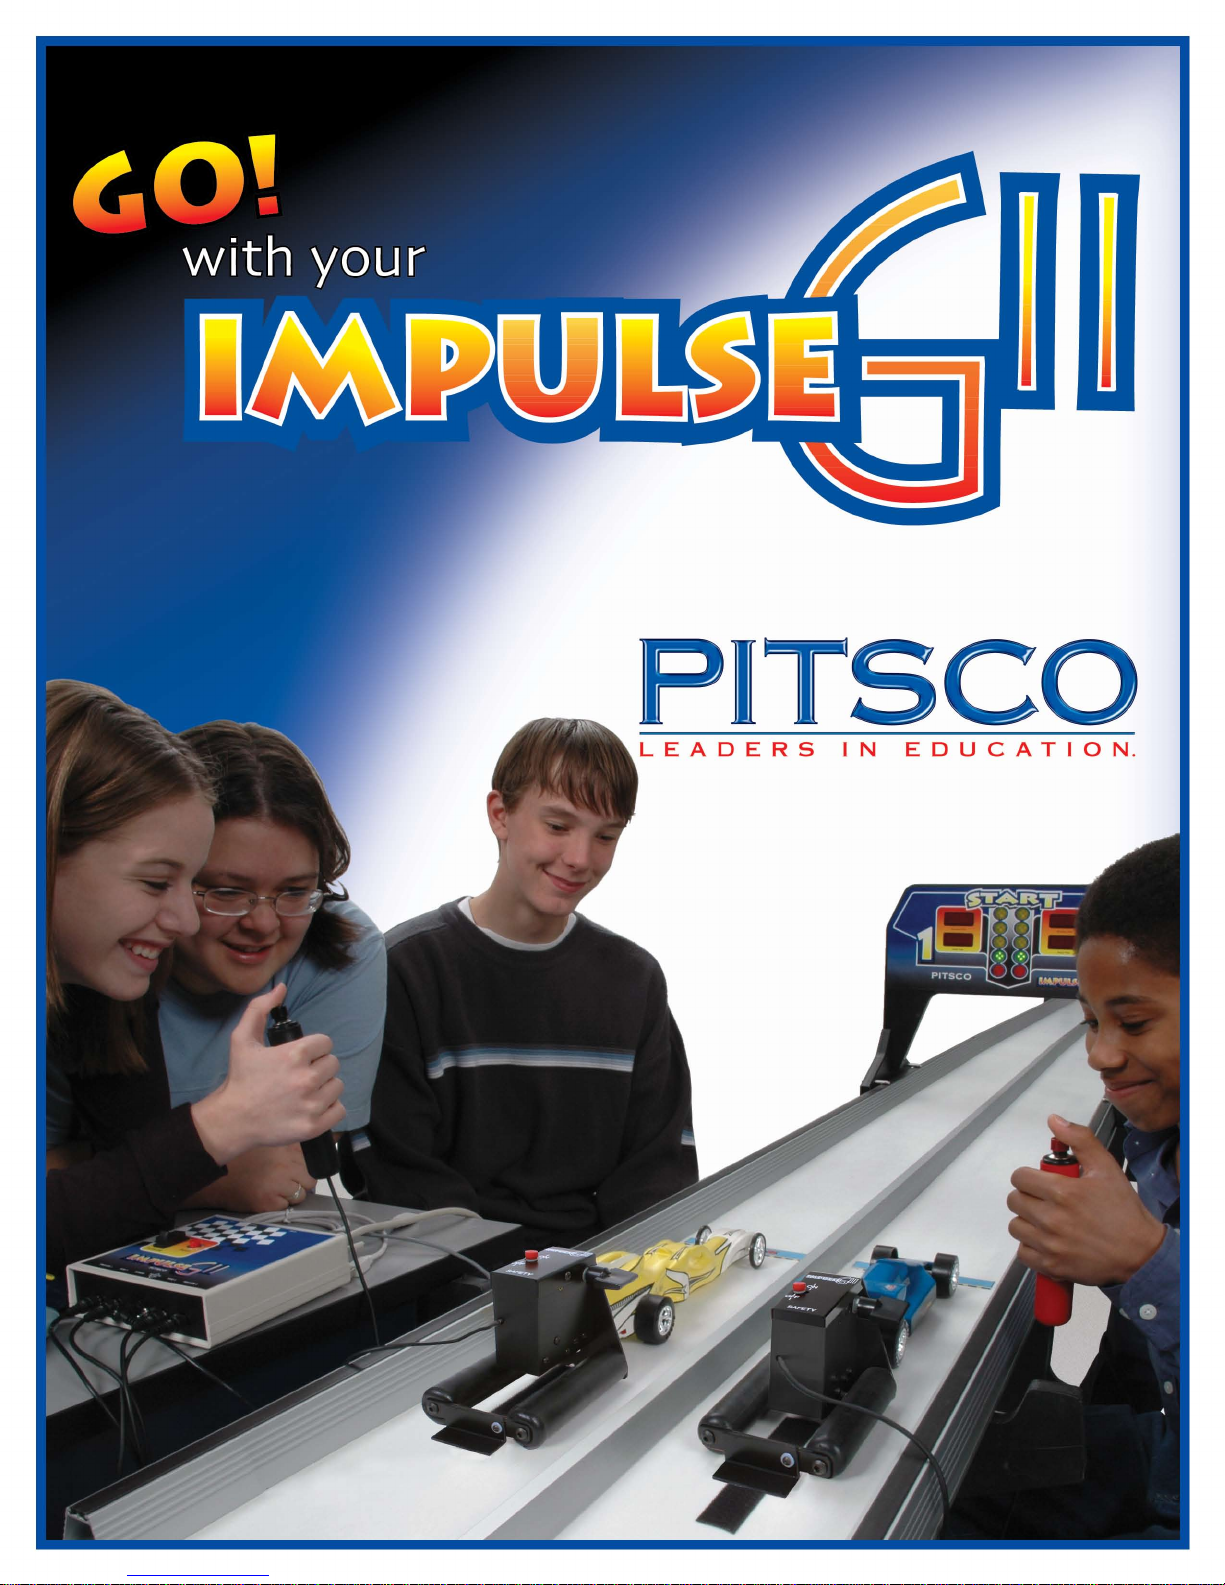
Deceleration Zone
Allow a minimum of four feet past the finish end of the track to stop the cars. A deceleration towel
will be placed in each lane approximately two feet behind the finish line to absorb the impact of the
speeding cars and bring them to a safe halt.
Parking Zone
Allow for a parking zone behind the deceleration zone. The parking zone should be the same length
as the staging zone so it will accommodate the same number of cars. There should be adequate
space to park all of the cars loaded onto the start end of the track without encroaching into the
deceleration area.