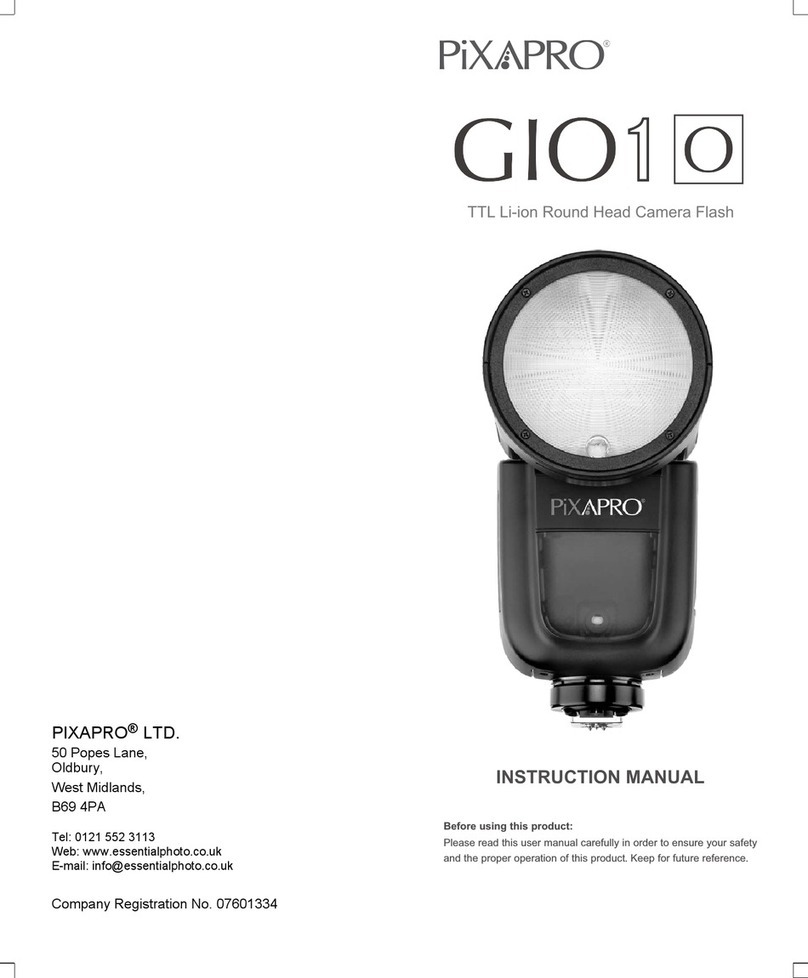
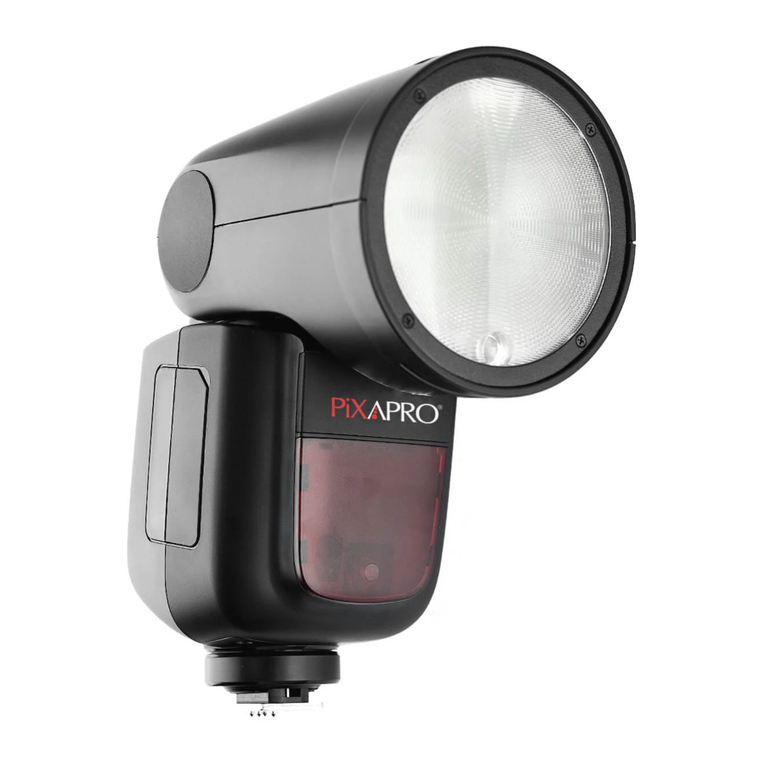
Pixapro GIO1N User manual

705-V1N000-00Made In ChinaINSTRUCTION MANUALBefore using this product:Please read this user manual carefully in order to ensure your safety
and the proper operation of this product. Keep for future reference.
TTL Li-ion Round Head Speedlite for Nikon
PIXAPRO® LTD.
Unit 5 Sterling Park
Pedmore Road
Brierley Hill
West Midlands,
DY5 1TB
Tel: 0121 552 3113
Web: www.essentialphoto.co.uk
E-mail: info@essentialphoto.co.uk
Company Registration No. 07601334

Always keep this product dry. Do not use in rain or in damp conditions.Do not disassemble. Should repairs become necessary, this product must be sent to an authorized maintenance center.Keep out of reach of children.Stop using this product if it breaks open due to extrusion, falling or strong hit. Otherwise, electric shock may occur if you touch the electronic parts inside it.Do not fire the flash directly into the eyes (especially those of babies) within short distances. Otherwise visual impairment may occur.Do not use the flash unit in the presence of flammable gases, chemicals and other similar materials. In certain circumstance, these materials may be sensitive to the strong light emitting from this flash unit and fire or electromagnetic interference may result.Turn off the flash unit immediately in the event of malfunction.Do not leave or store the flash unit if the ambient temperature reads over 50℃. Otherwise the electronic parts may be damaged.● With round flash head to achieve soft, even and more creative light effects. It has a 2W LEDmodeling lamp, which can be used off the camera.● Use dot-matrix LCD panel to make clear and convenient operations.● 6max480Pro 200mAh Li-ion Battery-.1.5s recycle- full power pops.● 76Ws power output at the max step. 81 steps from 1/1 to 1/128.● With built-in 2.4GHz wireless remote system to support transmitting and receiving.● Stable consistency and color temperature with good even lighting.Thank you for purchasing this product.This GIO1 N camera flash applies to Nikon series cameras and is compatible with i-TTL autoflash. With this i-TTL compatible flash, your shooting will become simpler. You can easily achieve a correct flash exposure even in complex light-changing environments. This camera flash features:● Support with firmware upgrade.● Fully support Nikon i-TTL camera flash. Workable as Master or Slave unit in a wireless flash group.● Provided multiple functions, include HSS (up to 1/8000s), FEC, FEB, etc.WarningForeword- 01 -- 02 -

ForewordWarningName of PartsBodyControl PanelDot-matrix LCD PanelLCD Panel in Three Modes
What's in the Box of GIO1 N Kit?Separately Sold Accessories BatteryLED Modeling Lamp
Attaching to a Camera
Power ManagementFlash Mode — i-TTL Autoflash FEC (Flash Exposure Compensation) High-Speed Sync Second-Curtain SyncM: Manual FlashRPT: Stroboscopic FlashWireless Flash Shooting: Radio (2.4G) TransmissionWireless SettingsGroup Mode SelectionSetting the Communication ChannelWireless ID SettingsScan the Spare ChannelFully Automatic Wireless Flash ShootingM: Wireless Flash Shooting with Manual FlashRPT: Wireless Flash Shooting with Manual FlashOther ApplicationsSync TriggeringModeling FlashAuto Focus Assist BeamBounce FlashZOOM: Setting the Flash Coverage Low Battery IndicatorC.Fn: Setting Custom FunctionsProtection FunctionTechnical DataTroubleshootingFirmware UpgradeCompatible Camera ModelsMaintenanceContents● The following alert symbols are used in this manual:● This manual is based on the assumption that both the camera and camera flash’s power switches are powered on.Conventions used in this ManualThe Note symbol indicates a warning to prevent shooting problem.● Reference page numbers are indicated by “p.**”.The Caution symbol gives supplemental information.- 03 -- 04 -01
02
05
09
10
10
10
11
13
14
15
22
24
25
26
27
28
28
28

02. LED Modeling Lamp(01~10)01. Flash Head03. Wireless Sensor04. Focus Assist Beam05. Sync Cord Jack06. Type-C USB Port08. Hotshoe09. LCD Panel10. Hotshoe Fixing Buckle11. Lithium Battery07. Battery Remove Button●Body●Control Panel●LCD PanelName of Parts(1)i-TTL AutoflashZoom : zoom display (Page 23): Automatic: Manual(Page 13)i-TTL : i-TTL autoflashFocus length (Page 23): High-speed sync (Page 12)Distance indicator displayFlash exposure compensation amount(2)M Manual Flash● The display will only show the settings currently applied.● The functions displayed above function buttons 1 to 4, such as and <M/A/B/C> , change according to settings’ status.● When a button or dial is operated, the LCD panel illuminated. M : Manual flashManual flash output(3) RPT FlashRPT: Stroboscopic flashNumber of flashesFlash frequency17. < > Test Button / Flash Ready Indicator19. <MODE>Mode Selection Button20. < >Modeling Lamp Setting21. <+/->Power Output25. Function Button 415. Set Button24. Function Button 314. Select Dial18. <ZOOM> Focus Length Setting 22. Function Button 112. <MENU>Flash Menu Button/Locking Button13. < >Wireless Selection Button23. Function Button 216. ON/OFF Power SwitchSYNC09050708040106021011172324151312251622141819212003- 05 -- 06 -

Firing groupFlash modeChannel : Radio transmission wireless shooting(4) Radio Transmission Shooting● Master Unit●Slave Unit: Slave: Slave icon●LCD Panel in Three Modes● Attached to the Camera● 2.4G Radio Transmission: As a Master Unit● 2.4G Radio Transmission: As a Slave Unit1234675- 07 -- 08 -●What’s in the Box of GIO1 N
4. USB Line5. Charger1.Flash Unit 2. Lithium Battery 3. USB Battery Charger 6. Mini Stand7. Protection Case8. Instruction Manual●Separately Sold AccessoriesThe product can be used in combination with the following accessories sold separately, so as to achieve best photography effects: ST-IV C & ST-III TTL wireless flash trigger, Round-Head accessory kit etc.

●Features3. Take only 3.5 hours to fully charge the battery by using the standard battery charger. 1. This flash unit uses Li-ion battery which has long runtime. The available charge-and-discharge times are 500.2. It is reliably safe. The inner circuit is against overcharge, overdischarge, overcurrent, and short circuit.●Cautions5. Store in dry, cool, ventilated places.6. Do not put aside or into fire.7. Dead batteries should be disposed according to local regulations.2. Do not expose to rain or immerse into water. This battery is not water proof.1. Do not short circuit.8. If the battery had ceased using for over 3 months, please make a full recharge.4. No over 24 hours’ continuous charging.3. Keep out of reach of children.●Loading and Unloading the BatteryBatteryTo unload the battery, hold 1down the battery remove button and push the battery downwardly to take it out. According to the triangle sign 2on the battery pack, insert it into the compartment until a white knob locks the battery with a click sound.●Battery Level IndicationMake sure the battery pack is securely loaded in the flash. Check the battery level indication on the LCD panel to see the remaining battery level.Battery Level Indication3 grids2 grids1 gridBlank gridBlinkingAttaching to a CameraAttach the Camera Flash.1● Rotate the hotshoe fixing buckle to the left and insert the camera flash into the camera's hotshoe.Secure the Camera Flash.2● Rotate the hotshoe fixing buckle to the right until it locks up.Detach the Camera Flash.3● Press the button and rotate the hotshoe fixing buckle to the left until it is loosened.Power ManagementUse ON/OFF Power Switch to power the flash unit on or off. Turn off if it will not be used for an extended period of time. Setting as a master flash, it will turn the power off automatically after a certain period (approx. 90 seconds) of idle use. Pressing the camera shutter halfway or pressing any flash button will wake up the flash unit. Setting as a slave flash, it will enter sleep mode after a certain period (adjustable, 60 minutes by default) of idle use. Pressing any flash button will wake it up.The battery level is going to be used out immediately. And the flash will auto power off in 1 minute.Note: Please recharge the battery as soon as possible (within 10 days). Then, the battery can be used or be placed for long period. MeaningFullMiddleLowLower battery, please recharge it.Press the Modeling Lamp Setting button to set the modeling lamp. Short press the Set Button to turn on or off the modeling lamp. When turning the modeling lamp on, turn the select dial to set its brightness. There are 10 levels(01~10) for choice. - 09 -- 10 -LED Modeling Lamp

Flash Mode — i-TTL Autoflashi-TTL Mode* Press < MODE > Mode Selection Button and three flash modes will display on the LCD panel one by one with each pressing.● When the shutter button is fully pressed, the flash will fire a pre-flash that the camera will use to calculate exposure and flash output the instant before the photo is taken. Press < MODE > Mode Selection Button to enter i-TTL mode. The LCD panel will display.● Press the camera release button halfway to focus. The aperture and effective flash range will be displayed in the viewfinder.This flash has three flash modes: i-TTL, Manual (M), and RPT (Stroboscopic). In i-TTL mode, the camera and the flash will work together to calculate the correct exposure for the subject and the background. In this mode, multiple TTL functions are available: FEC, HSS, second curtain sync, modeling flash.With FEC function, this flash can adjust from -3 to +3 in 1/3rd stops. It is useful in situations where minor adjusting of the TTL system is needed based on the environment. Setting FEC:FEC: Flash Exposure CompensationSet the flash exposure 2compensation amount.● Turn the Select Dial to set the amount.● “0.3”means 1/3 step, “0.7”means 2/3 step.● To cancel the flash exposure compensation, set the amount to “+0”.Press Set Button again to 3confirm the setting.Press Function Button 2 1Press the <+/-> button. The icon < > and flash exposure compensation amount will be highlighted on the LCD panel.C.FnC.FnSlave Auto Power Off Timer is set to 60 minutes by default. Another option “30 minutes” is available. (C.Fn-Sv STBY, Page 24)Disabling Auto Power Off function is recommended when the flash is used off camera. (C.Fn-STBY, Page 24)● If setting the flash sync speed to 1/320s (auto FP) or 1/250s(auto FP) in Nikon camera setting,< > will always be displayed on the panel no matter what the actual shutter speed is.● With high-speed sync, the faster the shutter speed, the shorter the effective flash range. ● Set the flash sync speed to Non auto FP in Nikon camera setting. When half pressing the shutter, < > will disappear.● Multi flash mode cannot be set in high-speed sync mode.● Over-temperature protection may be activated after 15 consecutive high-speed sync flashes.High-Speed SyncHigh Speed Sync (FP flash) enables the flash to synchronize with all camera shutter speeds. This is convenient when you want to use aperture priority for fill-flash portraits.With a slow shutter speed, you can create a light train following the subject. The flash fires right before the shutter closes. Second-Curtain SyncSet the flash sync speed to 11/320s (auto FP) or 1/250s (auto FP) in Nikon camera setting. Half press the shutter button and < > will be displayed on the LCD panel. Now the high-speed sync function gets started.Turn the camera dial, and 2the shutter speed can be set to or more than 1/250s. Choose high-speed sync Check the shutter speed 3through the camera viewfinder to confirm whether the FP high-speed function is used. If the shutter speed is or over 1/250s, it means the high-speed is booted up.● In camera setting, choose REAR to achieve second curtain sync.- 11 - - 12 -

The flash output is adjustable from 1/1 full power to 1/256th power in 1/10th stop increments. To obtain a correct flash exposure, use a hand-held flash meter to determine the required flash output.M: Manual FlashPress < MODE > button so 1that < M > is displayed.Press the <+/-> button and turn 2the Select Dial to choose a desired flash output amount.Press Set Button again to 3confirm the setting.Optic S1 Secondary Unit SettingIn M manual flash mode, press <S1/S2> button so that this flash can function as an optic S1 secondary flash with optic sensor. With this function, the flash will fire synchronously when the main flash fires, the same effect as that by the use of radio triggers. This helps create multiple lighting effects.Optic S2 Secondary Unit SettingPress <S1/S2> button so that this flash can also function as an optic S2 secondary flash with optic sensor in M manual flash mode. This is useful when cameras have pre-flash function. With this function, the flash will ignore a single “preflash” from the main flash and will only fire in response to the second, actual flash from the main unit.● S1 and S2 optic triggering is only available in M manual flash mode.● After you finish the setting, press Set Button and all the settings will be displayed.Press the <+/-> button and 3turn the Select Dial to choose a desired flash output.RPT: Stroboscopic FlashWith stroboscopic flash, a rapid series of flashes is fired. It can be used to capture a multiple images of a moving subject in a single photograph.You can set the firing frequency (number of flashes per sec. expressed as Hz), the number of flashes, and the flash output.Press <MODE> button so 1that < > is displayed.Calculating the Shutter SpeedDuring stroboscopic flash, the shutter remains open until the firing stops. Use the formula below to calculate the shutter speed and set it with the camera.For example, if the number of flashes is 10 and the firing frequency is 5 Hz, the shutter speed should be at least 2 seconds.Number of Flashes / Flash Frequency = Shutter SpeedTo avoid overheating and deteriorating the flash head, do not use stroboscopic flash more than 10 times in succession. After 10 times, allow the camera flash to rest for at least 15 minutes. If you try to use the stroboscopic flash more than 10 times in succession, the firing might stop automatically to protect the flash head. If this happens, allow at least 15 minutes’ rest for the camera flash.● Stroboscopic flash is most effective with a highly reflective subject against a dark background.● Using a tripod and a remote control is recommended.● A flash output of 1/1 and 1/2 cannot be set for stroboscopic flash.● Stroboscopic flash can be used with“bulb”.● If the number of flashes is displayed as “--”, the firing will continue until the shutter closes or the battery is exhausted. The number of flashes will be limited as shown by the following table.RPTSet the flash frequency and 2flash times.● Press the Function Button 2 <Times> to select the flash times. Turn the Select Dial to set the number.● Press the Function Button 3 <Hz> to select the flash frequency. Turn the Select Dial to set the number.- 13 -- 14 -

HzMaximum Stroboscopic Flashes:FlashoutputHzFlashoutputWireless Flash Shooting: Radio (2.4G) Transmission● You can set up five slave groups for TTL autoflash shooting.With TTL autoflash, you can easily create various lighting effects.● Any flash settings for the slave units(auto flash, manual flash and stroboscopic flash) on the master flash in TTL mode will be automatically sent to the slave units. So the only thing you need to do is to set the master unit for each slave group without any operation for the slave units at all during the shooting.● This flash can work in i-TTL /M /RPT/ OFF flash modes when setas a master unit.Note:● Even with multiple slave units, the ONE series flash trigger can control all of them via wireless.● In this user manual, “master unit” refers to the camera flash on a camera and “slave unit” will be controlled by the master unit.1/41/81/161/321/641/1281/2561814306090909026143060909090341230609090904310205080909053820508090906-72620407090908-92510306080801/41/81/161/321/641/1281/256102482050707020-502481630404060-10024812204040Positioning and Operation Range (Example of wireless flash shooting)● Autoflash Shooting with One Slave Unit● Use the supplied mini stand to position the slave unit.● The transmission distance might be shorter depending on the conditions such as positioning of slave units, the surrounding environment and whether conditions.● Before shooting, perform a test flash and test shooting.Transmission distance is about 100m.● Auto Shooting with Two Slave Groups● Auto Shooting with Three Slave GroupsYou can divide the slave units into two or three groups and perform i-TTL autoflash while changing the flash ratio (factor). In addition, you can set and shoot with a different flash mode for each firing group, for up to 5 groups.Wireless Multiple Flash ShootingABABC- 15 -- 16 -

Slave Unit SettingMaster Unit SettingPress < > button so that < > is displayed on the LCD panel. Press < > button so that < > or < > are displayed on the LCD panel. 2. Group Mode SelectionShort press the Function 1Button 1 and <M> group can be changed in OFF/TTL/M. Choose one of them as master unit's flash mode.Short press the <MODE> 2button to gain RPT mode.1.Wireless SettingsYou can switch between normal flash and wireless flash. For normal flash shooting, be sure to set the wireless setting to OFF.3. Setting the Communication ChannelIf there are other wireless flash systems nearby, you can change the channel IDs to prevent signal interference. The channel IDs of the master unit and the slave unit(s) must be set to the same.Press <MENU> Button to 1enter C.Fn CH setting.In C.Fn CH, turn the Select 2Dial to choose channel ID from 1 to 32.Press the Set Button to 3confirm.4. Wireless ID SettingsChange the wireless channels and wireless ID to avoid interferencefor it can only be triggered after the wireless IDs and channels of themaster unit and the slave unit are set to the same.Press the <MENU> button to enter C.Fn ID. Press the Set Button to choose OFF channel expansion shutdown, and choose any figure from 01 to 99.5.Scan the Spare ChannelTo avoid the interference of using the same channel by others, this function can be used: enter the C.Fn settings and find the SCAN option. When setting it to START, it will scan from 1% to 100%. And the 8 spare channels will be displayed after the scan is completed.6.i-TTL:Fully Automatic Wireless Flash ShootingUsing Automatic Wireless Flash with a Single Slave UnitMaster Unit Setting 1● Attach a GIO1 N camera flash on the camera and set it as the master unit.●M/A/B/C can be set as TTL mode independently.C.FnVer 0.5CLEARCHIDBEEPSTBY07SCANC.FnVer 0.5CLEARCHIDBEEPSCAN22 08 32 2330 21 07 06C.FnVer 0.5CLEARCHIDBEEPSTBY99SCAN- 17 -- 18 -

Slave Unit Setting 235● Then, the slave unit will fire. If not, adjust the slave unit’s angle toward the master unit and distance from the master unit.Check the flash operation. 6● Press the master unit’s Test Button < >.4● Set the GIO1 N that to be
controlled as the wireless
slave unit.● The slave unit can be set
as A/B/C/D/E.Check the communication channel.● If the master unit and slave unit(s) are set to a different channel, set them to the same channel. (Page 17)
Position the camera and flashes.● Position the camera and flashes as the picture shows. (Page 16)Check that the flash is ready.● Check that the master flash ready indicator is lightened. Using Automatic Wireless Flash with Multiple Slave UnitsWhen the number of slave units is increased and the master unit flash firing is ON, automatic control is implemented to make all groups of flashes fire the same flash output and ensure the total flash output up is to standard exposure.To add slave units, use the same steps as setting “automatic wireless flash with a single slave unit”. Any flash group can be set (A/B/C/D/E).When stronger flash output or more convenient lighting operation is needed, increase the number of slave units and set it as a single slave unit.●If the slave unit’s auto power off function is workable, press the master unit’s test button to power it on. Please note that test firing is unavailable during the camera’s regular metering time.●The effective time of slave auto power off is changeable. (C.Fn-Sv STBY Page 27)Using Fully Automatic Wireless FlashThe FEC and other settings that set on the master unit will also be appeared on the slave unit automatically. The slave unit does not need any operation. Use the following settings to make wireless flashes according to the same methods with normal flash shooting.●Flash Exposure Compensation ( Page 11)About Master UnitUse two or more master units. By preparing several cameras that with master units flash attached, cameras can be changed in shooting while keeping the same lighting source (slave unit).- 19 -- 20 -

This describes wireless (multiple shooting) using manual flash. You can shoot with a different flash output setting for each slave unit (firing group). Set all parameters on the master unit.7. M: Wireless Flash Shooting with Manual FlashSetting the flash mode to 1<M>.Taking the picture.3Setting <M> Flash ModeYou can directly operate the slave unit to manually set the manual flash or stroboscopic flash.Setting the slave unit. 1Setting flash mode to <M>.2●Press <MODE> button so that <M> is displayed.● Set the manual flash output. (Page 13)Setting flash 2output.1/2/3/4<M/A/B/C>● Press Function Button 3 < >. Turn the Select Dial to set the flash output of the groups. Press SetButton to confirm.Gr● Each group fires at the set flash ratio.8.RPT: Wireless Flash Shooting with Manual FlashSetting <RPT> stroboscopic flash.● Press <MODE> button so that <RPT> is displayed.●Setting the stroboscopic flash. (Page 14)Other ApplicationsIt enables you to see the shadow effects on the subject and the lighting balance. You can fire the modeling flash during wireless or normal flash shooting.Sync TriggeringModeling FlashThe Sync Cord Jack is a Φ2.5mm plug. Insert a trigger plug here and the flash will be fired synchronously with the camera shutter.If the camera has a depth-of-field preview button, pressing it will fire the flash continuously for 1 second. This is called modeling flash.●To avoid overheating and deteriorating the flash head, do not fire the modeling flash for more than 10 consecutive times. If you fire the modeling flash 10 consecutive times, allow at least 10 minutes’ break for the camera flash.In poorly-lit or low-contrast shooting environments, the built-in auto focus assist beam will automatically light on to make it easier for autofocus. The beam will light up only when autofocus is difficult and get out as soon as the autofocus becomes correct. If you want to turn off the auto focus assist beam, set the “AF” to “OFF” on the C.Fn settings.Auto Focus Assist Beam● If you find the auto focus assist beam does not light up, this is because the camera has got a correct autofocus.PositionCenterPeripheryEffective Range0.6~10m / 2.0~32.8 feet0.6~5m / 2.0~16.4 feetCH 21- 21 -- 22 -

By pointing the flash head toward a wall or ceiling, the flash will bounce off the surface before illuminating the subject. This can soften shadows behind the subject for a more natural-looking shot. This is called bounce flash.Bounce FlashTo set the bounce direction, hold the flash head and turn it to a satisfying angle.● The wall or ceiling should be a plain, white color for high reflectance. If the bounce surface is not white, a color cast may appear in the picture. ● If the wall or ceiling is too far away, the bounced flash might be too weak and result in underexposure.ZOOM: Setting the Flash Coverage The flash coverage can be set automatically or manually. It can be set to match the lens focal length from 28mm to 105mm. ● Turn the Select Dial to change the flash coverage.In Manual Zoom mode, press the <ZOOM> button.● If < > is displayed, the flash coverage will be set automatically.If you set the flash coverage manually, make sure it covers the lens focal length so that the picture will not have a dark periphery.If the battery power is low, < > will appear and blink on the LCD panel. Please replace the battery immediately.Low Battery Warning-7-120°330°C.Fn: Setting Custom FunctionsThe following table lists the available and unavailable custom functions of this flash. m/ftBEEPLIGHTLCDIDmftONOFF12secOFFON-3~+3OFF01-99Distance indicatorBeeperBacklighting timeLCD contrast ratioWireless IDC.Fn Custom FunctionsCustom Function SignsFunctionSetting No.Settings & DescriptionmfeetAFONOFFAF-assist beamONOFFSv STBY60min30minSlave auto power off timer60min30minONOFFOff in 12 sec.Always off Always lighting7 levelsOffChoose any figure from 01-993. Change the Setting.● Press Set Button and the Setting No. blinks.4. In the C.Fn states, long press the “Clear”button for 2 seconds until “OK”is displayed on the panel, which means the values in C.Fn can be reset.● Turn the Select Dial to select the Custom Function No.1. Press<MENU> Button until C.Fn menu is displayed. The “Ver x.x” in the top-right corner refers to the software version.2. Select the Custom Function No.● Turn the Select Dial to set the desired number. Pressing Set Button will confirm the settings.● After you set the Custom Function and press <MENU> button, the camera will be ready to shoot.STBYONOFFAuto sleep settingONOFFSCANOFFSTARTScan the spare channelOFF
Start to find the spare channel
CH01-32Channel settingChoose channels from 01-32- 23 -- 24 -

Protection Function● If you fire more than 30 continuous flashes and then fire more flashes in short intervals, the inner over-temperature protection function may be activated and make the recycling time over 10 seconds. If this occurs, allow a rest time of about 10 minutes, and the flash unit will then return to normal.● When the over-temperature protection is started, is shown on the LCD display.● To avoid overheating and deteriorating the flash head, do not fire more than 30 continuous flashes in fast succession at 1/1 full power. After 30 continuous flashes, allow a rest time of at least 10 minutes.1. Over-Temperature ProtectionNumber of flashes that will activate over-temperature protection:2. Other ProtectionsThe system provides real-time protection to secure the device and your safety. The following lists prompts for your reference:Number of flashes that will activate over-temperature protection in high-speed sync triggering mode:Power Output Level1/11/2 +0.71/2 +0.31/21/4(+0.3,+0.7)1/8(+0.3,+0.7)1/16(+0.3,+0.7)1/32(+0.3,+0.7)1/64(+0.3,+0.7)1/128(+0.3,+0.7)1/256(+0.3,+0.7)Number of Flashes304050601002003005001000Power Output1/11/2(+0.3,+0.7)1/4(+0.3,+0.7)1/8(+0.3,+0.7)1/16(+0.3,+0.7)1/32(+0.3,+0.7)1/64(+0.3,+0.7)1/128(+0.3,+0.7)1/256(+0.3,+0.7)Times1520304050MeaningA failure occurs on the recycling system so that the flash cannot fire.Please restart the flash unit. If the problem still exists, please send this product to a maintenance center.The system gets excessive heat. Please allow a rest time of 10 minutes.The voltage on two outlets of the flash tube is too high. Please send this product to a maintenance center.There are some errors occurred during the upgrading process. Please using the correct firmware upgrade method.Prompts on LCD PanelE1E2E3E9Technical DataGIO1 N
Nikon cameras (i-TTL autoflash)76Ws28 to 105mm• Auto zoom (Flash coverage set automatically to match the lens focal length and image size)• Manual zoom• Swinging/tilting flash head (bounce flash): 0 to 330° horizontally and -7° to 120° vertically1/300 to 1/20000 secondsi-TTL autoflash and manual flashModelCompatible CamerasPower(1/1 output)Flash CoverageFlash Duration• Exposure ControlExposure control systemHigh-speed sync (up to 1/8000 seconds), first-curtain sync, and second-curtain syncProvided (up to 90 times, 100Hz)Master, Slave, Off100m32 (1~32)Fired with camera’s depth-of-field preview buttonCenter: 0.6~10m / 2.0~32.8 feetPeriphery: 0.6~5m / 2.0~16.4 feetSync modeMulti flash• Wireless FlashWireless flash functionControllable slave groups Transmission range(approx.) Channels Modeling flash• Auto Focus Assist BeamEffective range (approx.)ID 01~992W• LED Modeling LampPower3300K±200KColor Temperature7.2V/2600mAh Li-ion batteryApprox 1.5 seconds. Green LED indicator will light up when the flash is ready. Approx. 480Power off automatically after approx. 90 seconds of idle operation. (60 minutes if set as slave)Hotshoe, 2.5mm sync line5600±200k76*93*197mm420g530g2413.0MHz-2464.5MHz5dbm• Power SupplyPower sourceRecycle timeFull power flashesPower saving• Sync Triggering Mode• Color Temperature• DimensionsW x H x DWeight without batteryWeight with battery2.4G Wireless FrequencyRangeMax. Transmitting Powerof 2.4G WirelessM,A,B,CA, B, C, D, E (D/E group can be controlled by ONE system series flash trigger)Master groupsFlash Exposure Compensation(FEC)Manual. FEB: ±3 stops in 1/3 stop increments(Manual FEC and FEB can be combined.)- 25 -- 26 -

TroubleshootingIf there is a problem, refer to this Troubleshooting Guide.→Attach the camera’s mounting foot securely to the camera.● The electrical contacts of the Camera Flash and camera are dirty.→Clean the contacts.● After 90 seconds of idle operation, auto power off took effect if the flash is set as master.The Camera Flash does not fire.● The camera flash is not attached securely to the camera.The power turns off by itself.→Press the shutter button halfway or press any flash button to wake up.● After 60 minutes (or 30 minutes) of idle operation, the flash unit will enter sleep mode if it is set as slave.→Press any flash button to wake up.→Attach the camera flash’s mounting foot to the camera.● You used Manual Flash mode.→Check the flash coverage you set. This flash unit has the flash coverage between 28 and 105mm, which fits medium-format cameras. Auto zoom does not work.→Set the flash mode to i-TTL or modify the flash output.The flash exposure is underexposed or overexposed.Photos have dark corners or only parts of the target subject are illuminated.→With high-speed sync, the effective flash range will be shorter. Make sure the subject is within the effective flash range displayed.● The camera flash is not attached securely to the camera.● You used high-speed sync.● The focal length of lens exceeds the flash coverage.Firmware Upgrade●The USB port is a Type-C USB socket. Type-C USB connection line is applicable.●As the firmware upgrade needs the support of PIXAPRO G3 software, please download and install the "PIXAPRO G3 firmware upgrade software" before upgrading. Then, choose the related firmware file.●As the product needs to do firmware upgrade, please refer to instruction manual of the newest electric version as final.Compatible Camera ModelsThis flash unit can be used on the following Nikon series camera models:This table only lists the tested camera models, not all Nikon series cameras. For the compatibility of other camera models, a self-test is recommended.Rights to modify this table are retained.● Shut down the device immediately should abnormal operation be detected.● It is normal for the flash tube to be warm when in use. Avoid continuous flashes if unnecessary.● Changes made to the specifications or designs may not be reflected in this manual.● Maintenance of the flash must be performed by our authorized maintenance department which can provide original accessories. ● If the product had failures or was wetted, do not use it until it is repaired by professionals.● Avoid sudden impacts and the product should be dedusted regularly.● This product, except consumables e.g. flash tube, is supported with a one-year warranty.● Unauthorized service will void the warranty.Maintenance- 27 -- 28 -D5D4D850D500D750D810D610D800D300SD300D7500D5300D5200D5100D5000D3300D3200D3100D3000D200D100D70SD60D90D7100D7000Z6Z7

4 Increase the separation between the equipment and receiver. This device complies with part 15 of the FCC Rules. Operation is subject to the following two conditions: (1) This device may not cause harmful interference, and (2) this device must accept any interference received, including interference that may cause undesired operation. *RF warning:This equipment complies with FCC radiation exposure limits set forth for an uncontrolled environment. This equipment should be installed and operated with minimum distance 20cm between the radiator & your body.Any Changes or modifications not expressly approved by the party responsible for compliance could void the user's authority to operate the equipment. 4 Reorient or relocate the receiving antenna. 4 Consult the dealer or an experienced radio/TV technician for help. Note: This equipment has been tested and found to comply with the limits for a Class B digital device, pursuant to part 15 of the FCC Rules. These limits are designed to provide reasonable protection against harmful interference in a residential installation. This equipment generates uses and can radiate radio frequency energy and, if not installed and used in accordance with the instructions, may cause harmful interference to radio communications. However, there is no guarantee that interference will not occur in a particular installation. If this equipment does cause harmful interference to radio or television reception, which can be determined by turning the equipment off and on, the user is encouraged to try to correct the interference by one or more of the following measures: 4 Connect the equipment into an outlet on a circuit different from that to which the receiver is connected. FCC Warning- 29 -- 30 -
Table of contents
Other Pixapro Camera Flash manuals

Pixapro
Pixapro Li-ion 350 II N User manual

Pixapro
Pixapro ST-IV+ L User manual

Pixapro
Pixapro Li-ion580 III F User manual

Pixapro
Pixapro GIO 1 C User manual

Pixapro
Pixapro GIO1 O User manual

Pixapro
Pixapro HYBRID360 ITTL User manual

Pixapro
Pixapro MACRO MF-R76 User manual

Pixapro
Pixapro Li-ion580 ETTL User manual

Pixapro
Pixapro CITI600 User manual

Pixapro
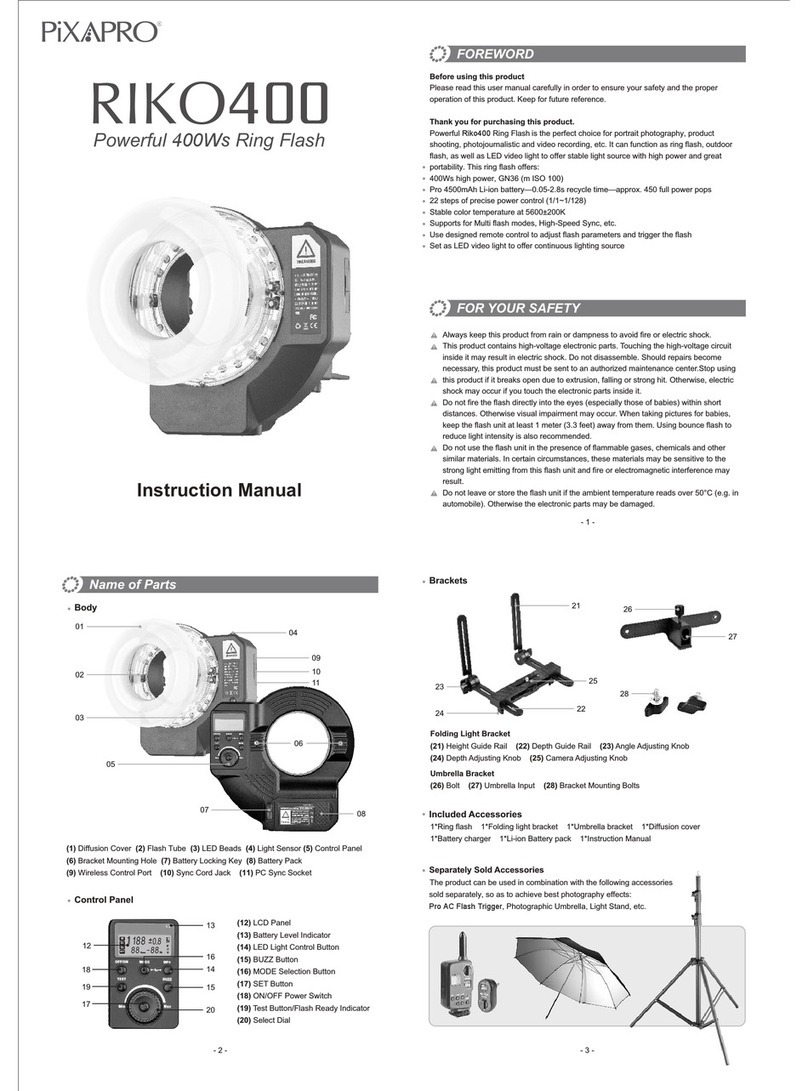
Pixapro RIKO400 User manual