Table of contents
1 Introduction.................................................................................................................................................1
2 Associated documentation..........................................................................................................................2
3 Symbols on product labels..........................................................................................................................3
4 Safety precautions......................................................................................................................................4
5 Main parts...................................................................................................................................................6
5.1 Control panel.................................................................................................................................. 6
5.2 Mobile base.................................................................................................................................... 6
6 Switching unit on and off.............................................................................................................................8
7 Selecting cone............................................................................................................................................ 9
8 Control panel............................................................................................................................................ 11
8.1 Displays........................................................................................................................................11
8.2 Keys and indicator lights...............................................................................................................13
8.2.1 Preprogrammed settings keys and indicator lights...................................................... 13
8.2.2 Large/small animal mode selection key and indicator light.......................................... 14
8.2.3 SELECT key.................................................................................................................14
8.2.4 MODE key....................................................................................................................14
8.2.5 Parameter adjustment keys......................................................................................... 14
8.2.6 Ready indicator light.....................................................................................................15
8.2.7 Exposure key............................................................................................................... 15
8.2.8 Exposure warning indicator light.................................................................................. 15
9 Selecting exposure parameters................................................................................................................16
9.1 Recommended exposure values for cats or smaller animals.......................................................17
9.2 Recommended exposure values for larger animals..................................................................... 18
10 Sensor positioning.................................................................................................................................... 20
11 Taking exposure....................................................................................................................................... 22
12 Programming exposure values.................................................................................................................23
12.1 Programming default exposure values.........................................................................................23
12.2 Programming density values........................................................................................................ 25
12.3 Programming preprogrammed settings........................................................................................26
13 Error codes............................................................................................................................................... 29
14 Cleaning....................................................................................................................................................30
15 Service......................................................................................................................................................31
16 Device label.............................................................................................................................................. 32
17 Transportation (mobile base)....................................................................................................................33
18 Technical specifications............................................................................................................................35
18.1 Technical data.............................................................................................................................. 35
18.2 Dimensions...................................................................................................................................37
18.2.1 Minimum dimensions................................................................................................... 38
18.3 Minimum dimensions....................................................................................................................40
18.4 Installation options........................................................................................................................42
18.5 User's statement for Planmeca ProX........................................................................................... 43
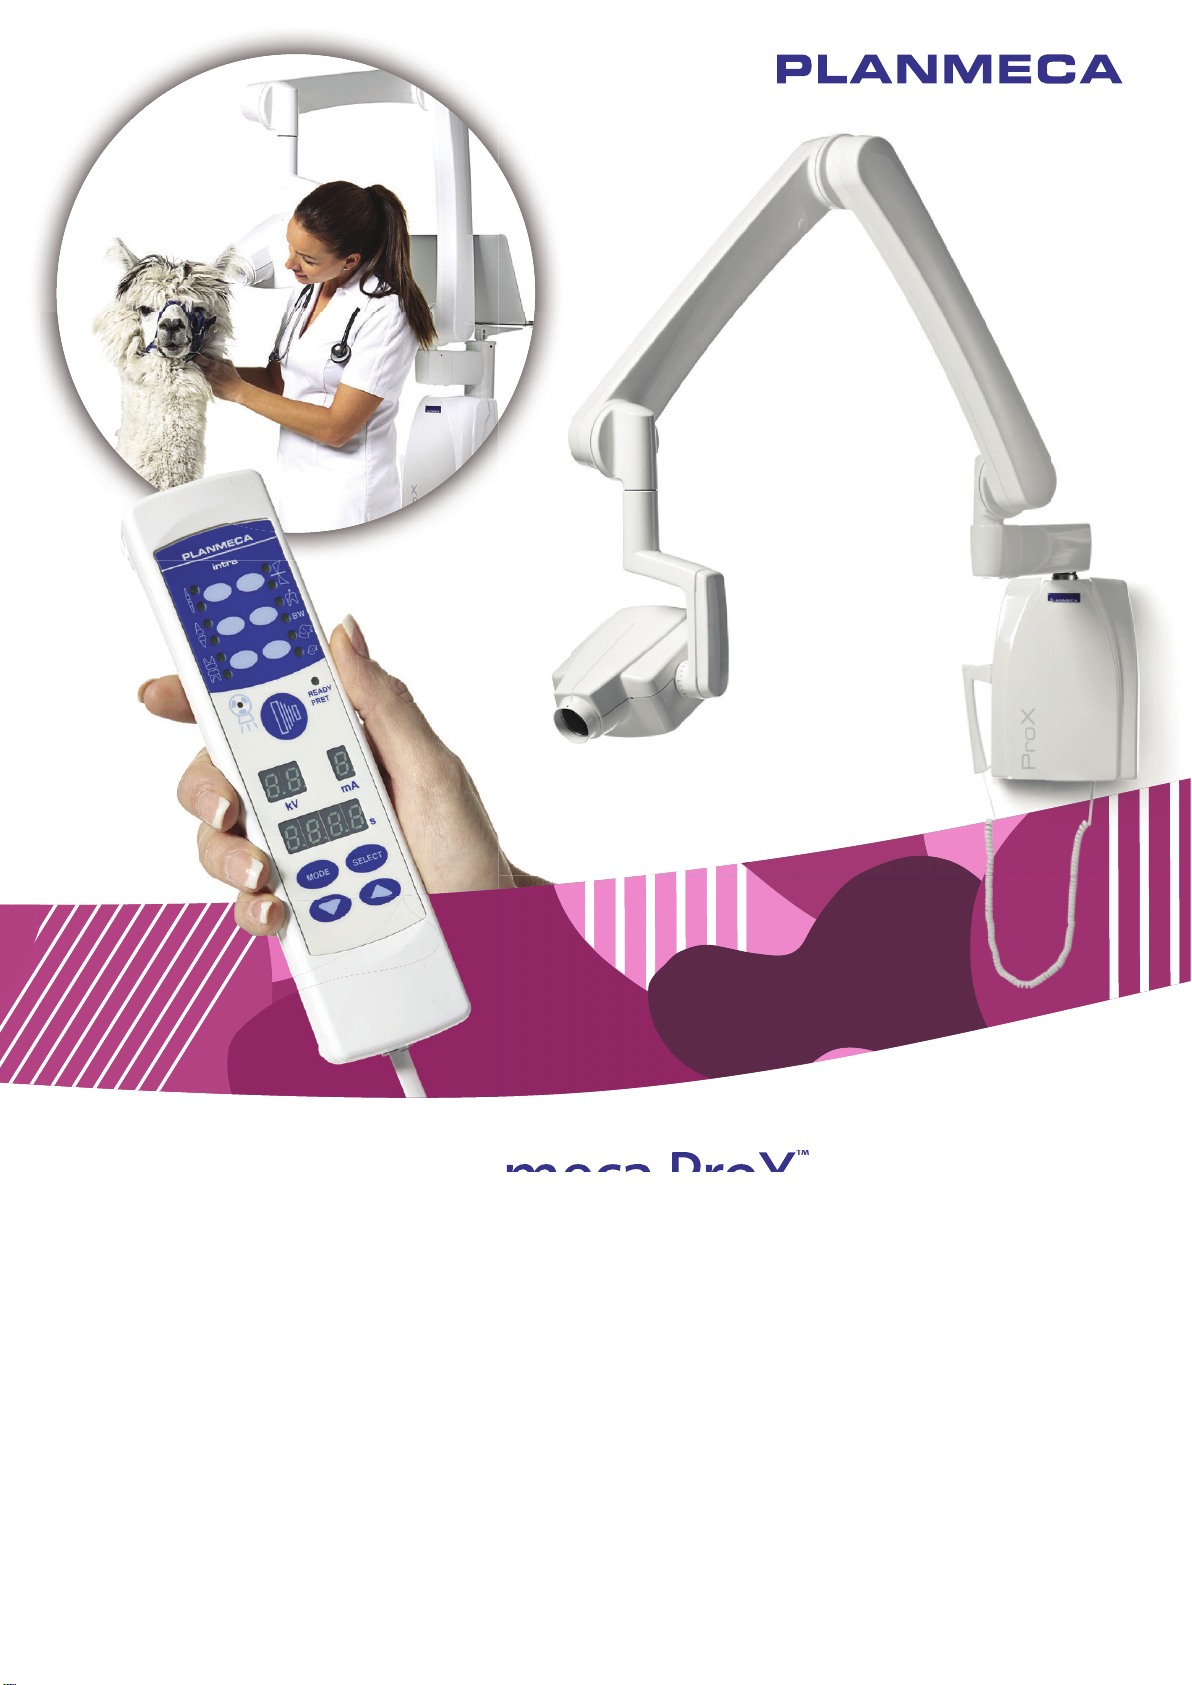
User's manual Planmeca ProX