manuals.online logo
Brands
  1. Home
  2. •
  3. Brands
  4. •
  5. Plasma Air
  6. •
  7. Air Cleaner
  8. •
  9. Plasma Air AutoClean 1560 Instruction manual

Plasma Air AutoClean 1560 Instruction manual

www.plasma-air.com
INSTALLATION, OPERATION
& MAINTENANCE MANUAL
Plasma Air
AutoClean 1560
11/2021
SELF-CLEANING & NO MAINTENANCE
The Plasma Air AutoClean 1560 is a self-cleaning, maintenance-free needlepoint
ionizer that produces positive and negative ions that neutralize harmful pollutants,
odors and pathogens (mold spores, bacteria and viruses). This compact self-cleaning
unit automatically removes dust and dirt build-up on the needles eliminating the need
for maintenance. It can be easily mounted at the fan inlet of any air handling system,
including RTUs, PTACs, mini-splits, fan coil units and VRF systems. The AutoClean
1560 includes a BAS terminal block for status and control. Unit accepts 12-24V
AC/DC without the use of an external power supply. The AutoClean 1560 is UL 2998
validated for zero ozone emissions.
MECHANICAL INSTALLATION INSTRUCTIONS
WARNING: Do not connect to power before mechanical installation is
complete.
1. Included with the ionization unit is a mounting kit containing (4) self-tapping
screws, (2) magnetic strips to hold the unit in place and 6ft of 22ga power leads.
2. Mount ionization unit to allow for future access.
3. Mount the unit at or near the fan inlet using the slots in the mounting tabs, insuring
that air flows over the two needlepoint emitters simultaneously. Mount the ionizer
to the fan casing to avoid interference with the fan blades. See Figures 1 & 2.
4. The unit should be mounted downstream of the filter.
5. For best results avoid locations directly downstream of a humidifier.
ELECTRICAL INSTALLATION INSTRUCTIONS
WARNING: Do not connect to power before installation is complete.
Always disconnect power to the unit before handling the ionizer.
1. All field wiring to be in accordance with the National Electric Code Section 725
and authorities having jurisdiction.
2. It is recommended that surge protection be installed with this ionizer at the
equipment level, building level, or circuit breaker panel feeding the product.
3. If a step down transformer is used to feed the ionizer, the transformer must be
grounded.
4. Do not install the ionizer on the same circuit as a UV Lamp or connect to the
same transformer as a UV Lamp.
5. Connect power to ionizer using either 12V to 24V AC or DC. See Figure 3.
6. Connect power wires to power inlet fitting by pressing the orange tab firmly,
inserting the appropriate wire, then releasing the orange tab. Repeat as necessary
for the other wires. Strip wire insulation as necessary.
7. For best results interlock ionizer power with fan control circuit.
8. Apply power to the unit. The LED indicator will be green when power is applied to
the ionizer, but then turns orange when functioning properly.
FIGURE 1
AIR FLOW
TUNGSTEN AUTOCLEANING NEEDLEPOINT EMITTERS
OPTIONAL BMS INTERFACE INSTALLATIONS
The AutoClean 1560 has the following optional wiring features (wiring and BMS
controller by others):
1. BMS Compatible Status Output (On/Off Pin 1), See Figure 4. The status output is
connected to the input of a BMS controller that is setup to detect a dry contact.
When the unit is operating, the BMS will receive an On status.
2. BMS Cleaning Cycle Command (Optional I/O Pin 2), See Figure 5. When On, the
unit will perform a cleaning cycle (should be normally Off and momentarily On).
The control point accepts a binary command.
• 0V DC for command Off (Normal Operation)
• 10V DC for command On (Momentary On will perform a single cleaning cycle)
3. BMS On.Off Command (Optional I/O Pin 3), See Figure 6. When On, the unit will
stop operating. The control point accepts a binary command.
• 0V DC for command Off (Normal Operation)
• 10V DC for command On (Stop Operation)
FIGURE 2
FAN
DISCHARGE
FAN INLET
CONNECTTO GROUND
WHERE NECESSARY
CONNECT TO POWER
12-24V AC/DC
MOUNTING TABS
EMITTERS
6FT WIRING LEAD
INCLUDED IN
MOUNTING KIT
FIGURE5FIGURE4
CONNECT TO POWER
12-24V AC/DC
BLACK AC/DC
RED AC/DC
POWER INLET FITTING
(6 foot leads by Plasma Air)
FIGURE 3
BAS CONTACT FITTING
(wiring by others)
200084-A ©2021 All rights reserved.
www.plasma-air.com
PLASMA AIR INTERNATIONAL, INC
290 HARBOR DRIVE, FLOOR 2
STAMFORD, CT 06902
phone 203-662-0800
fax 203-662-0808
info@plasma-air.com
4. Optional Relay Configuration (relay by
others), See Figure 7. The unit can
provide form C Relay Contacts by
adding a DC relay. The relay is shown
with a EMF diode for protection of the
ionzer.
FIGURE6
FIGURE7
ZERO OZONE EMISSIONS -
MEASURED OZONE
EMISSIONS FROM PLASMA
AIR AUTOCLEAN 1560
DURING USE PHASE DOES
NOT EXCEED 0.005 PPM AS
TESTED BY UL 867
UL.COM/ECV
OPER ATI ON
1. When power is applied to the unit, the ionizer will be activated. The LED will
be green for several seconds indicating power has been applied to the ionizer.
2. The green LED turns orange indicating the unit is in operation mode and ions
are being produced.
3. Two minutes after initial startup, the LED changes back to green and the first
cleaning cycle is automatically initiated. After the cleaning cycle, the LED returns
to orange indicating proper operation.
4. The cleaning cycle will repeat every 24 hours if unit operates continuously.
If fan doesn’t run continuously, steps 1 through 3 will repeat once the fan is
energized.
TROUBLESHOOTING
If the unit is not operating, check the following:
1. Verify that all power connections are correct and tight. Reconnect any
loose wires as necessary.
2. Verify that the supply fan is running to initiate operation, and that the
orange LED illuminates. If the LED is green, and cleaning cycle is not
active (wait afew minutes), contact Plasma Air for further support.

Other Plasma Air Air Cleaner manuals

Plasma Air 600 Series Instruction manual

Plasma Air

Plasma Air 600 Series Instruction manual

Plasma Air P1000 Instruction manual

Plasma Air

Plasma Air P1000 Instruction manual

Plasma Air CEILING SCRUBBER Instruction manual

Plasma Air

Plasma Air CEILING SCRUBBER Instruction manual

Plasma Air PlasmaPURE AutoClean 1500 Instruction manual

Plasma Air

Plasma Air PlasmaPURE AutoClean 1500 Instruction manual

Plasma Air 200 Series Instruction manual

Plasma Air

Plasma Air 200 Series Instruction manual

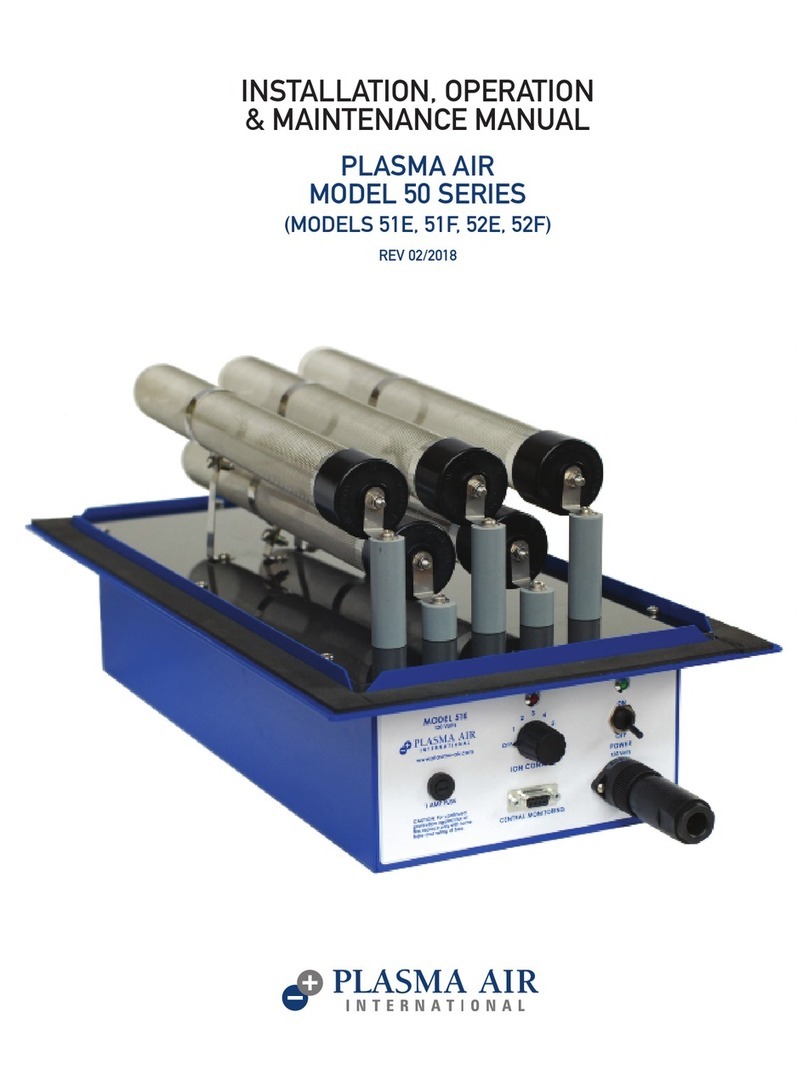
Plasma Air 50 Series Instruction manual

Plasma Air

Plasma Air 50 Series Instruction manual

Popular Air Cleaner manuals by other brands

Fakir VIGOR PLUS user manual

Fakir

Fakir VIGOR PLUS user manual

Refinair AP-C460A Instructions for use

Refinair

Refinair AP-C460A Instructions for use

Kärcher AFG 100 manual

Kärcher

Kärcher AFG 100 manual

HoMedics AR-20-GB instruction manual

HoMedics

HoMedics AR-20-GB instruction manual

Breville the Smart Air Viral Protect Compact Instruction book

Breville

Breville the Smart Air Viral Protect Compact Instruction book

Five Seasons FSHEPA350 owner's manual

Five Seasons

Five Seasons FSHEPA350 owner's manual

Conrad 77 67 54 operating instructions

Conrad

Conrad 77 67 54 operating instructions

b-mola NCCO1802 Operation manual

b-mola

b-mola NCCO1802 Operation manual

BRAYER BR4900 instruction manual

BRAYER

BRAYER BR4900 instruction manual

Tailulu HQZZ-160 user manual

Tailulu

Tailulu HQZZ-160 user manual

Kenmore HEPA 152.8525 owner's manual

Kenmore

Kenmore HEPA 152.8525 owner's manual

IQAir HealthPro Compact user manual

IQAir

IQAir HealthPro Compact user manual

Eldom Puri PO200 instruction manual

Eldom

Eldom Puri PO200 instruction manual

Camozzi MX Series operating instructions

Camozzi

Camozzi MX Series operating instructions

Daikin ACEF 3AVE Service manual

Daikin

Daikin ACEF 3AVE Service manual

Simco-Ion AeroBar 5225S user manual

Simco-Ion

Simco-Ion AeroBar 5225S user manual

Carrier 31MM Installation, Start-Up and Service Instructions

Carrier

Carrier 31MM Installation, Start-Up and Service Instructions

Envion allergy pro AP200 owner's guide

Envion

Envion allergy pro AP200 owner's guide

manuals.online logo
manuals.online logoBrands
  • About & Mission
  • Contact us
  • Privacy Policy
  • Terms and Conditions

Copyright 2025 Manuals.Online. All Rights Reserved.