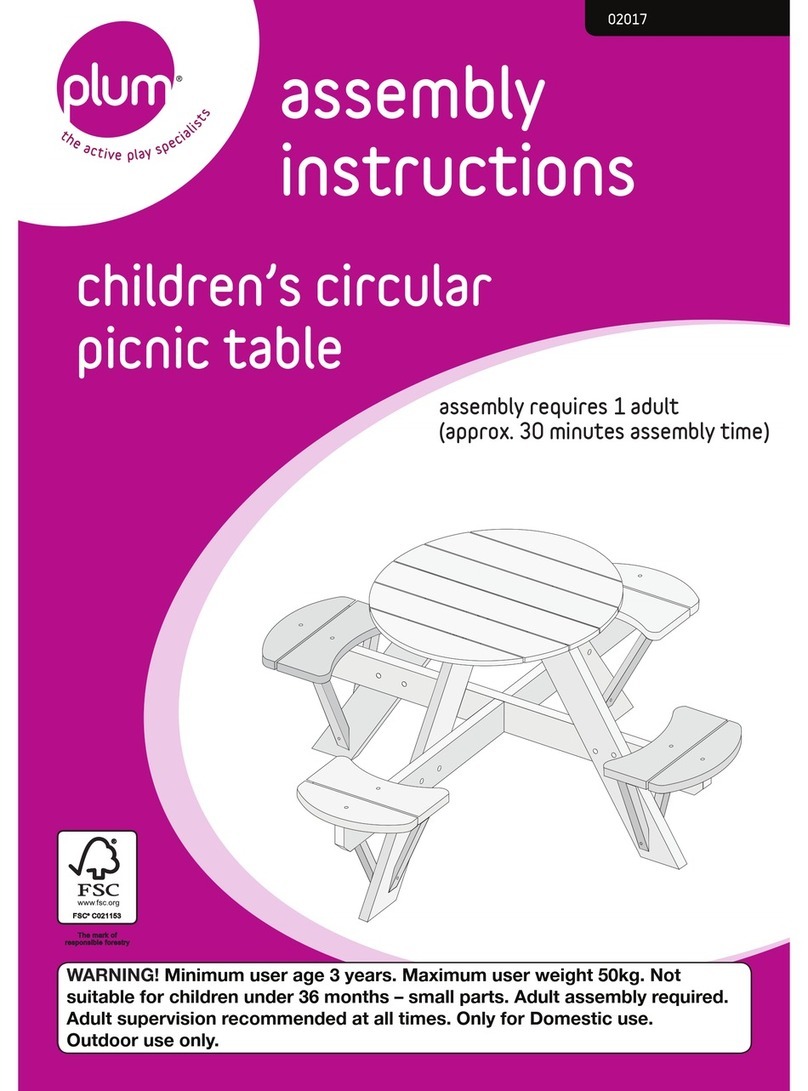
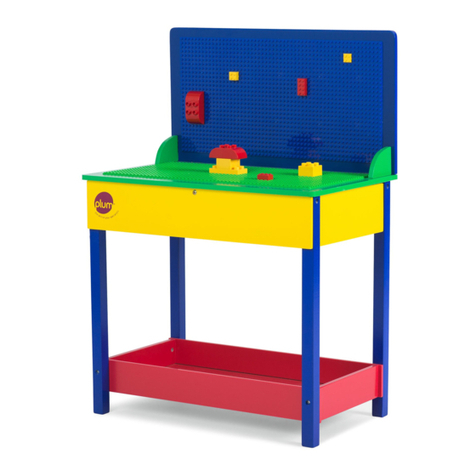
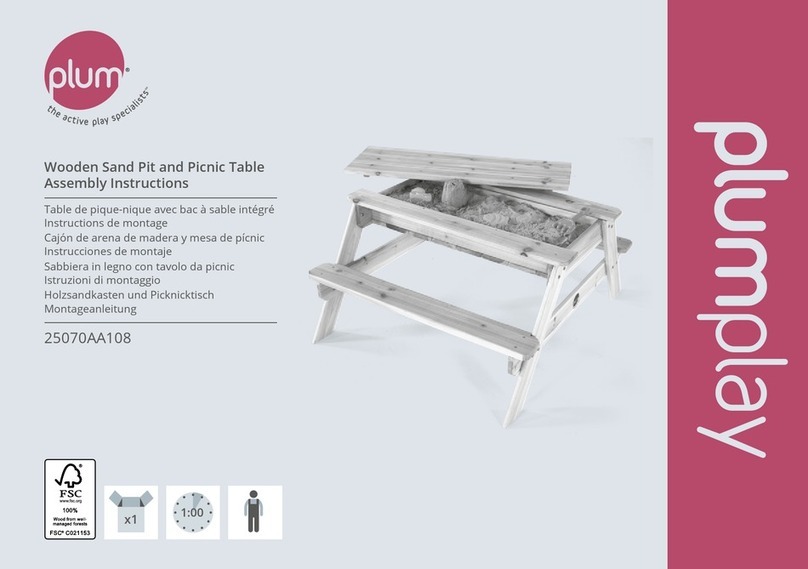
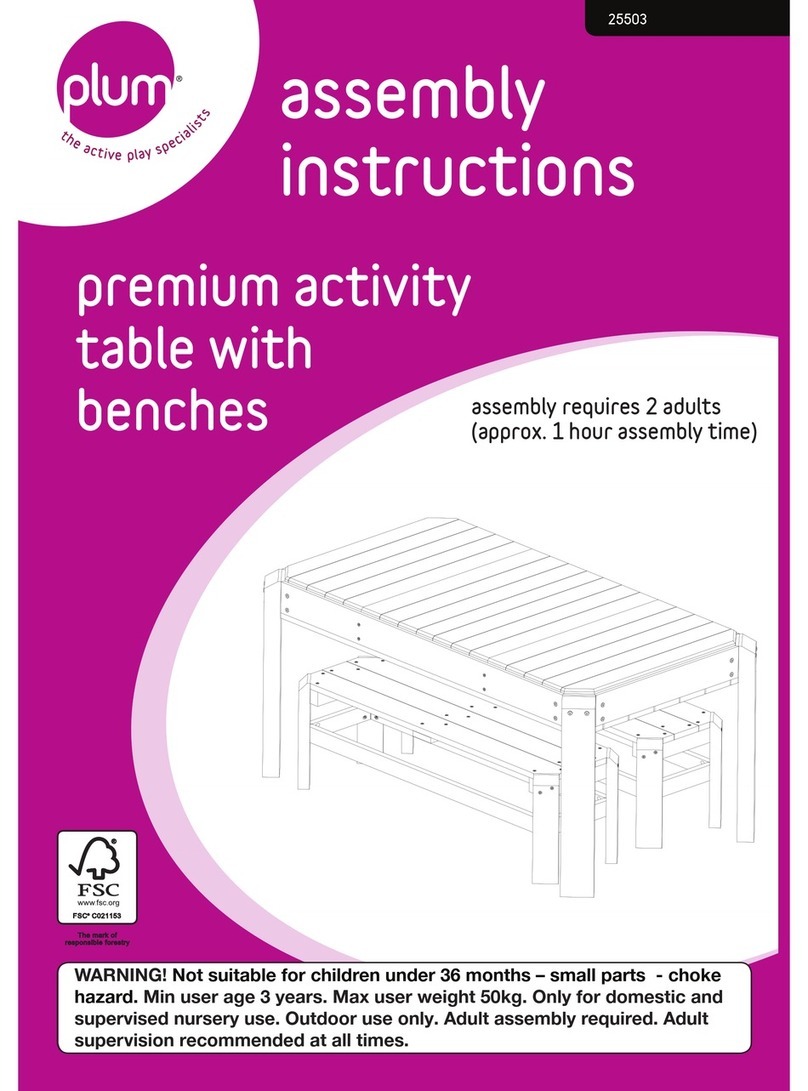
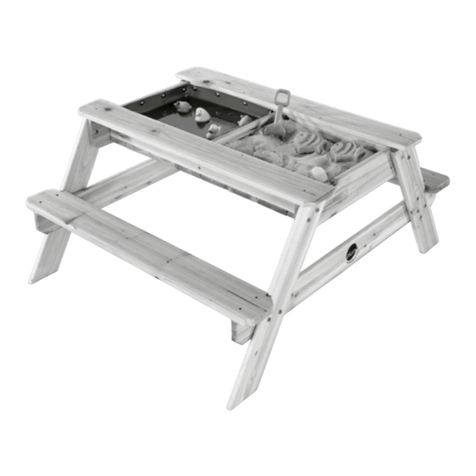
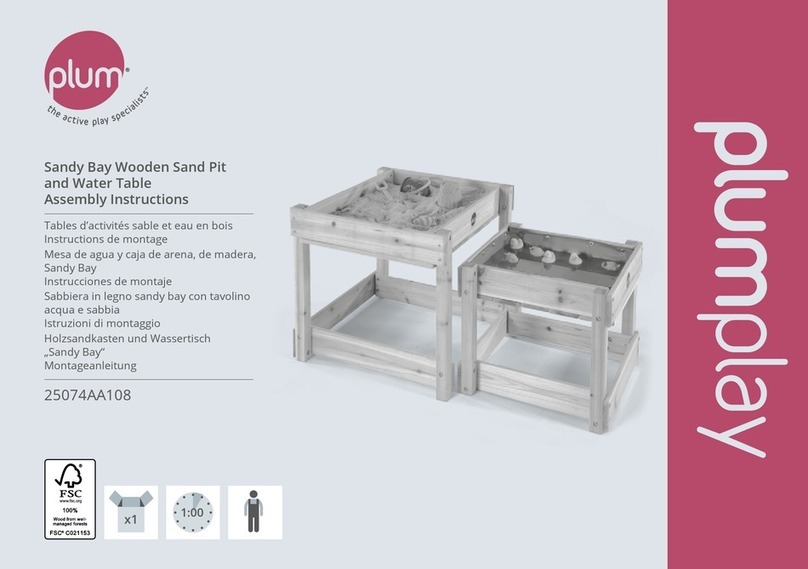
Plum sandy bay 25074 User manual

sandy bay
wooden sand
and water
table
assembly
instructions
25074
assembly requires 1 adult
(approx. 1 hour assembly time)
WARNING! Minimum user age 18 mths +. Adult assembly required.
Adult supervision recommended at all times. Only for Domestic use.
Outdoor use only.
72/V2

This product has been made from premium timber. Great care has been taken in selecting, treating and machining the
timber before it is presented to you. Timber is a natural product and as such may experience changes throughout the
course of its life. This means it may:
Develop openings (gaps, slits, apertures, cracks, splits) along the line of the grain. These openings are due to
the difference in moisture content between the internal and outer surfaces of the timber. This is to be expected,
is totally acceptable and will not affect the integral strength, life or guarantee of the product.
Warp and distort its shape. Any distortion will be slight and will not affect the safety or enjoyment of this
product.
Fade as the timber reacts with sunlight. The timber should be treated with a proprietary product to act as a
protective barrier, i.e. a water repellent, on an annual basis.
After first year of service treat product with a good quality treatment safe for children’s use.
To ensure the safety of you, the installer and your children, it is important that these instructions are read fully before
commencing the positioning and installation of this product.
Keep your sandpit safe for the children
1. Always cover the sandpit when not in use, to prevent unwanted animals from playing in the sand.
3. Before covering your sandpit, place a large object in the centre of the sand to prop up the cover.
This will allow water to drain off the cover, and prevent any rain water from "pooling" in the centre of the sand pit.
This must be checked regularly.
4. Should any water still accumulate and form a pool, please ensure that this water is removed. Standing water can
pose a danger to children.
5. Regularly check sand for impurities and any other sharp objects that may cause harm to children, including at the
beginning of the season.
6. Use washed play sand suitable for use in children's sand pits.
7. Reguarly change the sand to ensure that there is no build up of mould and to ensure that the play area is hygenic.
8. In windy and adverse weather conditions place the product in a safe area. In these conditions the product may
become a hazard.
Advisory Section
Timber Advice
Routine Maintenance
It is advised that on a regular basis (i.e. at the beginning of the season and monthly thereafter? all mian parts/fixings
Warning Adult assembly required. Choking hazard. Contains small parts prior to assembly
are checked as secure, well oiled (if metallic), have no sharp points/edges and are intact. Replace, oil and/or tighten
when necessary. Failure to do so may result in an injury or hazard. Replace defective parts immediately, for further
information contact customer services.
Remember to keep these instructions in a safe place for future reference
For warranty information please refer to our website.
w
w
w
.
p
l
u
m
p
r
o
d
u
c
t
s
.
c
o
m
2
Plum Products Ltd,
The Cliff, Middle Street
Ingham,Lincolnshire, LN1 2YQ, UK
Tel:+44 (0) 344 880 5302,
Fax: +44 (0) 152 273 0379
www.plumproducts.com
Copyright Plum Products 2013
Plum Products Australia Pty Ltd,
303/154-158 Military Road,
Neutral Bay,
NSW 2088,
Australia
Tel:02-99605500
Helpline:1800 900 161
Email:[email protected]
2. The sandpit cover is not a toy and is not intended for use by children. Always remove the cover before
allowing children to play with the sandpit
9. The sandpit should be placed on a level surface at least 2m from any structure or obstruction such as a fence, garage,
house, over hanging branches, laundry lines or electrical wires.
10. The sandpit should not be installed over concrete, asphalt or any other hard surface.

WARNINGS!
Minimum user age 18 mths +
Adult assembly required
Adult supervision recommended at all times
Only for Domestic use
Outdoor use only
keep instructions for future reference
AVERTISSEMENT !
Age minimum de l'utilisateur 18 mois +
Assemblage par un adulte nécessaire
Ne jamais laisser un enfant jouer sans surveillance
Usage domestique uniquement
Destiné à l'usage externe uniquement
N'oubliez pas de garder ces instructions dans un lieu sûr pour référence ultérieure.
ACHTUNG!
Das Mindestalter für Benutzer beträgt 18 monate +
Montage muss durch einen Erwachsenen erfolgen
Sollte nur unter unmittelbarer Aufsicht von Erwachsenen benutzt werden
Nur für den Hausgebrauch
Nur zur Nutzung im Freien geeignet
Denken Sie daran, dass Sie diese Anleitung für eine spätere Nutzung sicher aufbewahren
ATTENZIONE!
Età minima dell'utente 18 mesi
È necessario l'assemblaggio di un adulto
Si raccomanda sempre la supervisione di un adulto
Solo per uso domestico
Solo per uso esterno
Ricordarsi di conservare le presenti istruzioni in un luogo sicuro per consultazione futura
WAARSCHUWING!
Minimum leeftijd van gebruiker:18 maanden
Montage door een volwassene vereist
Toezicht van een volwassene te allen tijde aanbevolen
Alleen voor gebruik binnenshuis
Alleen voor gebruik buiten
Bewaar deze instructies op een veilige plaats zodat u ze later kunt raadplegen
AVERTENCIA
Edad mínima del usuario 18 meses
El montaje de este juguete debe llevarlo a cabo un adulto
Se recomienda en todo momento la supervisión de un adulto
Utilícese exclusivamente en el ámbito doméstico
Utilícese exclusivamente al aire libre
Recuerde conservar estas instrucciones en un lugar seguro para poderlas consultar en el futuro
VAROVÁNÍ!
Minimální věk uživatele je 18 měsíců
Vyžaduje se montáž dospělou osobou
Doporučuje se po celou dobu dozor dospělé osoby
Pouze pro domácí použití
Pouze pro venkovní použití
Nezapomeňte si uschovat tyto pokyny na bezpečném místěpro potřeby budoucích odkazů
3
p
l
u
m
p
r
o
d
u
c
t
s
.
c
o
m

UPOZORNENIE
Minimálny vek používateľa je 18 mesiace
Vyžaduje sa montáž dospelou osobou
Dozor dospelej osoby sa odporúča po celú dobu
Iba pre domáce použitie
Iba pre vonkajšie použitie
Nezabudnite si uschovaťtieto pokyny na bezpečnom mieste pre budúce použitie
OSTRZEŻENIE!
Minimalny wiek użytkownika: 18 miesięcy
Wymaga montażu przez osobędorosłą
Zalecany jest stały nadzór osoby dorosłej
Tylko do użytku domowego
Tylko do stosowania na dworze
Pamiętaj, żeby niniejsze instrukcje zachowaćw bezpiecznym miejscu na przyszłość
ADVARSEL!
Minimum brugeralder 18 måneder
Skal samles af en voksen
Bør altid anvendes under opsyn af en voksen
Kun til hjemmebrug
Kun til udendørs brug
Husk at gemme disse vejledninger på et sikkert sted for fremtidig brug.
UYARI!
Minimum kullanıcı yaşı 18 aylıktan
Bir yetişkin tarafından monte etmesi gerekir
Her zaman yetişkin gözetimi önerilir
Yalnızca ev kullanımı için
Yalnızca dışmekan kullanımı
İleride bakabilmek için bu açıklamaları güvenli bir yerde saklamayı unutmayın
!ﺭﻳﺫﺣﺗ
18ﺭﻭﻬﺷ ﺭﻣﻌﻟ ﻰﻧﺩﻷﺍ ﺩﺣﻟﺍ
ﻎﻟﺎﺑ ﺹﺧﺷ ﺯﺎﻬﺟﻟﺍ ءﺍﺯﺟﺃ ﺏﻳﻛﺭﺗﻟ ﺏﻠﻁﺗﻳ
.ﺯﺎﻬﺟﻟﺍ ﻡﺍﺩﺧﺗﺳﺍ ﺩﻧﻋ ﻥﺳﻟﺍ ﺭﺎﺑﻛ ﻥﻣ ﻡﺋﺍﺩ ﻑﺍﺭﺷﺇ ﺩﻭﺟﻭ ﺓﺭﻭﺭﺿﺑ ﺢﺻﻧﻳ
ﻁﻘﻓ ﻲﻠﺧﺍﺩﻟﺍ ﻡﺍﺩﺧﺗﺳﻼﻟ
ﻁﻘﻓ ﻕﻠﻁﻟﺍ ءﺍﻭﻬﻟﺍ ﻲﻓ ﻡﺍﺩﺧﺗﺳﻼﻟ
ﺍﺣﺭﺹ ﻋﻠﻰ ﺗﺫﻛﺭ ﺿﺭﻭﺭﺓ ﺍﻻﺣﺗﻔﺎﻅ ﺑﻬﺫﻩ ﺍﻟﺗﻌﻠﻳﻣﺎﺕ ﻓﻲ ﻣﻛﺎﻥ ﺁﻣﻥ ﻟﻠﺭﺟﻭﻉ ﺇﻟﻳﻬﺎ ﻣﺳﺗﻘﺑﻼً
FIGYELMEZTETÉS!
Minimális felhasználók kora 18 hónapok
Felnőtt összeszerelése szükséges
Minden alkalommal egy felnőtt felügyelete mellett ajánlott
Csak otthoni használatra
Kültéri használatra
Ne feledje, hogy ezeket az utasításokat biztonságos helyen tartsa későbbi használat esetére
w
w
w
.
p
l
u
m
p
r
o
d
u
c
t
s
.
c
o
m
4

PARTS LIST
PART ID DIMENSIONS WITH GRAPHIC QUANTITY TOOLS
REQUIRED:
POZI
(PZ2)
Sand not included:
2D1603
5
w
w
w
.
p
l
u
m
p
r
o
d
u
c
t
s
.
c
o
m
2D1614
2D1615
6D1516
2D1604
2D1521
3D1525
4D1526
30SH:M6x50mm 50mm
30SH: M6x17mm 2ALLEN KEY
17mm
4D1520
5D1518
2D1549
74M4x35mm 35mm
105 x 17.5 x 630mm
44 x 44 x 600mm
44 x 44 x 600mm
105 x 17.5 x 630mm
105 x 17.5 x 540mm
120 x 17.5 x 540mm
105 x 17.5 x 497mm
44 x 44 x 467.5mm
105 x 17.5 x 497mm
100 x 17.5 x 407mm
115 x 17.5 x 407mm
16
M5 x 16mm
(PAN HEAD) 16mm
16WASHER
1D1552
1D1551
1D1553
50%
22Kg
100%
44Kg

x2
D1521
1
2
w
w
w
.
p
l
u
m
p
r
o
d
u
c
t
s
.
c
o
m
6
44 x 44 x 600mm
!
!
!
!!
!
x1D1603
105 x 17.5 x 630mm
x2SH:M6x50mm
50mm
x2SH: M6x17mm
17mm
x2
D1549 44 x 44 x 600mm
x1D1603
105 x 17.5 x 630mm
x2SH:M6x50mm
50mm
x2SH: M6x17mm
17mm
90°90°
90°90°

4
7
w
w
w
.
p
l
u
m
p
r
o
d
u
c
t
s
.
c
o
m
x2
D1518
3105 x 17.5 x 630mm
x4SH:M6x50mm
50mm
x4SH: M6x17mm
17mm
x3
D1518
105 x 17.5 x 630mm
x6SH:M6x50mm
50mm
x6SH: M6x17mm
17mm

5
6
w
w
w
.
p
l
u
m
p
r
o
d
u
c
t
s
.
c
o
m
8
x2
D1614
D1614
D1614
120 x 17.5 x 540mm
x24M4x35mm
35mm
x14M4x35mm
35mm
x4
D1526
105 x 17.5 x 540mm

7
8
9
w
w
w
.
p
l
u
m
p
r
o
d
u
c
t
s
.
c
o
m
x2
D1520 44 x 44 x 467.5mm
x1D1604
105 x 17.5 x 497mm
x2SH:M6x50mm
50mm
x2SH: M6x17mm
17mm
90°90°
!
!
!
!
x2
D1520 44 x 44 x 467.5mm
x1D1604
105 x 17.5 x 497mm
x2SH:M6x50mm
50mm
x2SH: M6x17mm
17mm
90°90°
!
!
!
!

9
10
w
w
w
.
p
l
u
m
p
r
o
d
u
c
t
s
.
c
o
m
10
x4
D1516
105 x 17.5 x 497mm
x8SH:M6x25mm
50mm
x8SH: M6x17mm
17mm
x2
D1516
105 x 17.5 x 497mm
x4SH:M6x50mm
50mm
x4SH: M6x17mm
17mm

11
12
11
w
w
w
.
p
l
u
m
p
r
o
d
u
c
t
s
.
c
o
m
x16M4x35mm
35mm
x2
D1615
115 x 17.5 x 407mm
x20M4x35mm
35mm
x3
D1525
100 x 17.5 x 407mm
D1615
D1615

13
14
w
w
w
.
p
l
u
m
p
r
o
d
u
c
t
s
.
c
o
m
12
x1D1551
x16M5 x 16mm (PAN HEAD)
16mm
x16WASHER x1D1552

13
w
w
w
.
p
l
u
m
p
r
o
d
u
c
t
s
.
c
o
m
15 x1D1553
Thank you for purchasing a Plum Product. Product safety and customer satisfaction are our priorities and
we value your opinion. If you could spare two minutes to complete the customer feedback survey at
http://www.plumproducts.com/feedback we would appreciate it.

This manual suits for next models
1
Table of contents
Other Plum Indoor Furnishing manuals
Popular Indoor Furnishing manuals by other brands

Danze
Danze Cirtangular-Knightsbridge DF022224 installation instructions

MAD
MAD delta G50T Assembly instructions

Sensea
Sensea NEO3LINE FRAME 17 C 30 32 1N Assembly, Use, Maintenance Manual

Royalcraft
Royalcraft Berlin Assembly instructions

BOX15
BOX15 EVOLUTION XL 600 411/78.1620.25 Assembly instructions

Amisco
Amisco 14141 quick guide

Cheyenne Products
Cheyenne Products BH18-084-099-69 Assembly instructions

Wren Kitchens
Wren Kitchens 200 Tall Assembly guide

Argos
Argos Capella Assembly instructions

OfficeSource
OfficeSource PL102 Assembly instructions

Bretford
Bretford TechGuard Connect installation guide

Coaster
Coaster 301061KW Assembly instructions