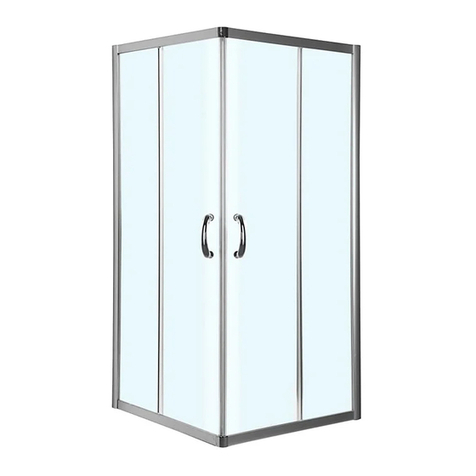
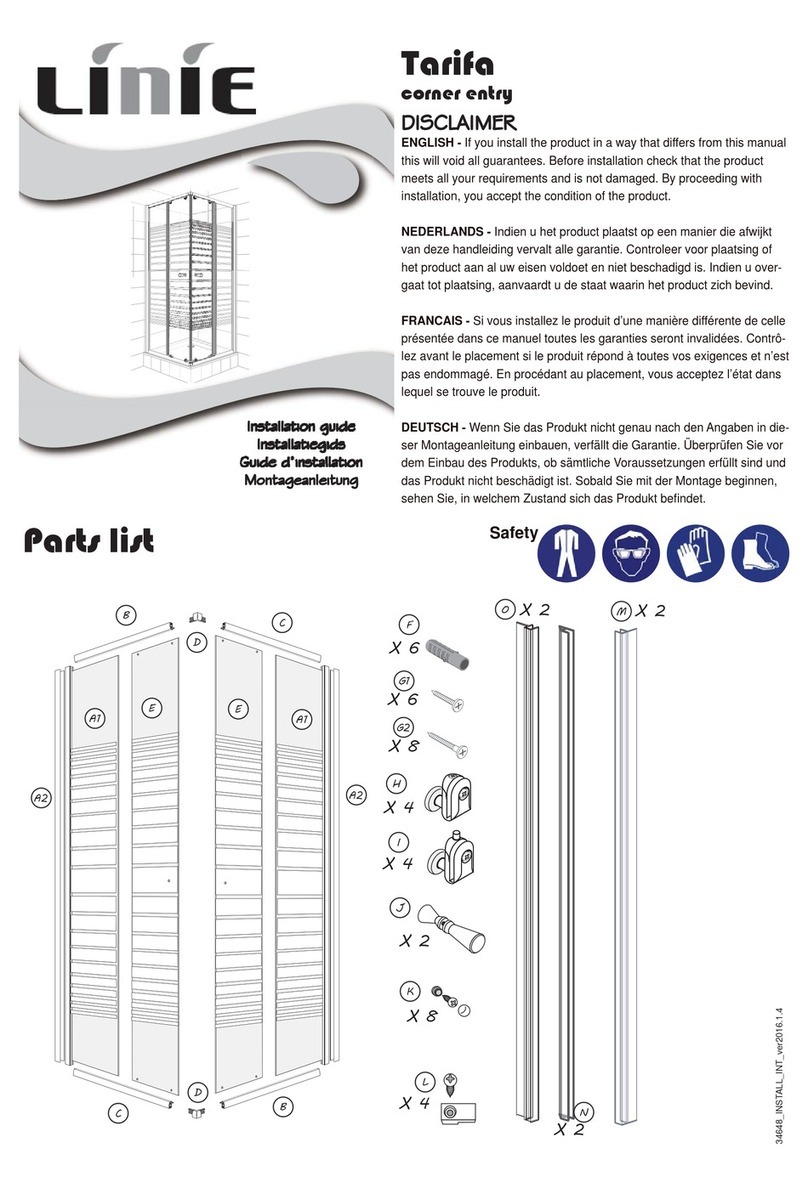
Plumbworld Wet Room User manual

Wet Room
ASSEMBLY GUIDE
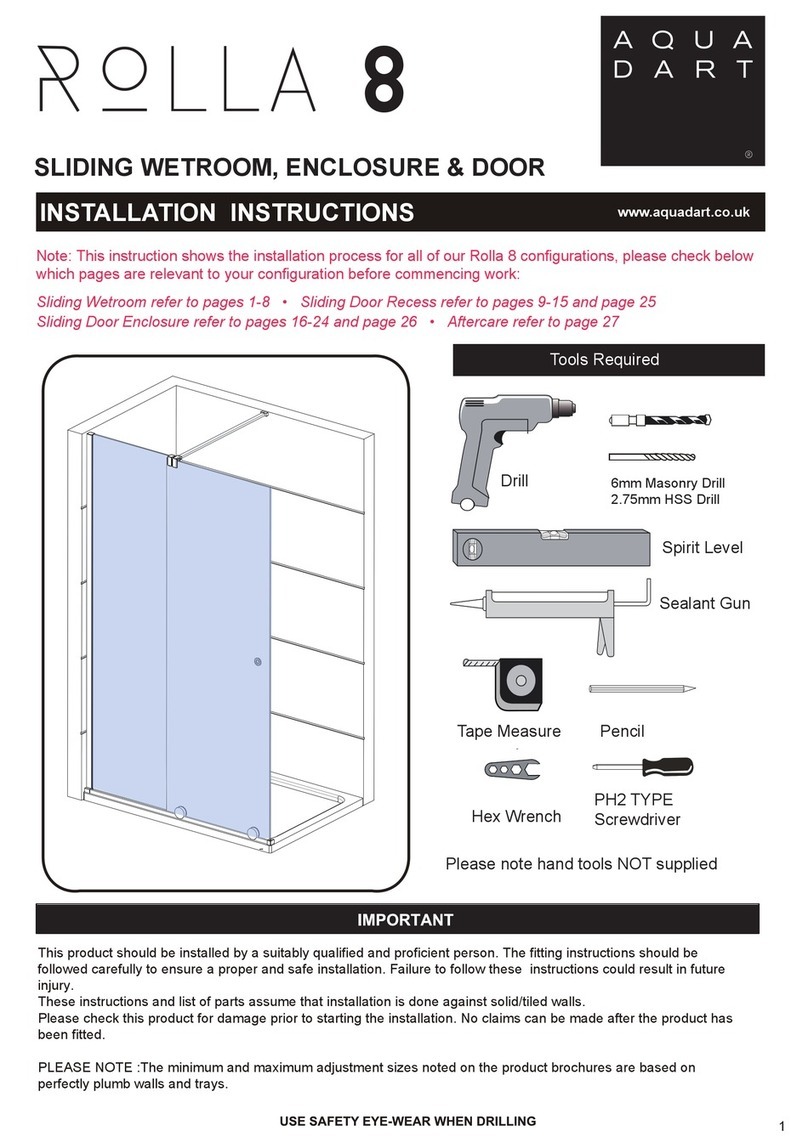
Please note hand tools NOT supplied.
PH2 TYPE
Screwdriver
7mm Masonry Drill
3.2mm HSS Drill
Drill Tape Measure Sealant Gun
Spirit Level
Pencil
1.. The cubicle can be constructed either way up, for left or right hand opening.
2.. These instruction and list of parts assume that installation is done against solid or tiled walls. Hollow or
“Stud - partition” walls will require alternatie fixings. Please consult a hardware supplier for the correct type.
It may also be necessary to consult your tiling supplier about the correct method for drilling your tiles.
3.. Please check this product for damage prior to starting the installation. No claims can be made after the
products has been fitted, or after fitting has commenced.
4.. This is a 2 person installation.
5.. Please note the minimum and maximum adjustment for this product are based on perfectly plumb walls.
EXPOLDED VIEW AND PARTS LIST
1
3
4
5
6
7
2
11
12
10
16
13
14
15
8/9
SN Code Descripon Qty Image SN Code Descripon Qty Image
1 N/M Glass Panel 1 9 S1PS04-R Wall Channel Cap RH 1
2 ALU8654 Wall channel 1 10 S1PS05 Upright Profile Cap 1
3 S1HW35-1 1000mm Square Rail 1 11 S1PS07 Screw Cover Cup 4
4 S1HW35-2 Glass Clamp 1 12 S1PS08 Screw Cover Cap 4
5 S1HW35-3 Rail Sleeve 2 13 SBLTL001 Wall Plug Ø6 5
6 S1HW35-4 Wall Fixing 1 14 SBLTL003 Tapping Screw ST3.5x12 4
7 S1HW35-5 Rail Joining With Gasket 1 15 SBLTL013 Tapping Screw ST4x30 5
8 S1PS04-L Wall Channel Cap LH 1 16 SBLTL019 M5 Allen Hex Key 1
Part List

Step F
Fix the wall channel with screw cover cup S1PS08 and screw S1SW02 to wall.
Step G
Install the top and bottom roller S1HW02/S1HW03 to the top and bottom holes
of the moving panel. See G.1 and G.3. Slot rollers into the top profile and then clip
in the bottom rollers as shown in G.4, G.5 and G.6.
Step H
Drill 3 equally spaced holes with 3mm drill bit through the wall profile and frame.
Fix the frame to the wall profile with screw cover cup S1PS08 and screw S1SW03.
Then put the screw cover cap S1PS07 on.
Step I
Attach the magnetic strip 308GB-6 to the front of the moving panels. Adjust the
magnetic strip to ensure there is no gaps when the door is closed.
Attach the Fixed panel vertical seal 304B-1 to the fixed panel.
Attach the Moving panel vertical seal 304-2 to the end of moving panel.
Step J
Assemble the handle S1WH01 onto moving panel.
Note: To ensure the correct rolling action and the door closes on the profile evenly,
adjust the roller by adjusting the screw clockwise or anticlockwise as shown in G.2
G.1
A
Step A
Position the wall channel with the glass panel, support
arm S1HW04-A and the wall fixing A S1HW04-B back on
the floor ensure the wall channel is plumb, and the
support arm is level.
Step B
Mark the position of the holes in the wall. Do this by
marking the wall with a pencil through the pre-drilled
holes in the wall profile, and the position of the wall
fixing A S1HW04-B. Left the wall channel and glass
panel, drill with 6mm masonry drill bit and insert wall
plug S1PS12. Fix the wall channel with screw cover cup
S1PS08 and screw S1SW02 to wall. And also fix the wall
fixing A S1HW04-B to the wall.
Push the bottom seal H-8 on the bottom of the glass
panel then insert the glass panel into the wall channel.
Drill 3 equally spaced holes with 3mm drill bit through
the wall profile and glass panel. Fix the glass panel to the
wall channel with screw cover cup S1PS08 and screw
S1SW03. Then put the screw cover caps S1SP07 on.
Step C
Put the support arm on the top of the glass and tighten
all the grub screws as shown.
Step A
Position the wall channel (1 x ALU8654)ensuring the wall profile is plumb,
mark the position of the holes in the wall. Do this by marking the wall with
a pencil through the pre-drilled holes in the wall channel. Drill with 6mm
masonry drill bit and insert the wall plugs (4 x SBLTL001). Then fix the wall
channel using the screws (4 x SBLTL013)to wall.
Step B
Drill 4 equally spaced holes with 3mm drill bit through the wall profile
and upright profile. Fix them with screw cover cups (4 x S1PS07) and
screws (4 x SBLTL003). Then put the screw cover caps (4 x S1PS08) on.
13mm
B.1
A.1 A.2
A.3 A.4
B.2 B.3

C
Step C
Place the support arm set S1HW35 on the glass ensuring the rail is horizontal.
You may need to cut the rail in suitable length. Mark the position of the glass
clamp (S1HW35-2) and the wall fixing (S1HW35-4). Remove the rail, tighten
the glass clamp using the screw driver. Remove the wall fixing and drill with
6mm masonry drill bit and insert the wall plugs (SBLTL001). Then fix the wall
fixing using the screws (SBLTL013)to wall.
Place the rail with two rail sleeves (S1HW35-3) as C.5 shown, adjust the rail in suitable position then tighten
the grub screws using the M5 Allen Hex Key (SBLTL019).
C.1 C.2
C.3 C.4
C.5 C.6

Step E
Applying Silicone Sealant And Cleaning
Seal from the top of the wall channel to the bottom on the INSIDE and Outside between the wall channel and the wall.
Wash down with clean warm water and a so clean cloth or sponge. Please do not use bleach, alkaline or acid-based,
aggressive or abrasive cleaning products.
24 HRS
DO NOT USE THE
ENCLOSURE FOR
24 HOURS AFTER
SEALING
BLEACH
WHITE
SPIRIT
D
Step D
Please the Wall Channel Cap (S1PS04L/R)
and Upright Profile Cap (S1PS05) on.
E

Check out our full range of Shower Enclosures
Quadrant Shower Enclosures
Corner Entry Shower Enclosures
Walk in Shower Enclosures
Sliding Shower Doors
Bifold Shower Doors
Pivot Shower Doors
Hinged Shower Doors
Shower Screens
From Top Brands
Coram Shower Enclosures
Mira Shower Enclosures
Hydrolux Shower Enclosures
Diamond Shower Enclosures
With quality shower trays to match your enclosure
Square Shower Trays
Rectangular Shower Trays
Quadrant Shower Trays
Coram Shower Trays
Mira Flight Shower Trays
Popular Shower Cabin manuals by other brands
US HORIZON
US HORIZON SORRENTO Series Assembly instructions
Arblu
Arblu PERSEO ANGOLO Q-R 2SL+1LF Assembling instructions
ELEGANT
ELEGANT SPR870 quick start guide

RIHO
RIHO SCANDIC NXT X101 installation manual
Aquadart
Aquadart Rolla 8 installation instructions
Arblu
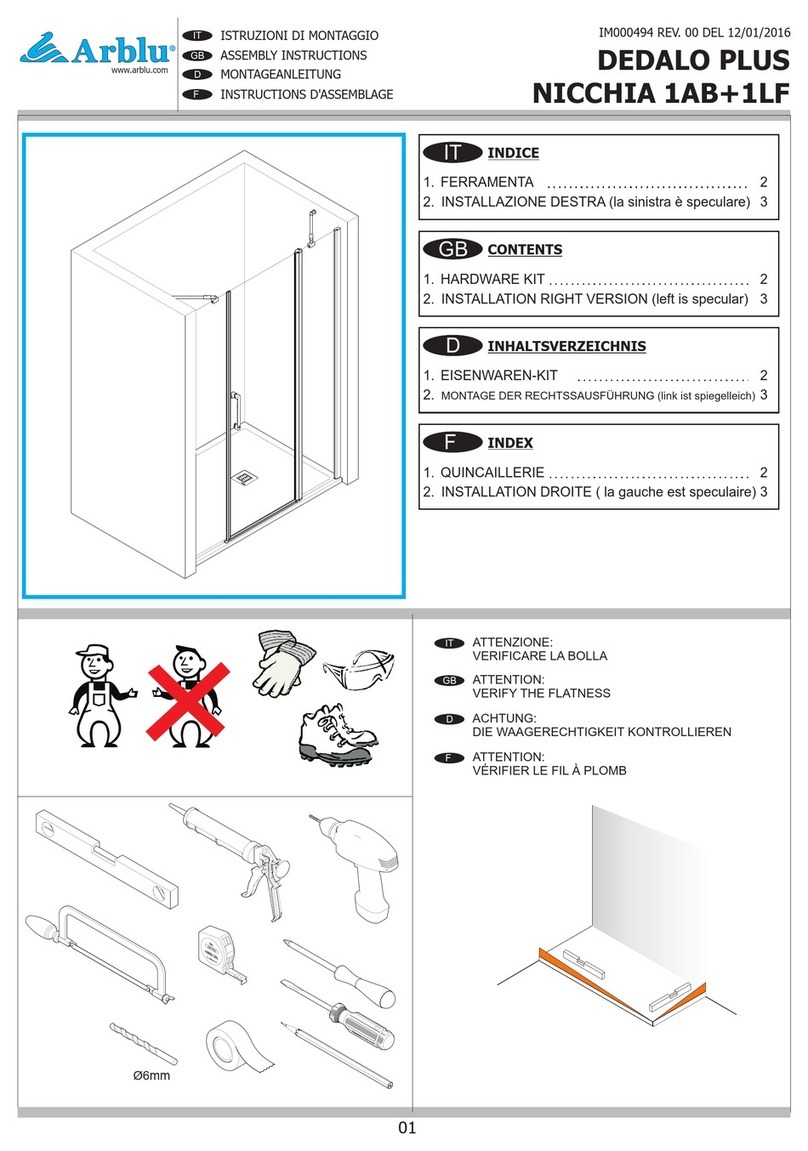
Arblu DEDALO PLUS NICCHIA 1AB+1LF Assembly instructions

