PNI V6270 User manual
PNI V6270
Car Multimedia Player
USER MANUAL

EN
2
1. IInstallation instructions
This device is meant to work with 12V DC power.
Before installing it, make sure your vehicle is running at 12V. The negative (-) terminal of the battery must be
disconnected before connecting the device to eliminate the risk of shortcircuit.
Connect the power and audio wires as explained in the connection diagram below.
Incorrect connection may cause the device to operate incorrectly or even could damage the vehicle's
electrical system.
Observe the polarity when connecting the speakers to the device according to the connection diagram. Keep
enough ventilation space around the device.
Obstruction of air circulation can cause overheating or fire.
After completing the installation and reconnection of the battery, press the reset button with a sharp object
such as a needle.
2. Connection diagram
3. The remote control
Basic operation
1. On/off key
2. Mute
3. Up
4. Menu
5. Mode
6. Towards Left
7. Select source USB/SD
8. Previous
9. Band selection/channel scan
10. Volum -
11. Towards Right
12. OK/ play/ pause
13. Next
14. Down
15. Volum +
16. Selection key
17. Accept call
18. Reject call
19. Numeric keys
Point the remote control to the IR sensor. Do
not expose the remote control sensor to
strong light. (eg strong sun)
Do not install any batteries other than
CR2025.
12 3 4
5
7
9
6
8
10
11
13
15
12
14
16
17
18
19

EN
3
4. Main menu
Main functions: Radio, USB, SD, Bluetooth, AUX in, AV in. Click the icon for each feature you want to
access.
Whatever the mode, press “ ” to access the main menu.
Operations descriptions:
a) “ “ Shut device off m) “ ” Background image selection.
b) “ ” Volume control.n) “ ” Sistem settings.
c) “ ” Adjust screen brightness (5 levels)
/ / and screen shut off.o) “ ” Audio settings.
d) “ ” Back.p) “ ” Display settings.
e) “ ” Forward.q) “ ” Touch screen calibration.
f) “ ” Radio function.r) “ ” Bluetooth settings.
g) “ ” USB function;
If you select this function and no USB is inserted,
it will display "NO USB".
s) “ ” Date/Time settings.
h) “ ” SD function;
If this function is selected and no SD card is
inserted, it will display "NO SD”.
t) “ ” Set steering wheel controls.
i) “ ” Bluetooth function u) “ ” Multimedia image rate adjustment.
j) “ ” Audio playback via Bluetooth.v) “ ” Keys background light setting.
k) “ ” AV in function.w) “ ” Reset.
l) “ ” Mirrorlink function.x) “ ” System version.
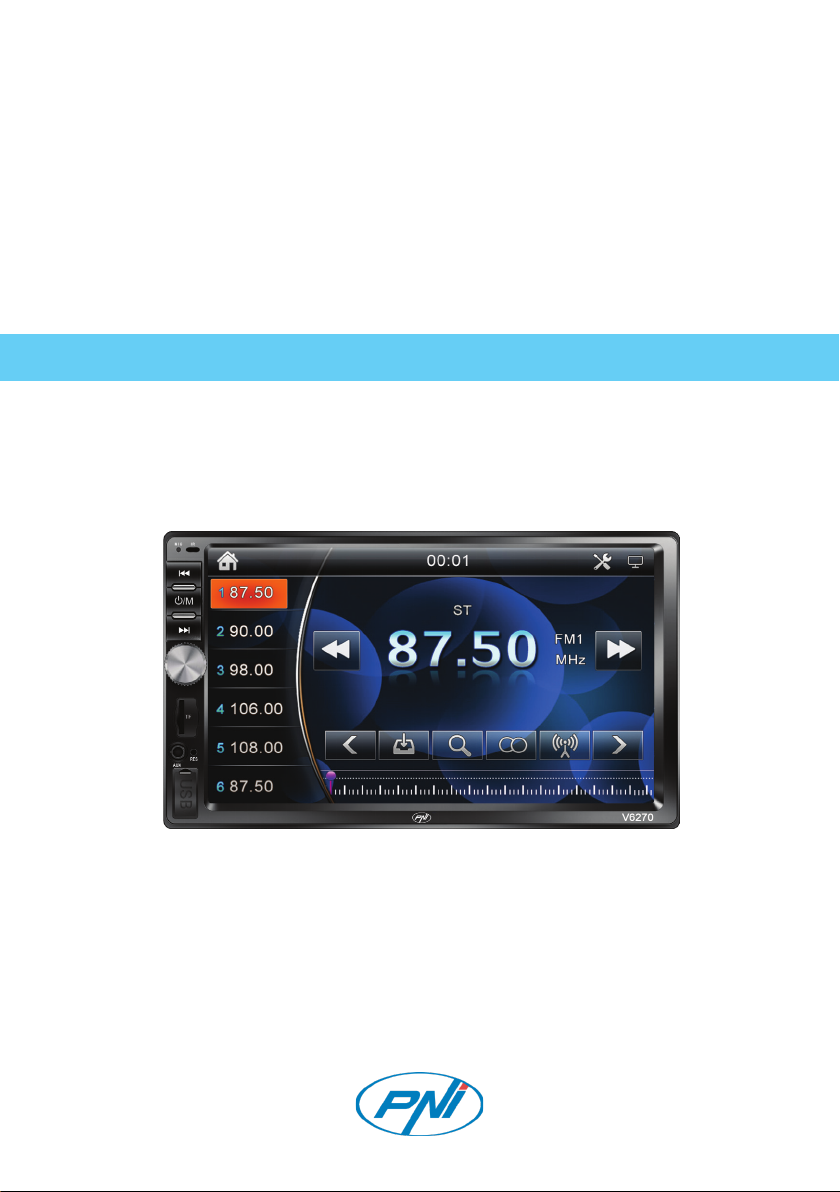
5. Radio
Press “ ” in main menu to access Radio function.
EN
4
Operation description:
a) Press “ ” to access the main menu.h) “ ” Linear frequency indicator
of the radio station.
b) Press “ ” for volume adjustment.i) Press “ ” to adjust the radio frequency
c) “ ” Turn o the screen. j) Press “ ” to adjust the radio frequency
d) “ ”
Press a button from 1 to 6 to listen to a saved
radio station (after you have finished scanning and
auto-memorizing)
k) Press “ ” for automatic scanning and
memory
e) Press “ ” for backward scanning l) Press “ ” to search for radio stations.
f) Press “ ” fro forward scanning m) “ ” Switch “ST” mode stereo or “MONO”
g) “ ” Band switch (FM1/FM2/FM3, AM1/
AM2)
n) “ ” Select radio station reception mode
“DX”(weak signal)or “LOC”(strong signal)
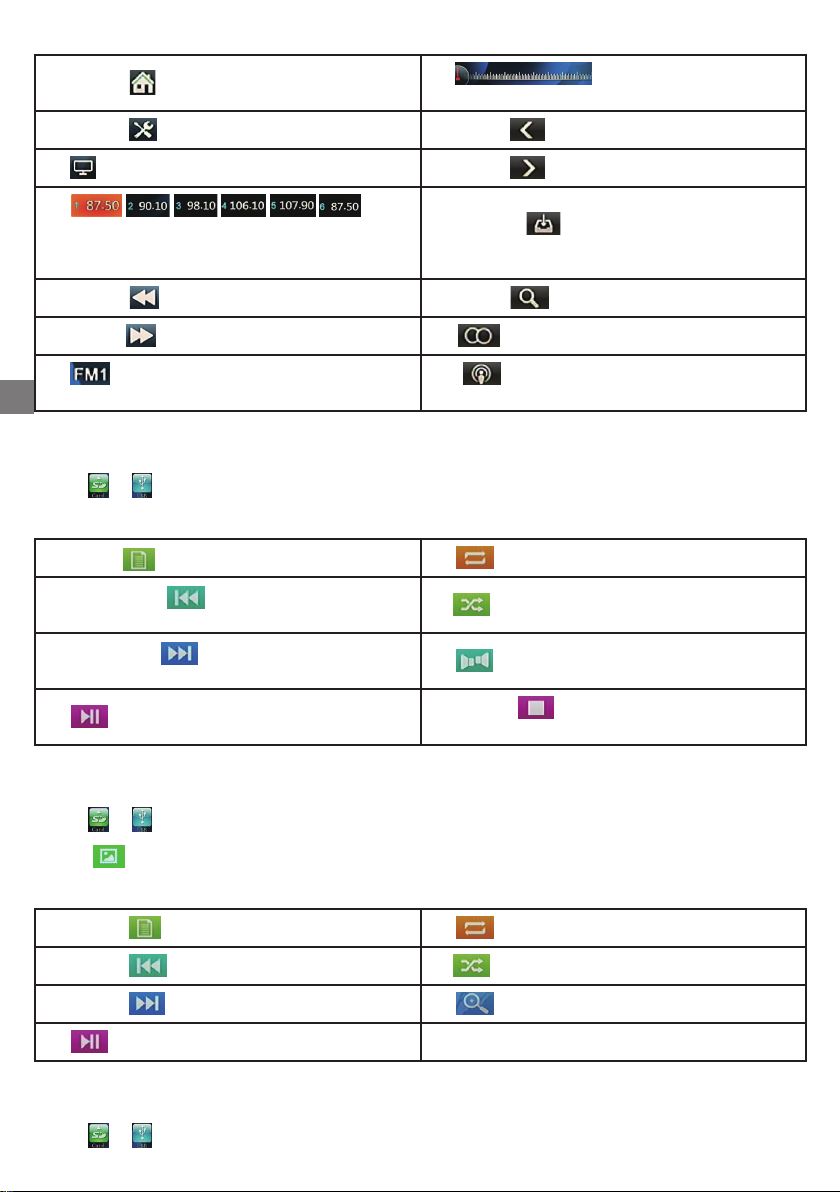
6. Audio playback from USB / SD
Press “ ” “ ” for audio playback from USB or SD card (supports MP3 and WMA formats).
Operations description:
a) Press “ ” for playback list.e) “ ” Repeat mode.
b) Briefly press “ ” for the previous song,
(FR×2/×4/×8/×16) Long press to fast backward f) “ ” Shuffle playback.
c) Briefly press “ ” for the next song,
(FF×2/×4/×8/×16) Long press to fast forward g) “ ” Audio channel selection.
d) “ ” Pause/Play.h) Press “ ” to stop playback and return
to playback list.
7. Playback images from SD / USB
Press “ ” “ ” to view images from USB or SD card.
Press “ ” to display the list of images, then click on the image you want to view.
Operations descriptions:
a) Press “ ” to display the list of images.e) “ ” Select repeat mode.
b) Press “ ” for previous image.f) “ ” Shuffle playback.
c) Press “ ” for next image g) “ ” Zoom in/Zoom out.
d) “ ” Pause/ Start image playback.
8. Video playback from SD / USB
Press “ ” “ ” to view video from USB or SD card.

EN
5
Press “ ” to display the list of videos, then tap the desired clip to play.
Operations description:
a) Press “ ” for playback list.g) “ ” Shuffle playback.
b)
Briefly press “ ” for previous movie, Long press
for fast backward (FR×2/×4/×8/×16). h) “ ” Zoom in/Zoom out.
c) Briefly press “ ” for next movie, Long press
for fast forward (FR×2/×4/×8/×16). i) “ ” Audio channel selection.
d) “ ” Pause/Playback.j) “ ” Slow-motion playback.
e) Press “ ”to stop playback and return to
playback list.k) “ ”Ssubtitle.
f) “ ” Select repeat mode.l) “ ” Display keyboard
9. Bluetooth
Press “ ” or “ ” in the main menu to access the Bluetooth feature.
Operations description:
(1) Dial via Bluetooth
Press the keys from 0 to 9 to form a phone number
and then press “ ” to call
Press “ ” to delete the selected numbers.

EN
6
(2) Query call register via bluetooth
a) “ ” Incoming calls.
b) “ ” Outgoing calls.
c) “ ” Missed calls.
d) “ ” Download call register from phone
(3) Query phonebook via bluetooth
Press “ ” to download the phonebook
from your phone.
Press one record to make a call
”/ “ ” to browse the phonebook
Press “ .
Press “ ” to display the keyboard and search
for contact by name
(4) Music playback via Bluetooth
Press “
Press “
Press “
” to play the previous file.
” for pause or play.
” to play next file.
(5) Bluetooth device connection
When a Bluetooth device is found, it will be
displayed as shown in the image.
When no device is detected, it will display
"No device connection".
10. AV IN function
Press “ ” f or external audio/video playback

EN
7
11. Mirrorlink function
Press“ ” to access MirrorLink.
Connect the phone through the USB cable to your device.
(1). Activate the developer mode in your phone settings and enable debugging.
(2). Scan the QR code on the screen to download "AutoLink" (Not required for iPhone phones). Android
phones also need Bluetooth connectivity to play audio.
After connecting your phone, you will be able to see the following interface:
a) “ ” Volume control. d) “ ” Sceen shut down.
b) “ ”Disable mirrorlink. e) “ ” Back to main screen
c) “ ” Back.f) “ ” Screen rotation
12. Background image selection
Press “ ” to change the background image of the device.
13. System settings
Press “ ” for system settings.
Operations description:
a) “ ” Radio reception selection
(according to the country of use).
e) “ ” Enable/Disable brake detection
b) “ ” Menu language.f) “ ” Enable/Disable strong bass.
c) “ ” Enable/Disable rearview camera.g) “ ”Enable/Disable screen touch sound
d) “ ” Enable/Disable headlamp lights detection.

EN
8
14. Audio settings
Press “ ” for audio settings.
a) Press “” to adjust the sound equalizer (CLASSIC, ROCK, POP, JAZZ, ELECTRIC,
CUSTOM).
b) “ ” Adjust the acoustic center.
c) “ ” Enable/Disable strong sound.
15. Display settings
Press “ ” for display setttings
a) Press “” to select the brightness level
(standard, bright, medium, low, manual).
b) Press “ ” for image settings
(brightness, contrast, hue, saturation, sharpness).
16. Touch Screen calibration
” for the touch accuracy.Press “ ” and follow the instructions, then long press “
Apoi apasati pentru memorarea calibrarii.
17. Bluetooth settings
Press “ ” for Bluettoth settings.
Operation desription:
a) “ ” Bluetooth ON/OFF. e) “ ”Enable/Disable call rejection
b) “ ” Change bluetooth name.f) “ ”Enable/Disable call log download.
c) “ ” Change your login password. g) “ ”Enable/Disable phonebook download
d) “ ”Enable/Disable automatic connection.h) “ ” Enable/Disable call volume.

EN
9
18. Date/Time settings
Press “ ” to set the date and time (year / month / day / hour / minute).
a) Press “ ”to select the date display mode.
b) Press “ ” for date format (12 or 24 hours).
c) Press “ ” for date and time setting.
19. Set up steering wheel controls
Press “ ” for steering wheel controls.
a) “ ” Enable/Disable steering wheel controls.
b) “ ” Learning steering wheel controls (learning way: long press steering wheel button, click the learning
button in main unit screen, after learning, click “√” to save it).
20. Screen aspect ratio
Press “ ” to set screen aspect ration into 4:3 or 16:9.
21. Keys backlight adjust
Press “ ” to adjust the color and key illumination.
EN
10
a) Press “ ” for lighting intensity adjustment.
b) “
c) “
” Turn on / off multicolor lighting.
” Automatic illumination with alternating colors.
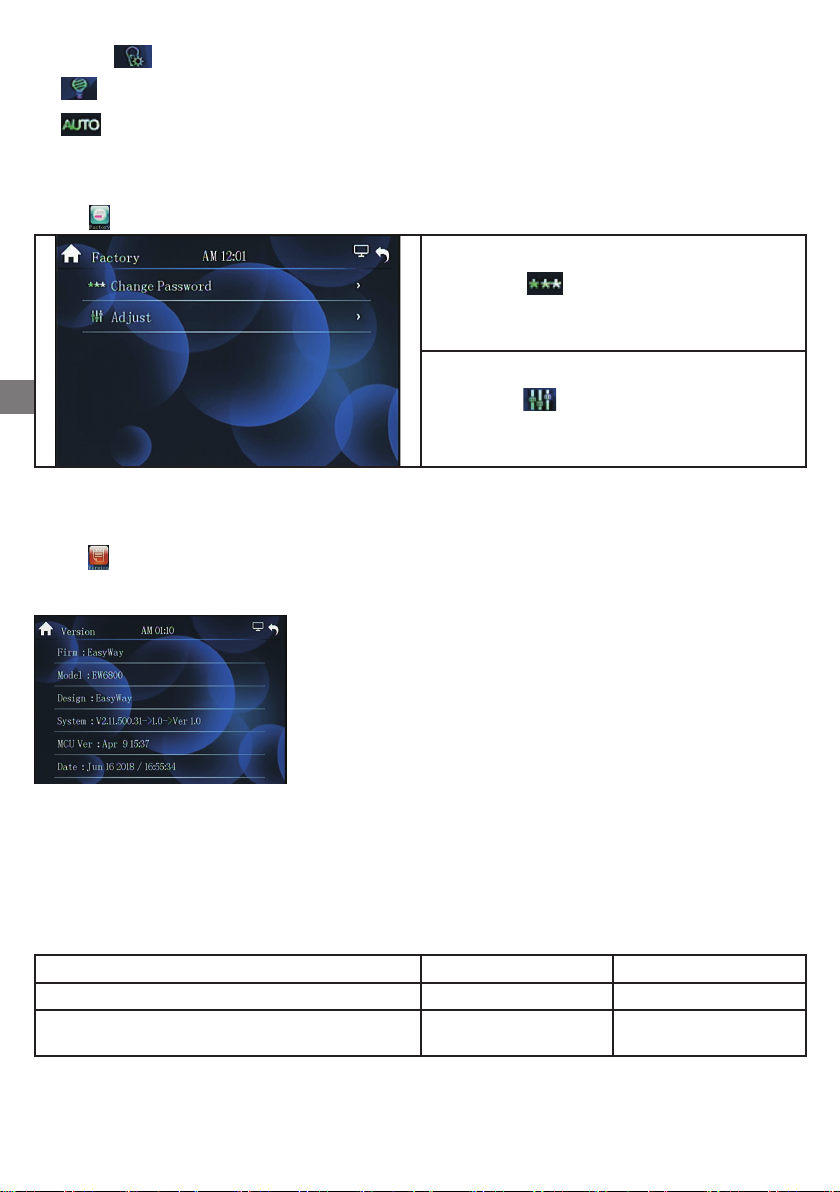
22. Reset to factory default
Press “ ” for factory settings
a) Press “ ”to change the password for
factory reset
b) Press “ ” to reset to factory default
(default password: 123456)
23. Vericare versiune rmware
Press “ ” to check the firmware version.
Versions may vary, depending on the production lot. The version in the manual is just one example.
24. Supported Audio/Video formats
This list only state that this unit support such kind of format, it doesn’t state that all of the les can be
supported, only for reference.
Audio Bit Rate Sampling Rate
MP3 16kbps ~ 320kbps 8K ~ 48KHz
WMA7, WMA8, WMA9 (only CBR, VBR)
(only 353) 16kbps ~ 320kbps 8K ~ 48KHz
Table of contents
Other PNI Car Video System manuals


