Polito Giotto Quick setup guide

OPERATIONS & INFORMATION MANUAL

CONTENTS
02
04
06
08
09
10
11
12
13
16
Assemble Oven
Important Warning
What’s In The Box?
How To Set Up
How To Cure Your Oven
How To Care For Your Oven
Frequently Asked Questions
Cooking Guide
Recipe
Warranty


PAGE 02
LUGS UNDER OVEN
01 ASSEMBLE OVEN
Please call on 0419151005
for further instructions
1 Bolts & washer
2 Left/Right Side 72mm approx
3 Front 80mm to the centre approx
Assemble frame by following the letters on
each corner, use a rubber mullet and allen key
to tighten bolts. Please ensure frame is xed
securely by using bolts provided.
Lift oven onto the stand and locate the lugs to the
threaded holes under the base of the oven and
using Allen key to screw nuts. Locate oven approx
80 mm from the centre of the front, 72mm left
and right of stand to oven..
Please see photos.

PAGE 03
FRONT OF OVEN
UNDER TOP

PAGE 04
IMPORTANT
WARNING
02
Read all instructions before installing and using
the appliance. Failure to follow instructions may
result in property damage or personal injury.
HANDLE WITH CARE when unpacking and
assembling oven pieces. Negligence can cause
scratching and peeling to the paint.
FOLLOW the instructions for curing the wood
red oven. Failure to follow the curing instructions
can cause damage to the oven, and will avoid the
warranty.
ALWAYS ensure that children and pets are kept at a
safe distance from the wood red oven, both during
and after operation.
ALWAYS ensure the oven is installed on a level base.
The stand MUST NOT tilt.
DO NOT block the ue pipe.
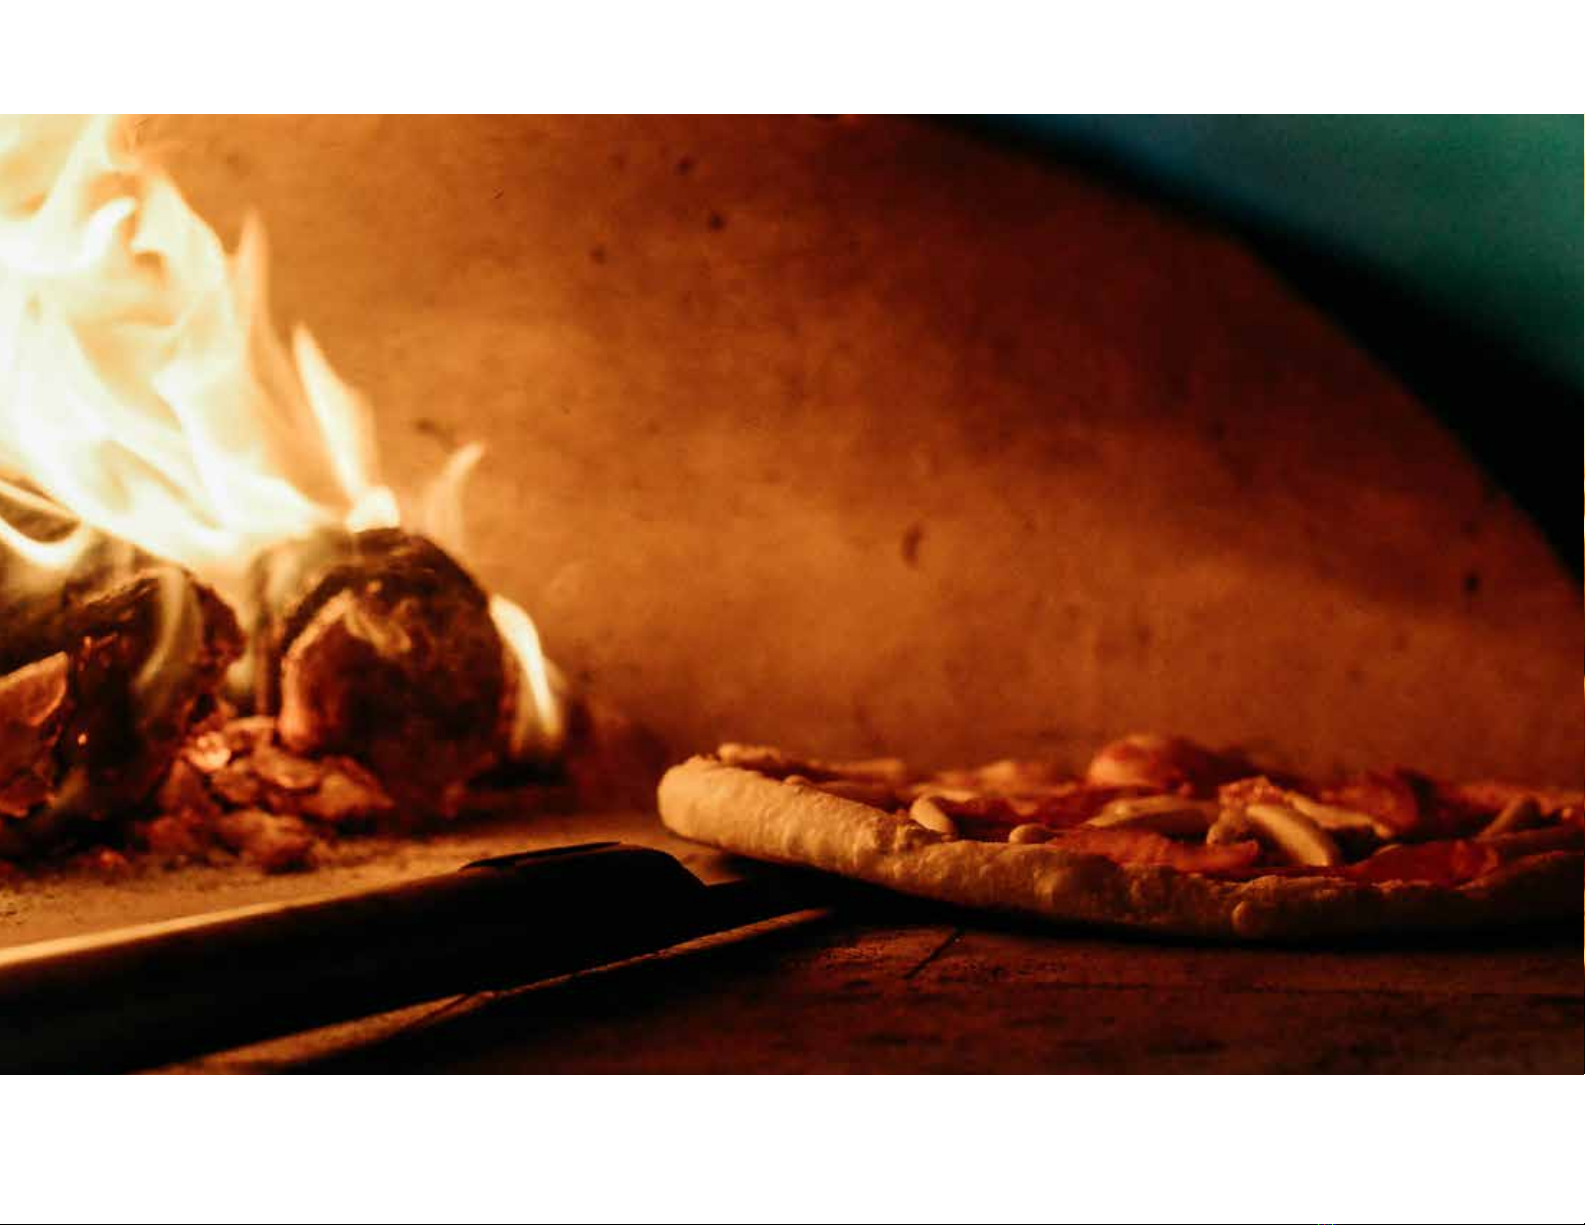
ONLY USE untreated, well seasoned, dry
hard wood.
DO NOT use any type of ammable
liquids or fuels (including but not limited
to relighter uid, petrol, diesel, kerosene,
oil or any other ammable chemical
compound) at any time to start or
maintain re.
DO NOT remove burning logs or embers
from the wood red oven during or after
use.
DO NOT allow the oven to become
extremely wet. If your oven becomes wet,
follow the curing instructions to dry it out
properly before use.

PAGE 05
DO NOT use water to calm or extinguish a re in
the wood red oven, except in an emergency.
DO NOT throw the wood inside the oven (this
will cause cracking of the oven oor), always
place the wood in with a utensil.
ENSURE all tools, materials, pots and pans used
in the wood red oven are appropriate for high
temperatures in excess of 450°C.
DISPOSE of ash in an appropriate bin, add it to
compost or spread it on the garden as a nutrient.
Take appropriate action to avoid inhaling any ash
or dust.
SAVE AND KEEP THESE INSTRUCTIONS TO
HAND SO YOU CAN REFER TO THEM

PAGE 06
• Pre Assembled Oven (x1)
•Stainless steel lute (x1) & cowl (x1)
• Stainless steel door (x1)
• Metal stand in pieces or Bench stand (if on order) (x1)
Remove the manual from the box.
Check all parts of the box against the contents list:
WHAT’S IN
THE BOX
03

PAGE 07

HOW TO SET
UP YOUR WOOD
FIRED OVEN
Follow the assembly instruction for your stand
Decide where to place your stand. It needs to be on a
hard and level surface, preferably in a concrete, tiled or
decked area, which can easily hold the total weight of
the oven.
WARNING there is a risk of toppling if area not levelled
or if placed on soft ground.
Make sure the oven is at a safe distance from any
ammable surfaces and that there is enough space
around the ue pipe for smoke to disperse.
PAGE 08
04

05 HOW TO
CURE YOUR
WOOD FIRED OVEN
BUILD a tower of kindling and paper in
the centre of the oven to start your re.
AlWAYS start your re in the middle of
the oven, (never at the front), then shift
the re to the side or back. Be mindful to
give your oven oor even wear.
GENERALLY you will only need to cure
your oven once. If, however the oven
hasn’t been used for a long period, it
is advisable to start with a smaller re
beforehand to warm up the oven before
you establish a large hot re.
ETHICALLY sourced ‘dry red gum’ and
‘yellow/white box’ wood is recommended,
other woods may be toxic.
See www.rewood.asn.au.
SIMPLE STEPS TO CURING YOUR
WOOD FIRED OVEN
When your oven is freshly built, it holds
a lot of water and this needs to be dried
out before your oven can be put to use.
This process is called curing. The rst step
involves drying the water out of the oven
and second is tempering the refractory
internal dome and oor. This is achieved
by lighting small res over a period of 20
hours (this can be done over a period of
2-3 days) at temperatures between 50°
to 70°.
PAGE 09

PAGE 10
NEVER throw water into the oven as this could
damage
its components (thermal shock).
GENTLY place re wood in oven, never throw it.
DON’T worry if hairline cracks appear inside the
vault and its oor this is completely normal and will
not hinder performance.
ALLOW the oven to burn away any spills whilst
cooking, then gently scrap it away.
YOU do not need to clean the oven with cleaning
products, just sweep the ashes out when cooled.
This does not have to be done after every cook, just
when there is a build up of ashes. Cooled ashes can
be used as a fertilizer for your garden.
HOW TO CARE FOR
YOUR OVEN
06
EXTERNAL CLEANING simultaneously
using running water over oven and wiping
down with a clean cloth to leave a smooth
nish. (OVEN MUST BE COLD).
NEVER use high pressure cleaning on any
part of the oven, this can lead to paint
peeling.
If there is any blackness from the smoke
around the front of the oven (Arch) this
too
is cleaned by the same process.

PAGE 11
How long will the oven take to heat up before I
can cook a pizza?
The Giotto can take between 30 minutes to 45
minute to achieve 300° degrees Celsius.
Why am I getting lots of black smoke?
One reason for black smoke is the high level of
moisture in your rewood, ideal moisture to achieve
less smoke would be between 8% to 15%.
How do I put the re out?
The ovens are suitable to let the re go out by it’s
self, please never use water to extinguish a re in an
oven.
What happens if I notice a scratch on my oven or
ue?
Do not touch it leave it alone. Contact us to purchase
a spray can of paint to repair.
Is this oven only good for cooking pizza?
Owning a wood red oven is used for every
type of cooking eg Meat, sh, vegetarian.
Is the oven weather proof?
Our ovens are designed to be outdoors and
they are suitable for all weather.
Can I paint my oven a dierent colour?
Our Giotto range is painted by our
professional team which use a drying oven.
If I haven’t used my oven for awhile, will it
still be okay to use?
All ovens collect moisture if they haven’t been
used regularly. We recommend to start them
with a little re for a little while (refer to the
curing instructions).
FREQUENTLY
ASKED QUESTIONS AND ANSWER
07

PAGE 12
08 COOKING
GUIDE
Reach 200° and maintain for 30 minutes.
At this temperature you can cook the
following, meat, sh, vegetables & Bread.
Reach 300° and maintain for 30 minutes.
At this temperature you can cook the
following, pizza, focaccia, stews (slow cook
and well covered) & meats.
Reach 400° and maintain for 30 minutes.
At this temperature you can cook the
following, pizza.

Ingredients
• 1 x large chicken butteried
• Hot smoked paprika
• Olive oil
• Sea salt
• 500g chat potatoes (pre boiled)
• Rosemary
Method
• Oven 200° C Low ame.
• Pre boil your potatoes in salted water until tender,
marinate in olive oil sea salt and rosemary.
• Rub the chicken with olive oil, paprika and salt
until it creates a paste on the chicken.
• Place the chicken laying at skin side down on a
large roasting tray.
• Place all the potatoes around the chicken and put
in the the oven for 45 min to 1 hr.
• When chicken is cooked remove from oven, and
place the potatoes aside. Flip your chicken skin
side up on your roasting tray.
• Throw a small piece of kindling on your re to
create a small ame to crisp your skin.
• Add the chicken back to the oven watching closely
while the skin crisps up.
PAPRIKA ROAST
CHICKEN W/ POTATOES
PAGE 13

PAGE 14

PAGE 15
SIMPLE PEPPERS
AND EGGPLANT
Ingredients
• 2 x large peppers
• 2 x large eggplants
Method
• Oven temperature can vary from 200 to 250
degrees.
• Place the peppers and eggplants directly on the
oven oor.
• Turn as the re blisters the skin of the peppers and
eggplants.
• Once cooked, remove from the oor and allow the
oven to burn away any residue.
• Peel and dress to your liking.

PAGE 16
09
PLEASE NOTE: IIf a minor scratch or
damage to the exterior dome of the
oven occurs.
DO NOT TOUCH IT we can supply you
with the same colour spray can for touch
up at a cost. Always leave the oven to cool
down before attempting to repair.
WE DO NOT recommend high pressure
cleaning on any part of the oven, this may
cause the paint to peel.
Polito Wood Fire Ovens are proud to oer a
12 month labour warranty on the structural integrity,
ie: it will not collapse or cave in. Warranty is subject
to correct installation and start up as per operating
instructions. Warranty is supplied during normal
working hours which are Monday to Friday. Should
warranty work be requested outside normal working
hours, an after hours service fee will apply. Proof of
purchase must be supplied prior to any warranty
work.
ABOUT THE PAINT
The paint used on this oven is supplied by Stove
Bright the Global leaders in high temperature
coating. Stove Bright High Temperature Paint is
high quality, rust resistant and maintains excellent
colour stability with in service temperatures reaching
1200°F/650°C. To read more go to
www.stovebright.com.au/paint-powder
WARRANTY
WARNINGS:
Ignoring a warning will void your warranty
1) This oven is a cooking oven and is not to be used
as an incinerator.
2) To light/maintain the re, never use kerosene,
alcohol, petroleum or other dangerous products.

PAGE 17

Tel: + 61 3 9460 6808
Email: sales@politowoodfireovens.com.au
Website: www.politowoodfireovens.com.au
Address: 19 Norwich Ave Thomastown
Melbourne VIC 3074 Australia
Table of contents