Reverse the steps to install.8.
1977 Grand Prix
WITHOUT AIR CONDITIONING
Disconnect the negative battery terminal.1.
Drain the cooling system, disconnect the heater hoses, and plug the core tubes.2.
Remove the screws and nuts from the heater module on the engine side.3.
Remove the glove box to gain access to, and remove, the defroster duct screw, and the control cables.4.
Loosen the sealer and remove the case assembly and core from inside the vehicle.5.
Installation is the reverse of removal. Use a strip caulk type sealer when installing the case assembly to the firewall.6.
WITH AIR CONDITIONING
Drain the cooling system.1.
Remove the heater hoses and plug the core tubes.2.
Remove the core stud nuts retaining the case to the firewall.3.
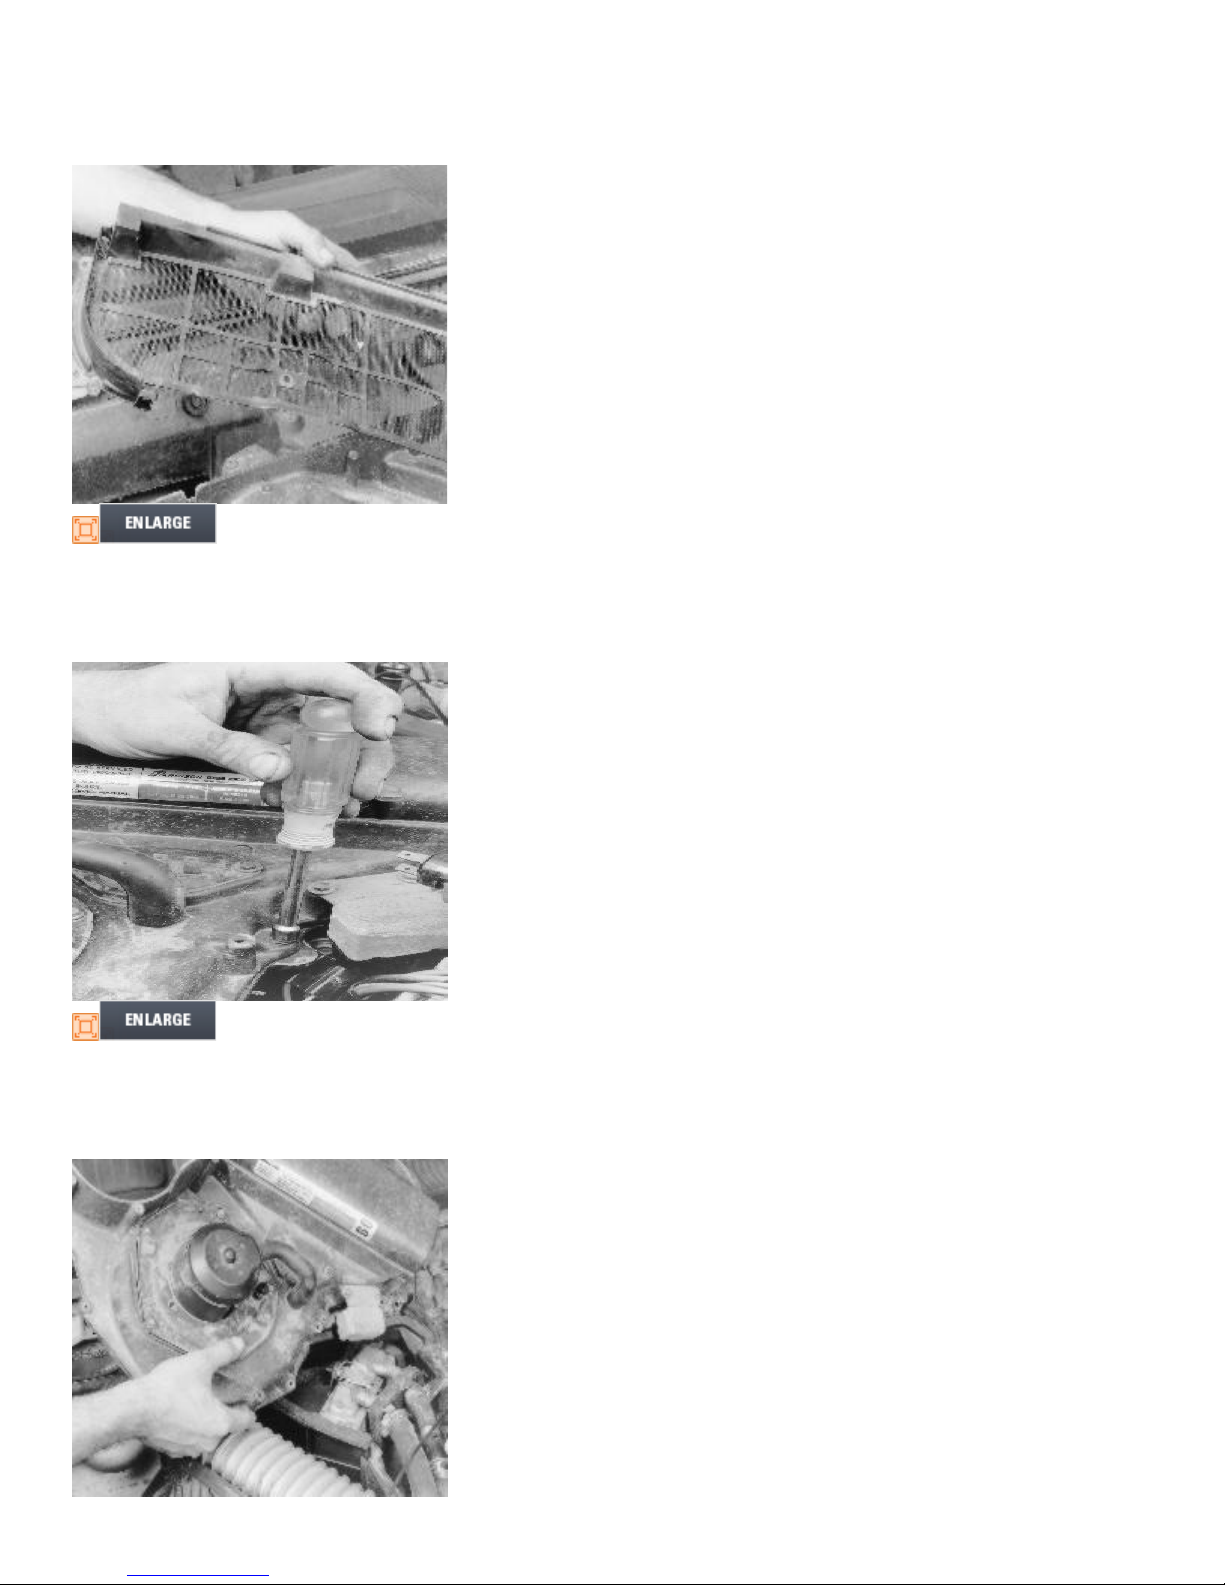
Remove the blower motor resistor to gain access to the upper retaining nut inside the evaporator case.4.
Remove the glove box, the cold air duct, and the heater distributor tube.5.
Remove the lower defroster duct tube screw.6.
Remove the core to case retaining screw and pull the assembly from the cowl.7.
Remove the temperature cable and the vacuum hoses from the assembly.8.
Remove the case assembly and remove the core from the case.9.
Installation is in the reverse of removal.10.
1978-83 Grand Prix
WITHOUT AIR CONDITIONING
Disconnect the hoses at the core tubes and position them vertically to prevent coolant loss.1.
Remove the core cover from the module.2.
Remove the core bracket and ground screw.3.
Lift out the core.4.
Installation is the reverse of removal. Replace any damaged sealer.5.
WITH AIR CONDITIONING
Position the wipers in the UP position.1.
Disconnect and unplug the heater hoses.2.
Remove the module top cover seals.3.
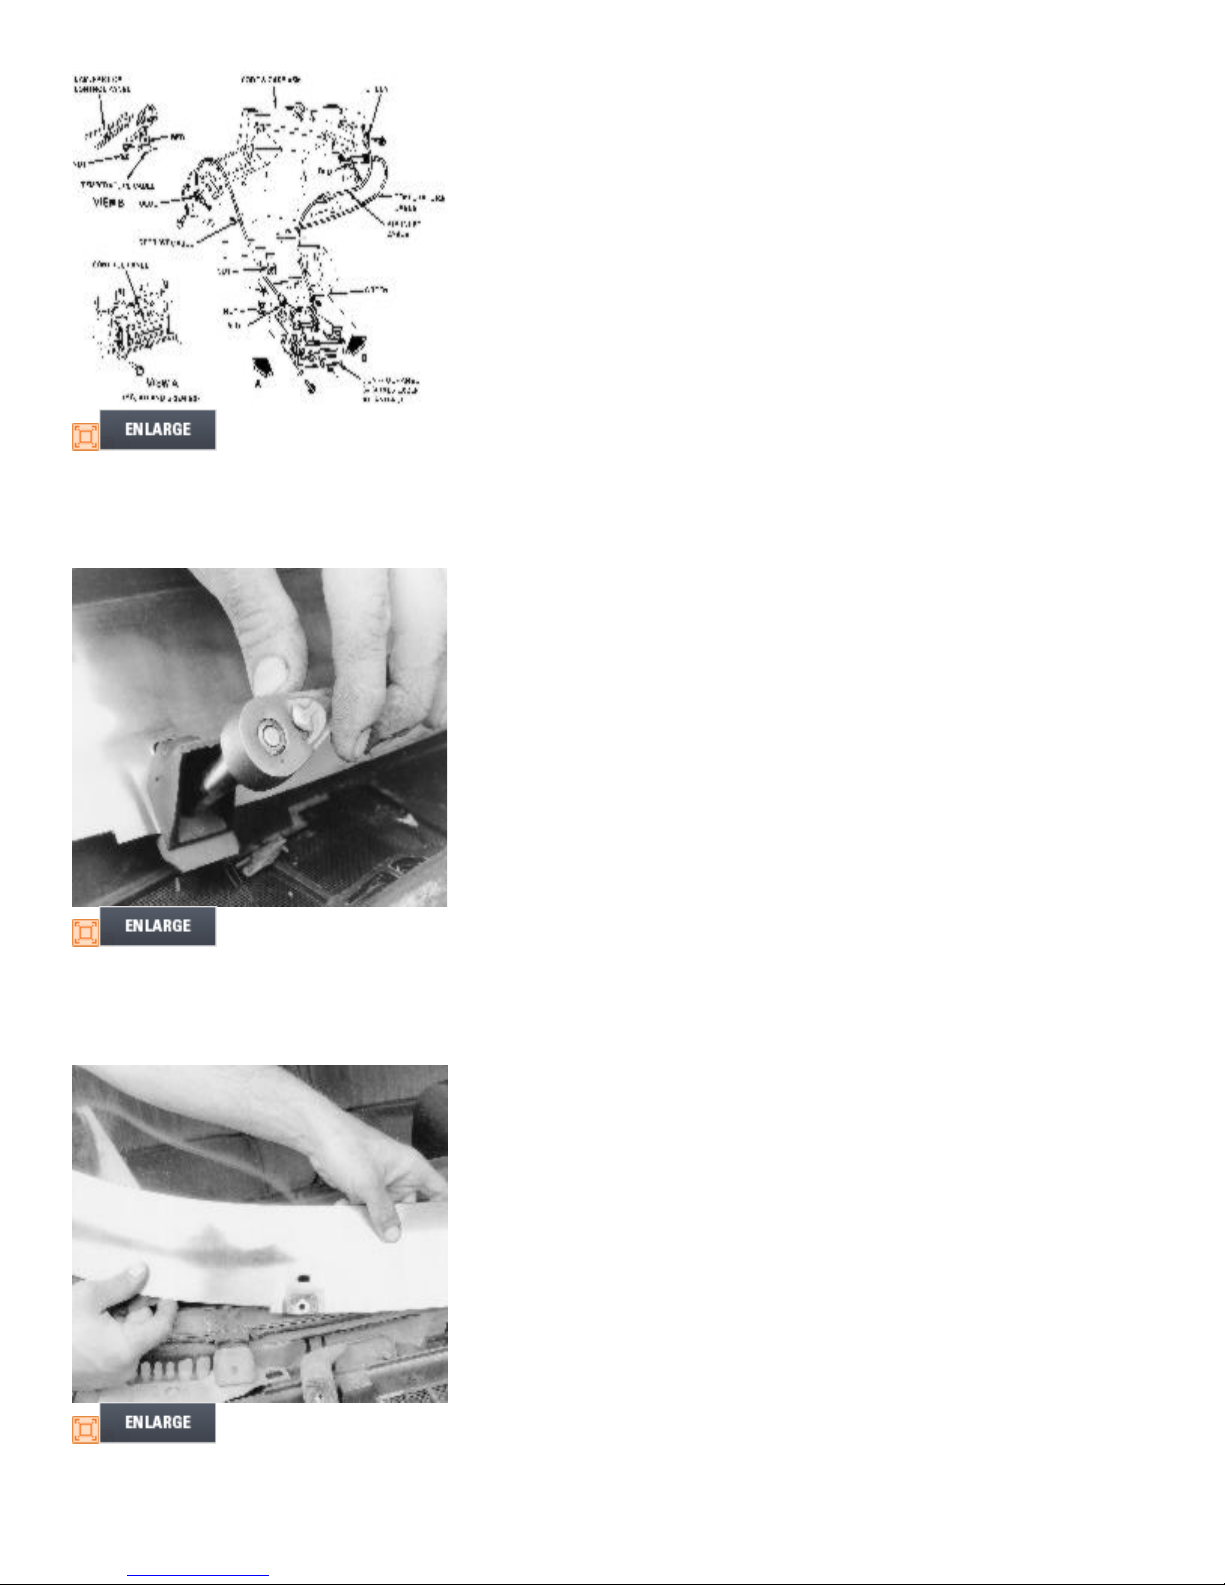
Remove the module top screens.4.
.
9 of 11 8/10/2009 10:14 AM