manuals.online logo
Brands
  1. Home
  2. •
  3. Brands
  4. •
  5. Portfolio
  6. •
  7. Outdoor Light
  8. •
  9. Portfolio 00605 User manual

Portfolio 00605 User manual

ITEM/ARTICLE/ARTICULO #0475561
DECK LIGHT
LUMINAIRE POUR TERRASSE
LUZ PARA TERRAZA
Portfolio®
is
a registered trademark
of
LF,LLC. All Rights Reserved.
Portfolio® est une marque de commerce
deposee de
LF,
LLC. Taus droits reserves.
Portfolio® es una marca registrada de
LF,
LLC. Todos los derechos reservados.
®Questions?/Des questions?/
tPreguntas?
Call customer service at 1-800-643-0067,
8
a.m.-
6 p.m.,
EST,
Monday-
Thursday, 8
a.m.-
5 p.m.,
EST,
Friday.
Communiquez avec notre service a
Ia
clientele
au
1 800 643-0067, entre 8 h et 18 h (HNE)
du
lundi
au
jeudi,
ou
entre 8 h et 17 h (HNE)
le
vendredi.
MODELIMODELE/MODELO #00605
ATTACH YOUR RECEIPT HERE
JOIGNEZ VOTRE RECU ICI
ADJUNTE SU RECIBO
AQUi
Llame a Servicio
al
Cliente al1-800-643-0067,
de lunes a jueves de 8 a.m. a 6 p.m., y los
viernes de 8 a.m. a 5 p.m., hora estandar del
Est
e.
Serial Number/Numero de serie/Numero de serie
Purchase Date/Date d'achat/Fecha de compra
PACKAGE CONTENTS/CONTENU DE L'EMBALLAGE/CONTENIDO DEL PAQUETE
•
x1
Fixture
Luminaire
Lampara
x1
Connector (preassembled to
Fixture (A))
Connecteur (preassemble
au
luminaire [A])
Conector (preensamblado a
Ia
lampara (A))
HARDWARE CONTENTS/ADITAMENTOS/QUINCAILLERIE INCLUSE
Note: Hardware
shown
actual size./Remarque: La
quincaillerie
est
illustree en
grandeur
reelle./Nota:
Los
aditamentos
se
muestran
en
tamano
real.
EB13655
•
c:::::::
u
x2
Anchor
Cheville d'ancrage
Ancla de expansion
x2
Screw
Vis
Tornillo
x1
Template
Plaque
Plantilla
$Ill
Lowes.
co
m/portfol
io
A SAFETY INFORMATION/CONSIGNES
DE
SECURITE/INFORMACION
DE
SEGURIDAD
Please read and understand this entire manual before attemting to assemble, operate or install the product.
Assurez-vous de lire et de comprendre l'integralite de
ce
manuel avant de tenter d'assembler, d'utiliser
ou
d'installer
le
produit.
Lea y comprenda completamente este manual antes de intentar ensamblar, usar o instalar
el
producto.
A WARNING/AVERTISSEMENT/ADVERTENCIA
• For use with low-voltage landscape lighting systems only./Convient uniquement aux systemes d'eclairage pour
amenagement paysager abasse tension./Para usar unicamente
con
sistemas de iluminaci6n para
el
jardfn de bajo voltaje.
·The
wire
is
intended for shallow burial, less than 6
in.
deep./Le cable est
conc;u
pour
un
enfouissement superficiel, amoins
de 15,24
em
de profondeur./EI cable esta disef\ado para uso subterraneo, a menos de 15,24
em
de profundidad.
• Install all luminaires
10ft.
or more from a pool, spa or fountain./N'installez jamais
un
luminaire amoins de 3,05 m d'une
piscine, d'un spa
ou
d'une fontaine./lnstale todas las luminarias
al
menos a 3,05 m de piscinas, spas o fuentes
de agua.
• Keep lamp away from materials that may burn./Gardez tout materiau inflammable adistance de l'ampoule./Mantenga
Ia
bombilla alejada de materiales que puedan prenderse.
• DO NOT touch hot lens, guard or hot fixture housing./Ne touchez
PAS
a
Ia
lentille,
au
protecteur
ni
au
boltier
du
luminaire
lorsqu'ils sont chauds/NO toque las micas calientes, protector, o carcasa del ensamble alimentado.
• DO NOT operate or install a fixture with missing or damaged parts./N'utilisez
PAS
et n'installez
PAS
le
luminaire s'il y a
des pieces manquantes
ou
endommagees./NO haga funcionar
ni
instale una lampara si falta alguna pieza o
si
estas estan
daf\adas.
• DO NOT touch the LED at any time
as
this may cause damage to the fixture./Ne touchez JAMAIS
Ia
DEL; vous risqueriez
d'endommager
le
luminaire./NO toque
el
LED
en
ningun momenta, ya que puede danar
el
ensamble.
CAUTION/MISE
EN
GARDE/PRECAUCION
·This
product
is
not a toy and must not
be
operated by children.ICe produit n'est pas
un
jouet et
ne
doit pas etre utilise par
des enfants./Este producto
no
es
un
juguete y
no
debe ser manipulado por ninos.
• Turn off electricity at main fuse box (or circuit breaker box) before beginning installation by switching circuit breaker off or
removing fuse./Avant !'installation, coupez !'alimentation electrique du panneau central
en
plac;ant
le
disjoncteur
en
position
hors tension
ou
en
en
levant
le
fusible./Desconecte
Ia
electricidad de
Ia
caja de fusibles principal
(o
Ia
caja del interruptor de
circuito) antes de comenzar
Ia
instalaci6n; para hacerlo, apague
el
interruptor de circuito o retire
el
fusible.
•
Do
not connect this fixture to
an
electrical system that does not provide a means for equipment grounding./Ne branchez pas
ce
luminaire sur
un
systeme electrique sans mise a
Ia
terre./No conecte esta lampara a
un
sistema electrico que
no
proporcione
un
medio de puesta a tierra para
el
equipo.
•
Do
not submerge
in
water. The product can
be
damaged./N'immergez pas
le
produit dans de l'eau; vous risqueriez de
l'endommager./No
lo
sumerja
en
agua,
ya
que puede daf\ar
el
producto.
• Use with 18 AWG minimum, underground low-voltage circuit cord./Cet article est
conc;u
pour
un
usage avec
un
cable a
circuit souterrain d'un calibre AWG d'au moins 18./Utilice con cable de circuito de bajo voltaje subterraneo de 18 AWG
como mfnimo.
PREPARATION/PREPARATION/PREPARACION
Before beginning assembly
of
product, make sure all parts are present. Compare parts with package contents list and hardware
contents list. If any part
is
missing or damaged, do not attempt to assemble the product.
Estimated Assembly Time: 15-20 minutes
Tools Required forAssembly (not included): Screwdriver, drill, 1/4
in.
drill bit.
Avant de commencer !'assemblage
du
produit, assurez-vous d'avoir toutes les pieces. Comparez les pieces avec
Ia
liste
du
contenu de l'emballage et celle de
Ia
quincaillerie ci-dessus. S'il y a des pieces manquantes
ou
endommagees,
ne
tentez pas
d'assembler
le
produit.
Temps d'assemblage approximatif: 15-20 minutes
Outils necessaires pour !'assemblage (non inclus) : tournevis, perceuse et foret de 1/4
po.
Antes de comenzar a ensamblar
el
producto, asegurese de tener todas las piezas. Compare las piezas con
Ia
lista del
contenido del paquete y los aditamentos mencionados anteriormente. No intente ensamblar, instalar o usar
el
producto si falta
alguna pieza o si las piezas estan daf\adas.
Tiempo estimado
de
ensamblaje: 15-20 minutos
Herramientas necesarias para ensamblar y realizar
Ia
prueba de fugas
(nose
incluyen):
Destornillador, taladro y broca de % pulg Lowes.com/portfolio
ASSEMBLY INSTRUCTIONS/INSTRUCTIONS POUR L'ASSEMBLAGEIINSTRUCCIONES DE ENSAMBLAJE
1.
Choose a mounting location. Use
a 1/4
in.
drill bit (not included) to
drill two pilot holes where noted
on
the template (CC). For a wood
installation, secure screws (BB)
into wood. For masonry installation,
install anchors (AA) into the holes,
then secure two screws (BB) into
anchors (AA). Note: The screws
should
be
approximately 1.65 inches
apart.
Choisissez l'endroit
ou
vous voulez
installer
le
luminaire. Percez deux
avant-trous a l'endroit indique sur
le
gabarit (CC) a l'aide d'un foret
de 1/4
po
(non inclus). Pour une
installation sur une surface
en
bois,
fixez les vis (BB) dans
le
bois. Pour
une installation sur une surface
en
mac;onnerie, inserez
les
chevilles d'ancrage (AA) dans les trous, puis fixez les vis (BB)
dans les chevilles d'ancrage (AA). Remarque : Une distance
d'environ 4,19
em
devrait separer les vis.
Choose a mounting location. Use una broca para taladro de
1/4 pulg
(nose
incluye) para taladrar dos orificios piloto
en
donde
lo
senale
Ia
plantilla (CC). Para realizar una instalaci6n
en
madera, asegure los tornillos (BB)
en
Ia
madera. Para
instalaci6n
en
mamposterfa, lnstale las anclas (AA)
en
los
orificios, luego asegure dos tornillos (BB)
en
los
anclajes (AA).
Nota: Los tornillos deben estar aproximadamente a 4,19
em
de distancia entre
sf.
2. Hang fixture (A)
on
screws (BB) by
using keyhole slots located
on
the
back
of
fixture (A).
Accrochez
le
luminaire (A) aux vis
(BB)
en
utilisant les encoches
en
trou de serrure situees a l'arriere du
luminaire (A).
Cuelgue
Ia
lampara (A)
en
los tornillos (BB) usando las
ranuras con forma de cerradura ubicadas
en
Ia
parte
posterior de
Ia
lampara (A).
3.
Disassemble connector (B).
Remove top cover (b1) and press
plate (b2) from contact plate (b3)
and bottom base (b4). Remove
lead wire (a1) and route it
through tight spaces.
Demontez le connecteur (B).
Retirez
le
couvercle (b1) et
Ia
plaque de pression (b2) de
Ia
plaque de contact (b3) et de
Ia
base (b4). Retirez
le
fil de
connexion (a1) et faites-le passer dans les espaces etroits.
Desensamble
el
conector (B). Retire
Ia
cubierta superior
(b1) y presione
Ia
placa (b2) de
Ia
placa de contacto (b3)
y
Ia
base inferior (b4). Retire
el
cable conductor (a1) y
col6quelo a traves de los espacios estrechos.
4. Insert wire from low-voltage
transformer (sold separately) into
the bottom base (b4).
Raccordez
le
fil
du transformateur
a basse tension (vendu
separement) a
Ia
base (b4).
Coloque
el
cable del transformador
de bajo voltaje (se vende porseparado)
en
Ia
base inferior
(b4).
5.
Replace top cover (b1) and press
plate (b2).
Note: For proper function, make
sure the top cover (b1) has been
snapped into place using the
locking tabs
on
contact plate (b3).
Top cover (b1) should turn freely.
Remettez
en
place le
couvercle (b1) et
Ia
plaque de pression (b2). Remarque :
Afin d'assurer
un
fonctionnement adequat, verifiez que le
couvercle (b1) est enclenche a l'aide des languettes de
verrouillage de
Ia
plaque de contact (b3).
Le
couvercle (b1)
devrait tourner librement.
Reemplace
Ia
cubierta superior (b1) y presione
Ia
placa
(b2). Nota: Para lograr
un
funcionamiento adecuado,
verifique que
Ia
cubierta superior (b1) haya sido colocada
a presion
en
su Iugar con ayuda de las lenguetas de
empalme
en
Ia
placa de contacto (b3).
La
cubierta superior
(b1) debe girarsin problemas.
6. Screw the top cover (b1) and the
bottom base (b4) togethertightly
until the contact pins completely
pierce the plastic shield
of
the
wire.
Vissez fermement le couvercle
(b1) et
Ia
base (b4) ensemble
jusqu'a ce que les
deux
broches
de contact percent completement
l'enveloppe
en
plastique du fil.
Atornille
Ia
cubierta superior (b1) y
Ia
base inferior (b4) con
firmeza hasta que las clavijas de contacto atraviesen por
completo
Ia
protecci6n de plastico del cable.
Lowes.
co
m/portfol
io
CARE AND MAINTENANCE/ENTRETIEN/CUIDADO Y MANTENIMIENTO
o Before attempting to clean the fixture, disconnect the power to the fixture by turning the breaker off or removing the fuse from the fuse box./
Avant le nettoyage, coupez !'alimentation du luminaire en plagant
le
disjoncteur
en
position hors tension ou en enlevant le fusible de
Ia
boite
afusibles./Antes de intentar limpiar
Ia
lampara, desconecte
Ia
alimentaci6n de
Ia
lampara apagando
el
interrupter de circuito o retirando
el
fusible de
Ia
caja de fusibles.
o
To
clean the fixture, use a dry or slightly dampened clean cloth./Nettoyez le luminaire al'aide d'un linge propre et sec ou legerement
humide./Para limpiar
Ia
lampara, use
un
pario limpio seco o levemente humedo.
o DO
NOT
use any cleaners with chemicals, solvents or harsh abrasives as damage to the fixture may occur./N'utilisez PAS de nettoyants
contenant des produits chimiques, des solvants ou des produits abrasifs forts; ils pourraient endommager
le
fini./NO utilice limpiadores con
qufmicos, solventes
ni
abrasives fuertes ya que pueden dariar
Ia
lampara.
TROUBLESHOOTING/DEPANNAGE/SOLUCION
DE
PROBLEMAS
PROBLEM POSSIBLE CAUSE CORRECTIVE ACTION
PROBLEME CAUSE POSSIBLE MESURE CORRECTIVE
PROBLEMA CAUSA POSIBLE ACCION CORRECTIVA
The light does not
turn on at night.
Le luminaire ne
s'allume pas
Ia
nuit.
La luz no se enci-
ende
al
anochecer.
1.
The transformer is not connected into power
receptacle./Le transformateur n'est pas branche
sur une prise electrique./EI transformador no
esta conectado
al
receptacula de alimentaci6n.
2.
The contact pins
of
connector do not pierce
weii./Les broches de contact du connecteur
ne transpercent pas./Las clavijas de
contacto del conector no atraviesan bien.
WARRANTY/GARANTIE/GARANTiA
1.
Connect the transformer into power receptacle./Branchez
le
transformateur sur une prise electrique./Conecte
el
transformador
al
receptacula de alimentaci6n.
2.
Make sure the contact pins pierce wire well and touch the
electric wire./Assurez-vous que les broches de contact ont
bien transperce
le
fil et sont en contact avec
le
fil
electrique./
Asegurese de que las clavijas de contacto atraviesen bien
el
cable y que toquen
el
conductor electrico.
The manufacturer warrants this lighting fixture against defects
in
materials and workmanship for a period
of
five years from the date
of
purchase. If within this period the product
is
found to be defective
in
material or workmanship, the product must be returned, with a copy
of
the
bill
of
sale as proof
of
purchase, to the original place
of
purchase. The manufacturer will, at its option, repair, replace or refund the purchase
price to the original purchaser consumer. This warranty does not cover light bulbs or the fixture becoming damaged due to misuse, accidental
damage, improper handling and/or installation and specifically excludes liability for direct, incidental or consequential damages. As some
states do not allow exclusions or limitations on an implied warranty, the above exclusions and limitations may not apply. This warranty gives
you specific rights and you may also have other rights that vary from state to state.
Le fabricant garantit taus ses luminaires contre les detauts de materiaux et de fabrication pour une periode de cinq ans acompter de
Ia
date d'achat. Si ce produit presente des detauts de materiaux ou de fabrication durant cette periode, retournez-le au detaillant d'origine
accompagne d'une copie de votre regu comme preuve d'achat. Le fabricant choisira de reparer ou de remplacer le produit,
ou
de rembourser
I'
equivalent du prix d'achat. Cette garantie
ne
s'applique pas aux luminaires endommages
en
raison d'un usage inapproprie, de dommages
accidentels ou d'une manipulation ou installation inadequate, et elle exclut expressement toute responsabilite pour des dommages directs,
accessoires ou consecutifs. Certains Etats ou certaines provinces ne permettent pas !'exclusion ou
Ia
limitation d'une garantie implicite, de
sorte que les limitations et exclusions mentionnees ci-dessus peuvent ne pas s'appliguer avous. Cette garantie vous confere des droits
precis.
II
est possible que vous disposiez egalement d'autres droits, qui varient d'un Etat ou d'une province al'autre.
El
fabricante garantiza
Ia
ausencia de defectos en los materiales o en
Ia
fabricaci6n de todos sus accesorios de iluminaci6n durante
un
perfodo de cinco alios a partir de
Ia
fecha de compra. Si dentro de este perfodo
el
producto presenta defectos en
el
material o
Ia
mana
de obra, se debe devolver
el
producto, junto con una copia del recibo de venta como prueba de
Ia
compra,
al
Iugar donde se compr6.
El
fabricante, a
su
elecci6n, reparara, reemplazara o devolvera
el
manto de
Ia
compra
al
comprador original. Esta garantfa
no
cubre darios
en
el
ensamble debido a mal uso, dario accidental, manipulaci6n o instalaci6n inadecuada y/o excluye especfficamente toda responsabilidad por
darios directos, accidentales o resultantes. Debido a que algunos estados no permiten exclusiones o limitaciones en una garantfa implfcita,
las exclusiones y limitaciones anteriores pueden no aplicarse. Esta garantfa le otorga derechos especfficos pero podrfa tener tambien otros
derechos que varfan segun
el
estado.
Printed
in
China
lmprime
en
Chine
lmpreso
en
China
Portfolio~
is a registered trademark of
LF,
LLC. All rights reserved.
Portfolio®
est une marque de commerce
deposee de
LF,
LLC. Tous droits reserves.
Portfolio®
es una marca registrada de
LF,
LLC. Todos los derechos reservados.
Lowes.com/portfolio
This manual suits for next models

1

Other Portfolio Outdoor Light manuals

Portfolio IAN1501L-4 User manual
Portfolio
Portfolio IAN1501L-4 User manual

Portfolio WLL131SB User manual
Portfolio

Portfolio WLL131SB User manual

Portfolio 4193 User manual

Portfolio

Portfolio 4193 User manual

Portfolio MS16Mh-R5-CB-C8 User manual

Portfolio

Portfolio MS16Mh-R5-CB-C8 User manual

Portfolio SLS1AL User manual

Portfolio

Portfolio SLS1AL User manual

Portfolio FY09-002 User manual

Portfolio

Portfolio FY09-002 User manual

Portfolio 34253 User manual

Portfolio

Portfolio 34253 User manual

Portfolio RS14Pa-N2-MB-W8 User manual

Portfolio

Portfolio RS14Pa-N2-MB-W8 User manual

Portfolio SL8P-N2-BK-D2 User manual

Portfolio

Portfolio SL8P-N2-BK-D2 User manual

Portfolio WL126WW User manual

Portfolio

Portfolio WL126WW User manual

Portfolio RS40Pb-R8-RS-C4 User manual

Portfolio

Portfolio RS40Pb-R8-RS-C4 User manual

Portfolio WL132MBK User manual

Portfolio

Portfolio WL132MBK User manual

Portfolio FY06-043-1 User manual

Portfolio

Portfolio FY06-043-1 User manual

Portfolio 00906 User manual

Portfolio

Portfolio 00906 User manual

Portfolio 16025 User manual

Portfolio

Portfolio 16025 User manual

Portfolio TL05BZ User manual

Portfolio

Portfolio TL05BZ User manual

Portfolio RM9P-P2-AGB-2 User manual

Portfolio

Portfolio RM9P-P2-AGB-2 User manual

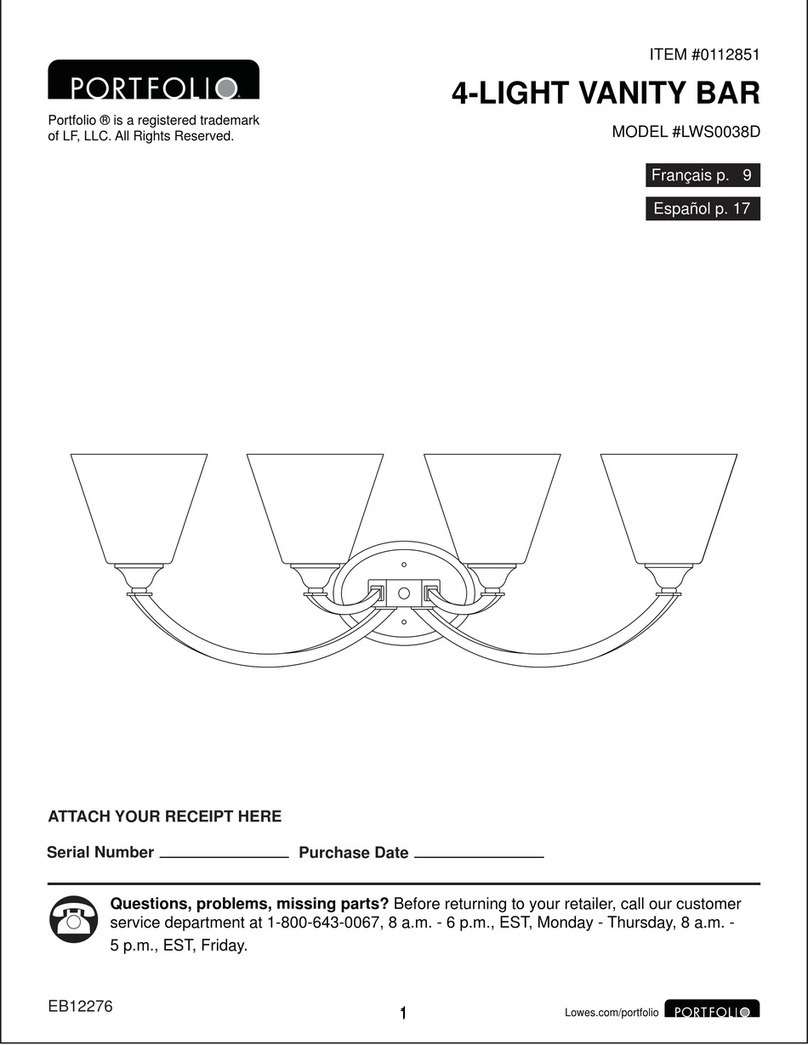
Portfolio LWS0038D User manual

Portfolio

Portfolio LWS0038D User manual

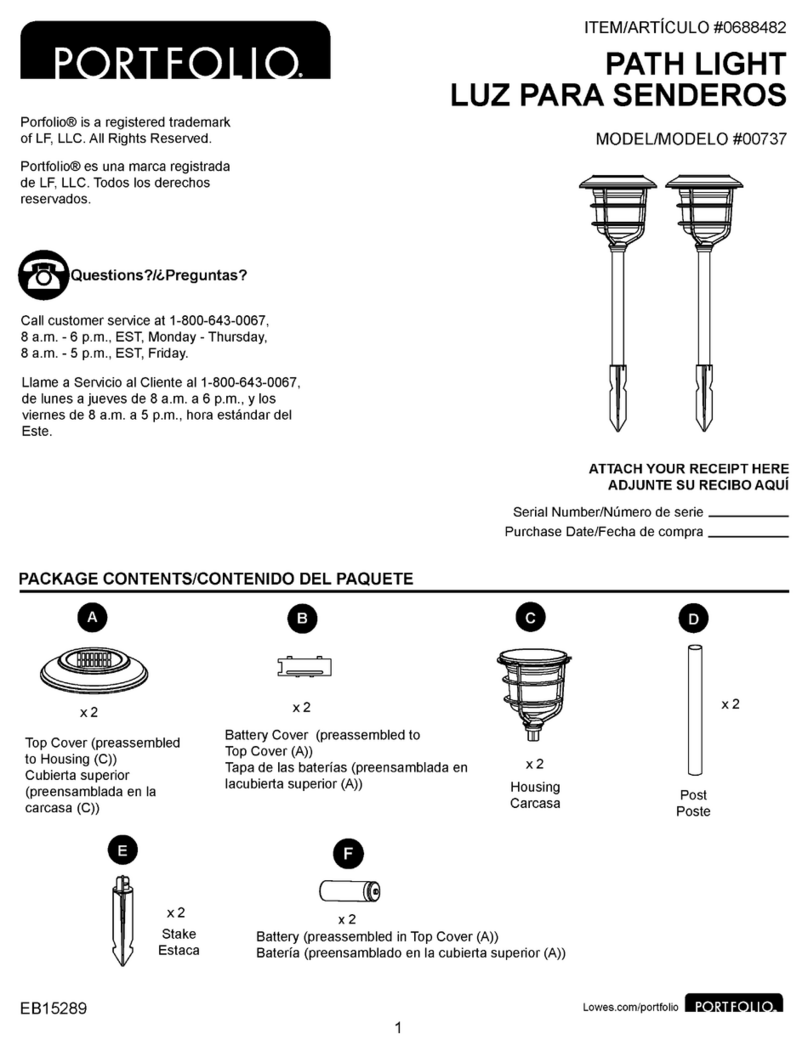
Portfolio 00737 Instruction sheet

Portfolio

Portfolio 00737 Instruction sheet

Portfolio 0484686 User manual

Portfolio

Portfolio 0484686 User manual

Portfolio PL127MBK User manual

Portfolio

Portfolio PL127MBK User manual

Portfolio SL26Cb-R5-ORB-2 User manual

Portfolio

Portfolio SL26Cb-R5-ORB-2 User manual

Portfolio DL6906RBS Installation instructions

Portfolio

Portfolio DL6906RBS Installation instructions

Portfolio LBSH01MTN User manual

Portfolio

Portfolio LBSH01MTN User manual

Popular Outdoor Light manuals by other brands

Klus PDS-4-PLUS Mounting instructions

Klus

Klus PDS-4-PLUS Mounting instructions

Springdale Lighting STA11143 Assembly instructions

Springdale Lighting

Springdale Lighting STA11143 Assembly instructions

LIGMAN HA-60296-S installation manual

LIGMAN

LIGMAN HA-60296-S installation manual

LIGMAN MK-60729 installation manual

LIGMAN

LIGMAN MK-60729 installation manual

Endon YG-3004 instruction manual

Endon

Endon YG-3004 instruction manual

MONDOLUX Verne Midi installation manual

MONDOLUX

MONDOLUX Verne Midi installation manual

Faro Barcelona BRONX 71194 instructions

Faro Barcelona

Faro Barcelona BRONX 71194 instructions

Muller licht 404079 installation instructions

Muller licht

Muller licht 404079 installation instructions

Home Decorators Collection IZC5401LX-01/BK Use and care guide

Home Decorators Collection

Home Decorators Collection IZC5401LX-01/BK Use and care guide

JONATHAN Y JYL3038 quick start guide

JONATHAN Y

JONATHAN Y JYL3038 quick start guide

Shoof FARM 224 427 Instructions for use

Shoof

Shoof FARM 224 427 Instructions for use

Allen + Roth 30427 instructions

Allen + Roth

Allen + Roth 30427 instructions

Kichler Lighting Chance Harbor installation instructions

Kichler Lighting

Kichler Lighting Chance Harbor installation instructions

Challenger ESL30PC installation instructions

Challenger

Challenger ESL30PC installation instructions

Adesso Savannah Assembly instruction

Adesso

Adesso Savannah Assembly instruction

Eglo FERA instructions

Eglo

Eglo FERA instructions

Enchanted Garden 343-2002 instruction manual

Enchanted Garden

Enchanted Garden 343-2002 instruction manual

HeathCo JourneyMan Series manual

HeathCo

HeathCo JourneyMan Series manual

manuals.online logo
manuals.online logoBrands
  • About & Mission
  • Contact us
  • Privacy Policy
  • Terms and Conditions

Copyright 2025 Manuals.Online. All Rights Reserved.