POWER ROLLER 14TUSFU105 User manual

6A261
Assembly and user instructions
ROLLER
ROLLER
POWER
POWER
Type: 14TUSFU105

2
Safety instructions
- Before the start of every training session
always ensure that the equipment is fully intact.
Under no circumstances engage in training with
equipment that appears to be broken.
- Independent repairs should only be carried out
in consultation with an expert and using original
replacement parts.
- The training equipment is not suitable for use
by children. Ensure that during training children
and household pets are kept at a safe distance
and that there are no objects under the
equipment.
- When at rest the equipment is not a toy for
children and must not be used under any
circumstances as climbing apparatus.
The equipment is manufactured on the basis of
the most up-to-date safety technical information.
Possible sources of danger that can cause injury
have been prevented as far as possible or are
covered by safety instructions. Incorrect or
excessive training is not good for the health!
Installation of the equipment must be carefully
carried out by adults. Training must not begin until
installation has been carried out according to the
instructions. In the event of regular training the
complete equipment must be inspected monthly.
This is especially true for attachment elements
such as bolts and nuts.
To guarantee the safety of the equipment
damaged components must be replaced
immediately by original replacement parts. Only
when the equipment is in a safe state may it be
used again. Do not carry out any maintenance
measures and adjustments other than those
described in the assembly and user instructions.
Follow the prescribed maintenance and safety
instructions precisely.
Before the first training session read through
the complete manual thoroughly. To guarantee
a safe training session you must follow strictly
the safety and maintenance instructions in this
manual. Inform everyone who wishes to use
your training equipment of these instructions.
In conformity with EN 957-1 this training equipment
is designed for use at home. It is not intended for
professional use (e.g. In fitness studios) or in an
establishment with uncontrolled access (e.g. public
baths, etc). This equipment has been tested to a
service weight of 100 kg in conformity with the
safety factors of the European Standard.
Use your training equipment exclusively for the
purpose for which it is intended. Unsuitable use
can lead to accidents, injury or damage to the
training equipment. The manufacturer accepts no
responsibility in this respect.
Set-up location:
- To set up the equipment choose an area that
offers sufficient free space in every direction.
- Ensure that during the training session the
training room is well ventilated. Avoid draughts.
- The equipment must not be used in the open air,
use it exclusively indoors and in rooms with a
sufficiently high temperature.
- The equipment is not suitable for damp rooms
and must not be used in saunas or swimming
pools, for example.
- Place the equipment exclusively on a flat, solid
surface.
- It is advisable to place the equipment on a
protective mat designed for this purpose.
- Keep the training equipment away from hot
objects.
Personal safety
- You must terminate the training session
immediately and consult a doctor if you have a
feeling of sickness, a light feeling in the head or
other abnormal symptoms.
- It is preferable to train only with well-fitting sports
clothing. Loose clothing can get caught up in the
moving parts, thereby causing accidents.

1
2
3
4
5
6
7
8
9
10
11
12
13
8
8
8
9
Exploded drawing
Our training equipment is undergoing a process of
continuing development. We therefore reserve the
right to make technical changes that are always
designed to improve the equipment
3
List of replacement parts for the Power Roller
Power Roller
Part
no. Description Quantity Index Part no.
1 Plastic cover 2 a
2 Hinged adjusting plate 1 f
3 Foam plastic for mainbrace 2 b
4 Mainbrace 1 f
5 Head support 1 b
6 Foam plastic for hand brace 1 b
7 Hand brace 1 f
8 Screw 10 f
9 Ring 2 f
10 Stop screw 1 f
11 Lock nut 1 f
12 Rubber strip 2 g
13 Self-tapping screw 6 f

4
Training diary
1. First remove all components from the packaging and ensure that you have an overview of all
the separate components. Put the box to one side until you have fully installed the equipment.
2. Attach the main brace (4) and the hand
brace (7) using the screws (8) on the
plastic covering (1).
The attachment openings for the tube ends
must point inwards.
3. Attach the stop screw (10) with the nut (11)
to the main brace (4).
The screwhead must point downwards.
(The screw may be fitted already)
4. Then push the groove of the hinged
adjusting plate (2) over the head of the
screw (10) attach the main support (5) with
the adjusting plate (2) using the screws (8)
on the main brace. Note: you can choose
one of two settings depending on your
body size.
A) The long end of the adjusting plate (2)
points in the direction of the plastic cover
(1) = short distance
B) The long end of the adjusting plate (2)
points to the rear = long distance
This index simplifies the separation of the materials for disposal of the equipment in the future.
Day Date Section Heart frequency Time Comments
Mo
Tu
We
Th
Fr
Sa
Su
Week: Weeklyobjective:
Installation manual
A)
B)
a = Plastic, thermoplastic
b = Plastic, duroplastic
c = Plastic, polyethylene
d = Polystyrene
e = Paper/cardboard
f = Metal
g = Rubber
Index for material disposal

5
Training instructions
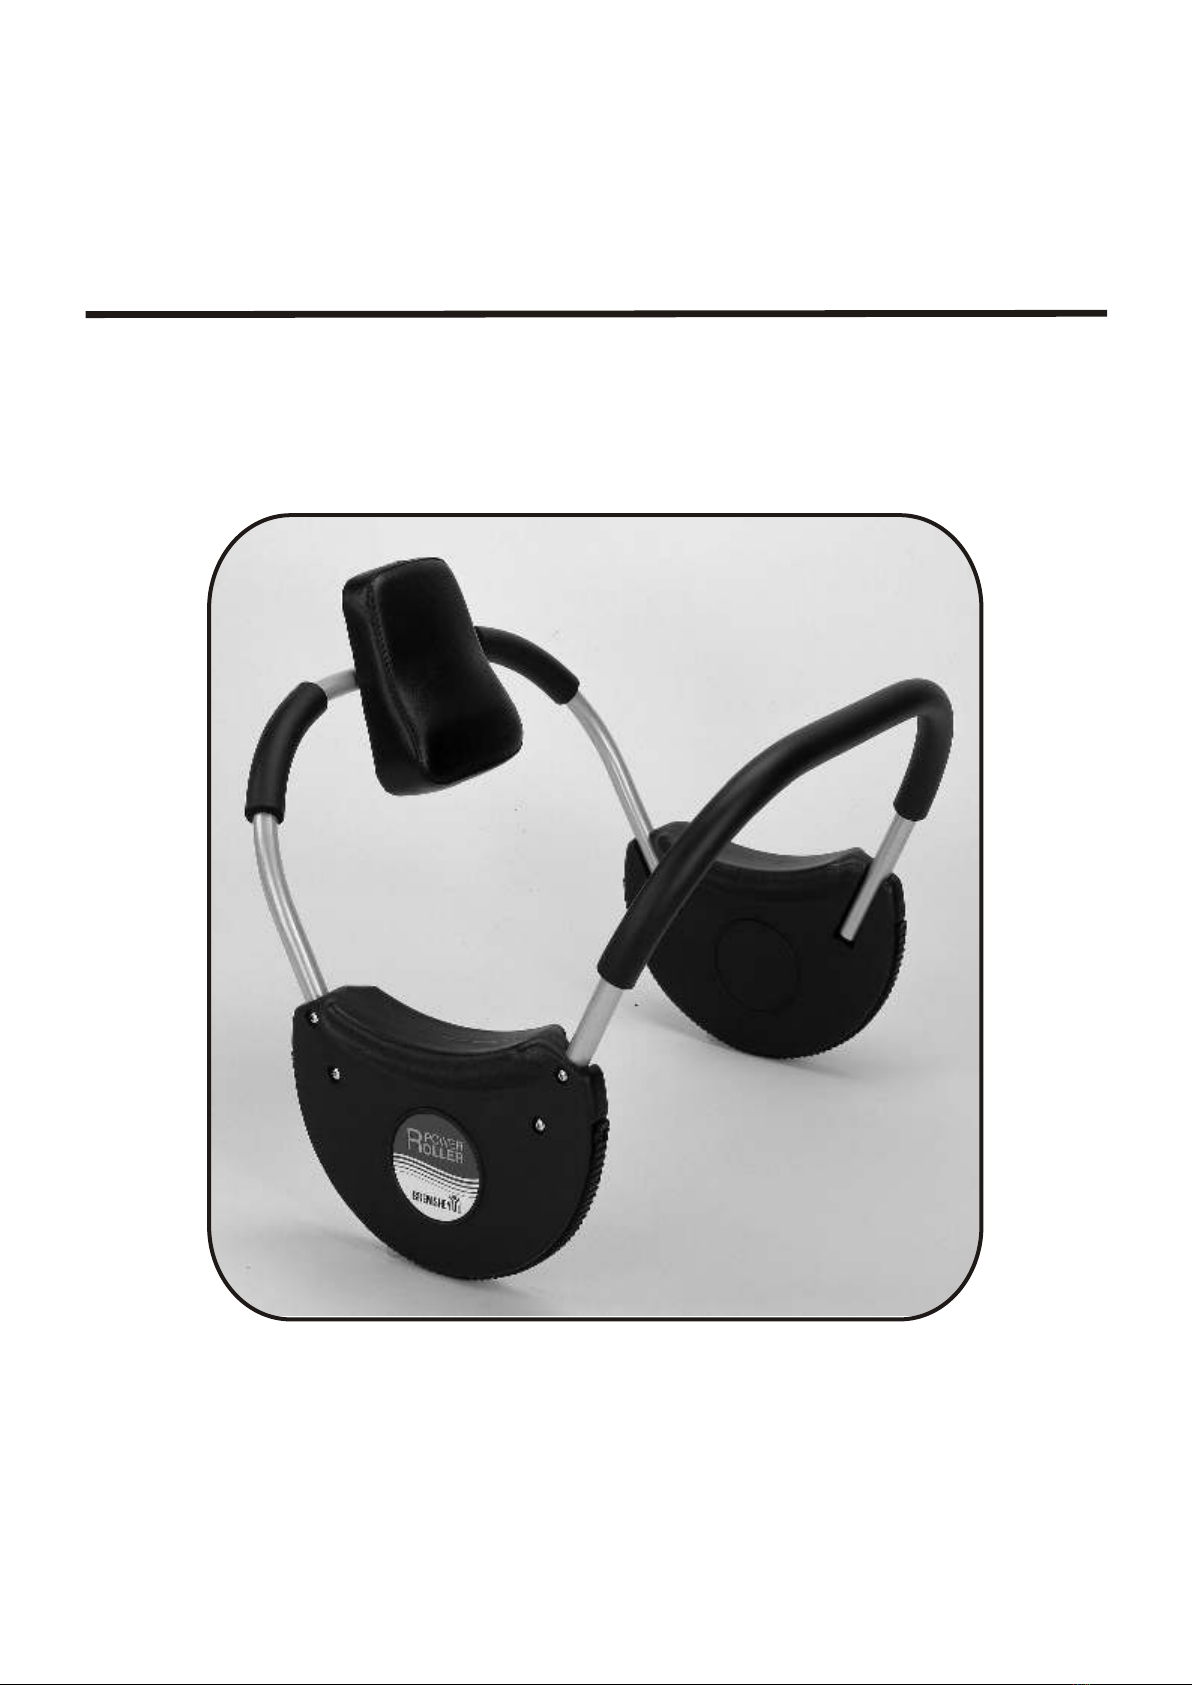
The Power Roller is training equipment for
optimum training of the stomach muscles.
During the exercises the Power Roller supports
your head and neck and helps you to maintain the
correct exercise position.
Use the stomach trainer only in the way illustrated
and described in the exercises. Incorrect use is
not good for the health.
Consult your doctor before starting training.
If you have not trained for a long time or if your
physical condition is not the very best, it is
advisable to consult your doctor before starting to
train. This is especially recommended if you have
one or more of the following symptoms:
- Heart and circulation conditions
- High blood pressure
- Diabetes
- High cholesterol level
- Back, muscle or joint disorders
- Any sort of back problem whatsoever
- Problems with continuous bleeding
- Overweight
Periodic examination by a doctor is also
recommended for users. Always follow the advice
of your doctor and set up your training programme
in conformity with your personal constitution and
capacity. Do not overstrain yourself. Less is
normally more.
The correct way of training:
The correct method of training is a systematic
approach. In the specialist language of power
sports a distinction is made between “sets” and
“repetitions”. Each exercise is carried out in
separate sets. In these sets the movements are,
dependent on the training type, repeated from
10 to 15 times. The sets themselves are repeated
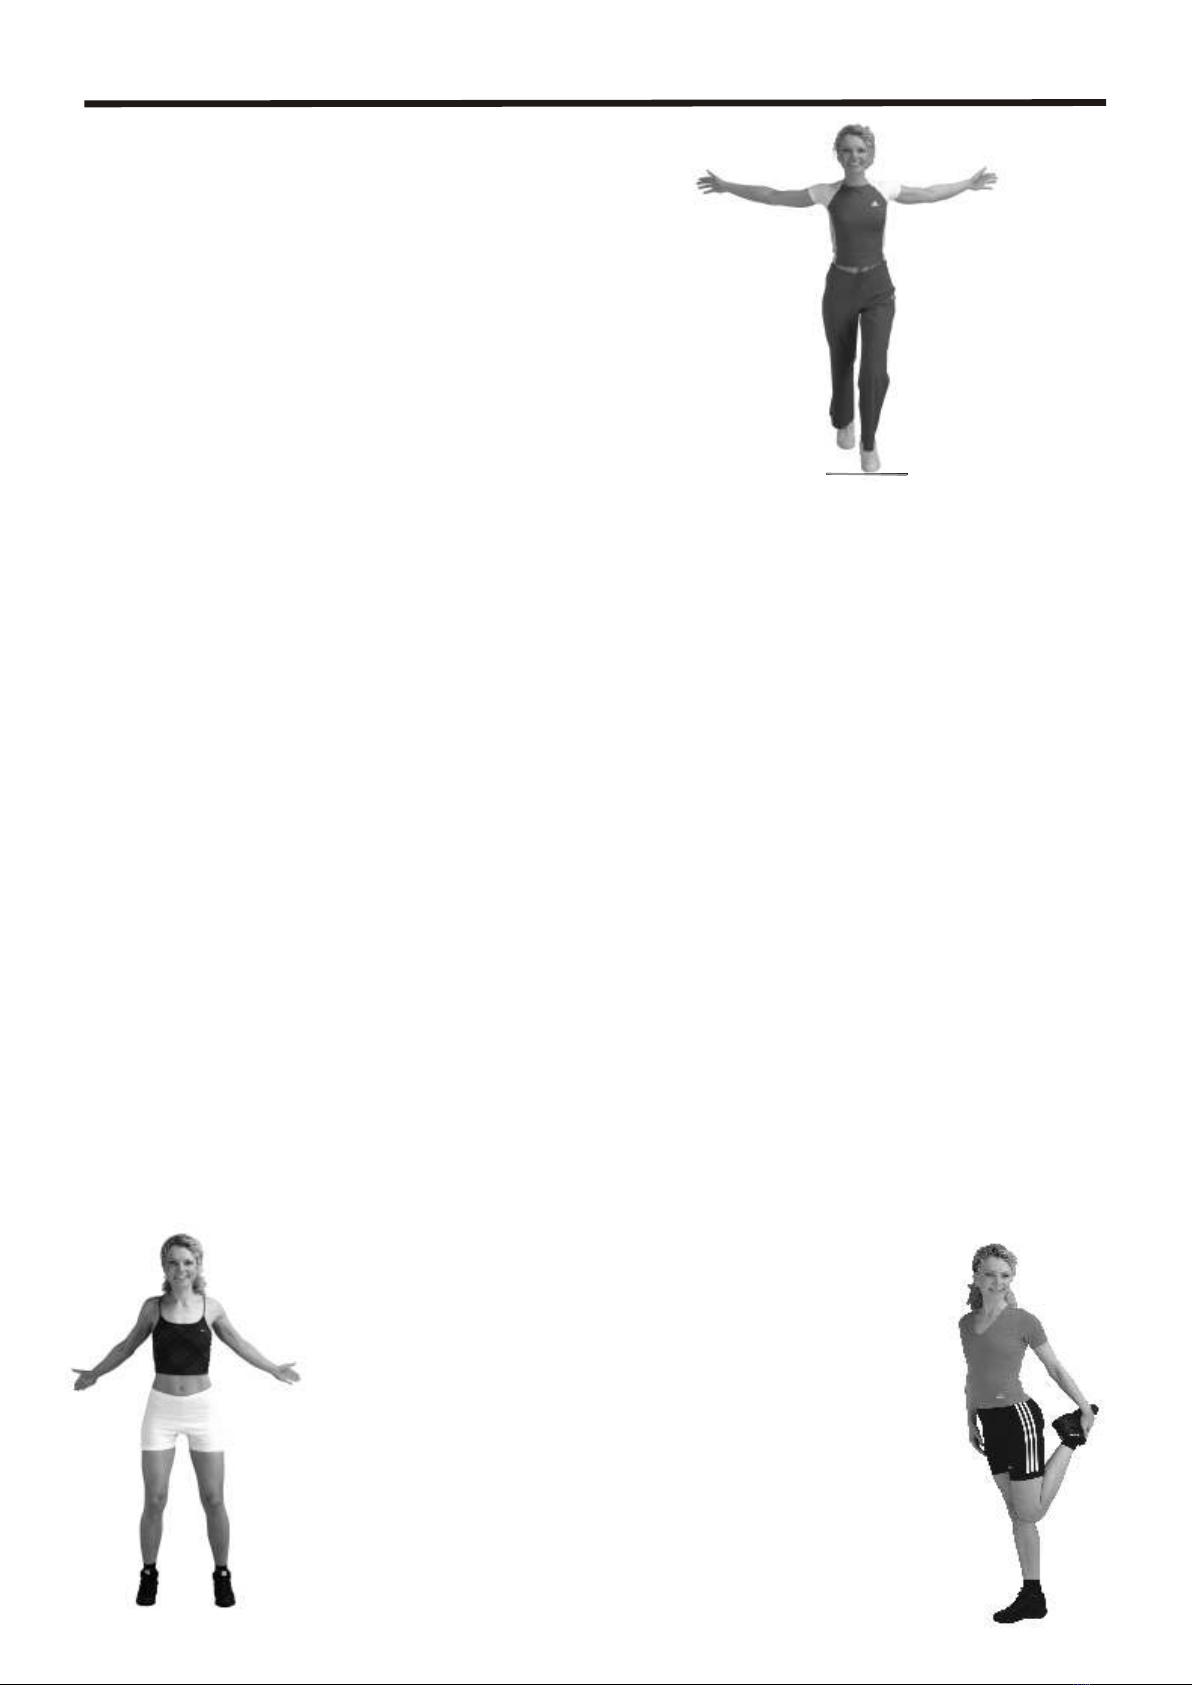
a maximum of 5 times. Leave a short pause
between each set (at least 1 minute), this ensures
a quick recovery. Use this time for stretching
exercises. Prevent overstraining when training by
taking into account the individual body structure.
The exercises in these user instructions are
divided into three groups: beginners, advanced
and experts. Start with the exercises for beginners
and work at your own tempo towards the more
difficult exercises. Ensure that you don't overstrain
yourself in the first few weeks. It is better to
increase the number of sets rather than to
proceed quickly to the harder exercises. The
intensity of the separate exercises can be varied
by changing the hand position on the hand brace.
The lower down you grasp the hand brace, the
harder the exercise becomes.
For the optimum training effect the correct position
is decisive. For each exercise use the stomach
muscles to come up, so that the Power Roller
"rolls" with you. Do not push against or pull on
the hand brace.
Ensure that your body remains on the floor or the
training mat whilst exercising. For some exercises
the hips must be raised slightly. During the
exercises the head rests on the head support.
The correct way of moving:
Ensure your movements are even. Do not carry
out an exercise with hasty movements. Take care
to adopt the correct body position for all exercises,
as described for each exercise.
The correct way of breathing:
Breathe correctly right from the very start:
When stressing your body breathe in and when
relaxing your body breathe out deeply. When
exercising with the Power Roller this means:
- breathing in when tightening the stomach
muscles and during the stressing stage of the
exercise
- breathing out during the relaxing phase of the
exercise
In this way your chest becomes stronger and
larger and your muscles are supplied with fresh
oxygen. Avoid strained breathing.

6
Training tips
Training objectives:
Before the start of the actual training session your
individual objectives must be clear.
- General well being
- Improvement in metabolism
- Physical fitness
- Strengthen muscles
- Weight loss
- Keep weight under control
- Improve appearance and body shape
- Improve energy level
- Reduce stress and improve quality of sleep
You can achieve the required objective with your
training equipment if you are motivated and follow
your training programme regularly and
consistently.
Training programme for beginners
Training frequency: 2 - 4 times per week
Training duration: 10 - 20 minutes
Training intensity: 50 - 60% of the individual
maximum impulse
This training must be completed in the first 6 - 8
weeks.
Training programme for advanced users
Training frequency: 3 - 5 times per week
Training duration: 30 - 45 minutes
Training intensity: 60 - 70% of the individual
maximum impulse
Training programme for experts and trained
persons
Training frequency: 4 - 6 times per week
Training duration: 30 - 45 minutes
Training intensity: 70 - 80% of the individual
maximum impulse
This training programme must only be chosen by
fully trained persons who are striving for a very
high level of training.
Improve your fitness!
General fitness has a lot to do with the capacity of
the heart/circulation system, which supplies the
muscles with oxygen via the blood. In the muscles
the oxygen together with other materials is burned
and converted into energy. This is energy that is
necessary for day-to-day life (aerobic condition).
Being fit means that the heart and the lungs work
effectively. A strong heart requires fewer strokes to
deliver the required amount of oxygen and is
therefore less stressed. A good level of fitness
also protects the heart and makes you less
susceptible to sickness and physical complaints.
Nourishment:
Healthy nourishment also contributes to the result:
avoid stimulants such as coffee, nicotine and
alcohol. Use satisfactory, vitamin-rich nourishment
and ensure you have sufficient sleep. Support the
build up of the muscles with protein-rich foodstuffs.
A balanced diet results in loss of weight.
Overweight occurs when more energy is absorbed
than is used. Do not train on a full stomach. Do
not eat a meal about one hour before or after a
training session.
Don't forget the liquid intake!
When training in particular the human body loses
more liquid. It is therefore very important to
maintain the liquid level by drinking sufficient liquid
and to replace body minerals lost by sweating.
Drink at least 2.5 litres of liquid throughout the
day. Shortly before a training session drink a little
liquid (0.3 litre) slowly and evenly. Also during the
training session you must drink sufficient liquid to
keep your performance level up. The action of
sweating means that large quantities of water,
minerals and electrolytes are lost, which very
quickly leads to a diminution of performance. After
the training session t is advisable to drink a liquid
that is rich in carbohydrates (e.g. apple juice) to
speed up recovery of the body.

Stretching of the chest,
shoulder and arm muscles
Stretch the arms sideways to
the rear and place the feet
astride at shoulder width. Now
tension the stomach and push
your pelvis gently forwards.
Place your hands behind your
back as closely as possible
until you feel the tingling
sensation of stretching.
Stretching of the thigh
muscles (front)/
groin muscles
In the standing position raise
one leg and grasp the instep of
the foot with the hand on the
same side. Now tension the
stomach muscles and push
your pelvis forward until you
feel the tingling sensation of
stretching. Ensure that your
heel does not touch your
bottom.
Tip: use a chair as a support.
7
Training tips
Warming up:
The first 5 to 7 minutes of your training session
should always begin with a slowly increasing
WARM UP phase. This is especially important for
your muscles because when they are slowly
warmed up they are much better prepared for
extreme stress. Make normal movements that are
comfortable for you: walk on the spot, run on the
spot whilst moving your arms in various directions
(sideways-upwards, sideways-downwards, etc), or
jump or run on a trampoline. If you use your
training equipment for warming-up, do so slowly
and with a low resistance.
Cooling down:
Do not end your training session abruptly. To
enable your heart/ circulatory system to adapt to
the reduced stress, make use of a cooling down
phase. In the cooling down phase reduce the
training speed slowly and uniformly so that the
stress impulse slowly reduces
Recovery:
Your body requires specific rest periods to recover
and regenerate! In between the training days
rambling or a visit to the sauna are suitable
activities.
Training diary:
In order to improve the documentation and
evaluation of your training, it is advisable to keep a
training diary. An example is shown on page 4.
Stretching:
To improve your agility and to relax your body in an optimum fashion it is important to stretch your body
after each training session. Here are two examples. If you require more information about the subject of
"stretching" then you will find a wide selection of specialist literature in specialist shops.
Instructions for carrying out the individual exercises:
- For each exercise as soon as the tingling sensation of stretching is sensed, hold this state for about
15 - 20 sec and then return slowly to the start position.
- Now stretch the other side of the body in the same way, if requested to do so.
- Do not do stretching exercises in a jerky fashion.
- After completion of the stretching programme gently shake all muscles.
Example exercises:

8
13 Exercises for your health
Using the Power Roller you can do numerous exercises
to strengthen your upper and lower stomach muscles
and the diagonal stomach muscles. The photos in this
manual show the correct positions for the separate
exercises.
1. Basic exercise (for beginners)
This exercise is designed to strengthen the upper
stomach muscles. Lie on the floor or on a training mat.
Your head is resting comfortably on the head support,
your legs are bent, your back is lying flat on the ground.
Grasp the hand brace at the top. Now raise the upper
half of the upper body to a maximum of 45°, with your
back remaining on the floor. Then return to the starting
position. Repeat the exercise 10 to 15 times.
3. Basic exercise with legs placed to the side
(for beginners)
This exercise strengthens the diagonal stomach muscles.
The exercise is carried out in the same way as basic
exercise number 1, but place the drawn up legs to the right
side of the body. After 5 to 7 repetitions place the legs on the
left-hand side and repeat another 5 to 7 times. Ensure that
this time as well your head is resting on the head support, as
for this exercise your back is raised slightly from the floor.
2. Basic exercise with legs slightly raised
(for beginners)
This exercise trains the lower stomach muscles. The
exercise is carried out in the same way as basic exercise
number 1. The feet are however not placed on the floor but
raised slightly (about 3 cm). Repeat 10 to 15 times.
When your stomach muscles are a bit stronger and you can repeat the beginners' exercises
several times without problem, it's time to transfer to the more intensive exercises for advanced
users. Remember to stretch for a few minutes before starting training.
Upper
stomach muscles
Diagonal
stomach muscles
Lower
stomach muscles
YOUR COMPLETE TRAINING PROGRAMME

9
YOUR COMPLETE TRAINING PROGRAMME
4. Basic exercise with legs held still and drawn up to
the chest (for advanced users)
This exercise strengthens the upper stomach muscles. Lie
on the floor or on a training mat and pull the bent legs
upwards towards the chest, as shown in the illustration.
Raise the upper half of the upper body to a maximum of
45°, then return to the starting position. Keep your legs
drawn up during the complete exercise. Repeat 10 to 15
times. During this exercise you can rest the bent legs on a
chair.
7. Lifting up the legs (for advanced users)
This exercise is designed to train the upper stomach
muscles. Stretch your legs and lift them up as shown in
the illustration. Raise the upper half of the upper body
to a maximum of 45°, then return to the starting
position. Keep your legs outstretched during the
complete exercise. Repeat 10 to 15 times.
5. Basic exercise with drawing up of the legs
(for advanced users)
This exercise trains the lower stomach muscles. Bend
your legs and place them on the floor (start position).
Come up to a maximum of 45° and at the same pull the
bent legs towards the chest. Then return to the starting
position. Repeat 10 to 15 times. Remember: your head
remains resting on the head support!
6. Basic exercise with sideways placed legs slightly
raised (for advanced users)
This exercise strengthens the diagonal stomach
muscles. Bend your legs, place them sideways and hold
them slightly above the floor. Raise the upper half of the
upper body to a maximum of 45°, then return to the
starting position. Do 5 to 7 repetitions, place your legs on
the other side and repeat the exercise 5 to 7 times.
Using the following exercises you can increase your strength and agility further. Remember to
stretch for a few minutes before starting training.

10
YOUR COMPLETE TRAINING PROGRAMME
8. Exercise whilst drawing up of the legs (for
advanced users)
This exercise strengthens the lower stomach muscles.
Stretch your legs and raise them slightly from the floor
(start position). Raise the upper half of the upper body
to a maximum of 45° and at the same time pull the
bent legs towards the chest. Then return to the starting
position. Repeat 10 to 15 times.
11. Jack-knife exercise (for experts)
This exercise strengthens the lower stomach muscles.
Stretch your legs and raise them slightly from the floor
(start position). Raise the upper half of the upper body
to a maximum of 45°, whilst stretching both legs
upwards. Then return to the starting position. Repeat
10 to 15 times. The head rests on the head support and
the back remains on the floor!
10. Cycling exercise (for experts)
This exercise strengthens the lower stomach muscles.
Start position: head on the head support, back flat on
the floor. Stretch your legs and raise them slightly from
the floor. Lift the upper half of your upper body to a
maximum of 45°. Whilst doing so bend one leg and
move it in the direction of the chest. Then return to the
starting position. Repeat the exercise 10 to 15 times
and change to the other leg after every repetition.
Only start the exercises for experts when you have mastered the exercises for advanced users.
9. Exercise with sideways placed and slightly
raised legs (for advanced users)
This exercise trains the diagonal stomach muscles.
Stretch your legs and raise them slightly from the floor
(start position). Raise the body to a maximum of 45°
and at the same time bend your legs sideways. Then
return to the starting position. Repeat the exercise 10
to 15 times and change sides after each set.

11
INSTRUCTIONS
13. Leg scissors (for experts)
This exercise strengthens both the upper and the lower
stomach muscles. Raise the outstretched legs, slightly
spread, from the floor. Lift the upper half of your upper
body to a maximum of 45°. This is the start position.
Cross the legs and then return to the start position.
Repeat the exercise 10 to 15 times and move the right
leg over the left leg alternately and then reverse the
procedure.
12. Leg pendulum (for experts)
This exercise trains the diagonal stomach muscles.
Stretch your legs and lift them up. Lift your upper body
to a maximum of 45° This is the start position.Allow the
stretched out legs to drop to one side and then return to
the start position. Repeat the exercise 10 to 15 times
and change sides after each set.
Specification:
Weight: approx. 3.5 kg, dimensions: approx. 60x70x65 (LxWxH)
Cleaning
Clean the equipment after each training session, to prevent damage by perspiration. Do not use
any sharp objects when maintaining the equipment. Use a damp cloth for cleaning.
Maintenance
After a maximum of three months use check that all screws are fully tightened. Tighten them if
necessary
YOUR COMPLETE TRAINING PROGRAMME

Warranty conditions
Warranty periods
The training equipment has a warranty of 2
years for home use.
Area of use: H = House
Exclusively private use
Purchase note and serial number
If under the terms of the warranty you wish to
take advantage of a service we will need a
copy of your dated receipt. Always keep your
receipt and in the event of a claim under the
warranty send us a copy of it as an
attachment to your service order. Only then
are you assured of a correct handling.
Warranty conditions
The warranty applies from the date of
purchase by the end-user for all newly
acquired products that are purchased by
authorised business partners of Accell
Fitness.
For showroom models the warranty applies
from the purchase date by the initial
purchaser, in this case the specialist dealer.
The warranty applies with reservation of other
agreements between the seller (specialist
dealer) and the purchaser (end-user or
retailer)
We guarantee that our products procured via
specialist dealers are free of faults.
This warranty does not apply to damage that
results from:
- deliberately incompetent use,
- faulty/missed maintenance,
- maintenance interval not adhered to
- ingress of moisture (e.g. perspiration),
- incorrect installation,
- excessive force
- repairs or changes carried out by non-Accell
Fitness recognised technicians.
WHAT WE MEAN BY WARRANTY:
The Accell Fitness warranty means that during
the warranty period you will not incur any costs
for replacement parts and maintenance or
repairs. Excluded in this respect are
components subject to wear such as rubber
strips, foam rubber handles, etc.
Service outside the warranty
Your specialist dealer or Accell Fitness are
also available to help you with problems when
faults occur after expiry of the warranty period,
or for cases that do not fall under the warranty.
In this case contact your specialist dealer or
Accell Fitness immediately. We will deal with
the administration and execution of the work
by a service technician.
Note:
Even though we place a great deal of
emphasis on quality control, faults can
sometime occur. These faults can normally be
fixed by replacing individual parts so that
return of the complete unit is not necessary.
Please consult us before returning equipment.
Table of contents