1. Blender Components
Lid
High Borosilicate
Glass Container
Blade Assembly
Main Unit
Power Button
Charging Port
Base
Important Considerations:
1. Due to the manufacturing process, the glass container may have slight variances. If the lid leaks or
doesn't fit properly, check for correct alignment.
2. For optimal charging, plug in the blender for 3 to 5 hours before use.
3. The ideal blending ratio is 100 grams of solids to 200 grams of liquids (±%10).
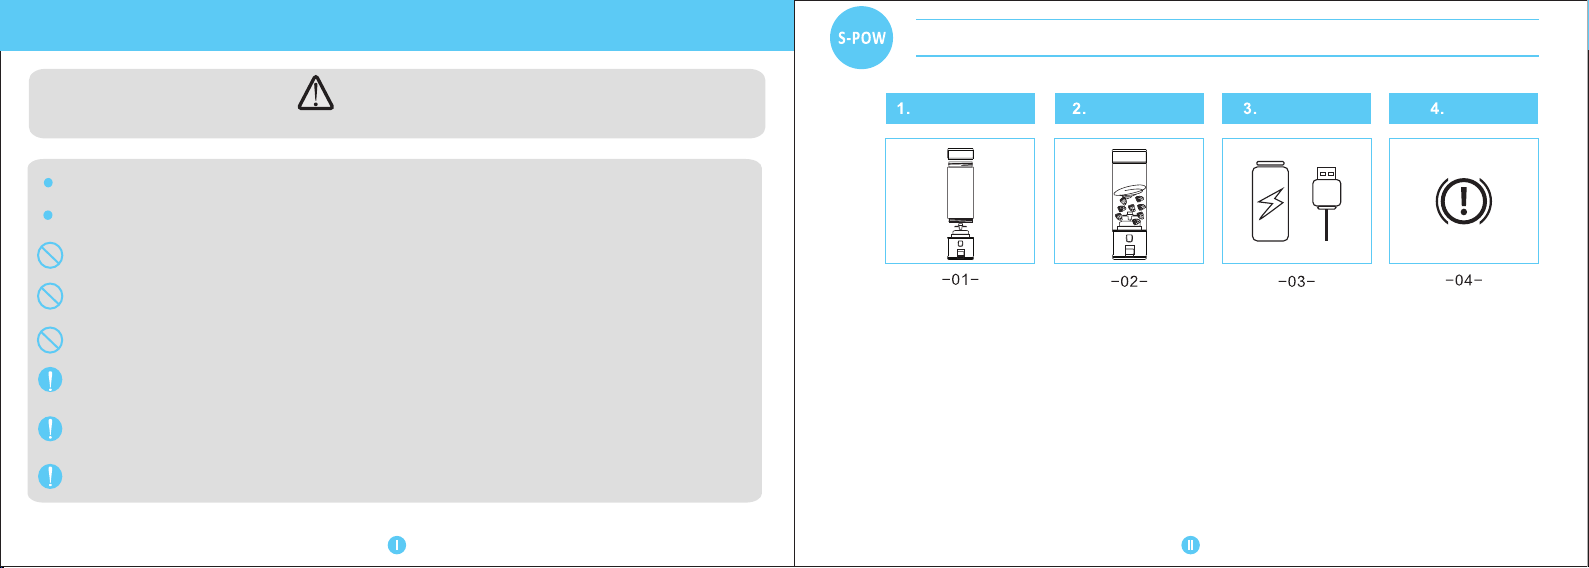
Indicator Lights Guide
1. Blending Mode: Activate by pressing and holding the power
button for 2 seconds. The blender begins automatically; a white
light indicates operation. The blender stops after 45 seconds,
signaled by the white light turning off.
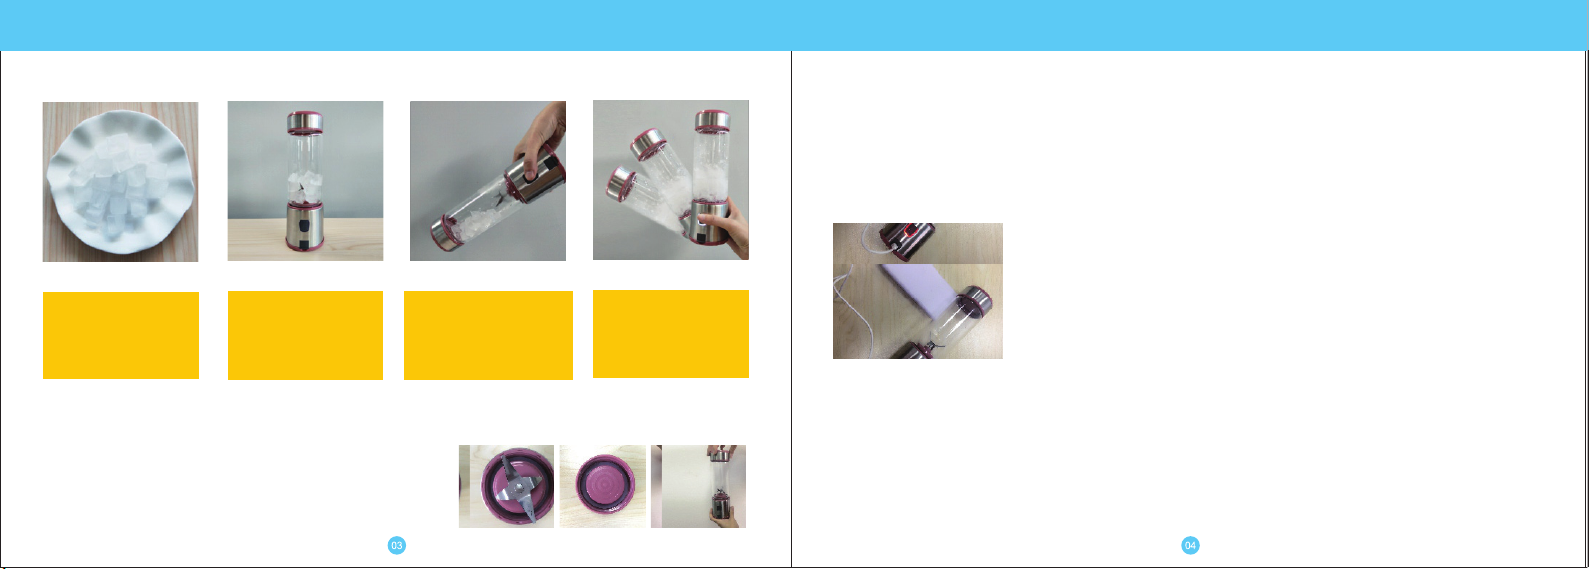
2. Ice Crushing Mode: Initiate by double-pressing the power
button rapidly. The blender will start and stop automatically after
45 seconds, with a white light indicating the active status.
3. Charging Status: Connect the blender to a USB charging cable,
and a red light will signal charging. A white light will illuminate
once the blender is fully charged and ready for use.
4. Jug Detection: If the jug is incorrectly attached or removed from
the base, a red light will flash 5 times to indicate improper
installation.
5. During Charging: The blender will not operate while charging,
regardless of how many times the power button is pressed.
6. Overload Protection: If the blender is obstructed or overloaded
during use, it will automatically shut off, and the red and white
lights will alternate to signal the stop.
7. Low Battery: A red light flashing 10 times indicates that the
battery is low and requires charging.
2-Operating Instructions
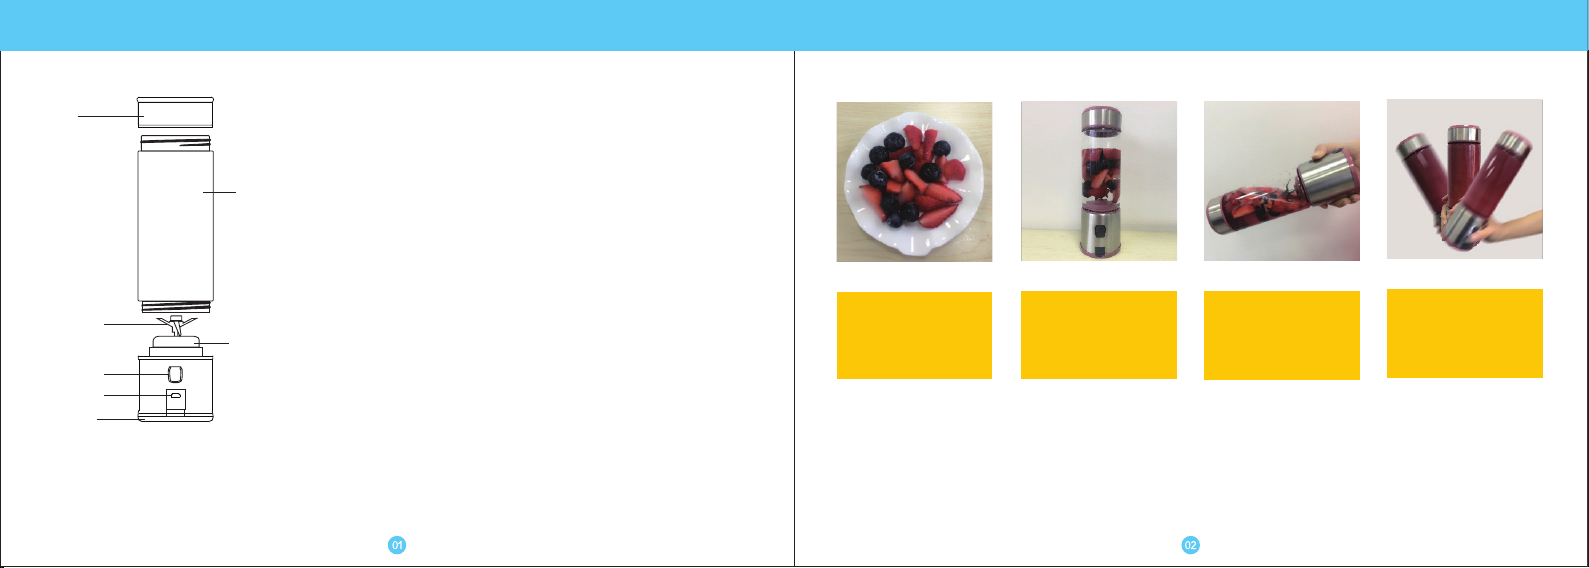
Blending Function:
1. Preparation: Chop
ingredients into
small pieces,
removing any skin or
seeds.
2. Filling: Add water
or milk to the
ingredients in the
container.
3. Activation: Tilt the
blender to a 45-degree
angle, then press the
power button for 2
seconds to start.
4. Enhancing
Texture: Gently
invert the blender to
mix and improve the
texture of the blend.