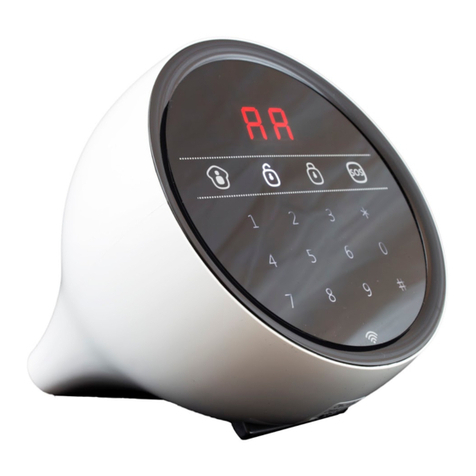
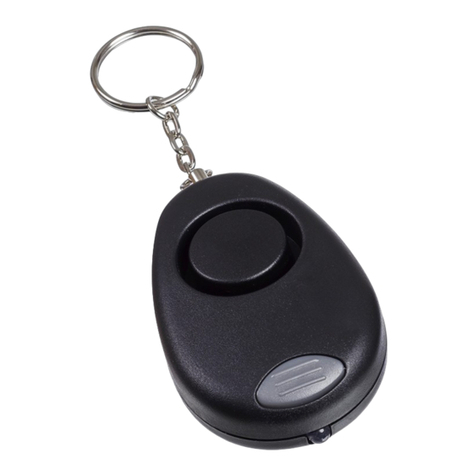
PPP Taking Care Personal Alarm Instruction manual

Your
Personal
Alarm
QUICK USER GUIDE

PPP TAKING CARE
Welcome
This step-by-step guide has simple to follow
instructions on how to install the alarm, if you
have chosen our self-connect option, as well as
advice on operating the alarm.
Thank you for choosing a
Personal Alarm Service provided
by PPP Taking Care.

Power adapter
Pendant, neck cord
and wrist strap
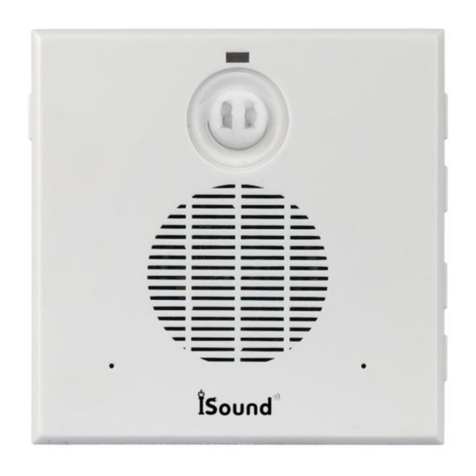
Alarm unit
Telephone adapter Telephone lead
We’re happy to help if you have any questions
Please call us on 0800 085 7310
What’s in your
Personal Alarm box?
ABC


PPP TAKING CARE 4
Contents
How to set up your Personal Alarm
Setting the time and date on your
alarm unit
Activating and testing the alarm unit
Using your alarm
Making an emergency call
Lights on your Personal Alarm
explained
Troubleshooting and installation
advice
Extension phones/smart boxes/
modems/TV set top boxes
Some hints and tips
Common faults and solutions
Specifications
Declaration of Conformity
................................ 5
.............................................................................. 7
........................... 10
................................................................ 13
............................................... 15
............................................................................. 17
................................................................................... 19
.............................................. 20
........................................................... 21
........................................ 23
..................................................................... 24
................................................. 25

PPP TAKING CARE
How to
set up your
Personal Alarm
Your alarm unit has been set up with
your details and those of your nominated
emergency contacts to make installation
as simple as possible
STEP ONE
Connecting the leads and adapters
Unplug any existing telephones
from the telephone wall socket (or
broadband filter if fitted) then plug
the telephone adapter (A) into the
alarm unit socket labelled
and plug the telephone into the
telephone adapter (A).
1A
A

6
Plug the telephone lead (B) into
the alarm unit socket labelled
'LINE' and the telephone wall
socket.
1B
B
Plug the power adapter (C) into the
alarm unit socket labelled 'DC' and
then connect to the mains power.
1C
C
NOTE:
Ensure the
mains power is
switched OFF
NOTE:
Only use with the
power adapter
supplied with the
alarm unit
'LINE'
NO BROADBAND BROADBAND
If your home has broadband,
please ensure the alarm unit
is plugged into the ASDL filter
provided by your broadband
supplier (B+).
'DC'
B
B+

Your home telephone must be plugged into
the white adapter (as per Step 1). The alarm
unit must be plugged in to mains power and
switched ON with the green LED light on.
Setting the time
and date on your
alarm unit
STEP TWO
To set the clock:
Press and hold the green cancel
button for 6 seconds until the unit
beeps once.
2A
Cancel
PRESS and HOLD 6s
2B
Release the button and unit will
announce “programming mode”.
Cancel
and RELEASE

8
2C
2D
Lift the handset of the attached
telephone and press on your telephone
keypad ...
* *
6 1 DD MM YY HH 1 1 *
MM
For example - 21st June 2019 at 4:35pm would be:
Replace the telephone handset and
press the green cancel button once
to exit the programming mode.
NOTE:
The real-time 24 hour clock in the alarm unit automatically
adjusts when the clocks go forward or back. During power
cuts the clock is backed up by the alarm unit’s battery for
up to 40 hours. However, if the unit is powered down or the
battery is depleted, then the clock must be reset again once
the power is restored. Please follow the above instructions
* *
6 1 21 06 19 16 1 1 *
35
NOTE:
Use your keypad to
type in the individual
numbers to match
the current date
and time
• DD - represents the day of the month (01-31)
• MM - represents the months (01-12)
• YY - represents the two digit year (00-99)
• HH - represents hours 00-23 (24 not an option)
• MM - represents minutes 00-59 (60 not an option)
• 1 - daylight saving zone - BTS
• 1 - auto update


10
Activating
and testing
the alarm unit
STEP THREE

PPP TAKING CARE
Activate and test your unit by pressing
the red button on the alarm unit. This
will generate a call through to the
Emergency Resolution Centre.
3A
When the operator answers via the
alarm unit, let them know that you
have just installed the alarm unit. The
operator will welcome you to the
service and check they have your
correct contact details, prior to guiding
you through the testing process.
3B
Cancel
Help

12
After your previous call has been
closed down by the operator, press
your pendant button while standing
in the room with the alarm unit. The
operator will guide you through a
testing process from several points in
your home and garden, so that you
are able to establish the range of the
system. Each time you press your
pendant you will need to return to the
alarm unit and speak to the operator
who will confirm the test has been
successful.
Once you have made your final
pendant range test the operator
will then close down the call.
3D
3C
Your Personal
Alarm Service
is ready to use

PPP TAKING CARE
YOUR PENDANT
Using
your alarm
The pendant works with your alarm
unit. When you press the button, a
red light will show and the alarm will
be activated and alert our 24 hour
Emergency Resolution Centre. The
operator will know who you are and
where you live, even if you cannot
speak or hear them. Please try to
remember to wear your pendant all
the time, either around your neck
or on your wrist so that you always
have the means to call for help. You
can even wear it in the shower.
• Water resistant (Up to 1m for 30min)
• A minimum of 50m radio range
• Auto low battery warning
The pendant has the
following features:
NOTE:
The pendant will
automatically
tell the 24 hour
Emergency
Resolution Centre
when its battery
is low, and they
will contact you
to arrange a
replacement

14
YOUR ALARM UNIT
The unit enables you to contact
our 24 hour Emergency Resolution
Centre should you need help. The
alarm unit needs to stay plugged
into a power socket and telephone
socket at all times to work properly.
Radio Antenna
Speaker
Help/Alarm Button
(Red) Microphone
Status Light
(Red/Green)
Cancel Button
(Green)

PPP TAKING CARE
•
If you need help, press either
your pendant button or the
red button on the alarm unit.
The alarm indicator will flash red.
The alarm unit will announce ‘Do
not worry, your alarm telephone
is dialling for assistance’ and you
will hear several tones as the
unit contacts the Emergency
Resolution Centre.
•
When an operator speaks to you
through the alarm unit, explain
your problem. They’ll know who
you are, where you live and your
medical history.
•
If the operator cannot hear you,
or you cannot speak, they will
call your house phone just to
rule out any false alarms.
•
We will ask a keyholder to check
on you, and if necessary contact
the emergency services.
Cancel
How to make an
emergency call
MAKING AN ALARM CALL
Help

16
If you press the red help button
by accident, just wait 5 seconds
and press the green cancel button
on the alarm unit. The unit will
not let you cancel immediately
(to avoid accidental cancellation).
You will know your alarm has been
cancelled when the alarm unit
announces ‘The alarm call has
been cancelled’.
CANCELLING AN ALARM CALL
Cancel
Help
Home/Away
Please test your alarm monthly
by pressing your pendant button
(we recommend the day of your
birthday for easy reference).
Don't worry about manually
testing your alarm unit - this will
automatically test itself monthly.
PERIODICALLY TESTING YOUR ALARM
(inoperative)

PPP TAKING CARE
Lights on your
Personal Alarm
explained
THE LIGHT ON YOUR PENDANT
When the button is pressed on
the pendant it will display a small
red light. If this light flashes,
this means that the pendant’s
battery is low. The pendant will
automatically notify the 24 hour
Emergency Resolution Centre
who will contact you to arrange
a replacement pendant. You don’t
need to do anything.
In the unlikely event that the
pendant does not light, the
alarm call may not have been
transmitted. You must contact
Customer Services on 0800
085 7310 as soon as possible to
arrange a replacement pendant.
Flashing light = low battery
When button is pressed a
small red light will display

18
STATUS LIGHT GREEN/RED ALARM UNIT STATUS
Green light on Normal mode
Red light flashing
(every 4 seconds) Low battery
Red light flashing
(every second) Telephone line disconnected
Red/Green flashing Radio interference detected
HELP BUTTON RED ALARM UNIT STATUS
Red light on Normal mode
Flashing (every 4 seconds) Normal mode running
on battery
Flashing (every second) Alarm call raised
THE LIGHTS ON YOUR ALARM UNIT
Status Light
(Red/Green)
Help/Alarm Button
(Red)

PPP TAKING CARE
Troubleshooting
and installation
advice
Warning: If all extension telephones are
not plugged into the back of the alarm
unit, in the event of an alarm call being
raised when a telephone extension is in
use or o the hook, the alarm call will not
reach the Emergency Resolution Centre.
If there is a fault on your telephone
line this will also prevent the alarm
call reaching the Emergency
Resolution Centre. It is your
responsibility to ensure your
telephone line is working and
report any faults to your telephony
provider.
Other manuals for Personal Alarm
1
Table of contents
Other PPP Taking Care Security System manuals

