Premier Screens Roller Fly User manual

TEL: 01254 386776
Roller Fly Screens
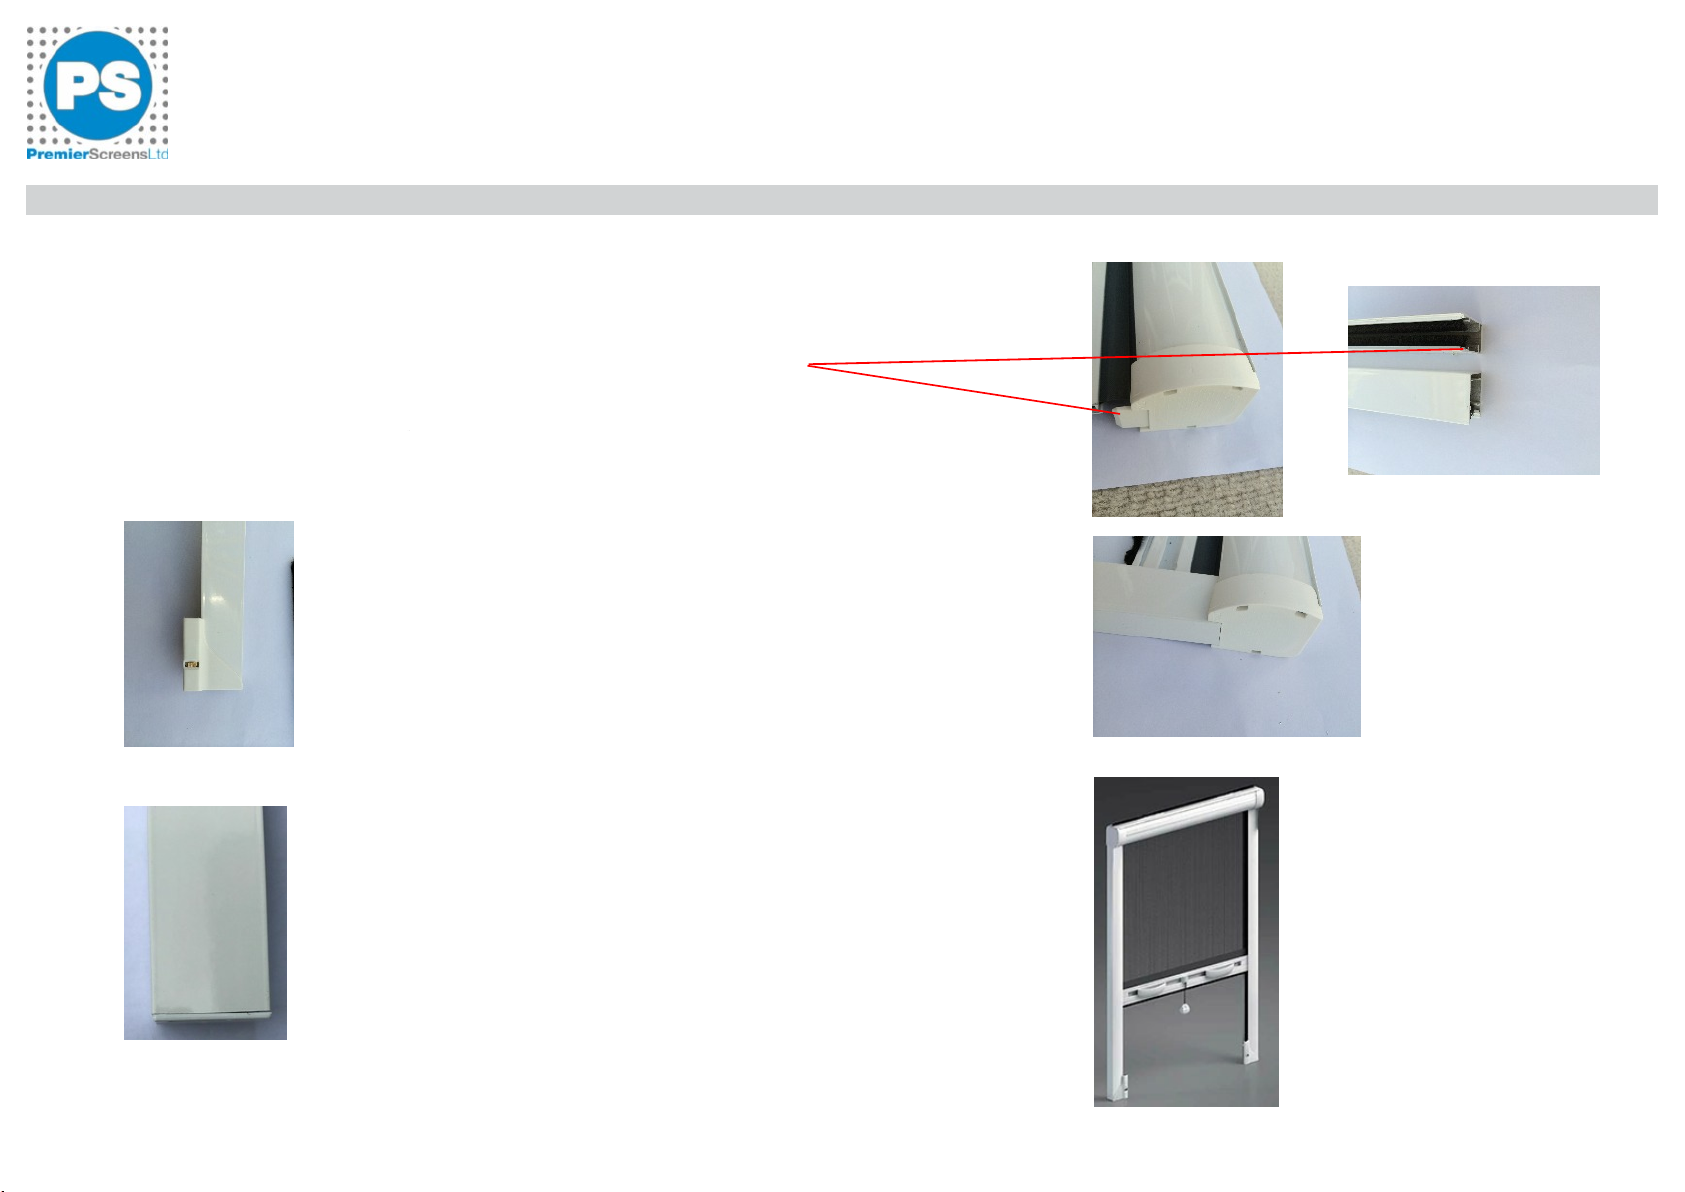
Each roller fly screen order will come with the following components
Ready assembled cassette x 1 Screws or silicone
Side guides x 2 Screws and cover caps if face fitting
Thank you for purchasing a roller fly screen, we are confident that you won’t be disappointed with the quality and ease of installation. Your screen will have been delivered
with all return springs, bearings and brakes, if selected, ready assembled. The 2 side guides will be separate but these simply slot onto the cassette in a matter of seconds.
TEL: 01254 386776
Roller Fly Screens
Your screen will arrive in 3 sections, the cassette will be ready assembled and the 2 side guides
will be separate, simply slide the side guides onto the end of the cassette
The side guides will have catches at the base, either the external catch
or internal, whichever you have chosen.
The external catch faces into your room
The internal catch has 2 cut out slots in the base, make sure that these go nearest
to the window as this signifies where the internal catch is located.
If you have opted for a base bar then this will need to be screwed onto the window
frame to hold the screen in place.
External
Internal
TEL: 01254 386776
Roller Fly Screens
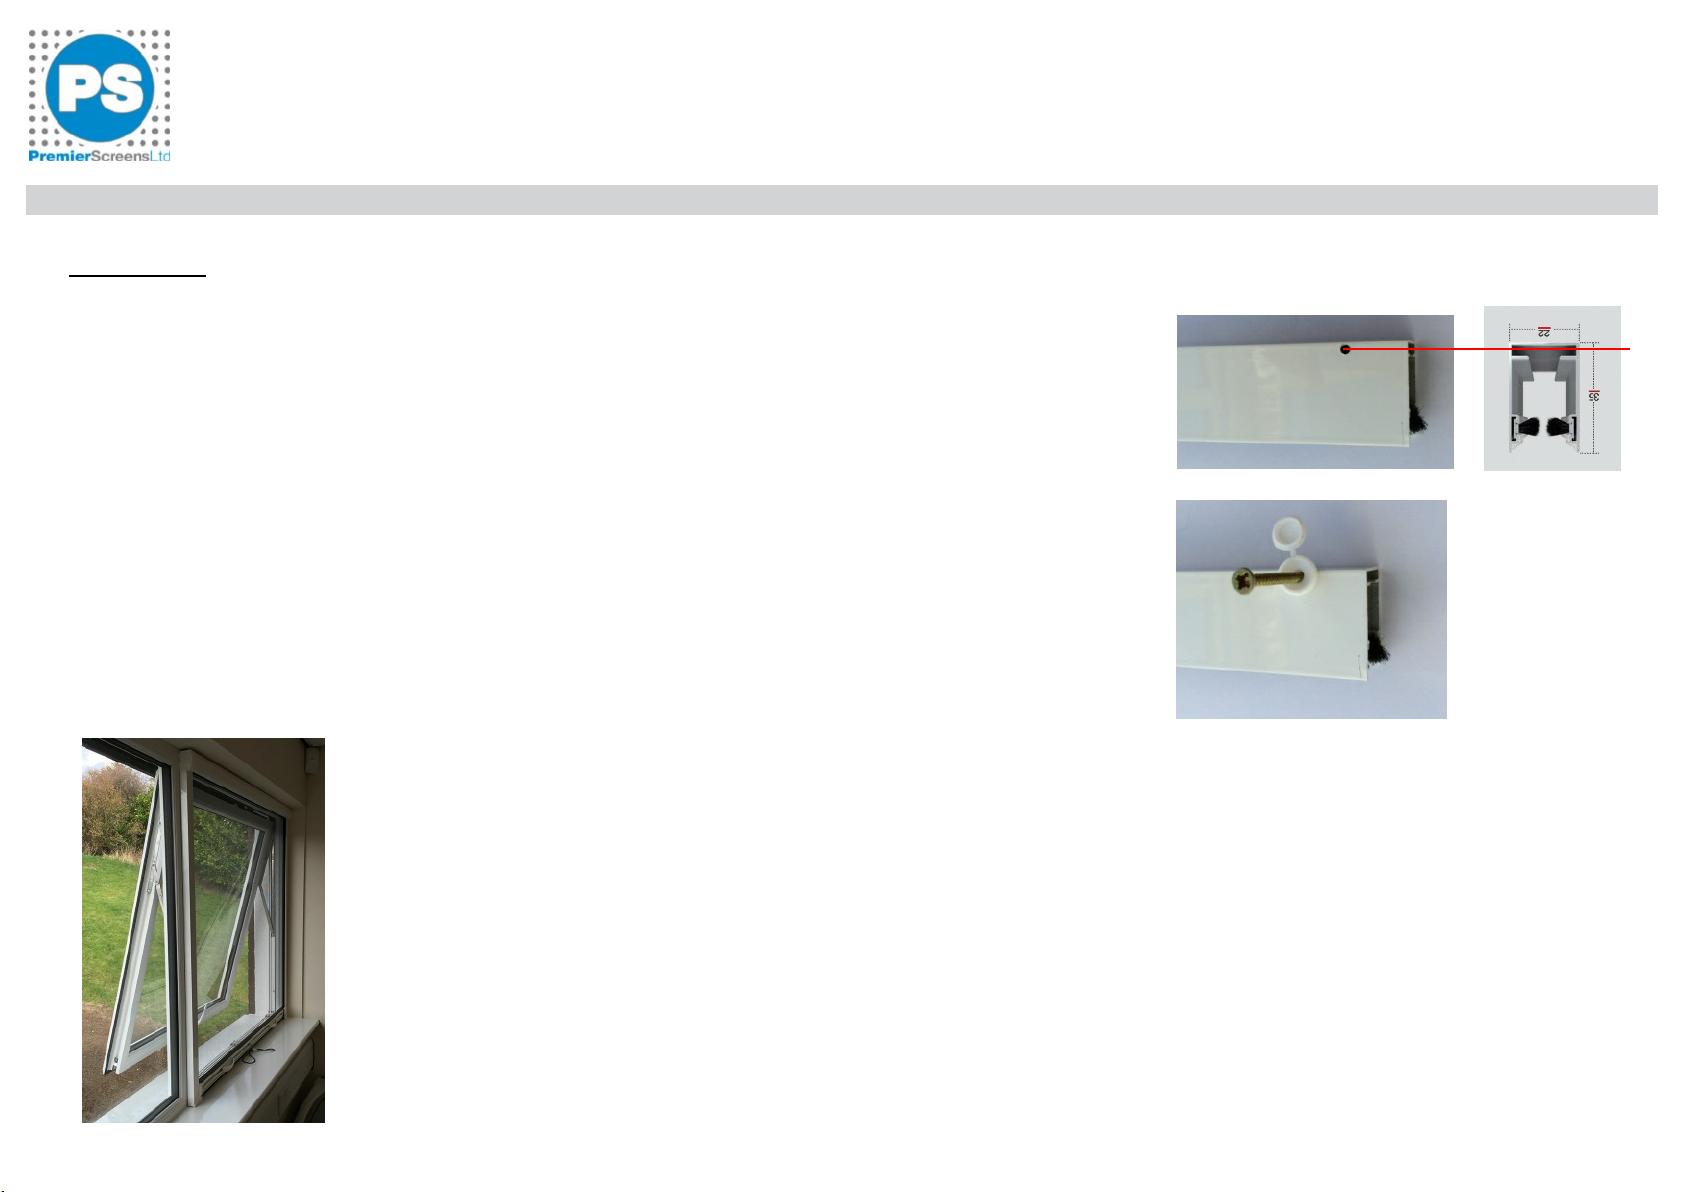
FACE FITTING
This method of installation is when the roller screen is installed directly onto the window frame.
To install the roller fly screens onto the face of the window frame you have 2 options, either silicone or screw fit.
To screw fit the screens you will need to drill 2 holes in the side guides ensuring the screw goes between the
lugs.
Then using the screws and cover caps secure the unit to the window frame.
The silicone installation is described on the following pages.
The screen is fixed directly to the face of the window frame.

TEL: 01254 386776
Roller Fly Screens
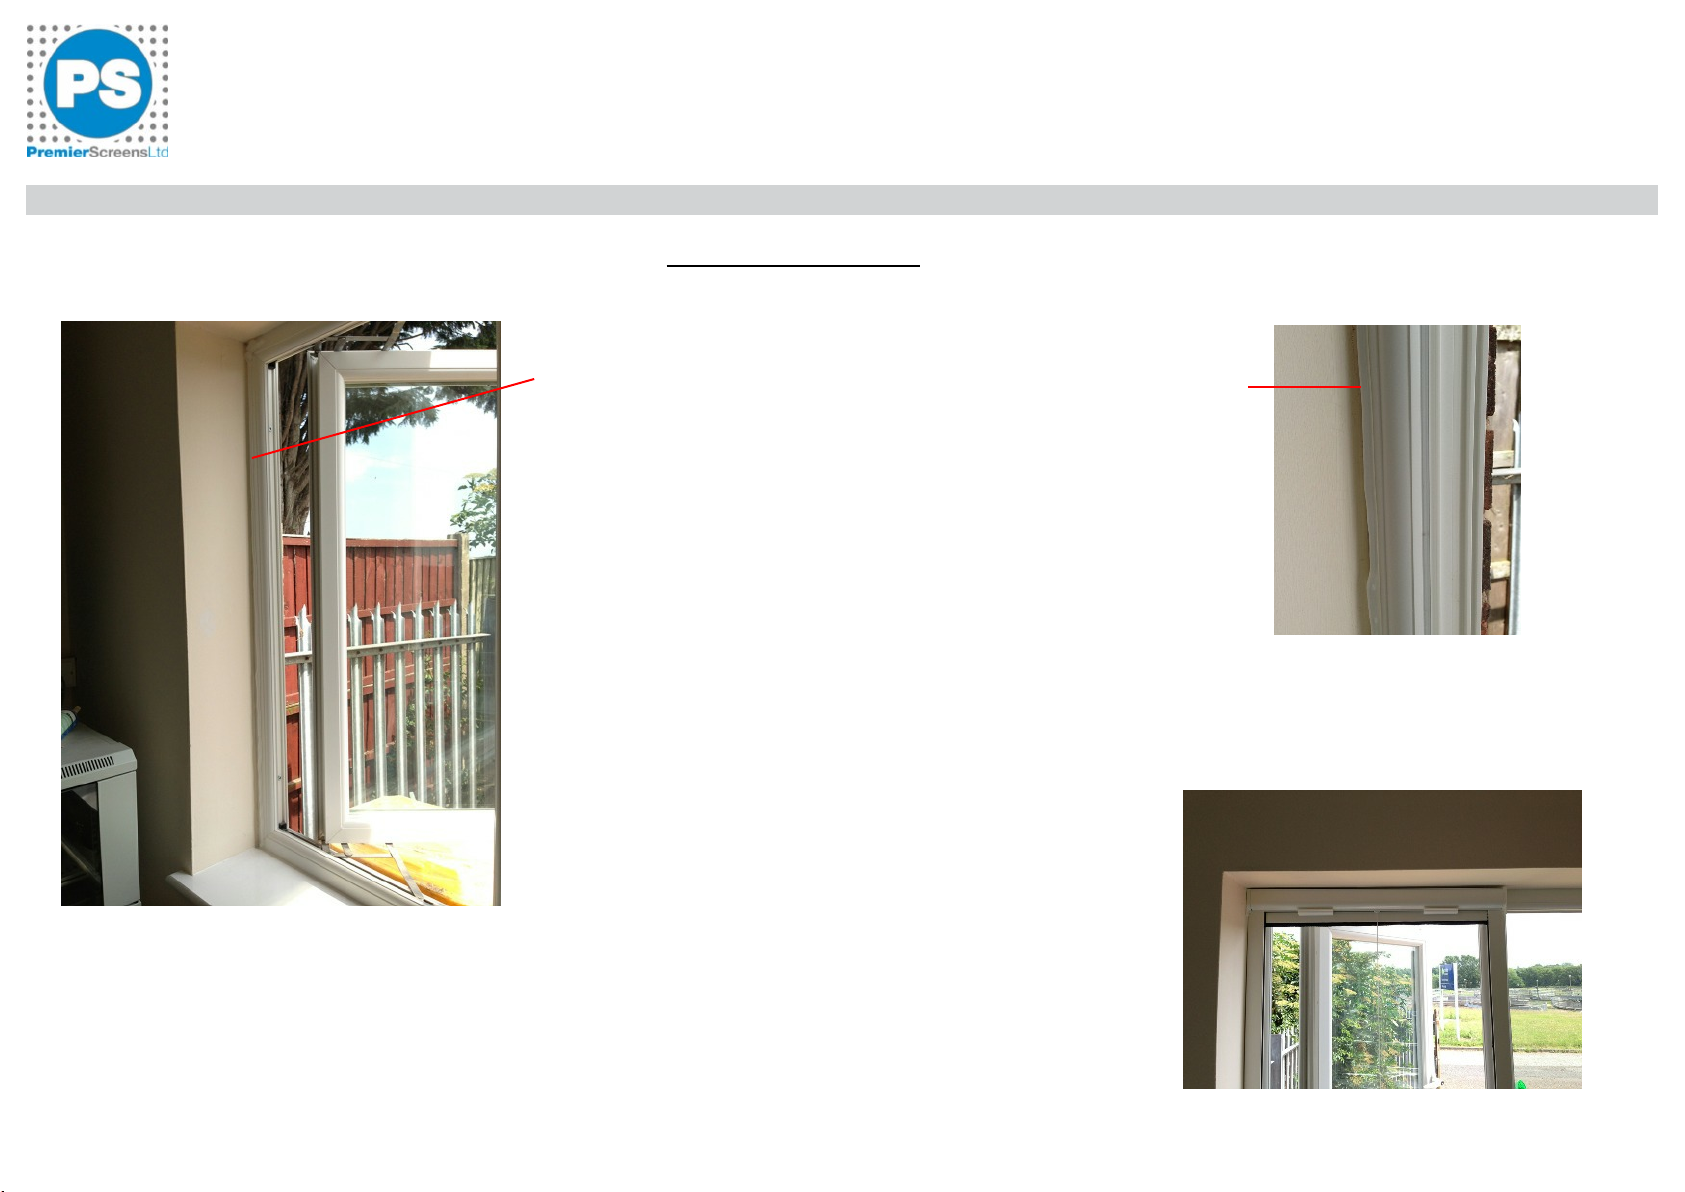
REVEAL INSTALLATION
This is when the screen is installed into the recess of the window, the screen can be set back away from the window or can
be against the window frame, depending on your choice. If you were covering a large window opening with 2 openers you
can set the screen back in the recess so that the screen can be operated with only one window open.
If you have opted for reveal install the end caps on the cassette will have expander springs inside. Simply compress the
end caps offer into the reveal and then release.
The screen can then either be screwed into position or you can use silicone to secure in position.
If you are using screws to secure the screen then you will need to drill through the side wall of the guide and then secure to your wall
with the supplied screws and wall plugs.
The side guide is fixed directly to the recess wall surrounding the window
TEL: 01254 386776
Roller Fly Screens
SILICONE INSTALLATION
Run a 10mm bead of silicone around the top and sides of the window frame
Once the cassette and guides are slotted together offer them onto the
window frame and push firmly to seal to the silicone adhesive, checking the
operation of the screen once in place.
Don’t worry if you need to adjust the screen as the silicone will stay flexible
for around 20 minutes.
If you ever need to remove the screen just run a sharp blade between the
screen and frame, our supplied silicone will never set hard.
TEL: 01254 386776
Roller Fly Screen Operation
We would like to thank you for purchasing the Premier roller fly screen. With over 20 years experience you can be assured that you have purchased a quality
product that will provide a long lasting solution to helping prevent the ingress of flying insects, spiders and birds. We kindly ask that you read this sheet
as it contains some important information for the safe operation of the screen.
Fly screens are designed to protect the ingress of flying insects and not to prevent people, pets or objects from gaining entry or from falling out of an opening.
OPERATION OF THE SCREEN
The roller cassette is a spring retraction operated insect screen. To put the mesh in position pull downwards on the handles
or centre pull cord and when the base bar meets with the window sill ensure that the bar sits behind the end stop catches.
To release keep hold of the base bar and gently move it away from the catches and let it retract keeping hold of the
bar, handles or cord at all times until it has full retracted.
For doors it is the same operation but it will lock onto the magnetic strip instead of the catches.
CLEANING
The mesh can be cleaned by vacuuming or for heavy soiling use warm soapy water allowing the mesh to dry before retracting. There is also a proprietary cleaner
available from Premier which is suitable for regular cleaning in commercial situations.
It is important to ensure that the side guides are vacuumed out on a regular basis to remove any foreign objects which could impede the retraction of the mesh.
The spring retraction cassette is recommended for operation by adults as the force of the retraction could cause harm if the base bar is released before being
fully retracted. DO NOT ALLOW CHILDREN TO OPERATE OR PLAY WITH THE SCREEN.
Please do not allow small children to operate the screen or play with the pull cords as these are a choking hazard. These cords are best removed by simply
cutting of or shortening, if there is a chance of children tampering with them.
!SAFETY
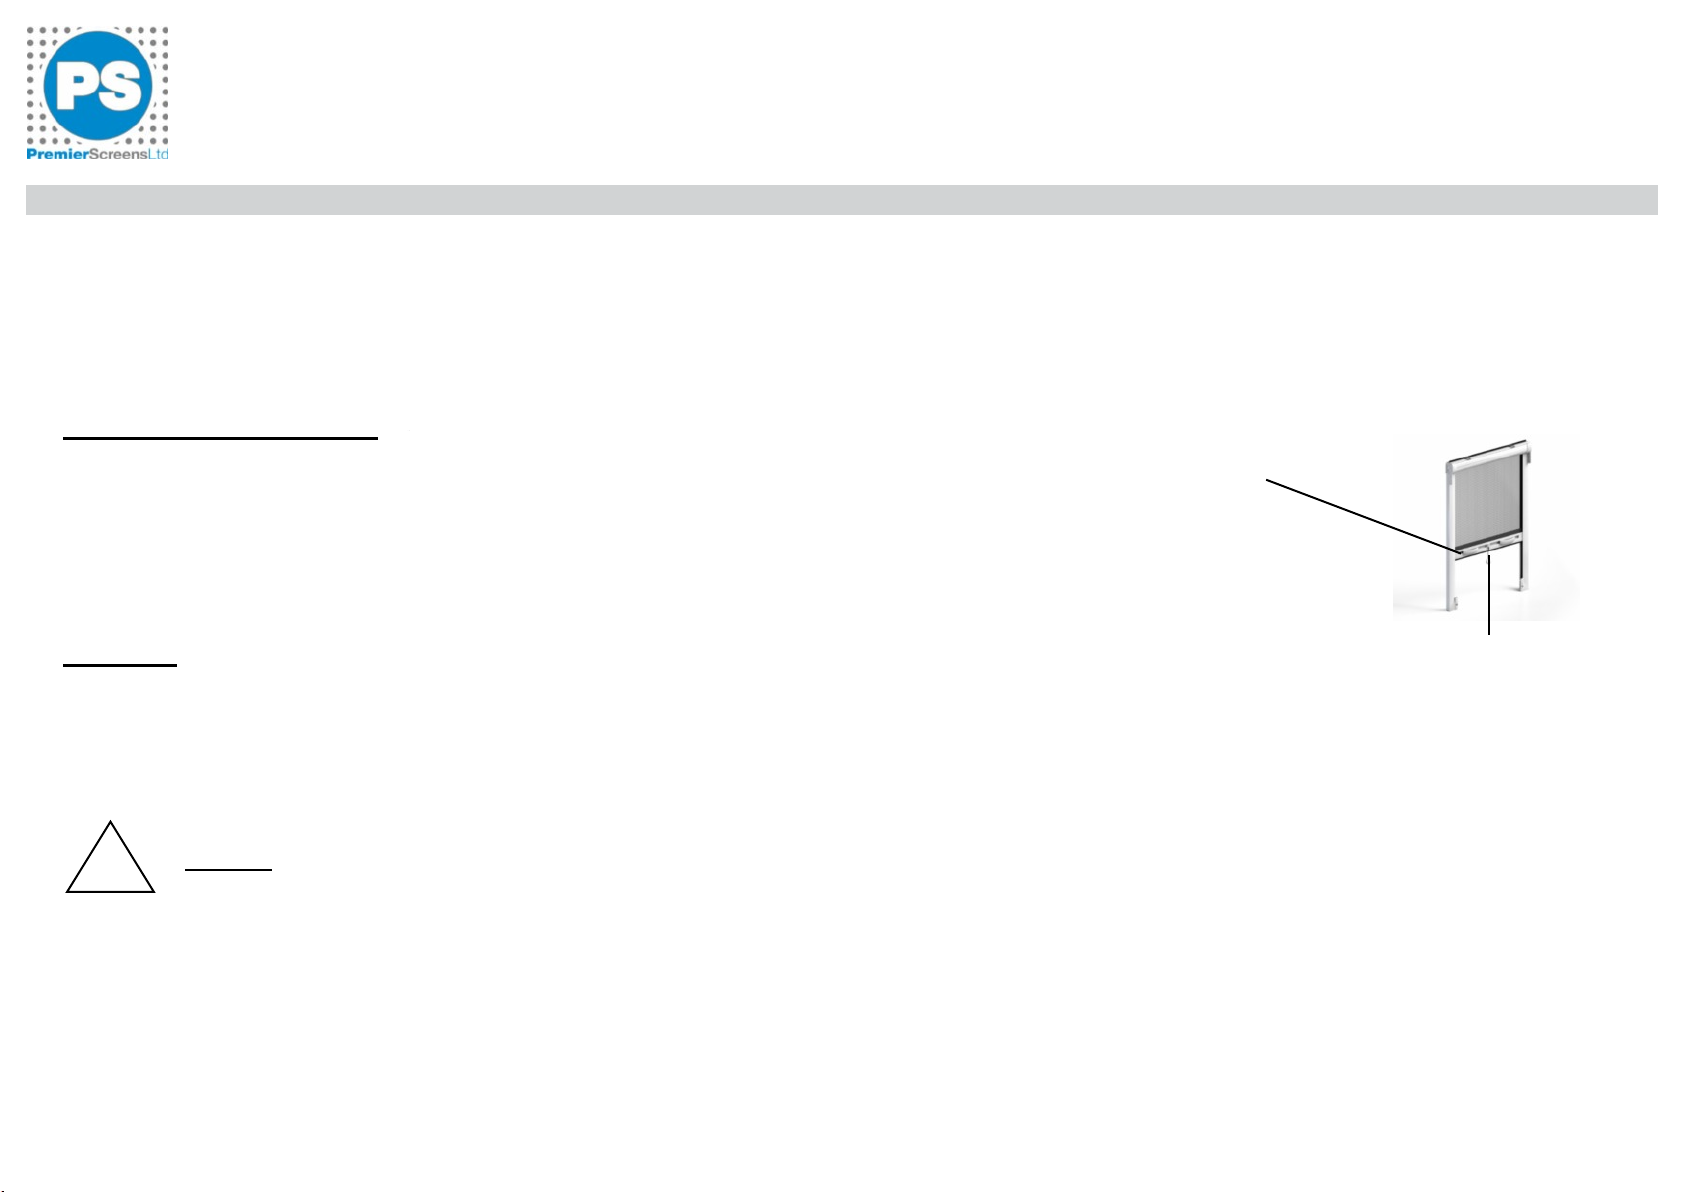
BASE BAR
CASSETTE
SIDE GUIDES

PRODUCT NAME - Roller Fly screen - PREM40
GENERAL - This is a spring loaded retractable fly screen.
The mesh is PVC coated fibreglass and the casings are polyester coated Aluminium.
CLEANING - To clean the casings use a non abrasive general purpose cleaning agent.
The mesh should be vacuumed on a weekly basis to remove any dust and pollen and
the tracks should be vacuumed to remove any debris. If there is any build up of grease on the mesh
then our specialist cleaning fluid PRC should be used, contact us on 01254 386776.
COSHH - Not Applicable
WARRANTIES - One years on all casings and internal workings, the mesh is excluded from
this warranty. Full warranty details are available on request.
MANUFACTURER - In case of damage please contact;
Premier Environmental Ltd
P.O. BOX 112
Accrington
BB5 2GS
Tel: 01254 386776
This manual suits for next models
1
Table of contents


