Prestige Platinum APS 95 BT3 Owner's manual

TRANSMITTER PROGRAMMING GUIDE
Model : APS 95 BT3
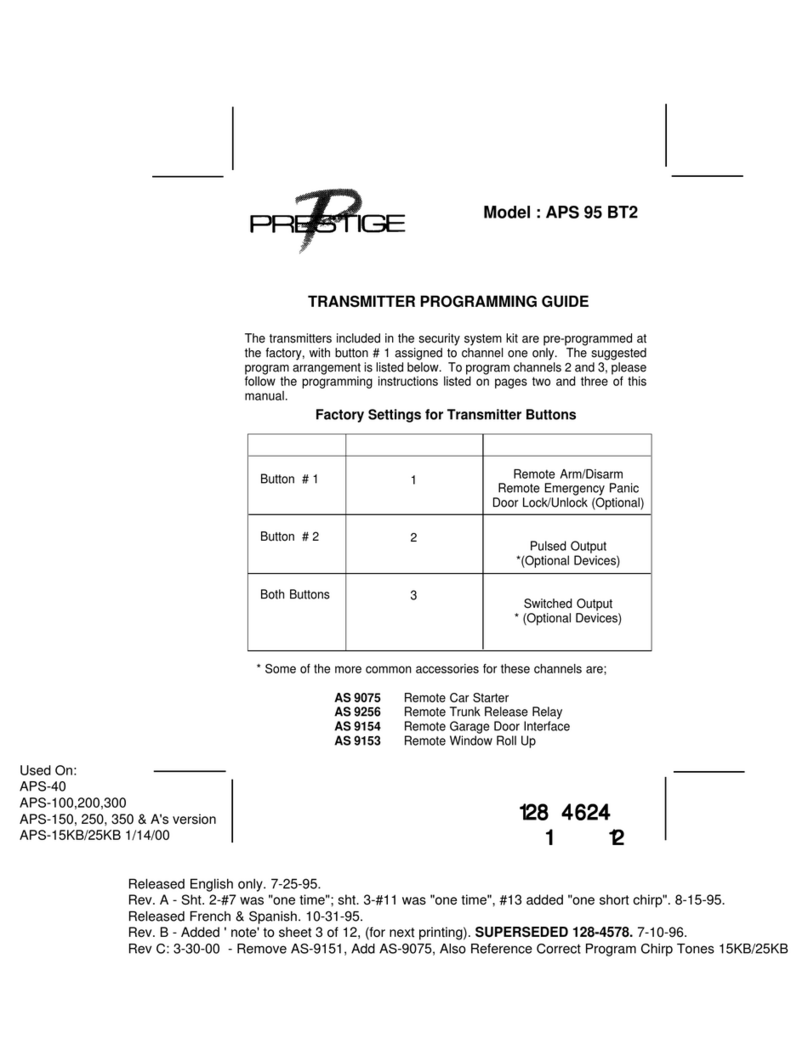
Thetransmittersincludedwiththesecuritysystemhavebeenpre-programmed
atthefactory,with each button pre - assigned to control a specificfunctionofthe
security system. Although the security system in the vehicle has either 3 or 4
channels(RECEIVER)dependingonthemodel,thetransmittersincludedwiththe
systemare7channeltransmitters.Thisallowsyoutoprogrameachtransmitterto
morethanonevehicleintwocarfamilies,andalsoallowsyoutochangewhichbutton
( s ) control certain functions of the system. ( Example: Transmitter channel 5
can be programmed to activate Receiver channel 2. ) Refer to the chart below
for access to each of the transmitter channels, and for the standard factory
button assignments.
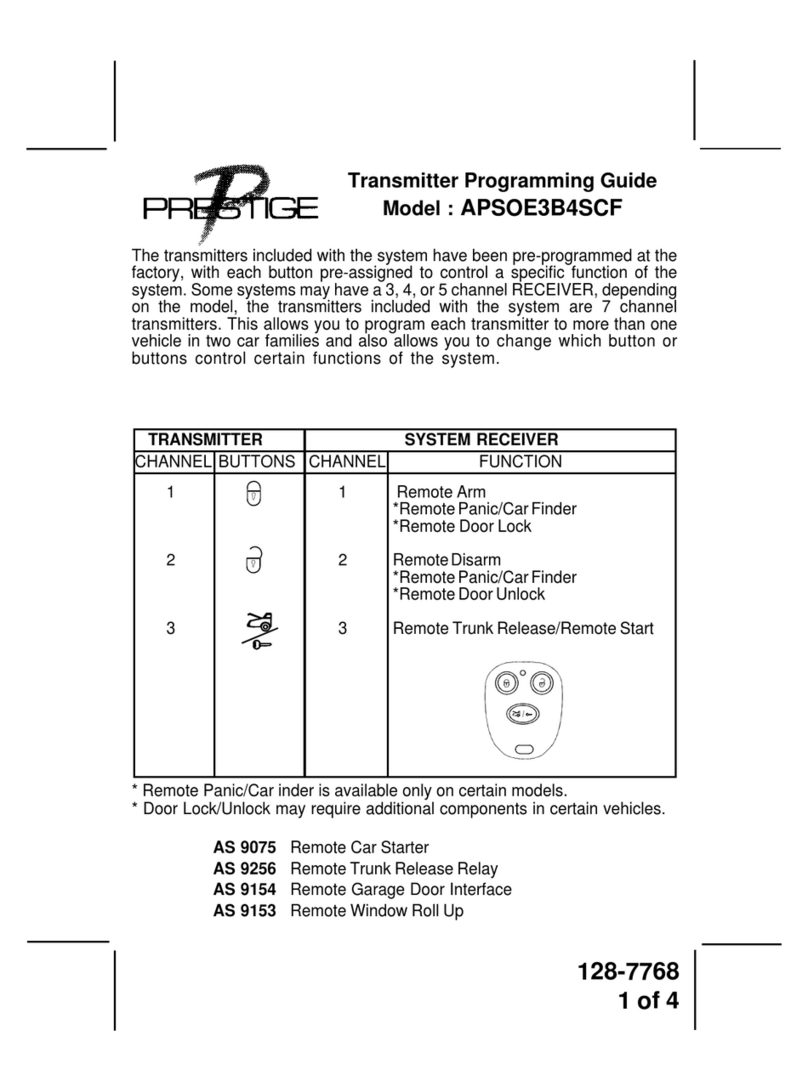
TRANSMITTER SYSTEM RECEIVER
CHANNEL BUTTONS CHANNEL FUNCTION
1 1 1 Remote Arm & Disarm
Remote Emergency Panic
Remote Door Lock & Unlock
2 2 2 * Pulsed Output for Accessories
3 3 3 * Switched Output for Accessories
4 2 & 3 4 * Switched Output for Accessories
51&2- -
61&3- -
7 1, 2, 3 - -
* Some of the more common accessories for these additional channels are;
AS 9151N Remote car starter
AS 9153 Remote window roll up
AS 9256 Remote trunk release relay
128-4619
1 of 12
Released (ENGLISH ONLY) 8-15-95.
Released French & Spanish. 10-31-95.

128-4619
2 of 12
PROGRAMMING THE TRANSMITTERS
It is important to remember that during programming, each individual step of
the procedure must be executed within 15 seconds of the previous step.
When the 15 second time limit is allowed to expire, the system will automati-
cally terminate the programming mode. This is indicated by a long chirp from
the siren.
Additionally,the systemwillstore codesfromupto fourdifferenttransmitters.
If a 5th transmitter is programmed to any receiver channel, then the first
transmitter programmed to that channel will be erased from the system's
memory.
To program new or additional transmitters,
1. Enter the vehicle, and turn the ignition key to the " on " position.
2. Flip the valet switch on - off - on - off - on - then off.
3. The dash L.E.D. will flash one time, and the siren will chirp one time,
indicating the system is ready to accept programming for receiver
channel 1.
4. Press and hold the selected transmitter button ( s ) until the siren sounds
a long chirp, indicating the signal has been stored into memory.
5. If you have additional transmitters ( up to 3 ) that need to be programmed,
repeat step 4 for each transmitter.
6. Flip the valet switch on then off.
7. The dash L.E.D. will flash two times, and the siren will chirp two times,
indicating the system is ready to accept programming for receiver
channel 2.
8. Press and hold the selected transmitter button ( s ) until the siren sounds
a long chirp, indicating the signal has been stored into memory.
9. If you have additional transmitters ( up to 3 ) that need to be programmed,
repeat step 8 for each transmitter.
10. Flip the valet switch on then off.
11.Thedash L.E.D. will flash three times, andthesiren will chirp three times,
indicating the system is ready to accept programming for receiver
channel 3.
12. Press and hold the selected transmitter button ( s ) until the siren sounds
a long chirp, indicating the signal has been stored into memory.

128-4619
3 of 12
13.Ifyouhaveadditional transmitters ( up to 3 ) that need tobeprogrammed,
repeat step 12 for each transmitter.
14. Flip the valet switch on then off.
15. The dash L.E.D. will flash four times, and the siren will chirp four times,
indicating the system is ready to accept programming for receiver
channel 4.
16. Press and hold the selected transmitter button ( s ) until the siren sounds
a long chirp, indicating the signal has been stored into memory.
17.Ifyouhaveadditional transmitters ( up to 3 ) that need tobeprogrammed,
repeat step 16 for each transmitter.
18.Turntheignitionkeyoff.Thesirenwillsoundoneshortchirpthenone long
chirp indicating the system has terminated the program mode.
TRANSMITTER BATTERY REPLACEMENT
You will notice a decrease in transmitter range as the battery condition
deteriorates.Transmitter battery replacementisrecommendedat leastevery
10 to 12 months, depending upon how frequently the transmitter is used.
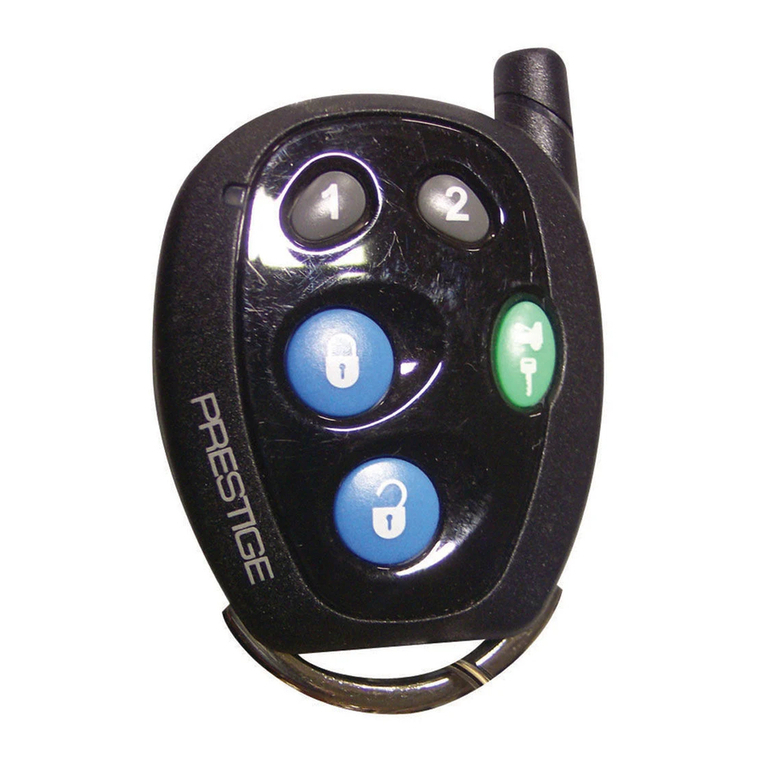
The transmitter has a small red L.E.D. built into the case. This L.E.D. can be
used to indicate battery condition. If the L.E.D. does not illuminate, then the
battery is discharged, and must be replaced.
To replace the transmitter battery,
1. Remove the small phillips head screw from the bottom cover of the
transmitter.
2. Carefully unsnap the top cover of the transmitter from the bottom cover.
3. Remove the discharged battery, making note of the location of the + and
- contacts, and replace with a new type GP 23A 12 volt battery.
4. Replace the transmitter cover, taking care not to damage the L.E.D. or
switches on the circuit board, and secure with the small phillips head
screw.

ORDER FORM FOR 3 BUTTON TRANSMITTER
MODEL NO. APS 95 BT3
IMPORTANT : To help us expedite your order, please print all of the
information legibly, and mail this form and your payment according to the
instructions below.
1. Name : ___________________________________________________
Address : _________________________________________________
City : __________________ State : _______ Zip Code : ___________
2. Telephone Number : ( _______ ) _______________________________
3. Enter the total number of transmitters required here : _______________
4. The cost per transmitter is $ 65.00.
5. Enter the total amount enclosed here : ___________________________
( New York state residents must include the appropriate sales tax. )
6. Method of payment; check one of the boxes below.
!Mastercard !Visa !Check or money order * ( do not send cash )
* Make checks payable to Audiovox Corporation
7. Credit Card Number : ________________________________________
8. Credit Card Expiration Date : _____________________
Credit card purchasers can order additional or replacement
transmittersby phone. Simplydial1- 800-645- 4994, andfollow
the instructions from the operator interface.
9. Mail this form, and your check, to ;
Audiovox Corporation
150 Marcus Blvd.
Hauppauge, N.Y., 11788
Attn: TRANSMITTER DEPARTMENT
128-4619
4 of 12
"
Form No. 128-4619

GUIDE DE PROGRAMMATION
DES TRANSMETTEURS
Modèle APS 95 BT3
Lestransmetteurscomprisaveclesystèmedesécuritésontpré-programmésen
usine, chaque bouton étant désigné d’avance pour contrôler une fonction
spécifiquedusystèmedesécurité.Bienquelesystèmedesécuritéinstallésur
le véhicule ait trois ou quatre canaux (RÉCEPTEUR) selon le modèle, les
transmetteurslivrésaveclesystèmepeuventémettresurseptcanaux.Cecivous
permetde programmerchaquetransmetteur pour qu’ilpuissefonctionner sur
plus d’un véhicule, ce qui est commode dans les familles possédant deux
véhicules,etdechangerladésignationd’unouplusieursboutonscontrôlantles
fonctions du système. (Par exemple, le canal 5 du transmetteur peut être
programmépouractiverlecanal2durécepteur.)Consulterletableauci-dessous
pour obtenir les renseignements d’accès aux canaux de transmetteur et la
désignationstandarddesboutonsattribuéeenusine.
TRANSMETTEUR RÉCEPTEUR DU SYSTÈME
CANAL BOUTONS CANAL FONCTION
1
2
3
4
5
6
7
1
2
3
2 & 3
1 & 2
1 & 3
1, 2, 3
1
2
3
4
-
-
-
Télécommanded’armementetde
désarmement
Télécommanded’alarmeanti-panique
Télécommandedeverrouillageetde
déverrouillagedesportes
*Signalpulsépouraccessoires
*Signalcommutépouraccessoires
-
-
-
128-4619
5 of 12
* Parmi les accessoires les plus courants programmés sur les canaux
supplémentaires on peut citer par exemple:
AS 9151N Télécommande de démarreur du véhicule
AS 9153 Télécommande de fermeture des vitres
AS 9256 Télécommande de relais d’ouverture de capot de coffre
This manual suits for next models
1
Table of contents
Languages:
Other Prestige Transmitter manuals
Popular Transmitter manuals by other brands

Geo
Geo Web Pack quick start guide

Inovonics
Inovonics EchoStream EN1210W installation instructions

IKONNIK
IKONNIK KA-6 quick start guide

Rohde & Schwarz
Rohde & Schwarz SR8000 Series System manual

Audio Technica
Audio Technica UniPak ATW-T93 Installation and operation

NIVELCO
NIVELCO EasyTREK SCA-300 Series Programming manual