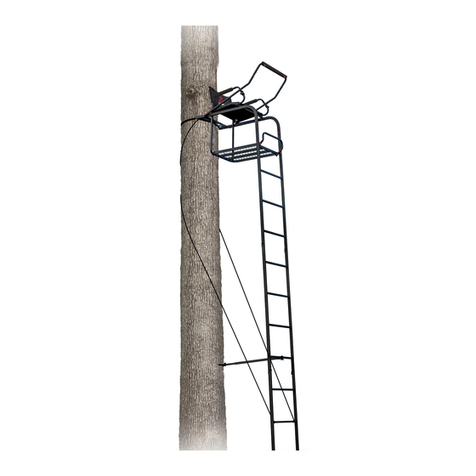
PRIMAL TREESTANDS PVHA-100 Instruction Manual

©2021 (rev. 1/21)
• Designed for two person use
• Works with most ladder stands
Standz-Up Ladder Stand Aid
MODEL: PVHA-100
Instruction and Safety Manual
Every year serious injury or death can occur from hunting related accidents. To ensure your safety, please completely read and follow this safety manual
and all warning labels before assembling, installing or utilizing this product.
Do not use this product before fully understanding all safety warnings and instructions. If you have questions, are unsure about any information or need additional
information concerning your product, contact our customer service department at 1-866-972-6168 or visit www.Primaltreestands.Com. Keep and
maintain this safety and instruction manual in a safe location for future reference.
W A R N I N G SAFETY MUST BE YOUR FIRST PRIORITY WITH THIS PRODUCT
Distributed by Acheson Harriman Swan, LLC, 2407 W. Euclid Ave., Littleton, CO 80120 ©2021 (rev. 1/21)
Thank you
very much
for choosing
We appreciate
your business!

YOU MUST READ AND FOLLOW ALL
INSTRUCTIONS PRIOR TO INSTALLATION
Choosing A Safe Tree
Proper Care and Maintenance:
• ALWAYS thoroughly inspect the tree before installing your product. DO NOT install your TREE/LADDER STAND onto any dead or unsafe tree, telephone or
utility pole, structural column, or man-made structure. Doing so may result in serious injury or death.
• ALWAYS select the proper tree for use with your TREE/LADDER STAND. Select a live straight tree that fits within size limits recommended (minimum tree
diameter must be no less than 9 inches and maximum of 18 inches.).DO NOT rely on a branch for support.
• DO NOT select a tree in the dark or choose a tree in close proximity to a fence. You must not have any stumps or rocks beneath your tree.
• NEVER use TREE/LADDER STAND on a tree that is dead, diseased , leaning or on wet and uneven ground as the tree may fall, break or uproot.
• Your tree must not be wet, icy or slippery or on wet, swampy, or loose ground that allows the tree to be unstable. Check the ground under TREE/LADDER
STAND to ensure it is firm and level.
• Be sure you have a level stand platform. Your tree must not lean or have any irregular shape.
• Tree must not have any loose or scaly bark or excessive vines, nails, screws, or any other sharp objects protruding that may sever webbing on product. Any
surrounding trees must not lean or have dead limbs that may fall onto you or your product.
• NEVER HURRY!! HURRYING CAUSES ACCIDENTS!! While climbing a TREE/LADDER STAND, make slow, even movements no more than ten to twelve
inches at a time. Make sure you have proper contact with tree and/orTREE/LADDER STAND every time you move. On ladder tree stand, ALWAYS maintain
three points of contact with each step up the ladder andALWAYS lean forward as you climb.
Several treestands are equipped with a footrest, armrests and/or shooting rail. Neither the footrest, armrests nor the shooting rail have been designed
to support a user’s weight. Under NO circumstances should you place more than fifteen (15) pounds of weight on these structures. Doing so will put
the user in serious risk of injury or death.
• Inspection for defects (damage, rot, corrosion, cracks, freezing, excessive heat, etc.) before every use is required. Do not use if damage is detected
or suspected.
• We recommend replacing all hardware/cables/nuts/bolts/clips on your tree stand every two (2) years or sooner if inspection finds it necessary. Use
only Acheson Harriman Swan, LLC approved replacement straps and parts. Use of any other straps or parts, will be viewed as a modification to the
product. Any modification will void the warranties and relieve Acheson Harriman Swan, LLC from all liabilities. Failure to follow these instructions
may result in serious injury or death.
• DO NOT overtighten the hardware. DO NOT use a socket wrench. This can lead to structural damage and may negatively affect the performance of
your stand. Failure to follow these instructions may result in serious injury or death.
• All photos are taken from the front view unless otherwise noted.
• In most cases, bolts come with two nylon washers. One washer will be placed against the bolt head the other washer will be placed against the nut.
Distributed by Acheson Harriman Swan, LLC, 2407 W. Euclid Ave., Littleton, CO 80120
Customer Service Department 1-866-972-6168 www.primaltreestands.com
©2021 (rev. 1/21)

Tools Required
Adjustable Wrench
Left Ladder
Support Bracket (1)
E
Right Ladder
Support Bracket (1)
F
Top Stabilizer Bar (1)
A
Stabilizer Base(1)
C
Middle Stabilizer Bar(1)
B
Center Ladder
Bracket (1)
D
Left/Right
Bracket Knobs (2)
H
Ratchet Strap (1)
G
M8 Quickclips (4)
J
M6 Quickclip (2)
K
1 Top Stabilizer Bar.......................Part # PISB-100R
1 Middle Stabilizer Bar..................Part # POSB-100R
1 Stabilizer Base...........................Part # PSB-100R
1 Center Ladder Bracket...............Part # PCAB-100R
1 L. Ladder Support Bracket.........Part # PLAB-100R
1 R. Ladder Support Bracket........Part # PRAB-100R
2 M6 Quickclip...............................Part # PQC-100
4 M8 Quickclips.............................Part # 1615
B
C
D
E
F
1 Ratchet Strap.............................Part # PRC-100
G
2 L/R Bracket Knobs.....................Part # PBN-100R
H
J
PARTS LIST
HARDWARE BOX P/N 100H
A
• Designed for two person use
• Works with most ladder stands
Standz-Up Ladder Stand Aid
MODEL: PVHA-100
Distributed by Acheson Harriman Swan, LLC, 2407 W. Euclid Ave., Littleton, CO 80120
Customer Service Department 1-866-972-6168 www.primaltreestands.com
©2021 (rev. 1/21)

Lay Middle Stabilizer Bar on the ground with the
brackets facing up. Slide the Center Ladder Bracket
into thebrackets with holes aligned. Secure using 2-M6
Quickclips .
Assembly Instructions Page 1 Model: PVHA-100
Standz-Up Ladder Stand Aid
Distributed by Acheson Harriman Swan, LLC, 2407 W. Euclid Ave., Littleton, CO 80120
Customer Service Department 1-866-972-6168 www.primaltreestands.com
©2021 (rev. 1/21)
1
B B B
C
D
B
J
With the Center Ladder Bracket facing you,
slide the Left & Right Ladder Support
Brackets on to the Center Ladder
Bracket . NOTE: The Ladder Support
brackets should face you & angled down.
3
Attach the Stablizer Base onto the bottom of the Middle
Stabilizer Bar using 1-M6 Quickclips .
2C
BK
Secure both Left and Right Ladder Support Brackets
to the Center Ladder Bracket using Left/Right Bracket
Knobs . NOTE: The left and Right Ladder Support
Bracket Knobs are adjustable to accommodate ladders
up to 20” wide.
4
Ladder
Support
Bracket
facing up
Ladder
Support
Bracket
facing up
E
EF
EF
H
H
H
FD
D
D
D
E F
E F
E F
1
3
2
4Minimum Width
Maximum Width
D
K

Assembly Instructions Page 2
MAKE SURE ALL BOLTS ARE TIGHT BEFORE
PROCEEDING TO INSTALLATION
WA R N I N G
12 3 4 5 6
Open ratchet handle
flat and insert end of
strap through opening
Pull Strap through
opening Insert end of strap
through slot in ratchet
wheel
Ratchet handle back
and forth to tighten
strap
To release tension, push
spring loaded retaining lock
and simultaneously pull
on strap
After strap is tight,
close handle to
the locked position
Detailed Ratchet Strap Instructions
Model: PVHA-100
Standz-Up Ladder Stand Aid
Distributed by Acheson Harriman Swan, LLC, 2407 W. Euclid Ave., Littleton, CO 80120
Customer Service Department 1-866-972-6168 www.primaltreestands.com
©2021 (rev. 1/21)
5
Fit the 2-M8 Quickclips onto each Left and right
Ladder Support brockets .NOTE: These Quickclips
will be used to secure the base of the ladder stand into
place during hoisting procedures. ALWAYS store these
Quickclips here when not in use. NEVER use this
product without these clips.
5E
J
F
J
E F
J
6
Ratchet Strap
Bracket should
face away from
the tree.
Attach Top Stabilizer Bar to the Middle Stabilizer Bar
using 1-M6 Quickclip . NOTE: The Ratchet Strap
bracket should be on the outside of the stabilizer bar
away from the tree.
K
6A
B
A
B
K
7
G G
Attach Ratchet Strap to the right and left side of the
ratchet strap bracket on the Top Stabilizer Bar. Thread
the Ratchet Strap webbing loops though the slots of the
ratchet strap bracket and feed the other ends of the
straps though the loop to secure.
See “Ratchet Strap Instructions” (below) for correct
usage.
7
G

Installation Instructions
2
Model: PVHA-100
Standz-Up Ladder Stand Aid
Distributed by Acheson Harriman Swan, LLC, 2407 W. Euclid Ave., Littleton, CO 80120
Customer Service Department 1-866-972-6168 www.primaltreestands.com
©2021 (rev. 1/21)
1
Follow your ladder stand manufacturer instructions in
locating an appropriate tree. Find as level ground as
possible. Lean the Standz Up Ladder Aid against the
tree with the Ladder Support Brackets facing
OUTWARDS away from the tree. Adjust the angle of the
Standz Up Ladder Aid against the tree to assure a solid
connection to the ground and tree and will work best
with your ladder stand.
1E F
Secure Ladder Aid to the the tree using the Ratchet
Strap . See “Ratchet Strap Instructions” for correct
usage.
2
G
G

USE INSTRUCTIONS
This product requires at least two (2) people for safe and correct lifting.
NOTE
Model: PVHA-100
Standz-Up Ladder Stand Aid
Distributed by Acheson Harriman Swan, LLC, 2407 W. Euclid Ave., Littleton, CO 80120
Customer Service Department 1-866-972-6168 www.primaltreestands.com
©2021 (rev. 1/21)
1
2
5
3
E
J
B
C
F
Lay out your ladder stand so that the bottom rungs are parrallel to the
Standz Up Ladder Aid base. Adjust the Left and Right Ladder Support
Brackets to match the correct width of your ladder stand.
NOTE: To increase stability, ALWAYS extend the brackets as wide
as possible.
Remove each M8 Quickclip from each Ladder Support Bracket .
Then lift and place the bottom rung of your ladder stand into the Left and
Right Ladder Support Brackets . Secure the ladder rung by
re-attaching each M8 Quickclip into the Ladder Support Brackets .
1
E
J
J
F
E F
E F
E F
With one person standing on either side of
the ladderstand, walk the stand upward, using
rungs of the ladder until it is properly and
firmly leanig against the tree.
2
5
Once the ladderstand has made a firm
contact with the tree, check that it is
securely leaning in place with both hands
on the ladder rails.
3
BEFORE removing ladderstand
from the Ladder Aid, it is
recommended to first secure any
ground level ladder securing aids
(such as installation straps)
4
Once secured, remove the ladder stand base from the Ladder Aid Stabilizer
Base, then make sure your ladder stand is properly level and angled on the
ground. Continue installing your ladder stand according to the manufacturer’s
instructions. NOTE: Follow these instructions in reverse to remove your
ladder stand from tree.
NEVER climb or use your ladder stand while
it is still connected to the Ladder Aid Stabilizer.
ALWAYS follow the correct manufacturer's
ground-level safety securing instructions of for
your ladder stand.
WA R N I N G
4
manufacturer
ground level
installation
straps
Table of contents
Other PRIMAL TREESTANDS Ladder manuals
Popular Ladder manuals by other brands

Kee safety
Kee safety easi-dec HFL010 Assembly instructions
TUBESCA-COMABI
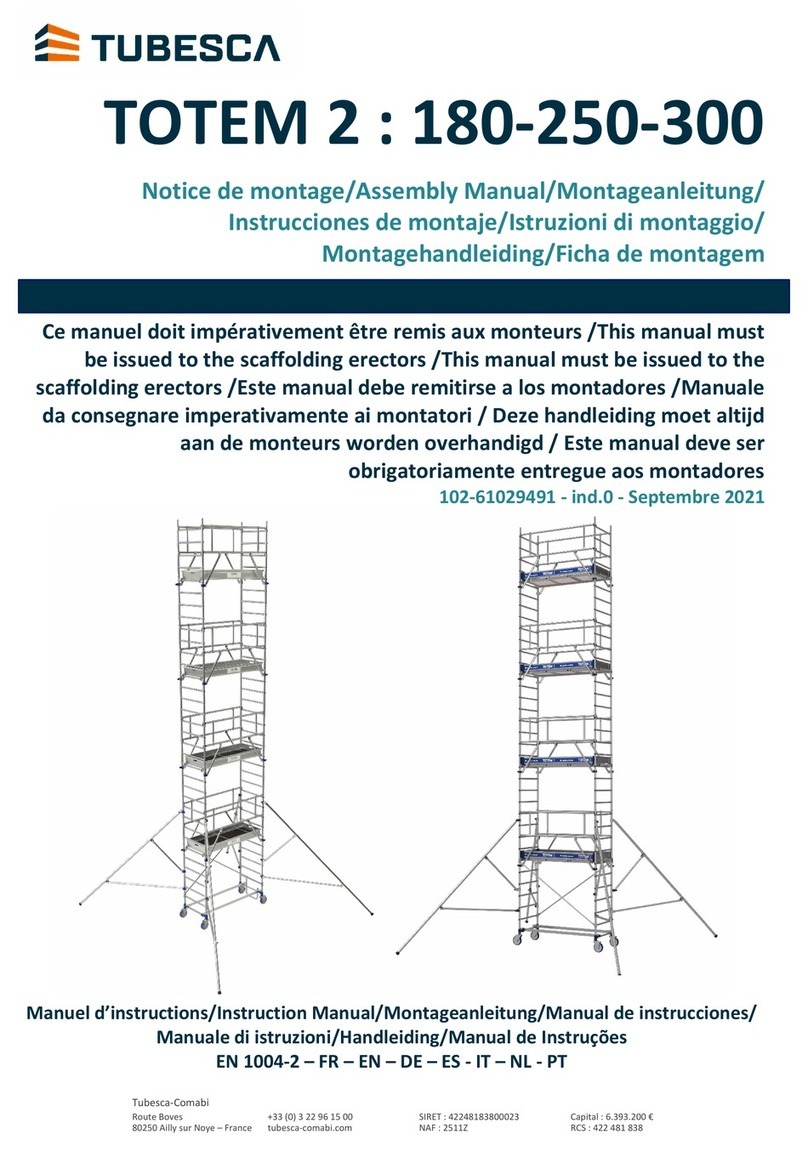
TUBESCA-COMABI TOTEM 2 BOX 180 instruction manual
KRAUSE
KRAUSE 1101 Series user manual
SP PARTNERS
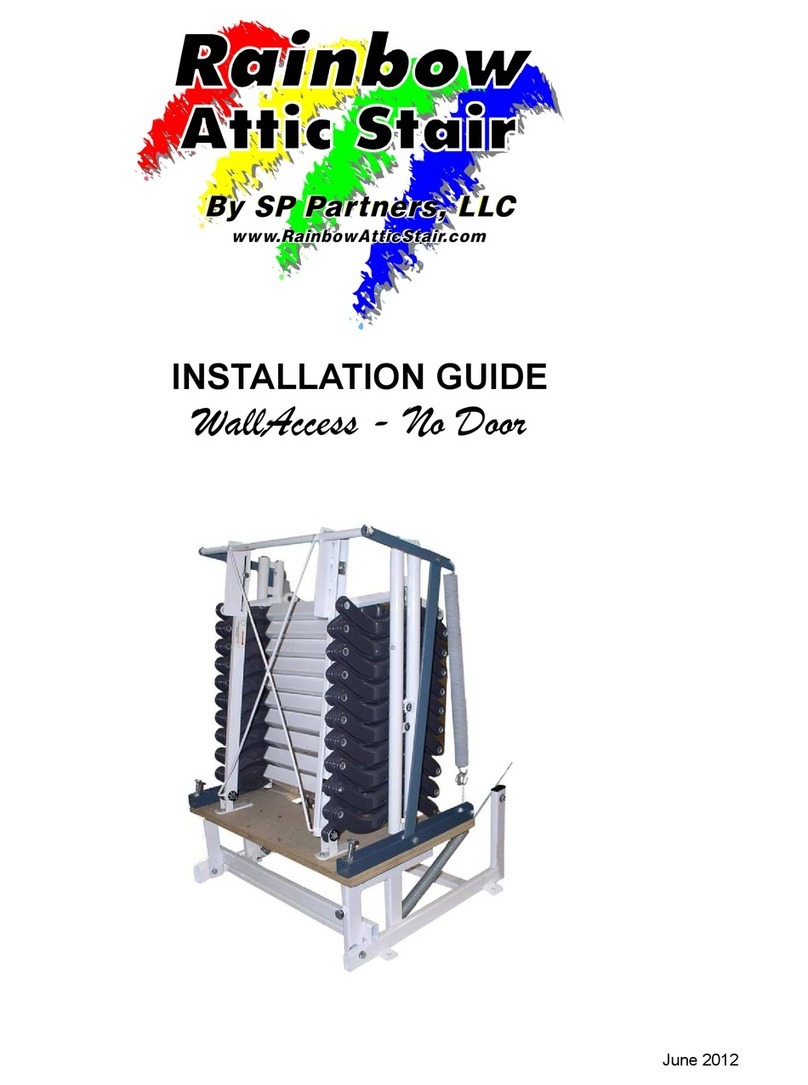
SP PARTNERS Rainbow Attic Stair WallAccess WA2648-92 installation guide
BPS
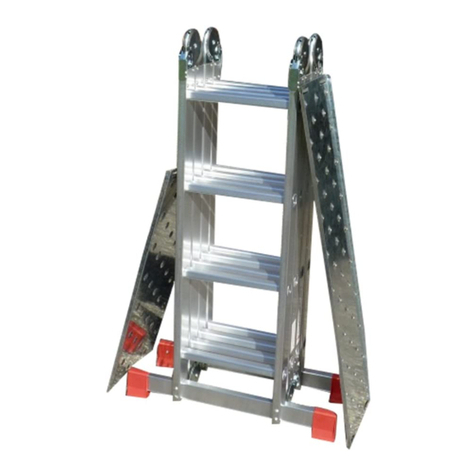
BPS Big Red Foot user guide

Westfalia
Westfalia 67 87 89 instruction manual

INNOVAPLAS
INNOVAPLAS Lumi-O ELEGANT 1002-HRK installation instructions
Stromberg Carlson Products
Stromberg Carlson Products LA-401 installation instructions

Werner
Werner 85026 instruction manual
Hard Head
Hard Head 021718 operating instructions
BURGER
BURGER SPARK 794 manual

Ribimex
Ribimex PRET092 User and maintenance manual
