Pro-4 Tactical Secure Touch Lock User manual

14+
AGES
QR CODE
Pro-4
Secure Touch Lock
• Starting
• Charging lock battery
• Checking the ngerprint status
• Registering administrator
ngerprint
• Registering user ngerprints
• Unlocking the cable
• Locking the cable
• Deleting ngerprints
• TSA lock access
• Maintenance
• Warning
• Troubleshooting
1 YEAR LIMITED PRODUCT WARRANTY ... VISIT WWW.PRO4TACTICAL.COM TO REGISTER YOUR PRODUCT
INSTRUCTIONS
Instruction Manual
Imported and Distributed by:
Pro-4 Marketing LLC
32411 Industrial Dr.,
Madison Heights, MI 48071
Tel: 248-809-2129
Toll Free: 1-833-776-3687
www.Pro-4Tactical.com
2.4” FINGERPRINT CABLE LOCK

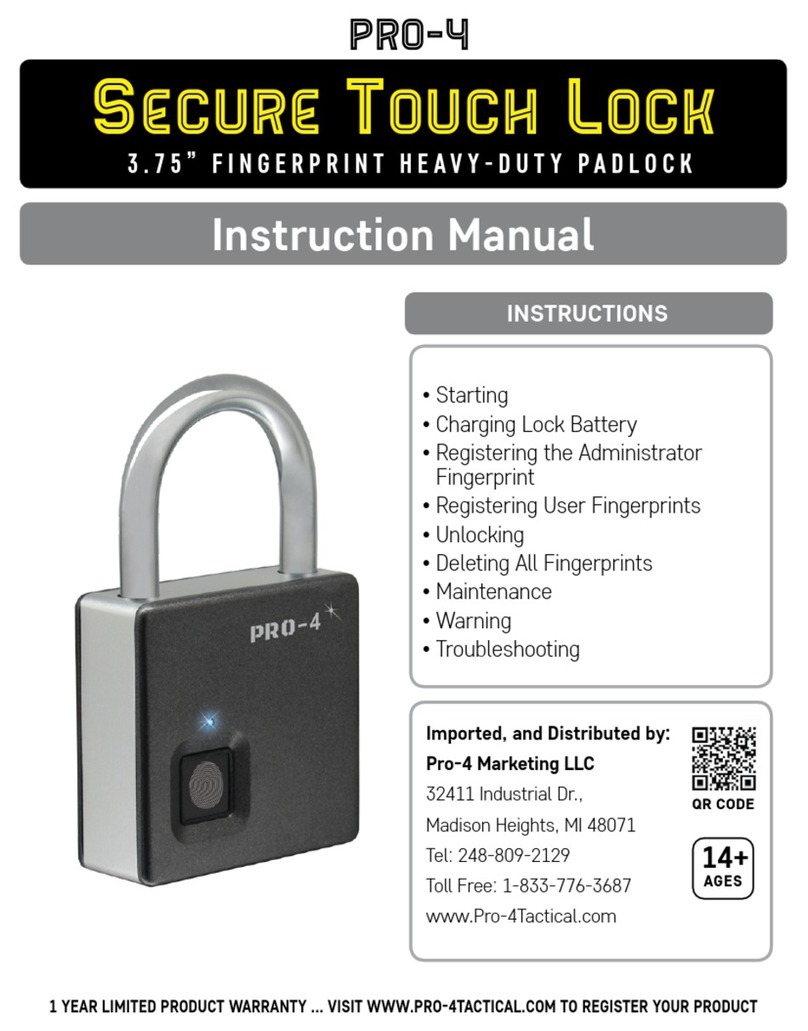
The Secure Touch Lock is a simple, easy-to-use TSA-approved ngerprint padlock. Users can open lock quickly and easily,
without a password.
Before ngerprints are saved, any ngerprint can open the Secure Touch Lock. Please read and follow complete
instructions before using lock.
STARTING
A GREEN ashing light indicates a
low battery; charge the lock.
Open the USB-C charge port cover and
insert the USB-C cable (included). Connect
the USB-C cable to a power source.
CHARGING LOCK BATTERY FULLY CHARGE BEFORE USING
CHECKING THE FINGERPRINT STATUS
REGISTERING ADMINISTRATOR FINGERPRINT
The administrator ngerprint must be used to add or delete ngerprints from the Secure Touch Lock’s memory.
1. Open the lock and press
ngerprint on pad for 3 seconds.
If the lock displays a solid BLUE
light, the lock does not have an
administrator ngerprint stored.
If the lock alternates solid BLUE and
RED light, the lock already has an
administrator ngerprint stored.
Lock shackle
LED instruction
lights Fingerprint
sensor
TSA007 lock
cylinder
micro-USB
Charging interface
setting button
1.Registered fingerprint
2.Press the setting button after the red light is out.
1. With no lights being
displayed, press
ngerprint on pad. A
BLUE light will display.
2. Place the new administrator’s nger
on the ngerprint pad. The BLUE
light will turn o and the lock will
beep. The BLUE light turn back on.
Repeat this process 9 more times.
After successfully entering
the administrator ngerprint
10 times, the light will
display solid BLUE and the
lock will beep.
If a RED light is displayed
accompanied by 4
beeps, the administrator
registration failed. Please
repeat the steps.
Lock shackle
LED instruction
lights Fingerprint
sensor
TSA007 lock
cylinder
micro-USB
Charging interface
setting button
1.Registered fingerprint
2.Press the setting button after the red light is out.
Lock shackle
LED instruction
lights Fingerprint
sensor
TSA007 lock
cylinder
micro-USB
Charging interface
setting button
1.Registered fingerprint
2.Press the setting button after the red light is out.
The light displays solid
GREEN
when
the lock is
charging.
The light will turn OFF
when the lock is done
charging. Full charge
takes up to 1 hour.

REGISTERING USER FINGERPRINTS
Up to 9 “User” ngerprints can be stored in the Secure Touch Lock’s memory.
1.
Press on the ngerprint pad for 3
seconds. The lock will alternate
between solid BLUE and RED light
waiting for an administrator ngerprint.
2. Place the
administrator
ngerprint on the
ngerprint pad.
If the light alternates BLUE and RED
with 4 beeps, new user registration
has failed; please try again. If the
administrator ngerprint fails 5 times,
the lock goes into standby mode.
If the light displays solid BLUE with
a beep, the lock is ready to register
a new user ngerprint.
Lock shackle
LED instruction
lights Fingerprint
sensor
TSA007 lock
cylinder
micro-USB
Charging interface
setting button
1.Registered fingerprint
2.Press the setting button after the red light is out.
Lock shackle
LED instruction
lights Fingerprint
sensor
TSA007 lock
cylinder
micro-USB
Charging interface
setting button
1.Registered fingerprint
2.Press the setting button after the red light is out.
3. Place the new user ngerprint on the pad.
The
BLUE
light will turn o with a beep,
then turn on again. Repeat this process 9
more times.
If the ngerprint entry has failed, or if lock
is full, the light will display RED followed
by 4 beeps, then go into standby mode.
If the light displays solid BLUE followed
by a long beep, then goes into standby
mode, the ngerprint has successfully
been entered.
Lock shackle
LED instruction
lights Fingerprint
sensor
TSA007 lock
cylinder
micro-USB
Charging interface
setting button
1.Registered fingerprint
2.Press the setting button after the red light is out.
Lock shackle
LED instruction
lights Fingerprint
sensor
TSA007 lock
cylinder
micro-USB
Charging interface
setting button
1.Registered fingerprint
2.Press the setting button after the red light is out.
UNLOCKING THE CABLE
1. Place a registered
ngerprint on the
ngerprint pad.
If the light displays RED followed
by 4 beeps, the ngerprint failed
to unlock and will go into standby
mode.
If the light displays solid
BLUE
followed by 2 beeps,
the lock is unlocked and the
cable can be removed.
Lock shackle
LED instruction
lights Fingerprint
sensor
TSA007 lock
cylinder
micro-USB
Charging interface
setting button
1.Registered fingerprint
2.Press the setting button after the red light is out.
Lock shackle
LED instruction
lights Fingerprint
sensor
TSA007 lock
cylinder
micro-USB
Charging interface
setting button
1.Registered fingerprint
2.Press the setting button after the red light is out.
Lock shackle
LED instruction
lights Fingerprint
sensor
TSA007 lock
cylinder
micro-USB
Charging interface
setting button
1.Registered fingerprint
2.Press the setting button after the red light is out.
2. Remove the
steel cable
wire from the
locking hole.
LOCKING THE CABLE
1. To lock the cable
wire, insert the cable
wire joint into the
locking hole.
Lock shackle
LED instruction
lights Fingerprint
sensor
TSA007 lock
cylinder
micro-USB
Charging interface
setting button
1.Registered fingerprint
2.Press the setting button after the red light is out.
If the cable was successfully locked, the
lock will go into standby mode.

MAINTENANCE
• Clean Secure Touch Lock with a clean, dry cloth as needed
• Lubricate moving parts with standard consumer lubricant as needed
• Please only use the included USB-C charge cable to charge lock. Recommended charger output: DC5V 450mA
Light will display GREEN while charging, and will turn o when complete
• Stop using lock if it starts smoking, is overheated, discolored, or deformed
• Do not use the lock in a violent manner
• If lock is left unused for a period of time, battery will drain and must be recharged
• Do not use if lock is thoroughly wet; electric shock can occur
• Children must use this lock with parental guidance. Recommended for Ages 14+
• If your padlock starts acting abnormally, try resetting: use any registered ngerprint (user or administrator) on the sensor,
then press the setting button after the red light turns o
• See www.Pro-4Tactical.com for Warranty and Replacement Information
CALIFORNIA PROP 65 WARNING: This product can expose you to chemicals including Benzene and Ethylbenzene which are known
to the State of California to cause cancer. For more information, go to www.p65Warnings.ca.gov
WARNING
TROUBLESHOOTING
DELETING FINGERPRINTS
To delete ngerprints from memory or to set a new Administrator ngerprint, the lock must rst be reset.
1. Press the ngerprint pad until the
light ashes RED. It is now ready
to identify the active administrator
ngerprint.
• The RED light will ash for 5
seconds. If there is no activity, the
lock will go into standby mode.
2. Press the administrator
ngerprint on to the
ngerprint pad.
Lock shackle
LED instruction
lights Fingerprint
sensor
TSA007 lock
cylinder
micro-USB
Charging interface
setting button
1.Registered fingerprint
2.Press the setting button after the red light is out.
Lock shackle
LED instruction
lights Fingerprint
sensor
TSA007 lock
cylinder
micro-USB
Charging interface
setting button
1.Registered fingerprint
2.Press the setting button after the red light is out.
If the lock has been
successfully reset, the
light will display RED
followed by a long beep,
then go into standby mode.
If the lock has not been
successfully reset, the
light will ash RED
followed by 4 beeps, then
go into standby mode.
TSA LOCK ACCESS
Every TSA-approved lock has a manual mode, which can only be used by the
Transportation Security Administration (TSA). The manual access mode is provided
so the TSA can access locked items, if necessary.
Only TSA employees are authorized to access the manual mode of the Secure
Touch Lock.
Other Pro-4 Tactical Lock manuals
