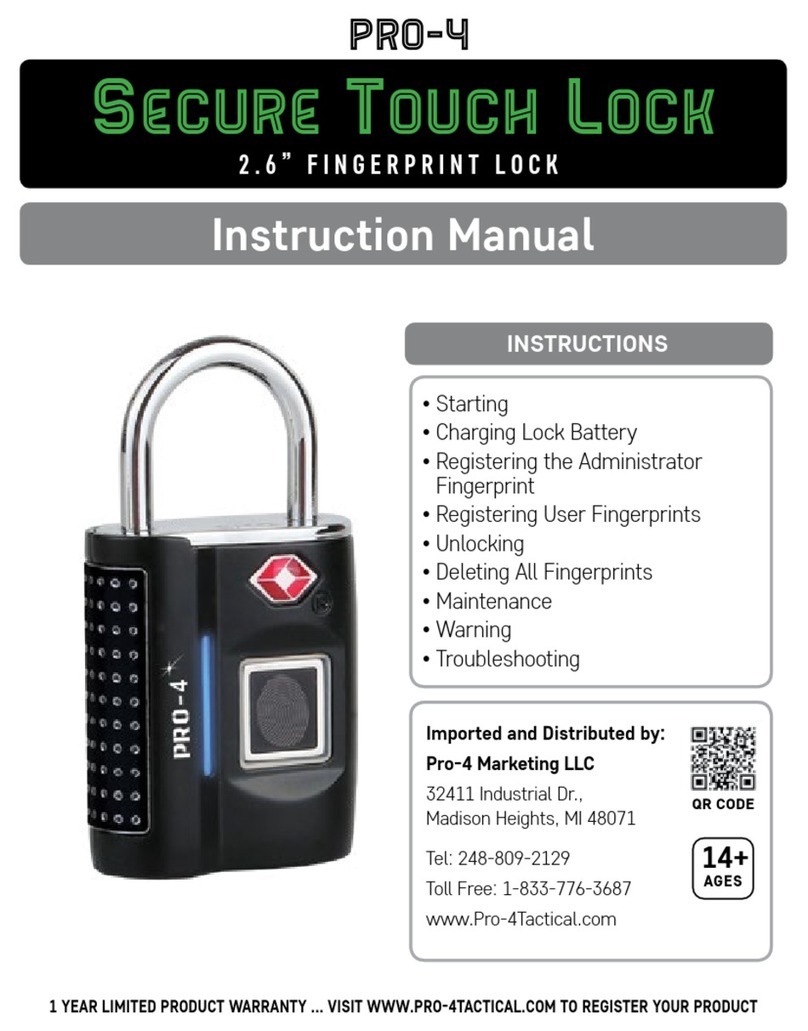
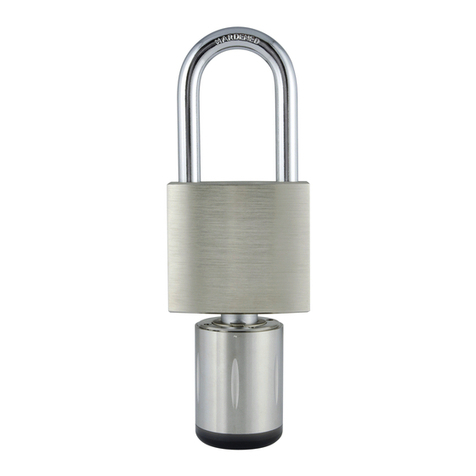
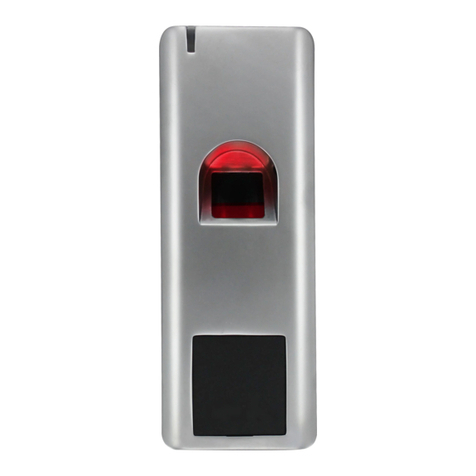
Pro-4 Tactical Secure Touch Lock User manual

• Starting
• Charging Lock Battery
• Registering the Administrator
Fingerprint
• Registering User Fingerprints
• Unlocking
• Deleting All Fingerprints
• Maintenance
• Warning
• Troubleshooting
14+
AGES
QR CODE
1 YEAR LIMITED PRODUCT WARRANTY ... VISIT WWW.PRO4TACTICAL.COM TO REGISTER YOUR PRODUCT
INSTRUCTIONS
Imported, and Distributed by:
Pro-4 Marketing LLC
32411 Industrial Dr.,
Madison Heights, MI 48071
Tel: 248-809-2129
Toll Free: 1-833-776-3687
www.Pro-4Tactical.com
Pro-4
Secure Touch Lock
Instruction Manual
3.75” FINGERPRINT HEAVY-DUTY PADLOCK

Administrator user can authorize up to 10 users and also delete all ngerprint settings on this lock.
The Secure Touch Lock is a simple ngerprint padlock that is easy to use.
Users can open the lock quickly and easily without having to remember a
password.
When lock is in demonstration state, any ngerprint can open it. Please read
and follow complete instructions before using lock.
WARNING: When not in use, the lock enters sleep mode to conserve battery life. The lock must
be ‘alerted’ before any action is performed.
To alert the lock and wake it up from sleep mode, push down on the lock shackle. A BLUE light will
ash 10 times indicating that it is ready for use.
STARTING
Lock Shackle
If the indicator light blinks GREEN while
attempting to alert the lock, this means that the
battery is low and needs to be charged.
Open the USB-C charge port cover and insert the USB-C cable into
the port. Connect the USB-C cable to a power source. Full charge
takes up to 3 hours.
Fingerprint
Pad
USB- C
Charge Port
Lock
Cylinder
LED Instruction
Light
CHARGING LOCK BATTERY FULLY CHARGE BEFORE USING
REGISTERING THE ADMINISTRATOR FINGERPRINT
1. After alerting the lock, press and hold
administrator ngerprint on the pad.
The light will ash BLUE along with
two beeps. Continue to hold until you
hear a 3rd beep. Release ngerprint.
2. Press administrator
ngerprint to the pad
again. The Blue light
will turn o along with
a beep.
3. Press administrator
ngerprint to the pad 9
more times. After each
press, a BLUE light will
ash along with a beep.
A BLUE light and one long
beep indicates successful
administrator registration.
A RED light and four beeps
indicates an unsuccessful
administrator registration.
Lock shackle
LED instruction
lights Fingerprint
sensor
TSA007 lock
cylinder
micro-USB
Charging interface
setting button
1.Registered fingerprint
2.Press the setting button after the red light is out.
Lock shackle
LED instruction
lights Fingerprint
sensor
TSA007 lock
cylinder
micro-USB
Charging interface
setting button
1.Registered fingerprint
2.Press the setting button after the red light is out.
Lock shackle
LED instruction
lights Fingerprint
sensor
TSA007 lock
cylinder
micro-USB
Charging interface
setting button
1.Registered fingerprint
2.Press the setting button after the red light is out.

2. Press once using
Administrator
ngerprint. The light
will ash
BLUE
and
beep once.
1. After alerting the lock, press
and hold administrator
ngerprint on the pad. The
light will ash BLUE along
with two beeps. Continue
to hold until the light blinks
BLUE and
RED
. Release
administrator ngerprint.
REGISTERING USER FINGERPRINTS
Fingerprints of other users can only be registered after administrator ngerprint has been set.
3. New users; press
nger ten times on
the pad. After each
press, the light will
ash BLUE and
beep once.
UNLOCKING
A BLUE light and two beeps indicates a successful entry.
The lock is unlocked and can now be pulled open.
A RED light and four beeps indicates an unsuccessful entry
and the lock cannot be opened.
Lock shackle
LED instruction
lights Fingerprint
sensor
TSA007 lock
cylinder
micro-USB
Charging interface
setting button
1.Registered fingerprint
2.Press the setting button after the red light is out.
Lock shackle
LED instruction
lights Fingerprint
sensor
TSA007 lock
cylinder
micro-USB
Charging interface
setting button
1.Registered fingerprint
2.Press the setting button after the red light is out.
A BLUE light and one long
beep indicates a successful entry.
The lock is unlocked and can now
be pulled open.
A RED light and four beeps
indicates an unsuccessful entry
and the lock cannot
be opened.
Lock shackle
LED instruction
lights Fingerprint
sensor
TSA007 lock
cylinder
micro-USB
Charging interface
setting button
1.Registered fingerprint
2.Press the setting button after the red light is out.
Lock shackle
LED instruction
lights Fingerprint
sensor
TSA007 lock
cylinder
micro-USB
Charging interface
setting button
1.Registered fingerprint
2.Press the setting button after the red light is out.
X 10
1. After alerting the lock, press your
ngerprint on the ngerprint pad.
WARNING: The port cover swivels on a center axis. Do not pull the port cover completely o or it will detach from the
lock itself and it will not swivel as it is intended.
MANUAL UNLOCKING / LOCKING
1. Open the key port located on the bottom
of the lock by pulling open the silicone
cover which covers the USB-C charge
port and the key port.
2. Insert the key into the key port and turn the key 90º
clockwise. The shackle is now unlocked and can
be pulled open. NOTE: If the key is removed, the
shackle will not close. They key must be left in
the “OPEN” position for the shackle to lock.
3. Close the lock shackle. Turn the
key 90º counter-clockwise. The
shackle is now locked and the
key can be removed.
Locked
Key
Position
Locked
Shackle
Position
Unlocked
Key
Position
Unlocked
Shackle
Position

MAINTENANCE
• Clean Secure Touch Lock with a clean, dry cloth as needed.
• Lubricate moving parts with standard consumer lubricant as needed.
• Please only use provided charge cable to charge lock. Recommended charger output: 120mah 3.7V. Light
will be GREEN while charging, and will turn o when complete.
• Stop using lock if it starts smoking, starts smelling, is overheated, discolored, or deformed.
• Do not use the lock in a violent manner.
• If lock is left unused for a long time, battery will drain and will need to be recharged.
• Do not use if lock is soaked, as shocking could occur.
• Children must use this lock with parental guidance. Recommended for Ages 14+.
• If your padlock starts acting abnormally, try resetting: see Deleting All Fingerprints section to reset lock.
• See www.Pro-4Tactical.com for Warranty and Replacement Information.
WARNING: This product can expose you to chemicals including Benzene and Ethylbenzene which are known to the
State of California to cause cancer. For more information, go to www.p65Warnings.ca.gov
WARNING
TROUBLESHOOTING
DELETING ALL FINGERPRINTS
1. After altering the lock, press and hold administrator
ngerprint on the pad. The light will ash BLUE
along with two beeps. Continue to hold. The light
will then blink BLUE and RED. Continue to hold until
the light blinks RED. Release ngerprint.
2. Press and hold the
administrator ngerprint
to the ngerprint pad.
A RED light and one long beep
indicates successful deletion. All
stored ngerprints have been erased.
Any ngerprint will open the lock until
an administrator is entered.
A RED light and four beeps indicates
an unsuccessful deletion. All stored
ngerprints remain stored.
Lock shackle
LED instruction
lights Fingerprint
sensor
TSA007 lock
cylinder
micro-USB
Charging interface
setting button
1.Registered fingerprint
2.Press the setting button after the red light is out.
Lock shackle
LED instruction
lights Fingerprint
sensor
TSA007 lock
cylinder
micro-USB
Charging interface
setting button
1.Registered fingerprint
2.Press the setting button after the red light is out.
WARNING: This will delete all ngerprints, including the administrator, and reset the lock to factory settings. Please use caution.
Other Pro-4 Tactical Lock manuals
Popular Lock manuals by other brands
Simons Voss Technologies
Simons Voss Technologies Cylinder AX LockNode quick guide

Stock Loks
Stock Loks CB-191 instruction sheet
Sargent and Greenleaf
Sargent and Greenleaf 6631 Operating and Combinatiion Changing Instructions

Canaropa
Canaropa 9500M Series installation instructions
Wittkopp
Wittkopp ElCom 7205 operating instructions
Abus
Abus CodeLoxx user manual
