Pro Breeze PB-P06-US User manual

Instruction Manual
Model PB-P06-US
Smart Air Purifier
IMPORTANT INSTRUCTIONS -
RETAIN FOR FUTURE USE.
English | 2
Smart Air Purier
Model PB-P06-US
IMPORTANT INSTRUCTIONS
Thank you for choosing to purchase a product from Pro Breeze. Please read the entire
manual carefully prior to rst use and keep in a safe place for future reference.
This product comes with a two (2) year Pro Breeze Limited Warranty valid from the date of
purchase. This Limited Warranty is provided by Pro Breeze and does not aect your legal
Statutory Rights as consumers under the applicable national consumer laws relating to the
sale of goods. Register your product at www.probreeze.com/register and enjoy the option to
buy our extended 3 Year Protection Plan for extra peace of mind.
PLEASE READ AND SAVE THESE IMPORTANT SAFETY INSTRUCTIONS
When using electrical appliances, basic safety precautions should always be followed to
reduce the risk of re, electric shock, and injury to persons, including the following:
WARNING: TO AVOID THE RISK OF ELECTRICAL SHOCK, FIRE OR INJURY
TO PEOPLE, ALWAYS MAKE SURE THE APPLIANCE IS UNPLUGGED FROM THE
ELECTRICAL OUTLET BEFORE RELOCATING, SERVICING, OR CLEANING IT.
CAUTION: TO PREVENT ELECTRIC SHOCK, MATCH WIDE BLADE OF PLUG TO
WIDE SLOT, FULLY INSERT.
• Read all instructions before using this appliance.
• Do not cover the appliance whilst in use.
• Use this appliance only as described in this manual. Any other use not recommended by
the manufacturer may cause re, electric shock, or injury to person.
• Always unplug the appliance when not in use.
• Keep the appliance out of reach of children and pets.
• Do not leave children alone or unattended in the area where the appliance is in use.
• Children should be supervised to ensure that they do not play with the appliance.
• Children must be supervised not to play with the appliance.
• Cleaning and user maintenance shall not be made by children unless continuously
supervised.
• This appliance is not intended for use by persons (including children) with reduced
physical, sensory or mental capabilities, or lack of experience and knowledge, unless
they have been given supervision or instruction concerning use of the appliance by a
CONTENTS
Safety Instructions.......................................................Page 2
Symbols Explained ......................................................Page 4
How it works ................................................................Page 5
Specication ................................................................Page 6
Features .......................................................................Page 6
Display .........................................................................Page 7
Controls........................................................................Page 8
Wi and Smart Life app set up ....................................Page 9
Cleaning and replacing the lter(s)............................Page 11
Replacing the lter instructions.................................Page 12
Cleaning and Storage ................................................Page 13
FCC Statement...........................................................Page 13
Recycling and Disposal .............................................Page 14
3 | English English | 4
person responsible for their safety.
• The appliance is not to be used by persons (including children) with reduced physical,
sensory or mental capabilities, or lack of experience and knowledge, unless they have
been given supervision or instruction.
• The appliance must have a minimum 50cm clearance around all sides.
• Never leave the appliance unattended while in use. Always turn the appliance o and
disconnected from the power supply when not in use.
• Do not run cord under carpeting. Do not cover cord with throw rugs, runners, or similar
coverings. Do not route cord under furniture or appliances. Arrange cord away from
trac area and where it will not be tripped over.
• Avoid placing the power cord in areas where it can become a tripping hazard. Do not
place the power cord under carpeting or cover it with rugs, runners or similar.
• Place the appliance on a at, stable and dry surface and always keep the appliance in
an upright position. Operating the appliance in any other position could cause a hazard.
• Never place anything on top of the appliance.
• Ensure that the mains supply (including voltage, frequency and power) complies with the
rating label of the appliance.
• There may be trace of odour during the rst few minutes of initial use. This is normal and
will quickly disappear.
• Do not cover the appliance or restrict the air ow of the inlet or exhaust grills whilst in
use.
• Do not cover, obstruct or push objects into the vents and opening of the appliance as
this may cause an electric shock, re or damage the appliance.
• Do not operate the appliance with wet hands.
• Do not use this appliance near water or in the immediate surroundings of a bath, shower
or a swimming pool. Never place the appliance where it may fall into a bathtub or other
water container.
• Do not allow water or other liquids to run into the interior of the appliance, as this could
create a re and/or electrical hazard.
• This appliance is intended for indoor household use and similar applications. Do not use
outdoors.
• Do not use the appliance near petrol, paints, ammable gases, ovens, or other heating
sources.
• The mains cable should not hang down from the surface on which the appliance is
placed in order to prevent the appliance from being pulled down.
• To avoid a circuit overload when using this appliance, do not operate another high-
wattage appliance on the same electrical circuit.
• Always plug the appliance directly into a wall socket. Avoid using extension leads where
possible as they may overheat and cause a risk of re.
• Do not use this appliance with an external programmer, timer switch or any other device
which would switch the appliance on automatically unless this has already been pre-
built into the appliance by the manufacturer.
• Do not pull on the power cord. Never move, carry, or hang the appliance by the power
cord.
• Do not kink or wrap the power cord and plug around the appliance, as this may cause
the insulation to weaken or split, particularly where it enters the appliance.
• Ensure the mains cable is fully extended before use and arrange it so that it is not in
contact with any part of the appliance.
• Do not operate the appliance with any safety guards removed.
• Do not operate the appliance if there are any signs of damage to the appliance or
accessories supplied.
• Do not attempt to repair or adjust any electrical or mechanical elements in the
appliance. Doing so may be unsafe and will void your warranty.
• The appliance is only to be used with the power adapter provided. Do not use other
chargers or power adapters as this may damage the appliance.
• Household use only.
• Do not operate the appliance without the air lter.
• This appliance has a polarized plug (one blade is wider than the other). To reduce the
risk of electrical shock this plug is intended to t a polarized outlet only one way. If
the plug does not t fully in the outlet, reverse the plug. If it still does not t, consult a
qualied electrician. Do not connect the heater to extension cords, surge protectors,
timers, direct breakers, or an outlet with other appliances connected to the same outlet.
SAVE THESE INSTRUCTIONS!
Please read instruction manual and retain for future use.
For indoor use only.
SYMBOLS EXPLAINED

5 | English English | 6
The Pro Breeze Air Purier removes up to 99.97% of dust, bacteria and allergens from the
air. It is tted with a dual core ltration system to improve the cleaning ability; one on each
side of the appliance.
• Washable Preliminary Filters (outer layer)
The preliminary lters trap large contamination particles such as human and pet hair.
The mesh is woven from white nylon into 16 mesh windows. The maximum diameter of
each mesh hole is 0.25mm. This lter can be cleaned and reused repeatedly.
• Carbon Cloth Mesh Filter (inner layer)
The three-layer Fine Preliminary + HEPA + Activated Carbon lter is sandwiched
together as a composite lter. Each of the three layers has its own function:
1. Fine Preliminary Layer (blue in colour): for large airborne particles, and help to protect the
lifespan of the HEPA 13 lter.
2. HEPA 13 Filter Layer: HEPA is considered to be a medical grade air ltration system. HEPA
captures airborne particles as small as 0.3 microns such as dust, pollen, mold spores
and airborne mites. The Medical Grade HEPA lter is also able to remove asbestos,
insecticide, and viruses in the air. Note, the unit alone is not a medical device.
3. Micro Granular Activated Carbon Layer: Removes pet odours, smoke odours and harmful
gases such as formaldehyde and benzene. With 98% Total Volatile Organic Compounds
(TVOCs) and 99% Formaldehyde removable rate, the micro granular activated carbon
is evenly distributed and will purify air 5-10 times more thoroughly than traditional large
granular activated carbon lter.
HOW IT WORKS
Washable
Preliminary Filter Fine Preliminary Layer
HEPA 13 Filter
Micro Granular Activated
Carbon Layer
FEATURES
Size: 13.9 x 14.1 x 27.6 inch
Net Weight: 29.10 lb
Gross Weight: 34.39 lb
Voltage: 100-120V~
Frequency: 60Hz
Input Power: 80W
Clean Air Delivery Rate (CADR): 800m³/h
SPECIFICATION
1. Left Handle
2. Left Clasp
3. Air Outlet
4. Control Panel
5. Top Cover
6. Led Display
7. Right Handle
8. Right Clasp
9. Right Air Inlet
10. Front Shell
11. Sensor
12. Power Line Port
13. Casters
1
2
3
45
6
7
8
9
11
12
13
10
PM2.5
To purchase additional lters, visit www.probreeze.com/PB-P06. If you have any questions
or struggle to nd the specic lter you need, please contact our customer care team for
friendly and ecient help by emailing help@probreeze.com.
7 | English English | 8
PM 2.5
1. PM 2.5 Standard
PM 2.5 is a scale for measuring the number of particles smaller than 2.5 microns in
the air (a human hair measure 50-70 microns in diameter). This is converted into an
air quality index whereby the lower the number, the better the air quality.
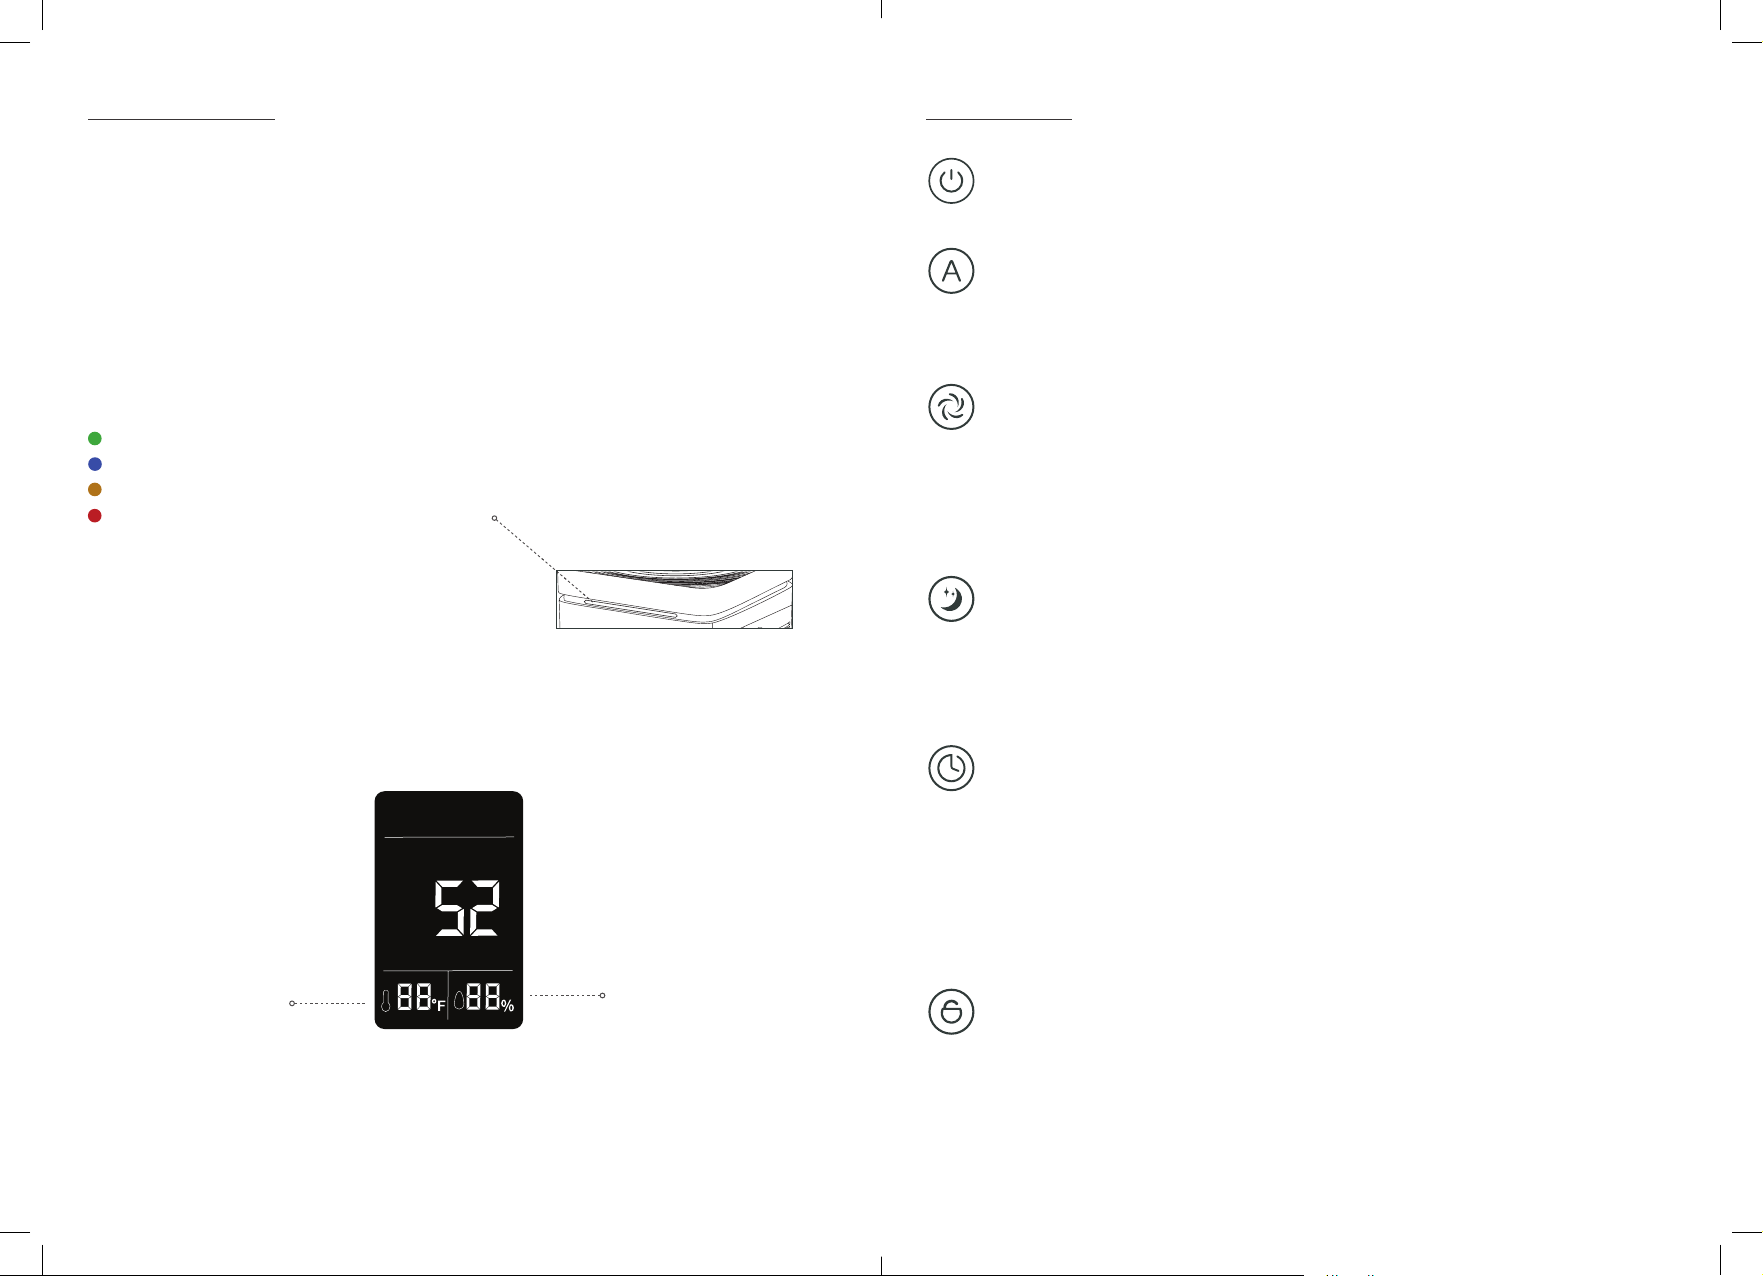
2. Air Quality Light Indicator
The Air Quality Index will be displayed on the screen. The appliance will also light up
based on the following scale:
• Green (Excellent Air Quality) - PM2.5 ≤ 50 μg/m3
• Blue (Good Air Quality) - 51 ≤ PM2.5 ≤ 100 μg/m3
• Orange (Medium Air Quality) - 101 ≤ PM2.5 ≤ 150 μg/m3
• Red (Bad Air Quality) - PM2.5 ≥ 151 μg/m3
3. Room Humidity (%)
4. Room Temperature (°F)
DISPLAY
Room Humidity
Room Temperature (°F)
Note: The temperature can only show room temperature up to 99°F
PM2.5
ON/OFF Button
1. Press “ON/OFF” button once to turn the device on or o.
AUTO Button
1. Press the AUTO button once to turn on auto mode.
2. When under auto mode, the device will adjust the fan speed
automatically, from 1-4, according to the air quality.
Speed Button
1. The device will start in auto mode.
2. Press the “SPEED” button once to turn o auto mode and to manually
control the speed.
3. Press the “SPEED” button again to adjust the fan speed (from 1— 5).
4. The speed will appear on the screen on the front of the device.
Sleep Button
1. Press the “SLEEP” button once to activate the sleep mode.
2. The device will continue to work in sleep mode. All lights will turn o
apart from the sleep mode button, which will dim.
3. To turn o sleep mode, press any other button.
On/OTimerButton
1. The timer button can be used to turn the device on or o automatically
2. When the device is o, press the timer button until the desired time
appears on the screen. The device will automatically turn on when the
time is reached.
3. When the device is on, press the timer button until the desired time
appears on the screen. The device will automatically turn o when the
time is reached.
Child Lock Button
1. Press “CHILD LOCK” button for 3 seconds to activate or deactivate the
child lock mode.
2. When in child lock mode, all other buttons will be disabled.
CONTROLS

9 | English English | 10
AUTO SWITCH OFF
1. For your safety, the device will automatically stop working if either of the doors are open.
2. For your safety, the device will automatically stop working if it is tilted by over 30 degrees.
WIFI AND SMART LIFE APP SET UP
Smart Life is a centralised app for smart device management. With Smart Life, you can control
your smart devices remotely and set up a complex chain of commands and automations. To
connect Pro Breeze smart air purier to a smartphone via WiFi through the Smart Life app
follow the below steps.
1. Download the Smart Life app by Tuya Inc from the Apple App Store or Google Play Store.
2. Register for a Smart Life account.
3. Log in to the Smart Life app.
4. On the Home page tap Add Device or the ”+“ symbol in the top right hand corner.
5. Tap Small Home Appliances.
6. Tap Air Purier.
7. Plug in the appliance and ensure the power socket is turned on.
WiButton
1. Please download the “Smart Life” app, then follow the App User
Manual (or instructions below) to connect to wi and to manage the
wi settings.
2. The wi light will continue to blink until the product is connected.
Speed + AUTO = Filter Reset Button
1. After 3,000 hours of use, the ON/OFF button will light up and beep
three times to indicate that the lter needs replacing
2. If the lter does not need replacing, press and hold the “SPEED”
AND “AUTO” buttons simultaneously, for 10 seconds. This will force
the appliance to reset the lter life.
3. If the lter needs replacing, press and hold the “SPEED” AND
“AUTO” buttons for 3 seconds after you have replaced the lter.
Note: The lter life time is able to be checked from the Smart Life app.
8. Press the power button to turn on the appliance and then press the power button again
to turn o the appliance and place it in standby mode. After the air purier is on, the Wi
indicator on the touch panel will begin to blink. If not, turn o the appliance and unplug it
for 10 seconds to turn it on again.
9. Input WiFi password and tap Conrm in the app.
10. The Smart Life app will automatically connect to the appliance and show Successfully
Added Device.
11. Return to the Smart Life app home page and tap the appliance name.
12. Use the controls to fully control the appliance and set desired settings etc.
For more information, please consult the App user manual (included)
PRO BREEZE AIR PURIFIER IN SMART LIFE APP
After successfully pairing the air purier, the following information can be seen and controlled
through the app:
1. PM 2.5 (both outdoor and indoor)
2. Filter lifespan
3. Wind speed
4. Room humidity
5. Room temperature
Note:
1. Ensure WiFi network is set to 2.4GHz. For Pro Breeze smart air purier, pair it with the
app in AP mode (please check the App user manual for more information about AP mode
pairing).
2. When prompted ensure you give permission to the Smart Life app to access the
smartphone or tablet’s Wi connection.
3. For more detailed instructions on the Smart Life App, please refer to the App user manual
(included).
4. The system automatically recognises your country/area. You can also manually select your
country code. The outdoor PM 2.5 number is based on the information of the selected
area.
For more information about Smart Life, please access the website at https://www.smartlifeapp.
net/

11 | English English | 12
WARNING: Always turn the appliance OFF and unplug the power cord from the electrical
outlet before handling and replacing the air lter.
• Preliminary Filter Cleaning Instructions
We recommend cleaning the Preliminary Filter every two months with warm water and
soap. Once washed this should be dried thoroughly before being placed back into the
appliance.
Step 1. Shut down the device and turn the power o (Figure 1).
Step 2. Open the door cover by lightly pulling the handle (Figure 2).
Step 3. Remove the preliminary lter by pulling on the clasps at the top of the lter.
Clean it with the warm water and soap.
Step 4. After cleaning, dry the lter thoroughly by exposing it to the sun or allowing it
todry naturally. Do not dry it with the drying machine.
Step 5. Place the clean and dry lter back into the appliance; ensuring the groove is on
the bottom of the unit.
Step 6. Re-attach the door cover.
• Carbon Clothes Mesh Filter Instructions
We recommended cleaning the lter with a vacuum cleaner once a month and replacing
it every 6 to 12 months, or after 3,000 hours of use. After 3,000 hours of use, the “ON/
OFF” button will blink and beep three times as a reminder to replace the lter. You may
need to replace the lter earlier depending on the environment of the room.
CLEANING AND REPLACING THE FILTER(S) REPLACING THE FILTER INSTRUCTIONS
WARNING: Always turn the appliance OFF and unplug the power cord from the electrical
outlet before handling and replacing the air lter.
Note: this lter is for Pro Breeze PB-P06 Smart Air Purier use only.
Toreplacethelter:
Step 1. Shut down the appliance and turn the power o.
Step 2. Open the door cover by lightly pulling the handle (Figure 2).
Step 3. Remove the preliminary lter by pulling on the clasps at the top of the lter.
Clean it with the warm water and soap as per instructions above.
Step 4. Remove the composite lter by pulling out the two tabs at the top of the lter.
We recommend that you have a garbage bag ready to prevent the pollutants on
the lter falling back into the room (gure 3).
Step 5. Insert the new lter, ensuring the white grooves are on the outside and the white
“front” tabs are facing outwards.
Step 6. Place the preliminary lter back into the lter space with the groove at
the bottom
Step 7. Re-attach the door cover.
Step 8. Press and hold the “SPEED” AND “AUTO” buttons for 10 seconds to reset the
lter reminder.
Replacementltermodelnumber:PB-P06F
13 | English English | 14
WARNING: ALWAYS TURN THE APPLIANCE OFF AND UNPLUG THE POWER CORD
FROM THE ELECTRICAL OUTLET BEFORE HANDLING OR CLEANING IT.
CAUTION: DO NOT ALLOW WATER OR OTHER LIQUIDS TO RUN INTO THE INTERIOR
OF THE APPLIANCE, AS THIS COULD CREATE A FIRE AND/OR ELECTRICAL HAZARD.
CAUTION: DO NOT USE ANY ABRASIVE CLEANERS OR SOLVENTS AS THIS WILL
DAMAGE THE HEATER.
• Do not attempt to clean the appliance in any other way than that detailed by the
manufacturer.
• Clean the exterior surface of the appliance by wiping it with a soft, damp cloth. Dry the
appliance with a soft, clean cloth.
• Clean the vents and openings of the appliance regularly with a vacuum cleaner, using
the brush attachment to avoid any dust build-up.
• To store your product, we recommend using the original or a similar-sized box.
• Store the appliance in a safe, clean and dry place, away from direct sunlight and out of
reach of children when not in use.
• To extend the lifespan of the lter, a vacuum cleaner, using the brush attachment can be
used to remove dust from the surface of the lter.
CLEANING AND STORAGE
FCC STATEMENT
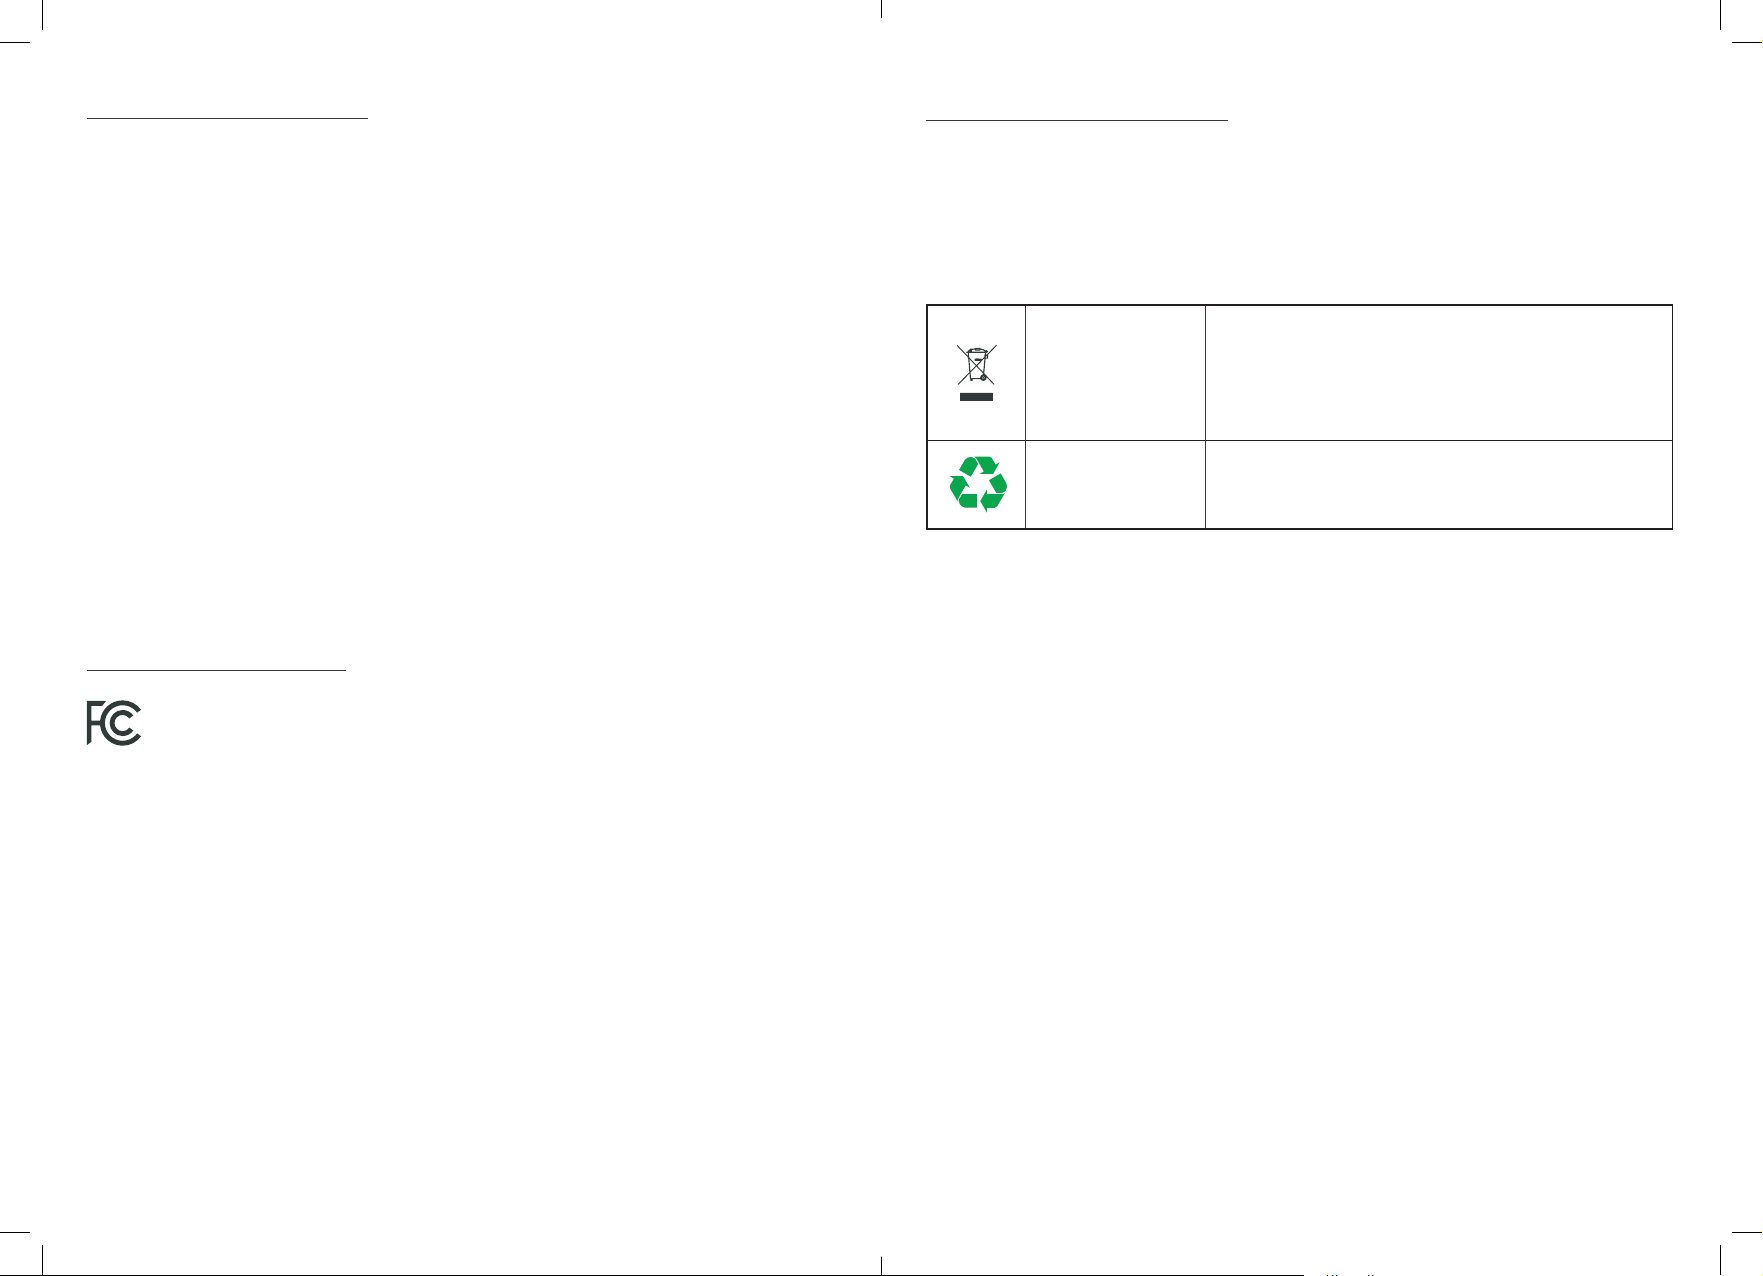
Waste Electrical
and Electronic
Equipment (WEEE)
This symbol on the product and/or packaging indicates
that Waste Electrical products (WEEE) under Directive
2012/19/EU which governs used electrical and
electronic appliances, should not be disposed of with
general household waste.
The Mobius Loop This symbol indicates that the product or packaging is
capable of being recycled.
RECYCLING AND DISPOSAL
Waste electrical and electronic products (WEEE), batteries, accumulators and packaging
should not be disposed of with general household waste. This is to prevent possible harm
to the environment and human well-being, and to help conserve our natural resources.
Most electrical products with a plug, battery, or cable can be recycled. Contact your local
council, household waste disposal service, or the store where you purchased the product for
information regarding the collection schemes in your area.
Personal Data Protection
Electrical and electronic products (WEEE) may contain personal user data, depending on the
type of product. This may include app-linked products that connect to wi. The end-user
is responsible for deleting the data on the waste electrical and electronic products prior to
disposal.
This device complies with FCC Part 15: 2015 Subpart B of the FCC Rules. Operation is
subject to the following two conditions:
(1) This device may not cause harmful interference.
(2) This device must accept any interference received, including interference that may cause
undesired operation.

15 | English English | 16

www.probreeze.com
One Retail Group
24A Ryland Road, London, NW5 3EH United Kingdom
© Copyright 2022
Table of contents
Other Pro Breeze Air Cleaner manuals

Pro Breeze
Pro Breeze PB-P01 User manual

Pro Breeze
Pro Breeze PB-P01F User manual

Pro Breeze
Pro Breeze PB-P03 User manual

Pro Breeze
Pro Breeze PB-P02 User manual

Pro Breeze
Pro Breeze PB-P07 User manual

Pro Breeze
Pro Breeze PB-P07 User manual

Pro Breeze
Pro Breeze PB-P03 User manual

Pro Breeze
Pro Breeze PB-P07 User manual


