Soto SOTO-Y6 User manual
Operation Manual
SOTO-Y6
AIR PURIFIER
Before operating the system,
please read this manual
thoroughly, and retain it for
future reference.
Top-Grade Air Purifier

This is Soto
If you have the opportunity to
experience SOTO air purifiers, please
remember that they are designed
with our dreams to meet your
expectations...

04
05
06
07
08
09-10
11-12
13-14
15
Contents
Consumer Limited Warranty
Safety Precautions
How it Works
Features and Specifications
Part Name
Installation
Operation
Care and Maintenance
Troubleshooting

04
Consumer Limited Warranty
Congratulations on your investment
This warranty shall not apply if:
SOTO warrants that this product is free, under normal use and maintenance, from any defects in material
and workmanship. If any such defects should be found in this product within the applicable warranty
period. SOTO shall, at its option, repair or replace the product as specified herein.
SOTO will repair or replace, free of charge, to the original purchaser, any part that is found to be defective
in material or workmanship within one (1) year of the date of purchase. This limited warranty does not cover
there placement of expendable or consumable parts such as filters or UV lamps, and other parts subject to
normal wear unless they are defective in material or workmanship.
1. Any defects caused or repairs required because of abusive operation, negligence, accident, improper installation
or inappropriate use as outlined in the operation manual.
2. Any product tampered with modified, adjusted or repaired by any party other than SOTO.
3. Damaged caused or repairs because of the use with items not specified or approved by SOTO.
4. Any damage caused by external or environmental conditions (such as a fire or an earthquake), including but not
limited to the use of voltage other than indicated on the product.
5. The content on the warranty card is inconsistent with the product, or there is no valid evidence to prove that the
defective product is provided by SOTO.
SOTO gives you the following limited warranty for this product only if it was originally purchased from
SOTO or from an authorized dealer.
To reduce the risk of electrical shock, fire or injury to person(s) read the following:
Running Environment Cautions
Unit Operation
Use only a 220-240 volt outlet with grounding wire receptacle.
Do not use the unit in an enclosed space where oxygen, flammable, explosive or toxic vapors are given off
by oil base paint, paint thinner, some moth proofing substances. It may cause explosion or fire.
The product cannot be used in high-temperature, wet or watery places. Best working condition is 0-40
0
C
and relative humidity of < 75%.
Do not operate the unit without filters. Make sure remove plastic packaging from the filters before operation.
Do not use the unit if the power cord or plug is damaged or the connection to the wall outlet is loose.
When removing the power plug, always hold the plug and never pull by the cord.
Do not handle plug or appliance with wet hands. Electrical shock or fire from short circuit may occur.
To avoid causing fire do not attempt to disassemble the unit - only certified technicians should do this.
Stop the unit and unplug the power when maintenance.
Do not insert fingers or foreign objects into the intake or air outlet.
Keep hair, loose clothing, fingers and all parts of body away from openings and moving parts.
Do not use the unit near or on hot objects, such as range or where it may be exposed to steam.
Do not wipe the outside, inside or any parts of the unit with flammable substances, it may cause fire!
Do not wash or reuse the HEPA filter and Activated carbon filter.
Photo catalytic is permanent, never needs replacing. When there is dust on it, clean the dust off using a
vacuum cleaner dusting brush. Do not wash it in water.
Safety Precautions
05
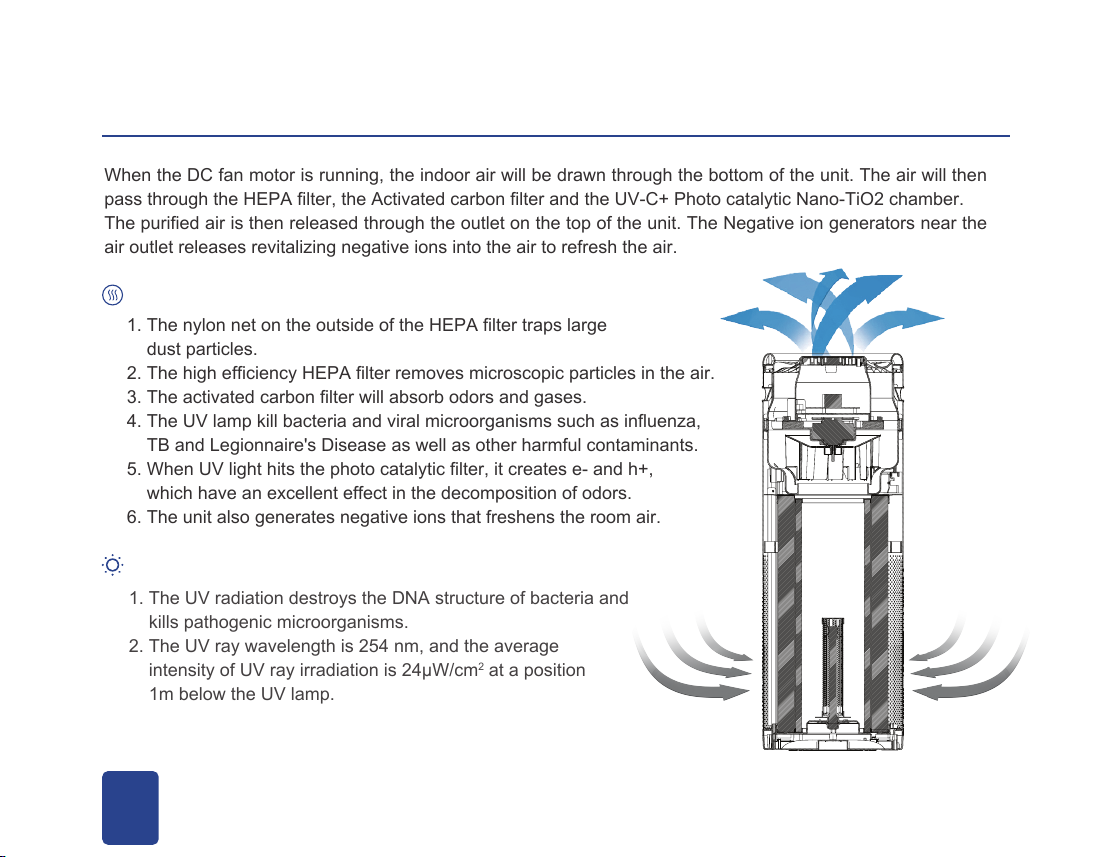
When the DC fan motor is running, the indoor air will be drawn through the bottom of the unit. The air will then
pass through the HEPA filter, the Activated carbon filter and the UV-C+ Photo catalytic Nano-TiO2 chamber.
The purified air is then released through the outlet on the top of the unit. The Negative ion generators near the
air outlet releases revitalizing negative ions into the air to refresh the air.
06
How it Works
1. The nylon net on the outside of the HEPA filter traps large
dust particles.
2. The high efficiency HEPA filter removes microscopic particles in the air.
3. The activated carbon filter will absorb odors and gases.
4. The UV lamp kill bacteria and viral microorganisms such as influenza,
TB and Legionnaire's Disease as well as other harmful contaminants.
5. When UV light hits the photo catalytic filter, it creates e- and h+,
which have an excellent effect in the decomposition of odors.
6. The unit also generates negative ions that freshens the room air.
The air is cleansed in six stages.
1. The UV radiation destroys the DNA structure of bacteria and
kills pathogenic microorganisms.
2. The UV ray wavelength is 254 nm, and the average
intensity of UV ray irradiation is 24μW/cm2at a position
1m below the UV lamp.
Sterilization Factor
07
Features and Specifications
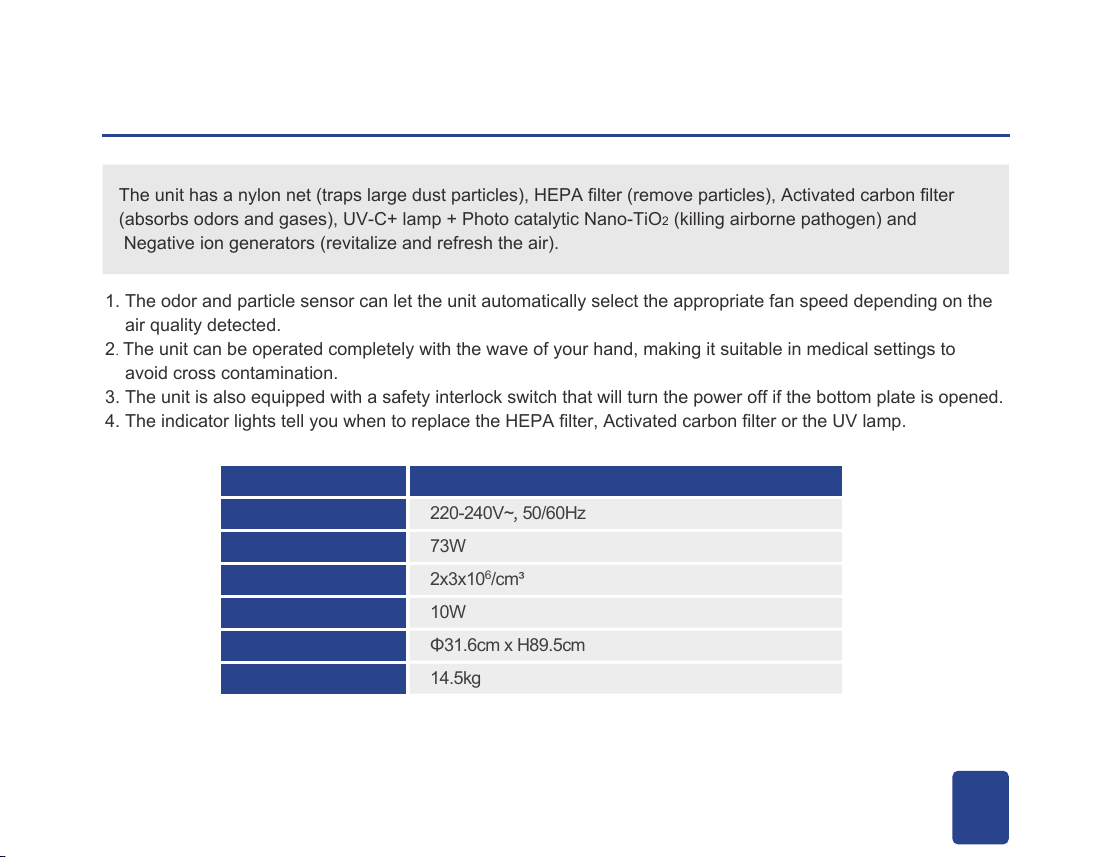
The unit has a nylon net (traps large dust particles), HEPA filter (remove particles), Activated carbon filter
(absorbs odors and gases), UV-C+ lamp + Photo catalytic Nano-TiO2(killing airborne pathogen) and
Negative ion generators (revitalize and refresh the air).
1. The odor and particle sensor can let the unit automatically select the appropriate fan speed depending on the
air quality detected.
2. The unit can be operated completely with the wave of your hand, making it suitable in medical settings to
avoid cross contamination.
3. The unit is also equipped with a safety interlock switch that will turn the power off if the bottom plate is opened.
4. The indicator lights tell you when to replace the HEPA filter, Activated carbon filter or the UV lamp.
Model
Power Requirement
Rated Power
Negative Ion
UV Lamp
Dimensions
Weight
SOTO-Y6
220-240V~,50/60Hz
73W
2x3x106/cm³
10W
Φ31.6cm x H89.5cm
14.5kg

-01
-02
-03
-04
-05
-06
-09
-10
-11
-12
-14
-13
-15
-16
-07
-08
09- Particle laser sensor
10- HEPA filter
11- Activated carbon filter
12- UV lamp
13- Photo catalytic filter
14- Unit lock
15- UV lamp set
16- Bottom plate
01- Unit body
02- Unit housing
03- Air outlet
04- Fan motor
05- Fan blade
06- Ion generator
07- LED display
circuit board
08- Display panel
08
Part Name
09
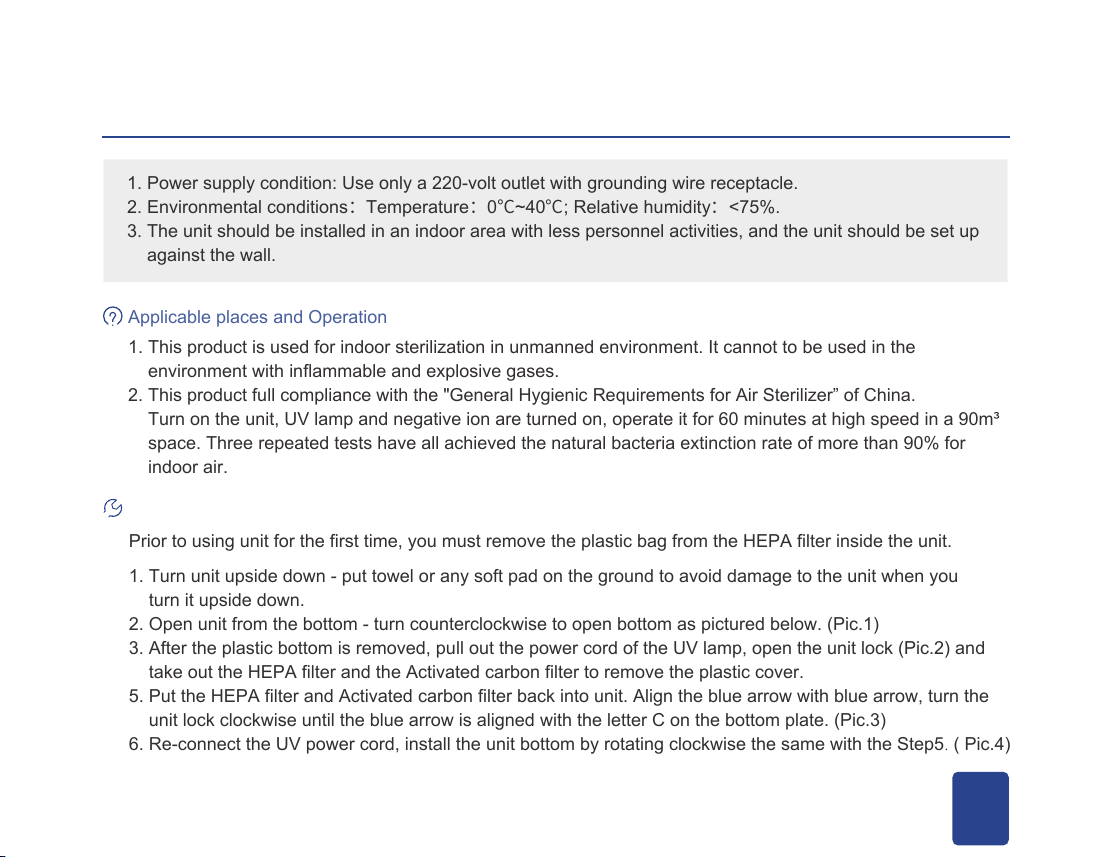
1. Power supply condition: Use only a 220-volt outlet with grounding wire receptacle.
2. Environmental conditions:Temperature:0℃~40℃; Relative humidity:<75%.
3. The unit should be installed in an indoor area with less personnel activities, and the unit should be set up
against the wall.
1. This product is used for indoor sterilization in unmanned environment. It cannot to be used in the
environment with inflammable and explosive gases.
2. This product full compliance with the "General Hygienic Requirements for Air Sterilizer” of China.
Turn on the unit, UV lamp and negative ion are turned on, operate it for 60 minutes at high speed in a 90m³
space. Three repeated tests have all achieved the natural bacteria extinction rate of more than 90% for
indoor air.
Applicable places and Operation
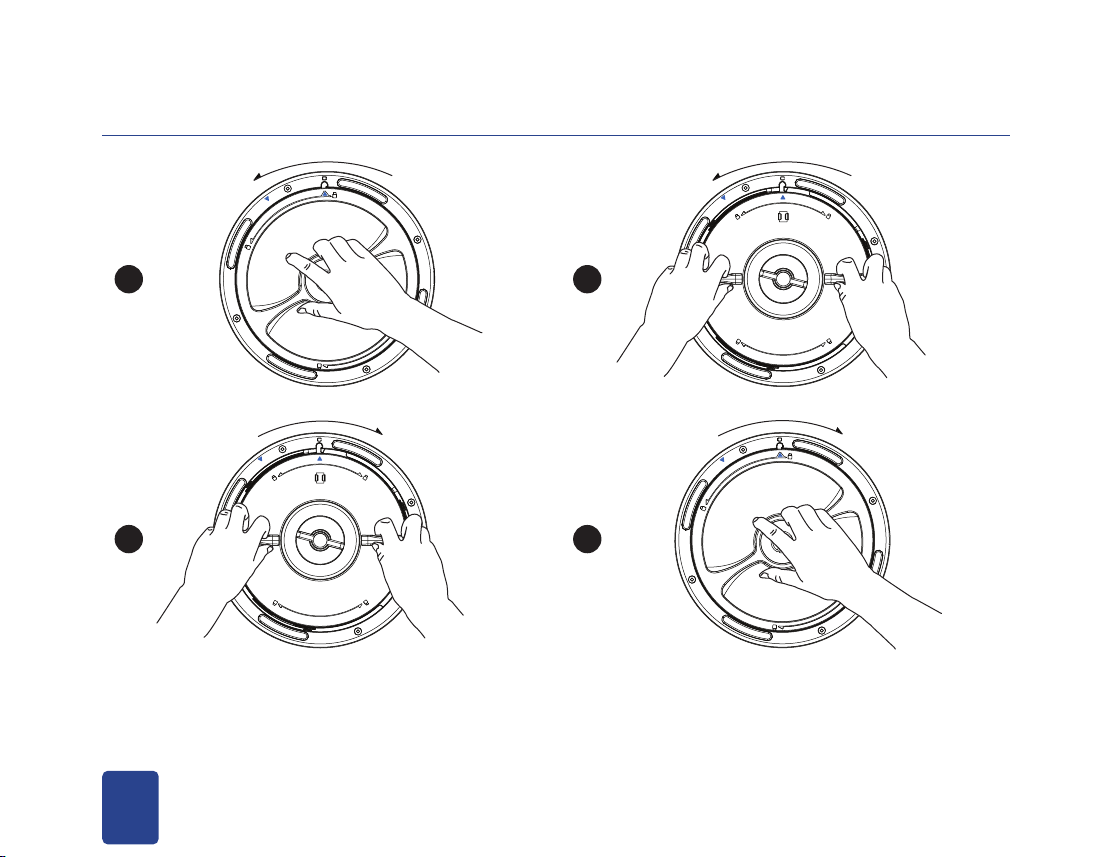
Prior to using unit for the first time, you must remove the plastic bag from the HEPA filter inside the unit.
1. Turn unit upside down - put towel or any soft pad on the ground to avoid damage to the unit when you
turn it upside down.
2. Open unit from the bottom - turn counterclockwise to open bottom as pictured below. (Pic.1)
3. After the plastic bottom is removed, pull out the power cord of the UV lamp, open the unit lock (Pic.2) and
take out the HEPA filter and the Activated carbon filter to remove the plastic cover.
5. Put the HEPA filter and Activated carbon filter back into unit. Align the blue arrow with blue arrow, turn the
unit lock clockwise until the blue arrow is aligned with the letter C on the bottom plate. (Pic.3)
6. Re-connect the UV power cord, install the unit bottom by rotating clockwise the same with the Step5.( Pic.4)
Before operation
Installation1
CLOSE
CLOSE
OPEN
OPEN
10
1
3
2
4
ATTENTION:
For optimal purification, make sure there is a gap between air inlet and anything that may block the airflow nearby.
Installation2
CLOSE
CLOSE
OPEN
OPEN
B
E
S
U
R
E
T
O
U
N
P
L
U
G
T
H
E
P
O
W
E
R
C
O
R
D
B
E
S
U
R
E
T
O
U
N
P
L
U
G
T
H
E
P
O
W
E
R
C
O
R
D
CLOSE
OPEN
OPEN
B
E
S
U
R
E
T
O
U
N
P
L
U
G
T
H
E
P
O
W
E
R
C
O
R
D
B
E
S
U
R
E
T
O
U
N
P
L
U
G
T
H
E
P
O
W
E
R
C
O
R
D
CLOSE
OPEN
OPEN

11
Note:
When set to AUTO mode, if PM2.5 concentration
is less than 15, the unit auotomatically turns off.
If PM2.5 concentration is above 25, the unit
automatically turns on.
123
Operation1
Plug the power cord in and you will hear a “Beep”. The small, inner circle will turn white - this indicates the air
purifier is in standby mode. Use your hand to wave over the sensor, this waving motion turns the unit on & off,
and can also adjust the fan speed.
(Wave 1) Wave your hand the 1st time and the blue circle will turn white-
low speed.
(Wave 2) Wave a 2nd time, the second circle will light up - medium
speed.
(Wave 3) Wave a 3rd time, the third circle will light up - high speed.
(Wave 4) Wave a 4th time, all the circles light up white - turbo speed.
(Wave 5) Wave a 5th time, the “AUTO” indicator will light up.
This is Auto Mode -
the unit will operate on low speed and will adjust speeds accordingly
based on what pollution the sensors pick un in the air.
(Wave 6) Wave 6th time, the unit goes back to standby Mode and the
inner circle turns back to blue.
Hover & hold your hand over the sensor for 2 seconds and this will lock the
unit at the desired speed. This will prevent accidental or unwanted speed changes.
To unlock this feature, hover & hold your hand over the sensor again for 2 seconds.
Indicator Color
Blue
Orange
Red
PM2.5
≤75μg/m³
76~150μg/m³
>150μg/m³
TVOC Level
Speed
L
M
H
~
~
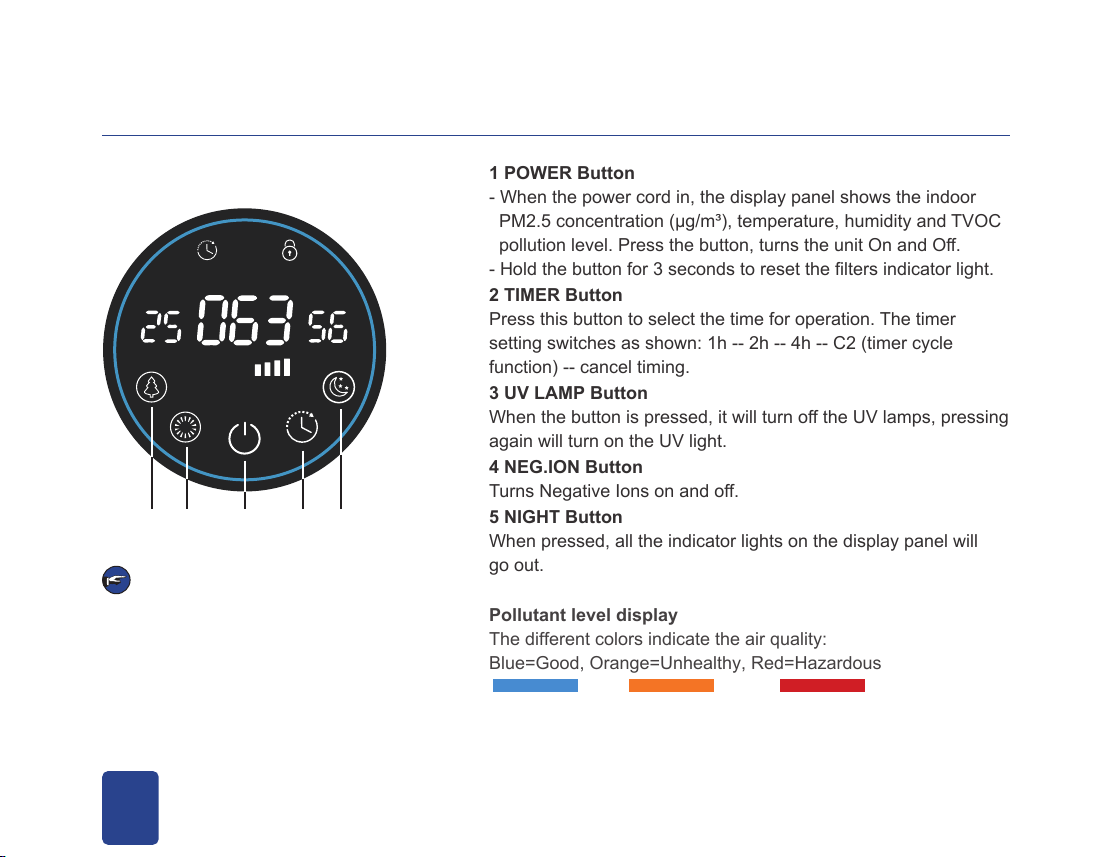
1 POWER Button
- When the power cord in, the display panel shows the indoor
PM2.5 concentration (μg/m³), temperature, humidity and TVOC
pollution level. Press the button, turns the unit On and Off.
- Hold the button for 3 seconds to reset the filters indicator light.
2 TIMER Button
Press this button to select the time for operation. The timer
setting switches as shown: 1h -- 2h -- 4h -- C2 (timer cycle
function) -- cancel timing.
3 UV LAMP Button
When the button is pressed, it will turn off the UV lamps, pressing
again will turn on the UV light.
4 NEG.ION Button
Turns Negative Ions on and off.
5 NIGHT Button
When pressed, all the indicator lights on the display panel will
go out.
12
TVOC
PM2.5
°C %
1 234 5
When the unit is not operated for one
minute, the PM2.5 display panel will
automatically enter the screensaver state.
At this time, the power indicator and digital
display will be on, and all other indicator
lights will be off.
NOTE
Operation2
Button Operation
Pollutant level display
The different colors indicate the air quality:
Blue=Good, Orange=Unhealthy, Red=Hazardous
13
Care and Maintenance1
Wipe with a dry, soft cloth for stubborn stains or dirt. Do not use volatile fluids, Benzene, paint thinner, polishing
powder, this may damage the surface.
Do not use detergents, detergent ingredients may damage the unit. Keep the unit away from water.
When the third circle on the sensor plate flashes, the HEPA filter needs to be replaced.
1. Stop the operation and unplug the unit.
2. Open the bottom plate, disconnect the power cord from Germicidal UV lamp, take off the unit lock.
3. Take out the used HEPA filter and replace with a new one.
4. After replacing the HEPA filter, hold the POWER button for 3 seconds to reset the time for the HEPA filter.
Warning
To maintain optimum performance of this air purifier, the HEPA filter, the Activated carbon filter and the
UV-C+ bulb need to be replaced when the indicator lights are flashing.
When maintenance on the unit, be sure to unplug the power cord, and never handle the plug with wet hands.
If so, electrical shock and bodily injury may occur as a result.
Main unit
Replacing the HEPA filter
14
Care and Maintenance2
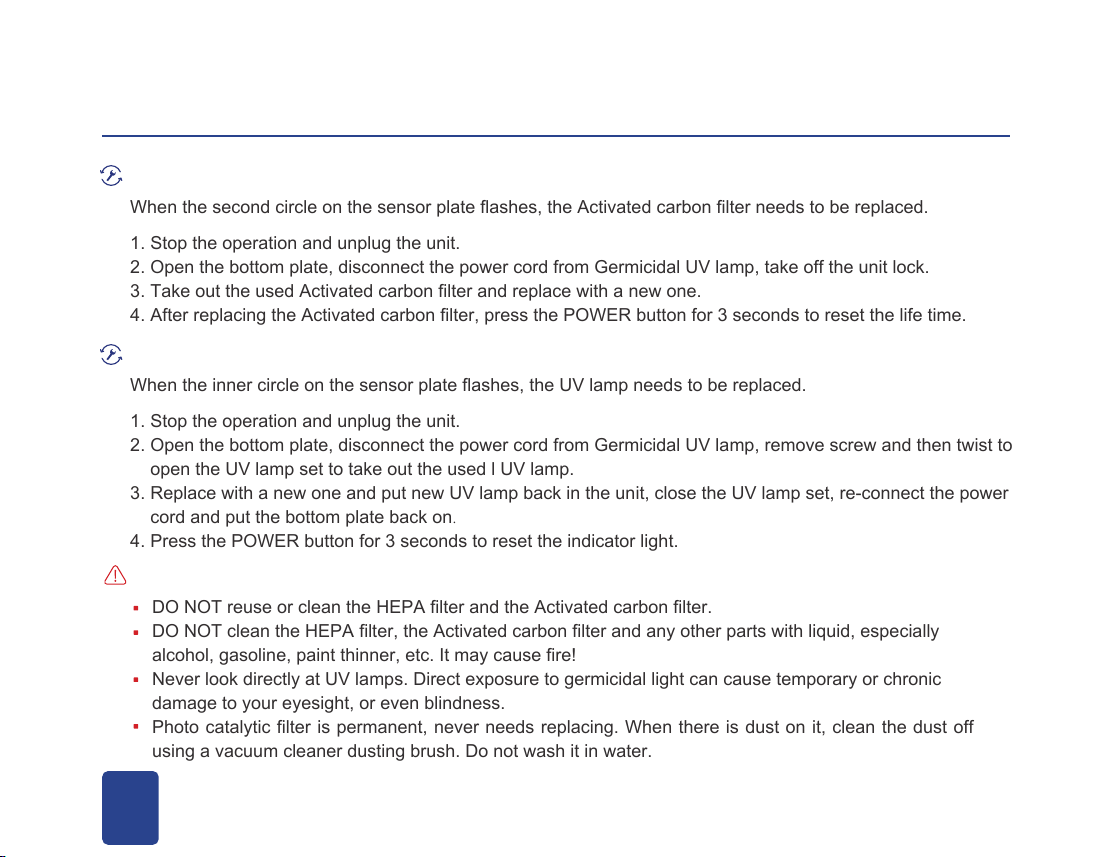
When the second circle on the sensor plate flashes, the Activated carbon filter needs to be replaced.
1. Stop the operation and unplug the unit.
2. Open the bottom plate, disconnect the power cord from Germicidal UV lamp, take off the unit lock.
3. Take out the used Activated carbon filter and replace with a new one.
4. After replacing the Activated carbon filter, press the POWER button for 3 seconds to reset the life time.
When the inner circle on the sensor plate flashes, the UV lamp needs to be replaced.
1. Stop the operation and unplug the unit.
2. Open the bottom plate, disconnect the power cord from Germicidal UV lamp, remove screw and then twist to
open the UV lamp set to take out the used l UV lamp.
3. Replace with a new one and put new UV lamp back in the unit, close the UV lamp set, re-connect the power
cord and put the bottom plate back on.
4. Press the POWER button for 3 seconds to reset the indicator light.
Replacing the Activated carbon filter
Replacing the UV Lamp
Warning
DO NOT reuse or clean the HEPA filter and the Activated carbon filter.
DO NOT clean the HEPA filter, the Activated carbon filter and any other parts with liquid, especially
alcohol, gasoline, paint thinner, etc. It may cause fire!
Never look directly at UV lamps. Direct exposure to germicidal light can cause temporary or chronic
damage to your eyesight, or even blindness.
Photo catalytic filter is permanent, never needs replacing. When there is dust on it, clean the dust off
using a vacuum cleaner dusting brush. Do not wash it in water.
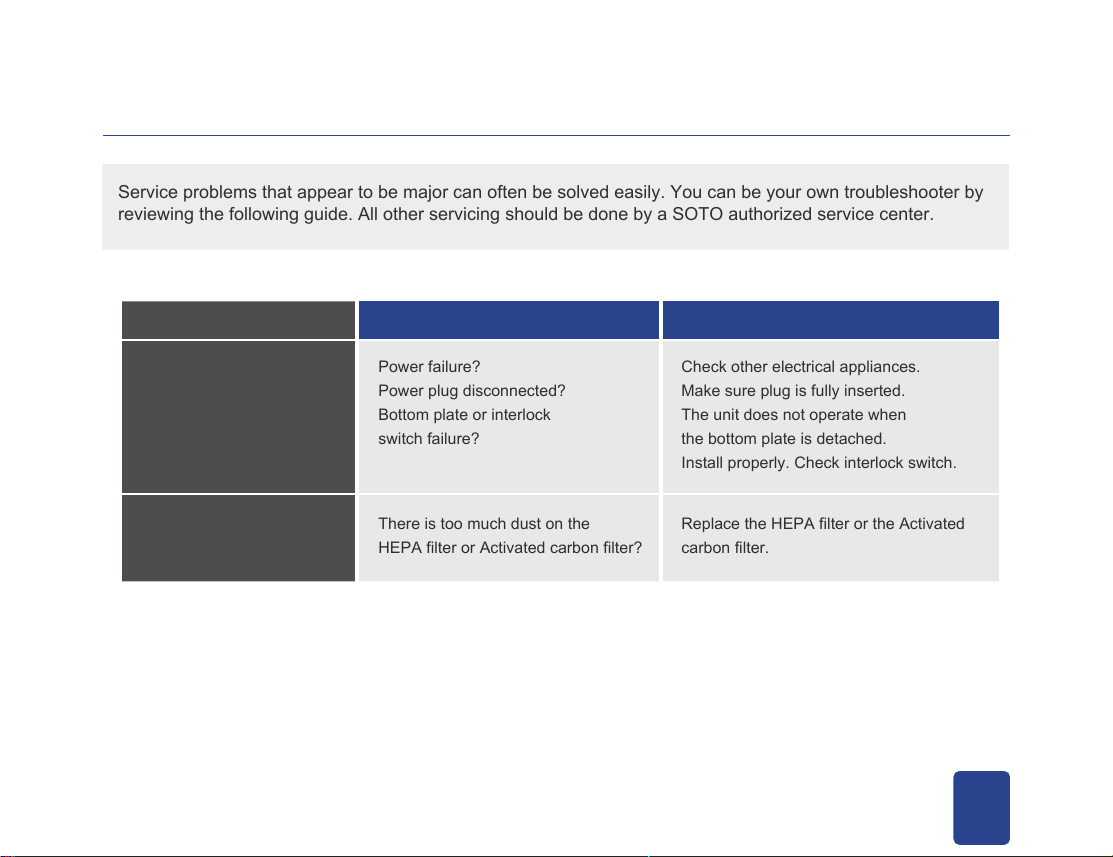
Power failure?
Power plug disconnected?
Bottom plate or interlock
switch failure?
There is too much dust on the
HEPA filter or Activated carbon filter?
Replace the HEPA filter or the Activated
carbon filter.
Check other electrical appliances.
Make sure plug is fully inserted.
The unit does not operate when
the bottom plate is detached.
Install properly. Check interlock switch.
What to check Measure
The unit does not operate
When functions do not
work properly
Case
15
Troubleshooting
Service problems that appear to be major can often be solved easily. You can be your own troubleshooter by
reviewing the following guide. All other servicing should be done by a SOTO authorized service center.
SOTO Air Purification Technology (Langfang) Co., Ltd.
Add: Certification Industrial Park, Dachang High and
New Technology Development Zone, Langfang City,
Hebei Province, China
Tel: 400-626-8883
Web: www.sotoairpurifier.com
Other manuals for SOTO-Y6
1
Table of contents
Other Soto Air Cleaner manuals


