manuals.online logo
Brands
  1. Home
  2. •
  3. Brands
  4. •
  5. Pro-Form
  6. •
  7. Treadmill
  8. •
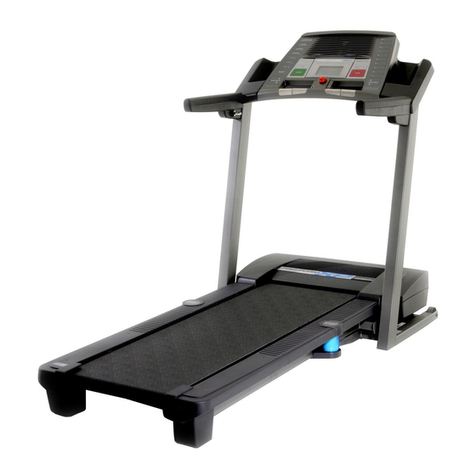
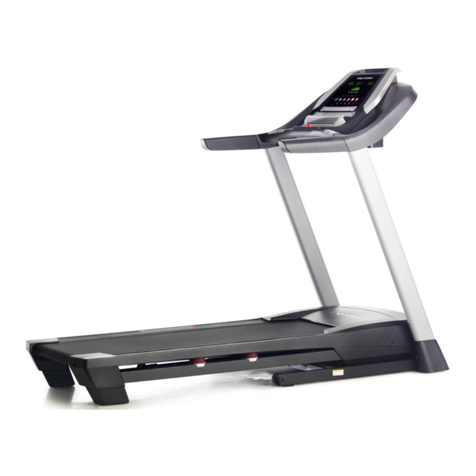
  9. Pro-Form PFTL71330 User manual

Pro-Form PFTL71330 User manual

This manual suits for next models

1

Other Pro-Form Treadmill manuals

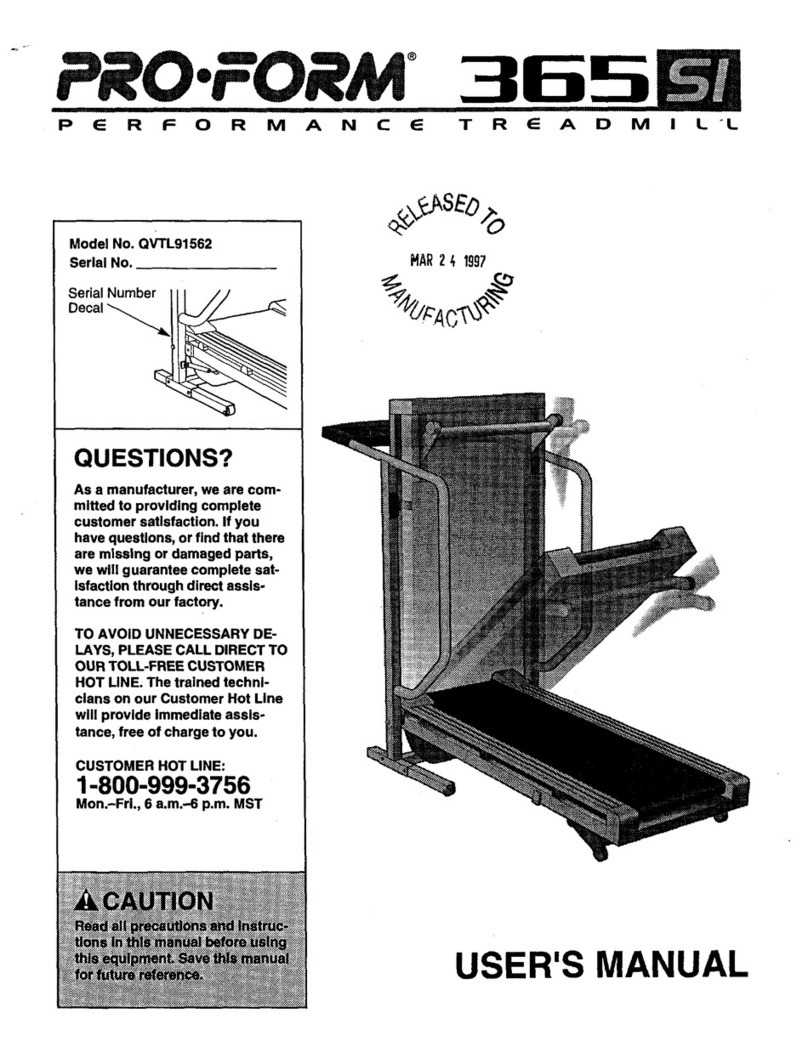
Pro-Form 831.297365 User manual

Pro-Form

Pro-Form 831.297365 User manual

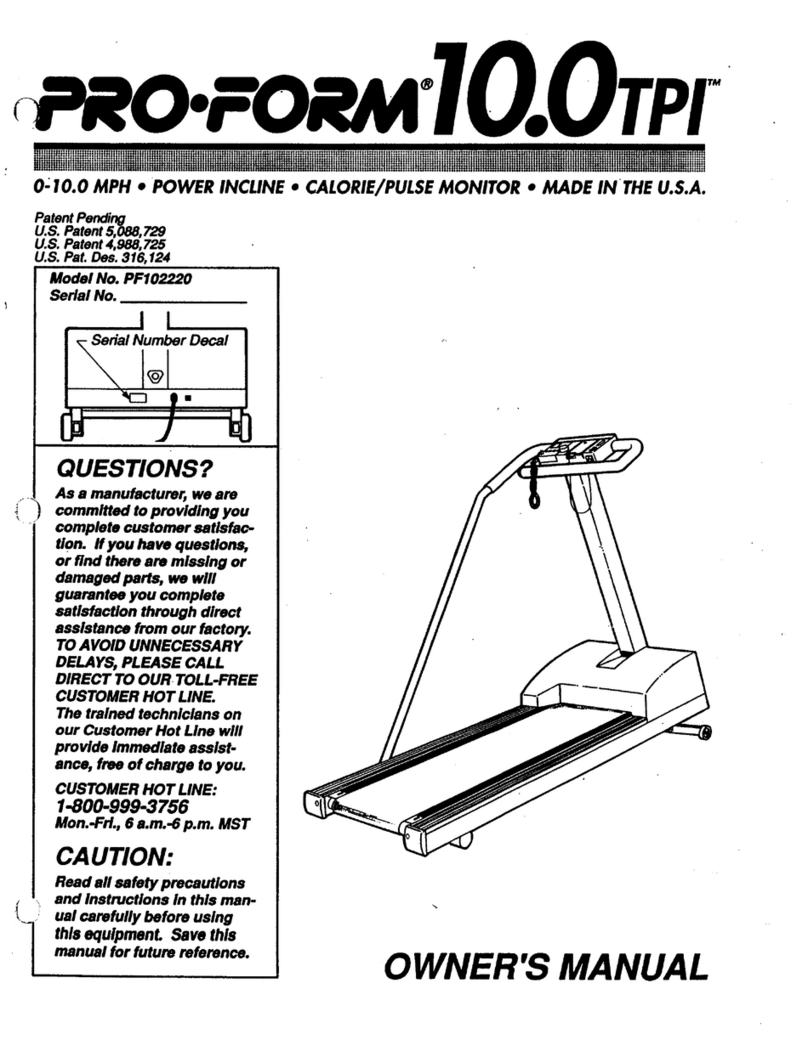
Pro-Form 7.15Q User manual

Pro-Form

Pro-Form 7.15Q User manual

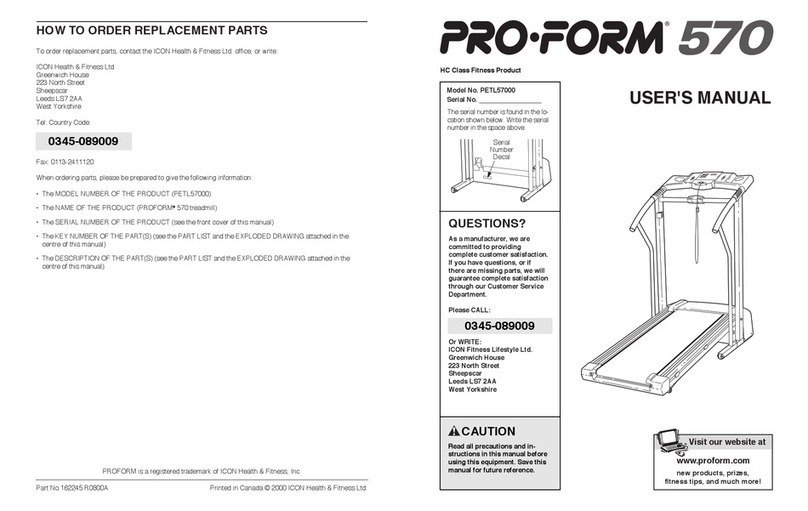
Pro-Form 580 si User manual

Pro-Form

Pro-Form 580 si User manual

Pro-Form 730 PFTL17041 User manual

Pro-Form

Pro-Form 730 PFTL17041 User manual

Pro-Form 3.8 Treadmill System manual

Pro-Form

Pro-Form 3.8 Treadmill System manual

Pro-Form 560hr Treadmill User manual

Pro-Form

Pro-Form 560hr Treadmill User manual

Pro-Form 565 Crosstrainer Treadmill User manual

Pro-Form

Pro-Form 565 Crosstrainer Treadmill User manual

Pro-Form 900 Treadmill Quick start guide

Pro-Form

Pro-Form 900 Treadmill Quick start guide

Pro-Form DTL42941 User manual

Pro-Form

Pro-Form DTL42941 User manual

Pro-Form CROSSWALK FIT 415 User manual

Pro-Form

Pro-Form CROSSWALK FIT 415 User manual

Pro-Form T90 User manual

Pro-Form

Pro-Form T90 User manual

Pro-Form PF 3.6 User manual

Pro-Form

Pro-Form PF 3.6 User manual

Pro-Form TREADMILL PFTL99600 User manual

Pro-Form

Pro-Form TREADMILL PFTL99600 User manual

Pro-Form 831.299420 User manual

Pro-Form

Pro-Form 831.299420 User manual

Pro-Form 770 Ekg Treadmill User manual

Pro-Form

Pro-Form 770 Ekg Treadmill User manual

Pro-Form 3.9 Xm Treadmill User manual

Pro-Form

Pro-Form 3.9 Xm Treadmill User manual

Pro-Form Ramp Trainer 420 User manual

Pro-Form

Pro-Form Ramp Trainer 420 User manual

Pro-Form PCTL49820 User manual

Pro-Form

Pro-Form PCTL49820 User manual

Pro-Form 780 Zlt Treadmill User manual

Pro-Form

Pro-Form 780 Zlt Treadmill User manual

Pro-Form 750CS User manual

Pro-Form

Pro-Form 750CS User manual

Pro-Form 900 Elliptical Quick start guide

Pro-Form

Pro-Form 900 Elliptical Quick start guide

Pro-Form 385ex Treadmill User manual

Pro-Form

Pro-Form 385ex Treadmill User manual

Pro-Form Power Incline 831.29721 User manual

Pro-Form

Pro-Form Power Incline 831.29721 User manual

Pro-Form XP 542s User manual

Pro-Form

Pro-Form XP 542s User manual

Popular Treadmill manuals by other brands

Motus M990T Service manual

Motus

Motus M990T Service manual

NordicTrack APEX4100i NTTL18906 user manual

NordicTrack

NordicTrack APEX4100i NTTL18906 user manual

CAPITAL SPORTS Pacemaker Touch manual

CAPITAL SPORTS

CAPITAL SPORTS Pacemaker Touch manual

Insportline Hill Pro user manual

Insportline

Insportline Hill Pro user manual

Expondo Gymrex GR-MG31 user manual

Expondo

Expondo Gymrex GR-MG31 user manual

HEALTH ONE Walk Ro user manual

HEALTH ONE

HEALTH ONE Walk Ro user manual

NordicTrack T7.5 S user manual

NordicTrack

NordicTrack T7.5 S user manual

Gold's Gym ADVANTAGE GGTL12920 user manual

Gold's Gym

Gold's Gym ADVANTAGE GGTL12920 user manual

Merax MS282992 manual

Merax

Merax MS282992 manual

FitLogic freewill d225 owner's manual

FitLogic

FitLogic freewill d225 owner's manual

HOP-SPORT ESTIMA HS-3200LB instruction manual

HOP-SPORT

HOP-SPORT ESTIMA HS-3200LB instruction manual

Stamia InMotion II owner's manual

Stamia

Stamia InMotion II owner's manual

Smooth Fitness EVO 3i user manual

Smooth Fitness

Smooth Fitness EVO 3i user manual

NordicTrack NETL81810.0 user manual

NordicTrack

NordicTrack NETL81810.0 user manual

Schwinn 830/Journey 8.0 Assembly manual / owner's manual

Schwinn

Schwinn 830/Journey 8.0 Assembly manual / owner's manual

Keys Fitness HealthTrainer HT-740T owner's manual

Keys Fitness

Keys Fitness HealthTrainer HT-740T owner's manual

Spirit XT8 Service manual

Spirit

Spirit XT8 Service manual

NordicTrack T 14.0 Treadmill Manuel de l'utilisateur

NordicTrack

NordicTrack T 14.0 Treadmill Manuel de l'utilisateur

manuals.online logo
manuals.online logoBrands
  • About & Mission
  • Contact us
  • Privacy Policy
  • Terms and Conditions

Copyright 2025 Manuals.Online. All Rights Reserved.

USER'S MANUAL
Model No. PFTL71330
Serial No.
CAUTION
Read all precau ions and ins ruc-
ions in his manual before using
his equipmen . Save his manual
for fu ure reference.
Write the serial number in the space
above for future reference.
Serial Number
Decal
QUESTIONS?
If you have ques ions, or if here
are missing par s, we will guar-
an ee comple e sa isfac ion
hrough direc assis ance from
our fac ory.
TO AVOID DELAYS, PLEASE
CALL DIRECT TO OUR TOLL-
FREE CUSTOMER HOT LINE.
The rained echnicians on our
cus omer ho line will provide
immedia e assis ance, free of
charge.
CUSTOMER HOT LINE:
1-800-999-3756
Mon.–Fri., 6 a.m.–6 p.m. MST
Visi our websi e a
www.proform.com
new products, prizes,
fitness tips, and much more!
TABLE OF CONTENTS
IMPORTANT PRE AUTIONS . . . . . . . . . . . . . . . . . . . . . . . . . . . . . . . . . . . . . . . . . . . . . . . . . . . . . . . . . . . . . . . . .3
BEFORE YOU BEGIN . . . . . . . . . . . . . . . . . . . . . . . . . . . . . . . . . . . . . . . . . . . . . . . . . . . . . . . . . . . . . . . . . . . . . . .5
ASSEMBLY . . . . . . . . . . . . . . . . . . . . . . . . . . . . . . . . . . . . . . . . . . . . . . . . . . . . . . . . . . . . . . . . . . . . . . . . . . . . . . .6
TREADMILL OPERATION . . . . . . . . . . . . . . . . . . . . . . . . . . . . . . . . . . . . . . . . . . . . . . . . . . . . . . . . . . . . . . . . . . . .7
HOW TO FOLD AND MOVE THE TREADMILL . . . . . . . . . . . . . . . . . . . . . . . . . . . . . . . . . . . . . . . . . . . . . . . . . .21
TROUBLESHOOTING AND MAINTENAN E . . . . . . . . . . . . . . . . . . . . . . . . . . . . . . . . . . . . . . . . . . . . . . . . . . .23
EXER ISE GUIDELINES . . . . . . . . . . . . . . . . . . . . . . . . . . . . . . . . . . . . . . . . . . . . . . . . . . . . . . . . . . . . . . . . . . .25
PART LIST . . . . . . . . . . . . . . . . . . . . . . . . . . . . . . . . . . . . . . . . . . . . . . . . . . . . . . . . . . . . . . . . . . . . . . . . . . . . . . .27
HOW TO ORDER REPLA EMENT PARTS . . . . . . . . . . . . . . . . . . . . . . . . . . . . . . . . . . . . . . . . . . . . . .Back over
LIMITED WARRANTY . . . . . . . . . . . . . . . . . . . . . . . . . . . . . . . . . . . . . . . . . . . . . . . . . . . . . . . . . . . . . . .Back over
Note: An EXPLODED DRAWING is attached in the center of this manual.
PROFORM is a registered trademark of I ON Health & Fitness, Inc.
2
3
WARNING:To reduce he risk of burns, fire, elec ric shock, or injury o persons, read he
following impor an precau ions and informa ion before opera ing he readmill.
1. I is he responsibili y of he owner o ensure
ha all users of his readmill are adequa ely
informed of all warnings and precau ions.
2. Use he readmill only as described.
3. Place he readmill on a level surface, wi h a
leas eigh fee of clearance behind i and wo
fee on each side. Do no place he readmill
on any surface ha blocks air openings. To
pro ec he floor or carpe from damage,
place a ma under he readmill.
4. Keep he readmill indoors, away from mois-
ure and dus . Do no pu he readmill in a
garage or covered pa io, or near wa er.
5. Do no opera e he readmill where aerosol
produc s are used or where oxygen is being
adminis ered.
6. Keep children under he age of 12 and pe s
away from he readmill a all imes.
7. The readmill should no be used by persons
weighing more han 275 pounds. Never allow
more han one person on he readmill a a ime.
8. Wear appropria e exercise clo hing when
using he readmill. Do no wear loose clo h-
ing ha could become caugh in he readmill.
A hle ic suppor clo hes are recommended
for bo h men and women. Always wear ath-
letic shoes. Never use the treadmill with bare
feet, wearing only stockings, or in sandals.
9. When connec ing he power cord (see page 7),
plug he power cord in o a surge suppressor
(no included) and plug he surge suppressor
in o a grounded circui capable of carrying 15
or more amps. No o her appliance should be on
he same circui . Do no use an ex ension cord.
10.Use only a single-ou le surge suppressor ha
mee s all of he specifica ions described on
page 7. To purchase a surge suppressor, see
your local PROFORM 725i dealer or call 1-800-
806-3651 and order par number 146148.
11.Failure o use a properly func ioning surge
suppressor could resul in damage o he con-
rol sys em of he readmill. If he con rol sys-
em is damaged, he walking bel may change
speed or s op unexpec edly, which may resul
in a fall and serious injury.
12.Keep he power cord and he surge suppres-
sor away from hea ed surfaces.
13.Never move he walking bel while he power
is urned off. Do no opera e he readmill if
he power cord or plug is damaged, or if he
readmill is no working properly. (See
BEFORE YOU BEGIN on page 5 if he read-
mill is no working properly.)
14.Never s ar he readmill while you are s and-
ing on he walking bel . Always hold he
handrails while using he readmill.
15.The readmill is capable of high speeds.
Adjus he speed in small incremen s o avoid
sudden jumps in speed.
16.Do no use he op ional hand weigh s a
speeds fas er han walking speeds. Using hand
weigh s and no holding he handrails may
compromise your abili y o main ain your bal-
ance. Exercises using hand weigh s should be
a emp ed only by experienced users.
17.The pulse sensor is no a medical device.
Various fac ors, including he user's move-
men , may affec he accuracy of hear ra e
readings. The pulse sensor is in ended only
as an exercise aid in de ermining hear ra e
rends in general.
18.Never leave he readmill una ended while i
is running. Always remove he key, unplug
he power cord, and move he on/off swi ch o
he off posi ion when he readmill is no in
use. (See he drawing on page 5 for he loca-
ion of he on/off swi ch.)
19.Do no a emp o raise, lower, or move he
readmill un il i is properly assembled. (See
ASSEMBLY on page 6, and HOW TO FOLD
AND MOVE THE TREADMILL on page 21.)
You mus be able o safely lif 45 pounds (20
kg) o raise, lower, or move he readmill.
20.When folding or moving he readmill, make
sure ha he s orage la ch is fully closed.
IMPORTANT PRECAUTIONS
21.When using iFIT.com CDs and videos, an
elec ronic “chirping” sound will aler you
when he speed and/or incline of he readmill
is abou o change. Always lis en for he
“chirp” and be prepared for speed and/or in-
cline changes. In some ins ances, he speed
and/or incline may change before he per-
sonal rainer describes he change.
22. When using iFIT.com CDs and videos, you can
manually override he speed and incline se -
ings a any ime by pressing he speed and in-
cline bu ons. However, when he nex “chirp”
is heard, he speed and/or incline will change
o he nex se ings of he CD or video program.
23.Always remove iFIT.com CDs and videos from
your CD player or VCR when you are no
using hem.
24.Inspec and properly igh en all par s of he
readmill every hree mon hs.
25.Never drop or inser any objec in o any open-
ing.
26.DANGER:Always unplug he power
cord immedia ely af er use, before cleaning
he readmill, and before performing he main-
enance and adjus men procedures de-
scribed in his manual. Never remove he
mo or hood unless ins ruc ed o do so by an
au horized service represen a ive. Servicing
o her han he procedures in his manual
should be performed by an au horized service
represen a ive only.
27.The readmill is in ended for in-home use
only. Do no use he readmill in any
commercial, ren al, or ins i u ional se ing.
WARNING:Before beginning his or any exercise program, consul your physician. This
is especially impor an for persons over he age of 35 or persons wi h pre-exis ing heal h problems.
Read all ins ruc ions before using. ICON assumes no responsibili y for personal injury or proper y
damage sus ained by or hrough he use of his produc .
SAVE THESE INSTRUCTIONS
The decals shown below have been placed on your readmill. If a decal is missing or illegible, please call
our Cus omer Service Depar men oll-free a 1-800-999-3756 o order a free replacemen decal. Apply he
decal in he loca ion shown. No e: The long decal is shown a 38% of ac ual size.
4
5
ongratulations for purchasing the PROFORM®725i
treadmill. The 725i offers an impressive array of fea-
tures to help you achieve your fitness goals in the con-
venience of your home. From the advanced console to
the cushioned walking platform, the 725i is designed to
make each workout more effective and enjoyable. And
when you’re not exercising, the 725i can be folded
away, taking less than half the floor space of conven-
tional treadmills.
For your benefi , read his manual carefully before
using he readmill. If you have additional questions,
please call our ustomer Service Department toll-free
at 1-800-999-3756, Monday through Friday, 6 a.m.
until 6 p.m. Mountain Time (excluding holidays). To
help us assist you, please note the product model
number and serial number before calling. The model
number is PFTL71330. The serial number can be
found on a decal attached to the treadmill (see the
front cover of this manual for the location).
Before reading further, please familiarize yourself with
the parts that are labeled in the drawing below.
Handrail
Latch Knob
onsole
Book Holder
Hand Weight Holder*
Water Bottle Holder†
hest Pulse Sensor Holder*
*See page 20 for information about the op-
tional chest pulse sensor and hand weights
†No water bottle is included
Key/ lip
ircuit Breaker
On/Off Switch
Walking Belt
Foot Rail
ushioned Walking Platform
Power ord
Rear Roller
Adjustment Bolts
BEFORE YOU BEGIN
6
1. Wi h he help of a second person, carefully raise the
Uprights (65) until the Wheels (77) are resting on the floor
as shown.
1
77
65
2. Remove the Latch Knob (67) from the Latch Pin (72).
Make sure that the Latch Pin ollar (70) and the Spring
(69) are on the Latch Pin. (Note: If there are two Latch Pin
ollars, there should be one on each side of the Spring.)
Insert the Latch Pin through the Left Foam Grip (62), and
tighten the Latch Knob onto it.
After assembly is completed, pull the Left Foam Grip (62)
in the direction shown until the Latch Pin (72) slides
freely.
72
69
67
62
70
2
3. Make sure ha all par s are igh ened before you use he readmill. Place a ma benea h he readmill
o pro ec he floor or carpe . For your benefit, we recommend that you familiarize yourself with the
TROUBLESHOOTING AND MAINTENAN E section on pages 23 and 24.
ASSEMBLY
Assembly requires wo people. Place the treadmill in a cleared area and remove all packing materials. Do not
dispose of the packing materials until the treadmill is assembled. No ools are required.
Note: The underside of the treadmill walking belt is coated with high-performance lubricant. During shipping, a
small amount of lubricant may be transferred to the top of the walking belt, the sides of the walking platform, or
the shipping carton. This does not affect treadmill performance. If there is lubricant on top of the walking belt or
on the sides of the walking platform, wipe off the lubricant with a soft cloth and a mild, non-abrasive cleaner.
7
THE PERFORMANT LUBETM WALKING BELT
Your treadmill features a walking belt coated with
PERFORMANT LUBETM, a high-performance lubricant.
IMPORTANT: Never apply silicone spray or o her
subs ances o he walking bel or he walking pla -
form. Such subs ances will de eriora e he walking
bel and cause excessive wear.
HOW TO PLUG IN THE POWER CORD
Your treadmill, like any other type of sophisticated
electronic equipment, can be seriously damaged by
sudden voltage changes in your home’s power.
Voltage surges, spikes, and noise interference can
result from weather conditions or from other appli-
ances being turned on or off. To decrease he pos-
sibili y of your readmill being damaged, always
use a surge suppressor wi h your readmill (see
drawing 1 a he righ ). To purchase a surge sup-
pressor, see your local PROFORM dealer or call 1-
800-806-3651 and order par number 146148.
Use only a single-ou le surge suppressor ha is
UL 1449 lis ed as a ransien vol age surge sup-
pressor (TVSS). The surge suppressor mus have a
UL suppressed vol age ra ing of 400 vol s or less
and a minimum surge dissipa ion of 450 joules.
The surge suppressor mus be elec rically ra ed
for 120 vol s AC and 15 amps. There mus be a
moni oring ligh on he surge suppressor o indi-
ca e whe her i is func ioning properly. Failure o
use a properly func ioning surge suppressor could
resul in damage o he con rol sys em of he
readmill. If he con rol sys em is damaged, he
walking bel may change speed or s op unexpec -
edly, which may resul in a fall and serious injury.
This produc mus be grounded. If it should malfunc-
tion or break down, grounding provides a path of least
resistance for electric current to reduce the risk of elec-
tric shock. This product is equipped with a cord having
an equipment-grounding conductor and a grounding
plug. Plug he power cord in o a surge suppressor,
and plug he surge suppressor in o an appropria e
ou le ha is properly ins alled and grounded in
accordance wi h all local codes and ordinances.
Impor an : The readmill is no compa ible wi h
GFCI-equipped ou le s.
This product is for use on a nominal 120-volt circuit,
and has a grounding plug that looks like the plug illus-
trated in drawing 1 below. A temporary adapter that
looks like the adapter illustrated in drawing 2 may be
used to connect the surge suppressor to a 2-pole
receptacle as shown in drawing 2 if a properly
grounded outlet is not available.
The temporary adapter should be used only until a
properly grounded outlet (drawing 1) can be installed
by a qualified electrician.
The green-colored rigid ear, lug, or the like extending
from the adapter must be connected to a permanent
ground such as a properly grounded outlet box cover.
Whenever the adapter is used it must be held in place
by a metal screw. Some 2-pole recep acle ou le box
covers are no grounded. Con ac a qualified elec-
rician o de ermine if he ou le box cover is
grounded before using an adap er.
DANGER:Improper connec ion
of he equipmen -grounding conduc or can
resul in an increased risk of elec ric shock.
Check wi h a qualified elec rician or service-
man if you are in doub as o whe her he
produc is properly grounded. Do no modify
he plug provided wi h he produc —if i will
no fi he ou le , have a proper ou le
ins alled by a qualified elec rician.
1
2
Grounded Outlet Box
Grounded Outlet Box
Grounding Plug
Surge Suppressor
Surge Suppressor
Grounding Pin
Adapter
Lug
Metal Screw
Grounded Outlet
Grounding Pin
TREADMILL OPERATION
8
FEATURES OF THE CONSOLE
The treadmill console offers an impressive selection of
features to help you get the most from your exercise.
When the console is in the manual mode, the speed
and incline of the treadmill can be changed with the
touch of a button. As you exercise, the four displays
will show your workout time, the number of calories
you have burned, the distance you have walked, the
incline level of the treadmill, and the speed of the walk-
ing belt. The console will also show your heart rate
when you use the handgrip pulse sensor or the op-
tional chest pulse sensor (see page 20).
The console also offers four preset workout programs.
Each program automatically controls the speed and
incline of the treadmill as it guides you through an ef-
fective workout; the optional hand weights can be used
for upper body exercise as well (see page 20). Two
pulse programs are also offered. Each program auto-
matically adjusts the speed and incline of the treadmill
to keep your heart rate within a preset range during
your workout.
In addition, the console features new iFIT.com interac-
tive technology. Having iFIT.com technology is like hav-
ing a personal trainer in your home. Using the included
audio cable, you can connect the treadmill to your
home stereo, portable stereo, computer, or V R and
play special iFIT.com D and video programs
(iFIT.com Ds and videocassettes are available sepa-
rately). iFIT.com D and video programs automatically
control the speed and incline of the treadmill as a per-
sonal trainer coaches you through every step of your
workout. High-energy music provides added motivation.
To purchase iFIT.com CDs or videocasse es, call
oll-free 1-800-735-0768.
With the treadmill connected to your computer, you
can also go to our Web site at www.iFIT.com and ac-
cess programs directly from the internet. Additional op-
tions are soon to be available. See www.iFIT.com for
more informa ion.
To use he manual mode of he console, follow the
steps beginning on page 10. To use prese programs,
see page 12. To use pulse programs, see page 13. To
use iFIT.com CD or video programs, see page 17.
To use iFIT.com programs direc ly from our Web
si e, see page 19.
Note: If there is a thin
sheet of clear plastic
on the face of the
console, remove it.
A
B
LPQ
U
K
I
D E
J
M
N
OR
ST
FGH
DIAGRAM OF THE CONSOLE
9
DESCRIPTION OF THE CONSOLE
Refer to the drawing on page 8 to identify the features
described below.
A. Water bottle holder—This convenient holder keeps
your water bottle handy during your workouts.
B. Hand weight holder—These compartments hold the
optional hand weights.
. Book holder—This area is designed to hold a book
or magazine.
D. Incline buttons—These buttons control the incline of
the treadmill. Each time a button is pressed, the
incline will change by 0.5%.
E. Speed buttons—These buttons control the speed of
the walking belt. Each time a button is pressed, the
speed will change by 0.1 mph; if a button is held
down, the speed will change in increments of 0.5
mph. The speed range is 0.5 mph to 10 mph.
F. Start button—This button is used to start the walking
belt.
G. OneTouch Speed buttons—These buttons allow
you to quickly select speed settings.
H. Stop button—This button is used to stop the walking
belt.
I. Waistband clip—This clip is designed to be worn on
the waistband of your clothes. If the key is pulled
from the console, the walking belt will automatically
stop.
J. Key—This key turns the console on and off.
K. Time/Segment Time display—When the manual
mode or the iFIT.com mode is selected, this display
will show the elapsed time. When a preset program
or a pulse program is selected, the display will show
both the time remaining in the program and the time
remaining in the current segment of the program.
The display will alternate between one number and
the other every seven seconds.
L. ross Training indicator—During the two cross
training programs, this indicator will periodically
flash. The optional hand weights can be used while
the indicator is flashing to add upper body exercise
to your workouts.
M. Pulse/ alories display—This display shows the
approximate number of calories you have burned.
When the handgrip pulse sensor is used, the display
will show your heart rate. If the optional chest pulse
sensor is worn, the display will show your heart rate
and the number of calories you have burned, alter-
nating between one number and the other every
seven seconds.
N. Distance/Incline display—This display shows the
distance you have walked and the incline level of
the treadmill. The display will alternate between one
number and the other every seven seconds. Note:
Each time the Incline buttons are pressed, the dis-
play will change to show the incline setting.
O. Speed display—This display shows the speed of
the walking belt.
P. Enter button and + and – buttons—These buttons
are used to enter your age when pulse programs
are used.
Q. Program display—When the manual mode or the
iFIT.com mode is selected, this display will show
your progress on an LED track. When a preset
program or a pulse program is selected, the display
will show the settings for the program.
R. Select Workout button—This button is used to select
the manual mode, the preset programs, and the
pulse programs. Note: If the walking belt is moving
when the Select Workout button is pressed, the
walking belt will slow to a stop, the displays will be
reset, and a new program or the manual mode will
be selected.
S. IFIT.com button—This button is used to select the
iFIT.com mode.
T. Mode indicators—These indicators show whether
the manual mode, a preset program, a pulse pro-
gram, or the iFIT.com mode is selected.
U. Program profiles—These profiles show how the
speed and incline of the treadmill will change during
preset programs and how the target heart rate will
change during pulse programs.
No e: The console can display exercise feedback
in ei her miles or kilome ers (see SPEED DISPLAY
on page 11). For simplici y, all ins ruc ions in his
sec ion refer o miles.
HOW TO TURN ON THE POWER
Plug in the power cord (see HOW TO PLUG IN
THE POWER ORD on page 7).
Locate the on/off
switch on the front of
the treadmill near the
power cord. Move
the on/off switch to
the on position.
Stand on the foot
rails of the treadmill.
Find the clip attached
to the key and slide
the clip fully onto the
waistband of your
clothes. Next, insert
the key into the console. After a moment, the
displays, the LED track, and various indicators will
light. Tes he clip by carefully aking a few
s eps backward un il he key is pulled from he
console. If he key is no pulled from he con-
sole, adjus he posi ion of he clip as needed.
Then, reinsert the key into the console.
HOW TO USE THE MANUAL MODE
Inser he key in o he console.
See HOW TO TURN ON THE POWER at the left.
Selec he manual mode.
When the key is in-
serted, the manual
mode will be selected
and the manual indica-
tor will light. If a program
is selected, press the
Select Workout button
repeatedly to select the
manual mode.
Press he S ar bu on or he Speed + bu on o
s ar he walking bel .
A moment after the button is pressed, the walking
belt will begin to move at 1 mph. Hold the hand-
rails and begin walking.
As you exercise, adjust
the speed of the walking
belt as desired by press-
ing the Speed buttons or
the OneTouch Speed
buttons. Note: After the
buttons are pressed, it
may take a moment for the walking belt to reach
the selected speed setting.
To stop the walking belt, press the Stop button.
The displays will pause and the Time/Segment
Time display will begin to flash. To restart the
walking belt, press the Start button or the Speed +
button. To stop the walking belt and reset the dis-
plays, press the Stop button, remove the key, and
then reinsert the key.
During the first few minutes that you use the tread-
mill, inspect the alignment of the walking belt, and
align the walking belt if necessary (see page 24).
Adjus he incline of he readmill as desired.
To vary the intensity of
your exercise, adjust the
incline of the treadmill
by pressing the Incline
buttons. Note: After the
buttons are pressed, it
may take a moment for
the treadmill to reach the selected incline setting.
4
3
2
1
3
2
1
WARNING:To reduce he risk of
serious injury, read he following precau ions
before opera ing he console.
• Do no s and on he walking bel when urn-
ing on he power or s ar ing he walking bel .
• Always wear he clip (see “I”on page 8) on
he wais band of your clo hes while you are
using he readmill. If he key is pulled from
he console, he walking bel will s op.
• The readmill is capable of high speeds.
Adjus he speed in small incremen s.
• To reduce he risk of elec ric shock, keep
liquids away from he console and place only
a sealed wa er bo le in he console.
On
Position
Manual Indicator
10