manuals.online logo
Brands
  1. Home
  2. •
  3. Brands
  4. •
  5. pro master
  6. •
  7. Camera Accessories
  8. •
  9. pro master BASIS Series User manual

pro master BASIS Series User manual

|
One Year
Unconditional Warranty
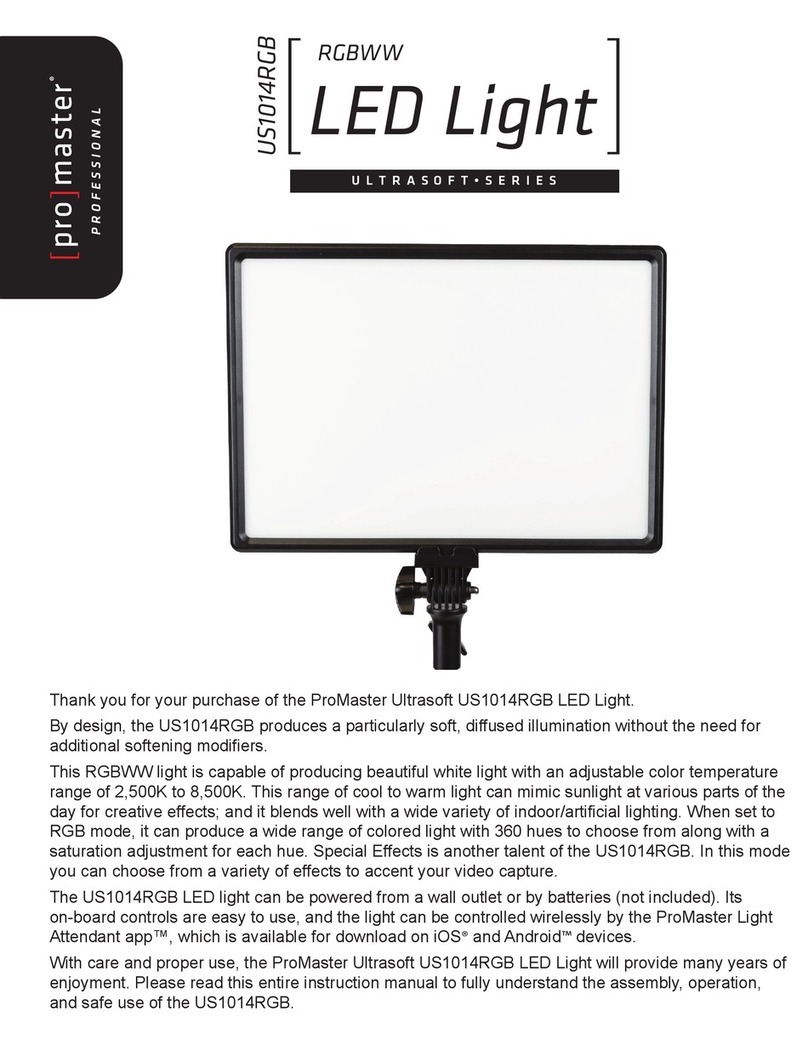
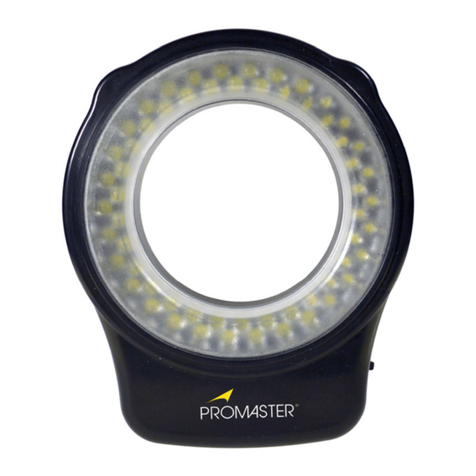
Congratulations on your purchase of this ProMaster Basis BR130D LED Ringlight.
It is a daylight-balanced light that is excellent for portraiture and many types of
photography and videography in which a soft, direct light is desired.
Please read through this instruction manual to familiarize yourself with the features
of this light so you can get the best results.
Daylight Balanced 14”
LED Ringlight
BR130D
Made in China
Code 8798
If for any reason, this ProMaster product fails within ONE YEAR of the
date of purchase, return this product to your ProMaster dealer and it will
be exchanged for you at no charge. ProMaster products are guaranteed for
ONE FULL YEAR against defects in workmanship and materials. If at any
time after one year, your ProMaster product fails under normal use, we
invite you to return it to ProMaster for evaluation.
Safety Precautions
1. Please keep the BR130D away from moisture and liquids.
2. Do not touch with wet hands.
3. Avoid contact with solvents, gasoline, grease, oil, paint, and detergents.
4. Disconnect from power when not in use.
5. Do not open the housing or attempt to repair the unit yourself.
6. Do not operate near flammable liquids.
7. Use only the included AC cord for power.
8. Please keep the light out of reach from children.
9. The light housing may become warm during use. Allow it to cool before storing the light.
Parts Indentification Using the Light
Specifications
Weight
Model
Power Consumption
Luminous Flux
LED Quantity
Color Temperature
Dimmer
Lamp LIfe
8798 BASIS BR130D
40W
180 PCS
4,000 LM
Power Input
Brightness
1100 lux at 3’/ 1 m | 130 lux at 10 / 3 m
10%-100%
50,000 hours
AC100-240V 50/60Hz
2 lbs 4 oz / 1.02 kg
Dimensions
Outer 14”/ 35.6 mm | Inner 9”/ 22.9 cm
5600K +/- 200K
Color Accuracy
CRI 95+
1
2
34
5
Dimmer Knob
6
Light Stand Mount
Vents
1. Vents
2. Cold Shoe
3. Power Switch
4. AC Input Socket
5. Dimmer Knob
6. Light Stand Mount
7. Light Stand Connection Knob
8. Tilt Control Knob
9. Camera Bracket Connection Ports
Cold Shoe
Power Switch
7
Light Stand
Connection Knob
9
Camera Bracket
Connection Ports
AC Input Socket
8
Tilt Control Knob
BR130D Mounting the Light: The BR130D is fitted with an industry-standard 5/8” light stand
connector. This is identified as the Light Stand Mount (6) in the parts diagram. Loosen the
Light Stand Connection Knob (7) before sliding the Light Stand Mount (6) onto a light stand,
grip arm, flex arm, or other type of grip item fitted with a 5/8” male spigot or stud. Tighten the
Light Stand Connection Knob (7) for a secure fit.
Attaching a Camera to the Light: Included with this kit is a camera connection bracket and
two wingnuts. The bracket is shaped like an ‘L’. Align the slot in the camera connection
bracket with the two Camera Bracket Connection Ports (9) on the back of the ringlight. Insert
both wingnuts through the slot and into the Camera Bracket Connection Ports (9). The
portion of the camera connection bracket with a rubber pad and attachment screw should be
oriented at the top of the bracket when you attach it to the light. The bracket can be mounted
in one of two directions, with the top facing into the center of the ringlight or with its top
facing away from the back of the ringlight. Use whichever direction will give your camera the
most ideal placement within the ringlight’s center. Loosen the wing nuts slightly and slide the
bracket up or down for the most ideal placement of your camera.
Powering Up: Locate the AC cable included with the kit. Check to be sure the Power Switch
(3) of the ringlight is set to the OFF position. Attach the 2-pin, figure-8 connector of the AC
cable to the AC Input Socket (4) on the Ringlight. Next connect the 2-prong household
connector on the AC cable to a standard household socket. Now press the Power Switch (3)
to the ON position (right side of switched pressed in). The light will take a second or two to
power up and illuminate.
Note: Always be sure the light is turned OFF before disconnecting the AC cable. Disconnect
the AC cable from the household socket BEFORE disconnecting it from the AC Input Socket
(4) of the ringlight.
Adjusting the Brighness: Locate the Dimmer Knob (5). Turn it clockwise to increase the
brightness or counterclockwise to decrease the brightness.
Note: If you turn the Dimmer Knob (5) quickly, it may take a second or two for the light to
change its brightness to match.
Adjusting the Light’s placement: The Tilt Control Knob (8) can be loosened slightly to
allow the rignlight to be tilted up or down. The Light Stand Connection Knob (7) can be
loosened slightly to allow the light to be rotated left or right. All other adjustments for
placement of the ringlight should be done with the particular stand or grip you have the
ringlight mounted to.
This manual suits for next models

2

Other pro master Camera Accessories manuals

pro master XtraPower User manual

pro master

pro master XtraPower User manual

pro master Infrared Remote Shutter Release User manual

pro master

pro master Infrared Remote Shutter Release User manual

pro master Rain Jacket User manual

pro master

pro master Rain Jacket User manual

pro master 3697 User manual

pro master

pro master 3697 User manual

pro master GH30C User manual

pro master

pro master GH30C User manual

pro master 3711 User manual

pro master

pro master 3711 User manual

pro master 3655 User manual

pro master

pro master 3655 User manual

pro master GH25K User manual

pro master

pro master GH25K User manual

pro master 8046 User manual

pro master

pro master 8046 User manual

pro master INFRARED REMOTE CONTROL for Sony User manual

pro master

pro master INFRARED REMOTE CONTROL for Sony User manual

pro master 9217 User manual

pro master

pro master 9217 User manual

pro master LED80VT User manual

pro master

pro master LED80VT User manual

pro master CT75K User manual

pro master

pro master CT75K User manual

pro master 8006 User manual

pro master

pro master 8006 User manual

pro master CHRONICLE User manual

pro master

pro master CHRONICLE User manual

pro master Video Tripod 24P User manual

pro master

pro master Video Tripod 24P User manual

pro master VL306 User manual

pro master

pro master VL306 User manual

pro master 3711 User manual

pro master

pro master 3711 User manual

pro master ST1 User manual

pro master

pro master ST1 User manual

pro master RL60 User manual

pro master

pro master RL60 User manual

pro master 3641 User manual

pro master

pro master 3641 User manual

pro master SM1S User manual

pro master

pro master SM1S User manual

pro master SystemPro Professional User manual

pro master

pro master SystemPro Professional User manual

pro master Cine Tripod CT60K User manual

pro master

pro master Cine Tripod CT60K User manual

Popular Camera Accessories manuals by other brands

KLAN K-BAT-Li-4 Ah Connection instruction

KLAN

KLAN K-BAT-Li-4 Ah Connection instruction

Ikelite SLR-DC Housing instruction manual

Ikelite

Ikelite SLR-DC Housing instruction manual

Sathero SH-400HD user manual

Sathero

Sathero SH-400HD user manual

Filmcity FC-79 instruction manual

Filmcity

Filmcity FC-79 instruction manual

Ikelite FinePix F50fd Instructional manual

Ikelite

Ikelite FinePix F50fd Instructional manual

Ikelite LX15 instruction manual

Ikelite

Ikelite LX15 instruction manual

Night Owl NOPEN-4GB-B instruction manual

Night Owl

Night Owl NOPEN-4GB-B instruction manual

Sony APK-THA operating instructions

Sony

Sony APK-THA operating instructions

Manfrotto 724B instructions

Manfrotto

Manfrotto 724B instructions

Nikon EN-EL1 instruction manual

Nikon

Nikon EN-EL1 instruction manual

Savage DROP STAND user manual

Savage

Savage DROP STAND user manual

Gitzo Classic Inter Pro Studex Mk2  G1341 G1341 parts list

Gitzo

Gitzo Classic Inter Pro Studex Mk2 G1341 G1341 parts list

Ambient TinyLockit ACN-TL manual

Ambient

Ambient TinyLockit ACN-TL manual

dji Zenmuse X5 user manual

dji

dji Zenmuse X5 user manual

Sanyo UF652436F Specifications

Sanyo

Sanyo UF652436F Specifications

Moog Videolarm POD8C Product instructions

Moog Videolarm

Moog Videolarm POD8C Product instructions

LANPARTE LA3D user manual

LANPARTE

LANPARTE LA3D user manual

Nauticam NA-Ninja V instruction manual

Nauticam

Nauticam NA-Ninja V instruction manual

manuals.online logo
manuals.online logoBrands
  • About & Mission
  • Contact us
  • Privacy Policy
  • Terms and Conditions

Copyright 2025 Manuals.Online. All Rights Reserved.