manuals.online logo
Brands
  1. Home
  2. •
  3. Brands
  4. •
  5. Shanty 2 CHIC
  6. •
  7. Indoor Furnishing
  8. •
  9. Shanty 2 CHIC Three Leg Bench User manual

Shanty 2 CHIC Three Leg Bench User manual

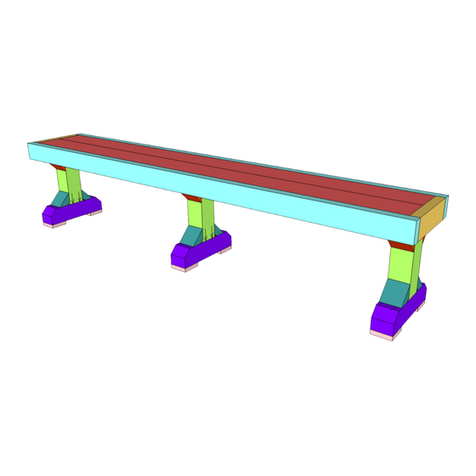
Three Leg Bench
Copyright © 2014 Shanty-2-Chic.com
Supply List
Item Quantity Description
1 x 4 x 10’ 1 Pine or whitewood board
1 x 6 x 8’ 2 Pine or whitewood board
1 x 3 x 8’ 1 Pine or whitewood board
1 x 2 x 8’ 2 Pine or whitewood board
2 x 3 x 8’ 3 Pine or whitewood board
3-1/2” square x 15-1/2” leg 3
Wood glue
2-1/2” pocket hole screw 20
1-1/4” pocket hole screw 44
2” finish nails handful
Finish of choice
Three Leg - Page | 2ShanTy-2-ChiC.Com
Drill pocket holes for 2-1/2” pocket hole screws in the 2 x material as
indicated by the arrows. Drill pocket holes for 1-1/4” pocket hole screws in
the 1 x material as indicated by the arrows.
Three Leg - Page | 3ShanTy-2-ChiC.Com
Assemble the bench
top with wood glue and
1-1/4” pocket hole screws.
Start with the interior
long pieces and add the
breadboard ends last.
Assemble the bench frame with wood
glue and pocket hole screws. Start with
the perimeter using 2-1/2” pocket hole
screws. Then add the interior braces.
Each group of braces should leave a
space the same width as the legs you
are using. Use 1-1/4” pocket hole screws
to secure the interior braces.
Center the top over the
frame and secure it with
wood glue and finish nails.
Three Leg - Page | 4ShanTy-2-ChiC.Com
Start building the three legs. Glue
and nail the first blocks in place,
Glue and nail the second pair of
blocks onto the other sides.
Using glue and 2-1/2” pocket hole
screws attach the next blocks
to the leg. Make sure the pocket
holes are on the bottom.
Three Leg - Page | 5ShanTy-2-ChiC.Com
Add the 1 x 2 trim pieces to the
long sides of the legs with wood
glue and finish nails.
Finish the legs by adding the foot
pads to the bottom with wood
glue and finish nails. Make sure
the nail heads are not sticking out
or it will scratch your floor!
Secure the legs to the rest of the bench
with wood glue and finish nails. Make sure
to very carefully flip the bench over so all
of the legs are sitting flat on the ground as
the glue dries. Fill any nail holes, sand, and
finish as you wish! If you decide to make
one of these benches be sure to stop by
our website and let us know!

Other Shanty 2 CHIC Indoor Furnishing manuals

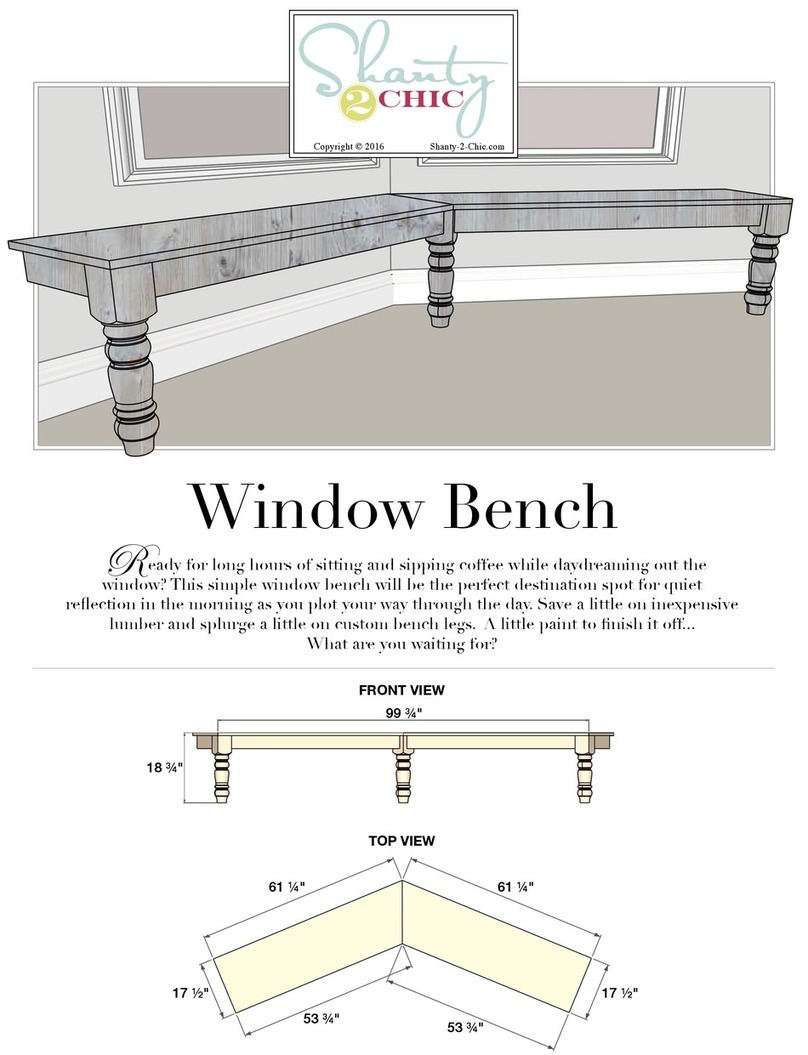
Shanty 2 CHIC DIY Turned Leg Bench User manual
Shanty 2 CHIC

Shanty 2 CHIC DIY Turned Leg Bench User manual

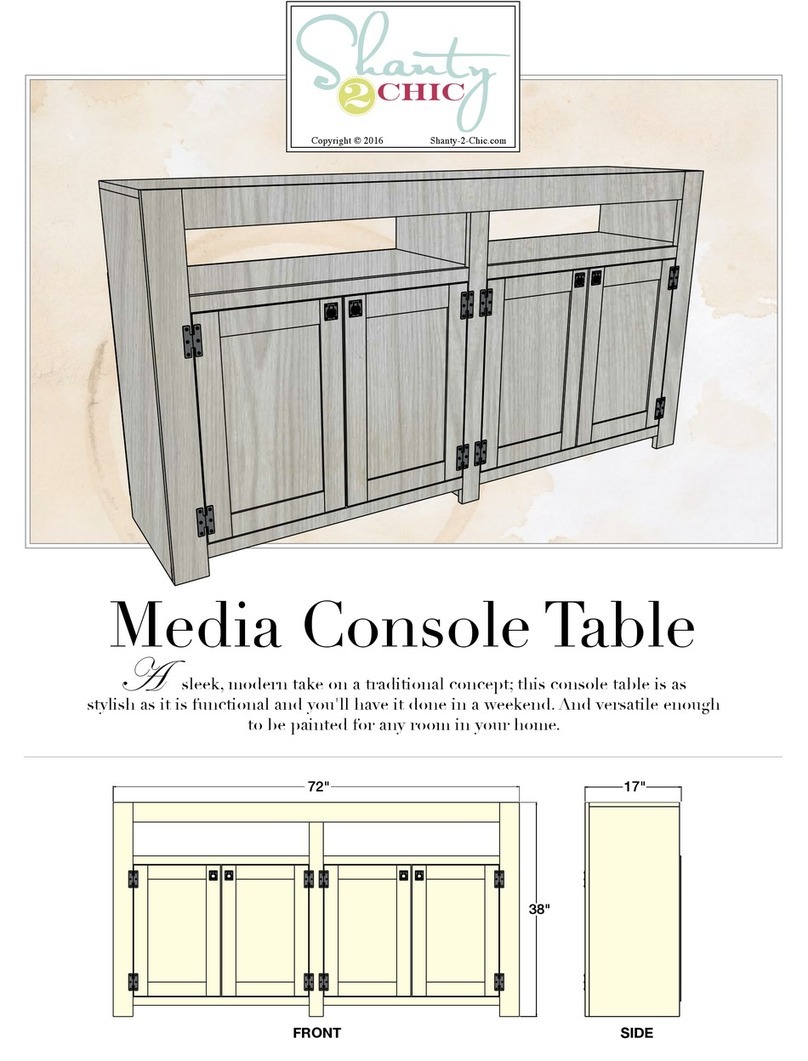
Shanty 2 CHIC Media Console Table User manual
Shanty 2 CHIC

Shanty 2 CHIC Media Console Table User manual

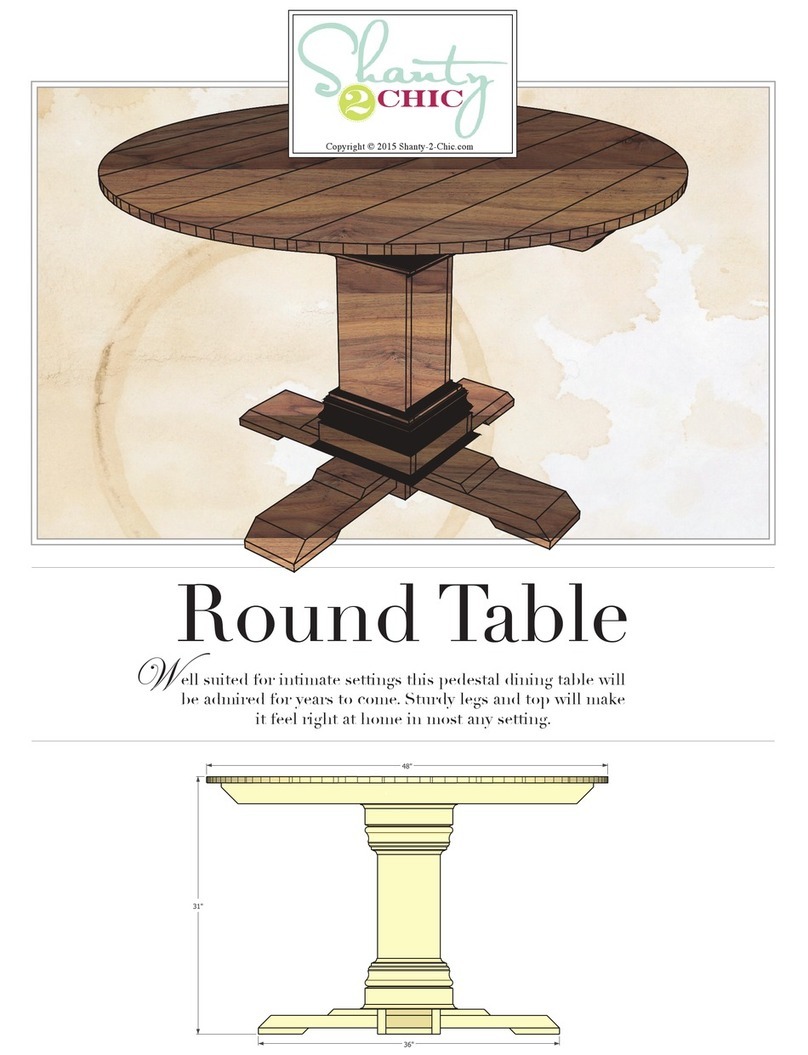
Shanty 2 CHIC Round Table User manual

Shanty 2 CHIC

Shanty 2 CHIC Round Table User manual

Shanty 2 CHIC Nightstand User manual

Shanty 2 CHIC

Shanty 2 CHIC Nightstand User manual

Shanty 2 CHIC Kid's Floating Nightstand User manual
Shanty 2 CHIC

Shanty 2 CHIC Kid's Floating Nightstand User manual

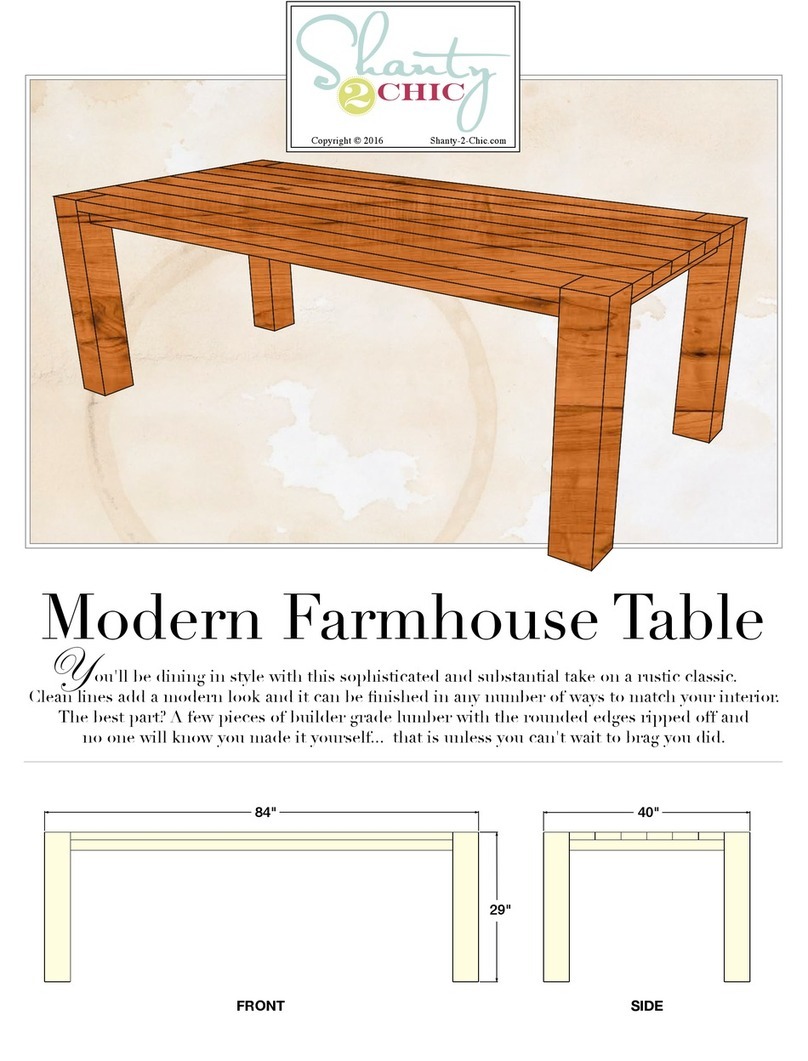
Shanty 2 CHIC Modern Farmhouse Table User manual

Shanty 2 CHIC

Shanty 2 CHIC Modern Farmhouse Table User manual

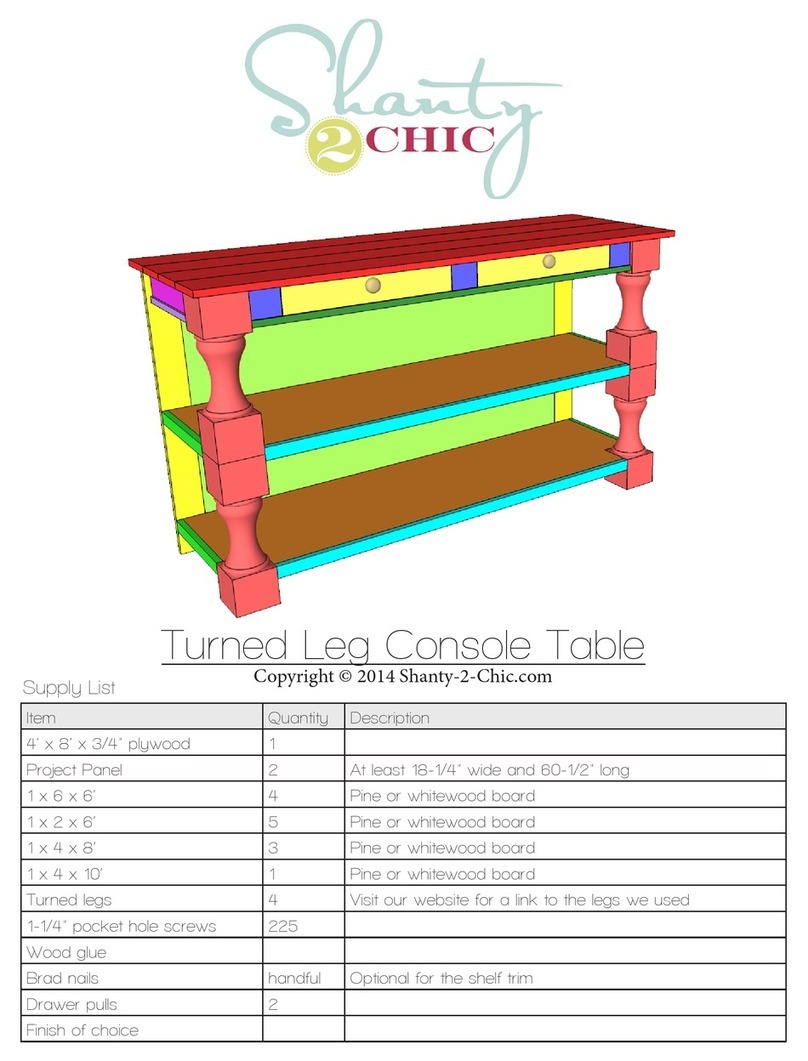
Shanty 2 CHIC Turned Leg Console Table User manual
Shanty 2 CHIC

Shanty 2 CHIC Turned Leg Console Table User manual
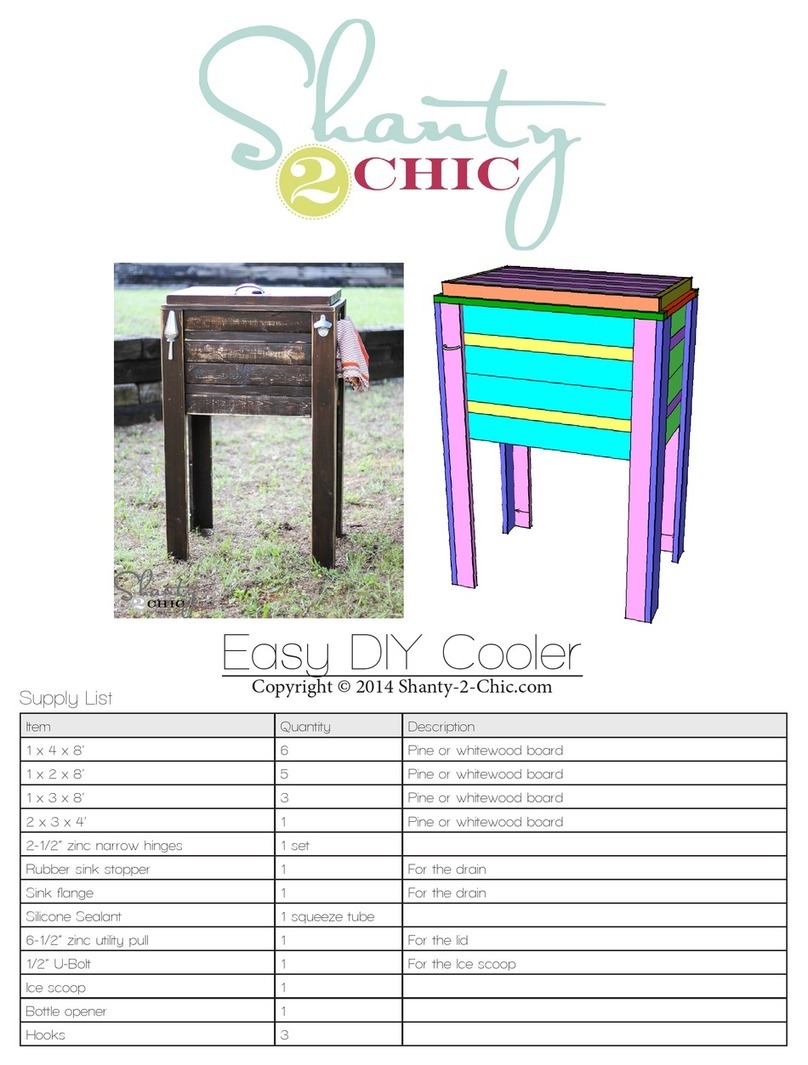
Shanty 2 CHIC Turned Leg Console Table User manual

Shanty 2 CHIC

Shanty 2 CHIC Turned Leg Console Table User manual

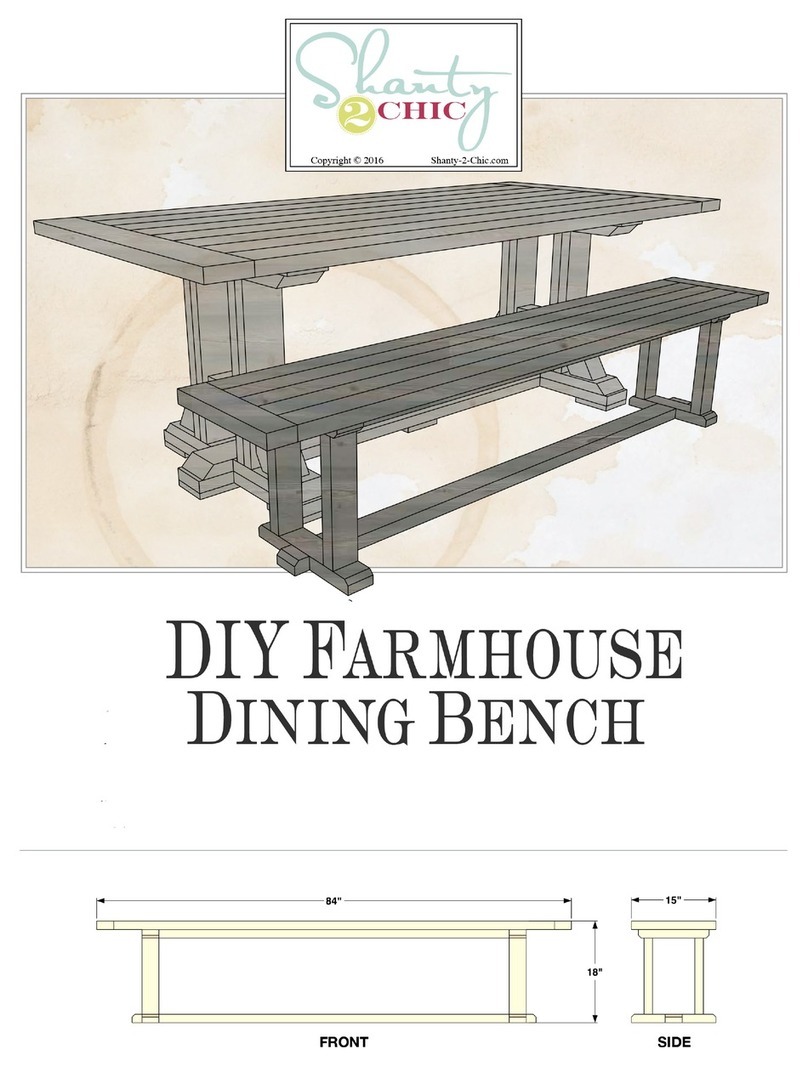
Shanty 2 CHIC Easy DIY Cooler User manual
Shanty 2 CHIC

Shanty 2 CHIC Easy DIY Cooler User manual

Shanty 2 CHIC DIY FARMHOUSE DINING BENCH User manual

Shanty 2 CHIC

Shanty 2 CHIC DIY FARMHOUSE DINING BENCH User manual

Shanty 2 CHIC Kids Sand Table User manual

Shanty 2 CHIC

Shanty 2 CHIC Kids Sand Table User manual

Shanty 2 CHIC DIY Dining Table Bench User manual

Shanty 2 CHIC

Shanty 2 CHIC DIY Dining Table Bench User manual

Shanty 2 CHIC Bun Feet Nightstand User manual

Shanty 2 CHIC

Shanty 2 CHIC Bun Feet Nightstand User manual

Shanty 2 CHIC Window Bench User manual

Shanty 2 CHIC

Shanty 2 CHIC Window Bench User manual

Popular Indoor Furnishing manuals by other brands
Home affaire Hugo 669501 Assembly instructions
Home affaire

Home affaire Hugo 669501 Assembly instructions

Classy Home BW19-02T Assembly instructions
Classy Home

Classy Home BW19-02T Assembly instructions

Pulaski Furniture A947T-305-1290 Assembly instructions
Pulaski Furniture

Pulaski Furniture A947T-305-1290 Assembly instructions

Fif Möbel Toro-4 Assembly instruction

Fif Möbel

Fif Möbel Toro-4 Assembly instruction
Forte COMBINO CMBS98S Assembling Instruction
Forte

Forte COMBINO CMBS98S Assembling Instruction

Hailey Home CT1682 Assembly instructions
Hailey Home

Hailey Home CT1682 Assembly instructions

DURAVIT White Tulip WT 7051 Mounting instructions

DURAVIT

DURAVIT White Tulip WT 7051 Mounting instructions

WASHTOWER 70-183-17 Assembling Instruction
WASHTOWER

WASHTOWER 70-183-17 Assembling Instruction

Bensons for Beds Hip Hop HUBHIP005 Assembly instructions
Bensons for Beds

Bensons for Beds Hip Hop HUBHIP005 Assembly instructions

Forte RMRS62411 Assembling Instruction

Forte

Forte RMRS62411 Assembling Instruction

Style selections ACW08RUSLUV quick start guide

Style selections

Style selections ACW08RUSLUV quick start guide

Huwil Huwilift E-Verso Assembly instructions

Huwil

Huwil Huwilift E-Verso Assembly instructions

Classic Brands 113-047-1050 Owner's manual & assembly instructions

Classic Brands

Classic Brands 113-047-1050 Owner's manual & assembly instructions
AFi HB-MDN Assembly instructions

AFi

AFi HB-MDN Assembly instructions
OSP Designs CC25 operating instructions

OSP Designs

OSP Designs CC25 operating instructions

Bell'O PR-35 Assembly instructions

Bell'O

Bell'O PR-35 Assembly instructions

Furinno FNAJ-11019 Assembly instruction
Furinno

Furinno FNAJ-11019 Assembly instruction

Saint Birch FL1025 Assembly instructions

Saint Birch

Saint Birch FL1025 Assembly instructions

manuals.online logo
manuals.online logoBrands
  • About & Mission
  • Contact us
  • Privacy Policy
  • Terms and Conditions

Copyright 2025 Manuals.Online. All Rights Reserved.